🍦 Lucy's Recipes
Lucy's whole cookbook, all 262 recipes she saves and cooks from. Search by name or ingredient, or wander by category.
Every recipe here comes from Lucy's own cookbook collection in the CookBook app. Each card credits the website the recipe came from, right on the card.
🍦 Save the recipes you love, tap Spin when you cannot decide what to cook, and tap My Recipes in the bottom menu to add your own.
1 Ingredient Low Carb Alfredo Pasta
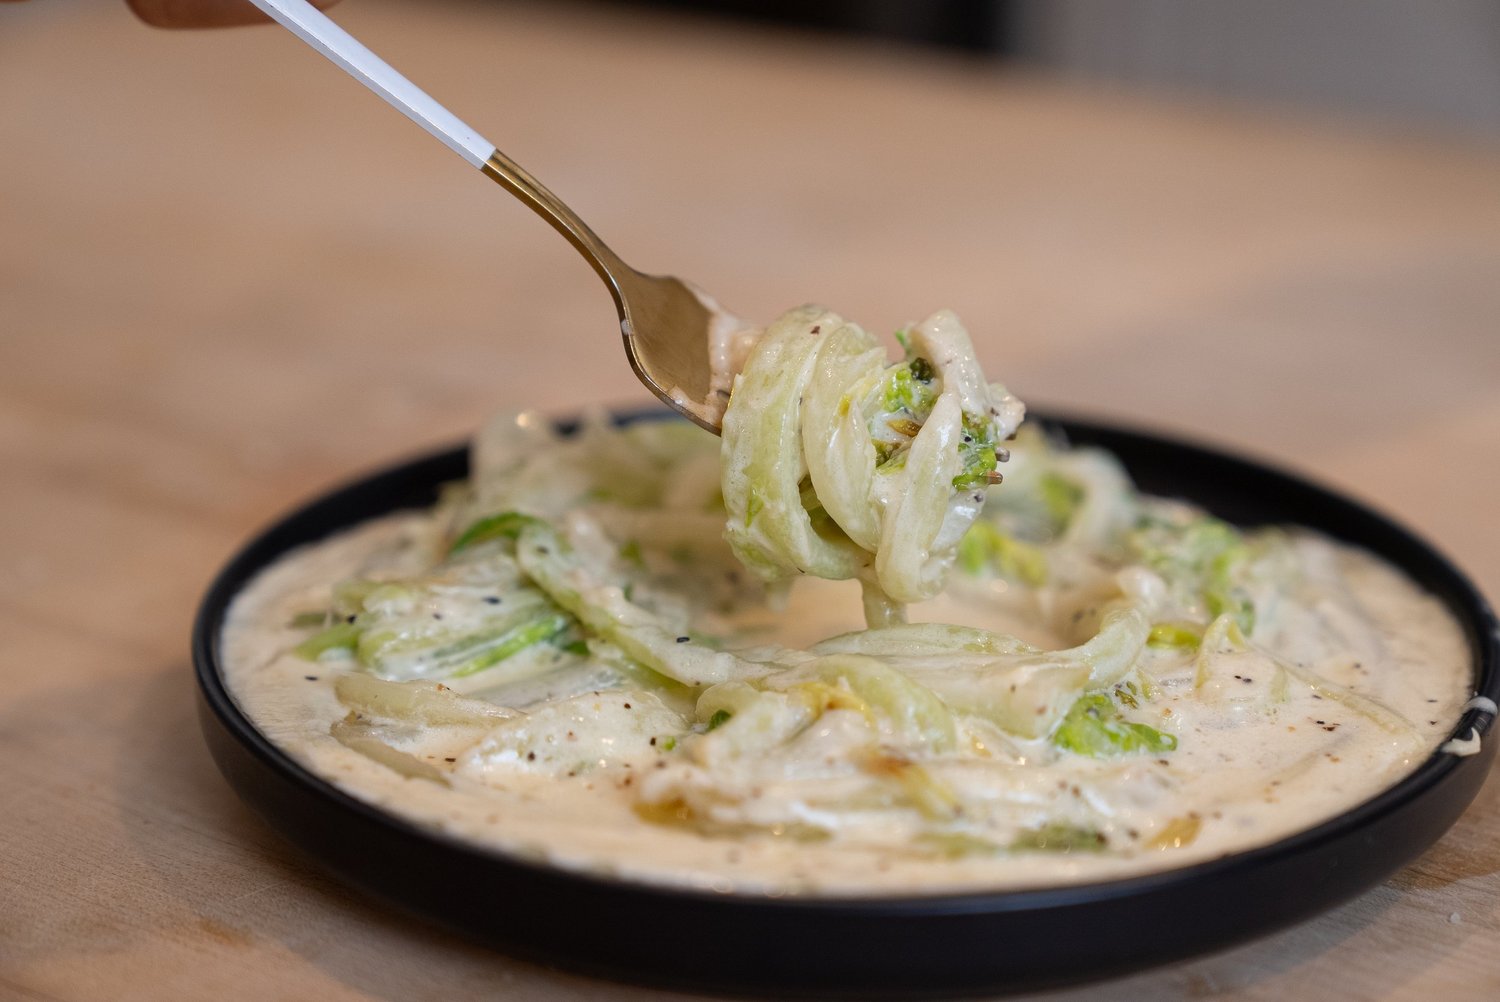
This is the ultimate low carb pasta hack! You save half the calories and if you want to add more protein to it, you can add some grilled chicken and you’re set!
Ingredients
- Noodles:
- ½ head of Napa cabbage, sliced into strips
- 1 Homemade Alfredo Sauce
- ½ teaspoon garlic powder
- ½ cup heavy cream
- 1 tbsp of butter
- ¼ cup Parmesan cheese
- Salt and pepper
- ½ cup almond milk
Directions
- In a small pot, make your homemade alfredo sauce. Add in your heavy cream, butter, seasonings and parmesan cheese. Whisk until combined and until thickened.
- Slice your cabbage and saute slightly (about 3-4 mins).
- Assemble your dish by adding your homemade alfredo sauce and topping with additional parm.
Nutrition (per serving)
Calories: 175 · Fat: 16 · Carbs: 5 · Protein: 4
Recipe from: lowcarblove.com, saved in Lucy's cookbook.
1234 Cakes
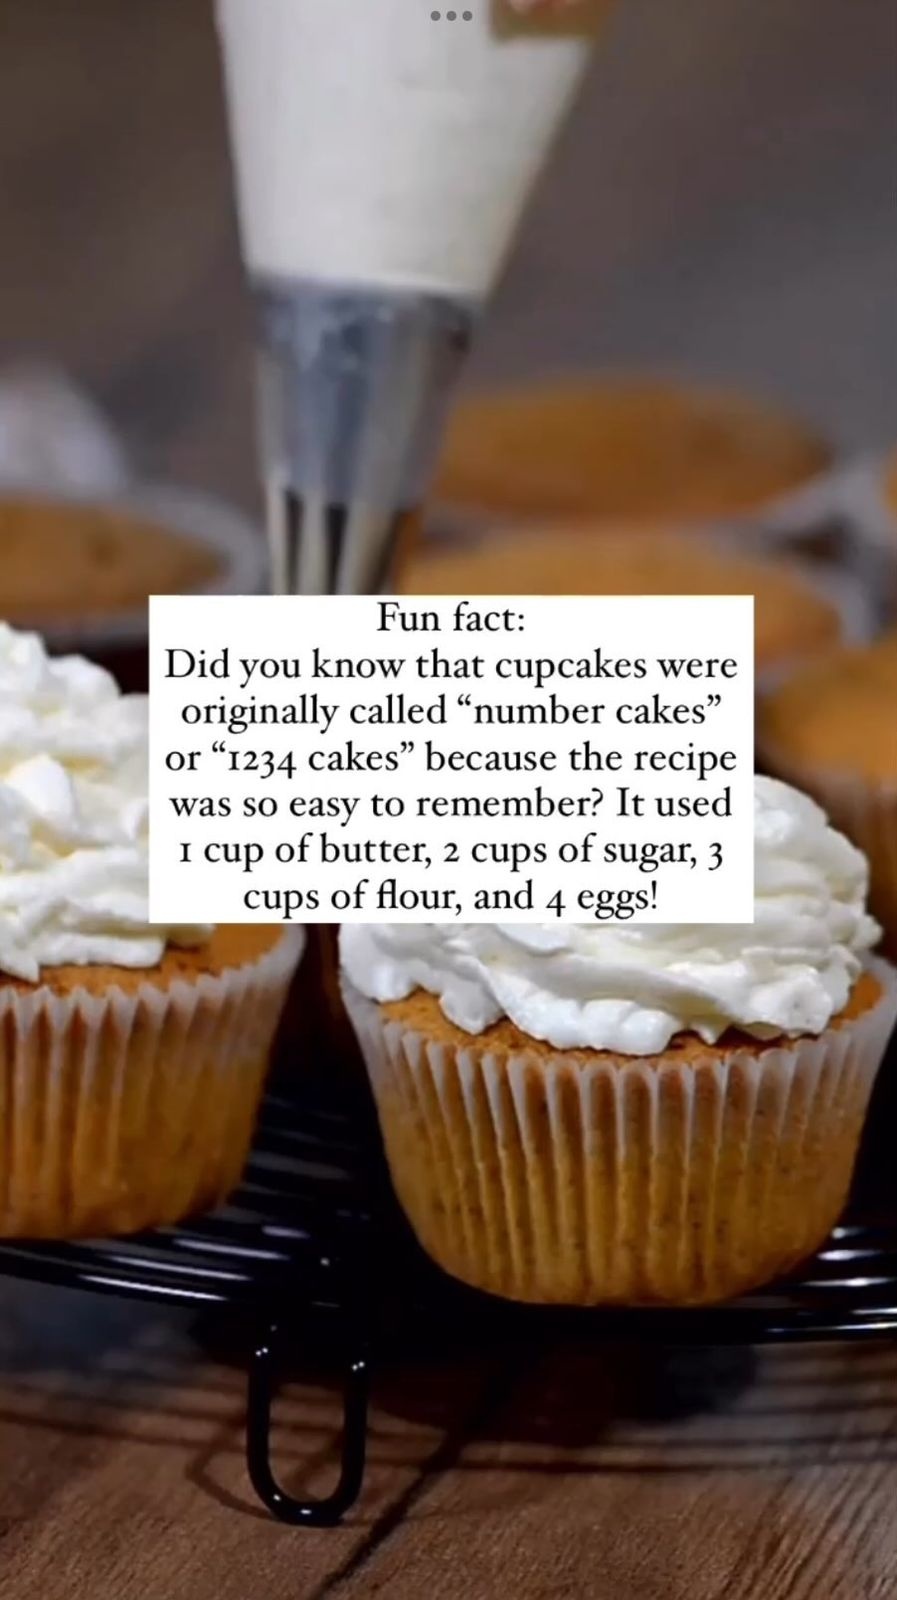
The proportion of 1 cup butter, 2 cups sugar, 3 cups flour, and 4 eggs (all these are main ingredients) lead to the name of 1234 Cakes!
Ingredients
- 1 Cup of unsalted butter softened
- 2 cups of caster sugar
- 3 cups of self-raising flour
- 4 medium eggs
- 1 pinch of salt
- 4 tablespoons milk
- Ice-cream scoop, optional
- 1 2*12 hole muffin tins, lined with paper cases
Directions
- Set the oven to 190C.
- Shift the butter into a bowl and whisk it until softened. Add the sugar, flour, salt, eggs and milk and flutter until the mixture is smooth.
- Use a traditional-style ice-cream scoop, or spoon, to separate the mixture between all the paper covers.
- Place the muffin tins in the oven and bake for 15 minutes, then swap over the position of the tins over and bake for another 3-7 minutes. This time till both trays of cupcakes is a light golden colour.
- Remove the tins from the oven. Leave the cupcakes to cool in the tins for a few minutes, then transfer them to a wire rack to cool down.
Notes
@little_mrs_w Thank you , finally a straight answer instead of "flour Algebra" I know very little about baking, reading through these comments trying to understand. Thank you for your comment.
Recipe from: instagram.com, saved in Lucy's cookbook.
5-Min Egg Drop Soup Recipe: Better Than Takeout
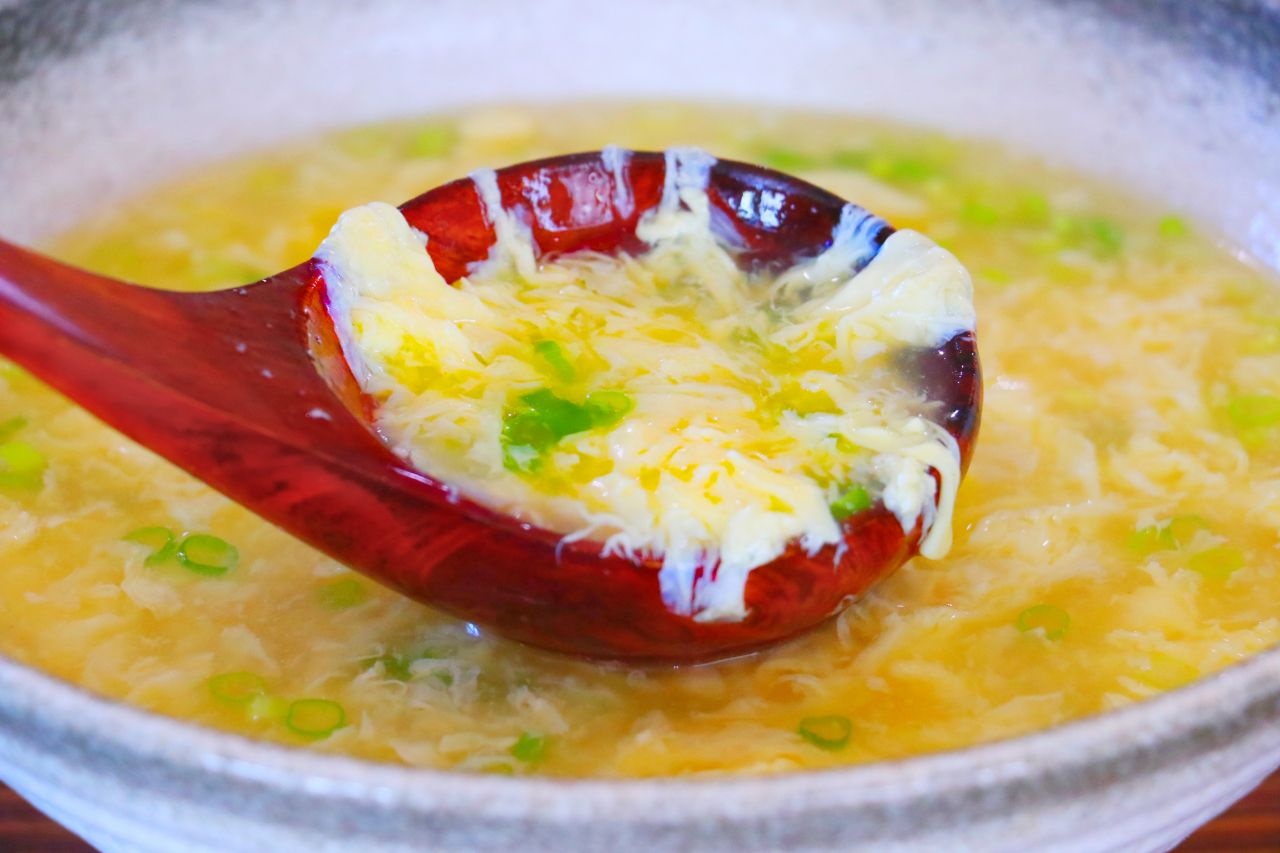
Egg Drop Soup is one of the easiest and most comforting soups you can make at home. I’ve been making it since I was a kid, and to this day, everyone finishes every last drop! It’s savory, cozy, and ready in just 5 minutes—faster and better than takeout.
Ingredients
- 6 cups chicken stock
- ½ teaspoon sea salt
- 3 tablespoons cornstarch
- 9 tablespoons water
- 5 large eggs
- Pinch of white pepper
- Dash of sesame oil
- 2 tablespoons scallions, chopped
Directions
- Prepare the eggs:
- Crack the eggs into a bowl and whisk until well combined.
- Make the cornstarch slurry:
- In a separate bowl, mix the cornstarch with water. Whisk until smooth.
- Cook the soup:
- In a pot over high heat, pour in the chicken stock and add the salt. Stir and bring to a simmer.
- Stir in the cornstarch slurry and continue stirring until the soup thickens and reaches a gentle boil.
- In a slow, circular motion, pour the beaten eggs into the soup. Let them set briefly, then gently stir.
- Add white pepper, sesame oil, and scallions. Serve hot!
Notes
Stock matters: A flavorful chicken stock makes a huge difference. Use homemade or a good quality store-bought version. Cornstarch: It helps thicken the soup and gives it a silky texture. It can be replaced with sweet potato starch or arrowroot starch. Egg ribbons: For thick egg ribbons, wait a moment before stirring. For thin ribbons, stir as you pour. Adjust seasoning: Taste before serving and adjust salt or pepper to your liking. Add-ins: Feel free to add corn, cabbage, carrots, or tofu to make it your own version!
Recipe from: cicili.tv, saved in Lucy's cookbook.
@SHREDHAPPENS MIDDLE EASTERN CHUCK ROAST
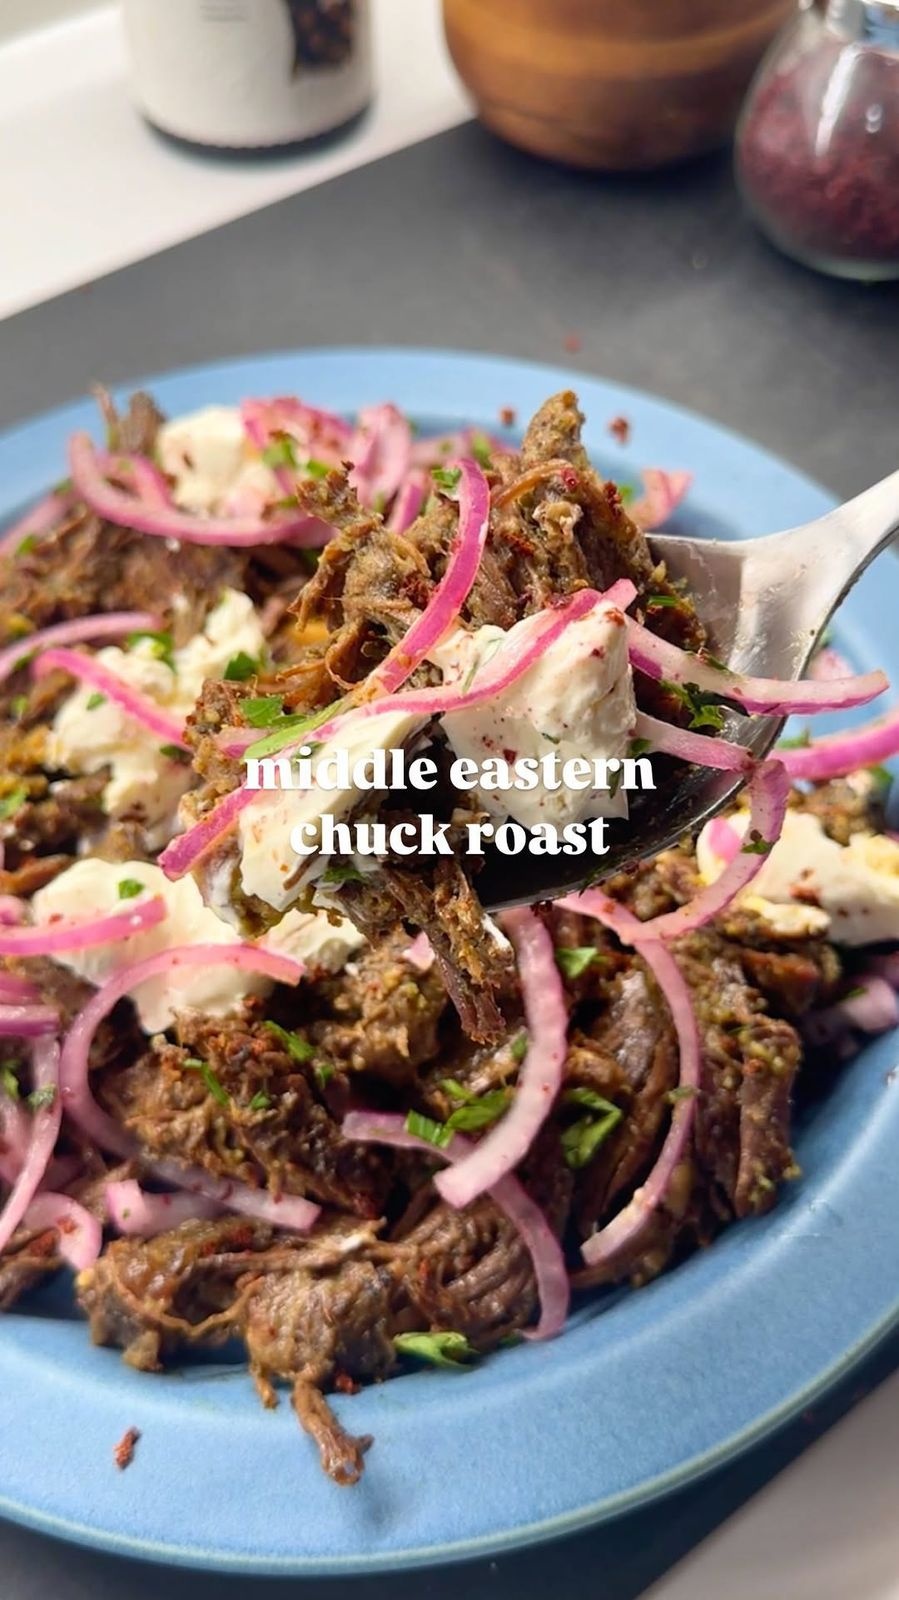
This takes just 5 minutes of prep and seriously one of the best ways to have protein on hand for the entire week. It uses just 1 oven-safe dish and it goes in the oven low and slow.
Ingredients
- 2 ½ lb to 3 lb chuck roast
- 1 salt & pepper
- 1 tbsp sumac
- 2 tsp Aleppo pepper
- 1 ¼ tsp basil
- ½ tsp marjoram
- 1 tsp oregano
- ½ tsp turmeric
- 2 tsp onion powder
- 7 garlic cloves, 6-7
- 24 oz bone broth
- 1 cinnamon stick
- 1 thick greek yogurt, or labneh!
- 1 red onion, thinly sliced
- 4 tbsp finely chopped fresh parsley
- 2 tbsp sumac, 1-2
- small pinch of salt
- 1 large lemon, juice
- fresh herbs, for garnish
Directions
- Preheat your oven to 350F.
- Grab an oven-safe dish with a lid, or you can use foil to cover.
- Pat a 2.5lb to 3lb chuck roast dry with a paper towel to remove the excess moisture. Season both sides with a few generous pinches of salt & pepper. Then rub in your spices. I used 1 tbsp sumac, 2 tsp Aleppo pepper, 1 1/4 tsp basil, 1/2 tsp marjoram, 1 tsp oregano, 1/2 tsp turmeric, 2 tsp onion powder. Rub this equally on both sides.
- Add 6-7 garlic cloves to the pot, pour in 24oz bone broth, and a cinnamon stick. The cinnamon is going to make things smell and taste SO good.
- Pop it in the oven with the lid on. You’ll want to put it in the oven for 1 hour for each pound, plus an extra hour. So for a 2.5lb chuck roast, I would have it in the oven for 3.5 hours, for a 3lb roast, 4 hours, etc.
- After the 3.5 hours, remove, shred the beef using two forks, and put back in the oven uncovered for 15-30 minutes at 400F.
- I love serving this with thick greek yogurt (or labneh!) and express pickled red onions. To make red onions, thinly slice 1 red onion and add it to a bowl with 4 tbsp finely chopped fresh parsley, 1 to 2 tbsp sumac, a small pinch of salt, and the juice of 1 large lemon. Give it a few mixes over 15-20 minutes.
- To serve, top with dollops of greek yogurt and pickled onions on top. Garnish with fresh herbs, and enjoy as is, with your favorite rice (white, brown, quinoa, or if you’re lowcarb, my Kaizen lowcarb rice!)
Recipe from: instagram.com, saved in Lucy's cookbook.
Air Fried Pepperoni Pizza Balls😮 💨
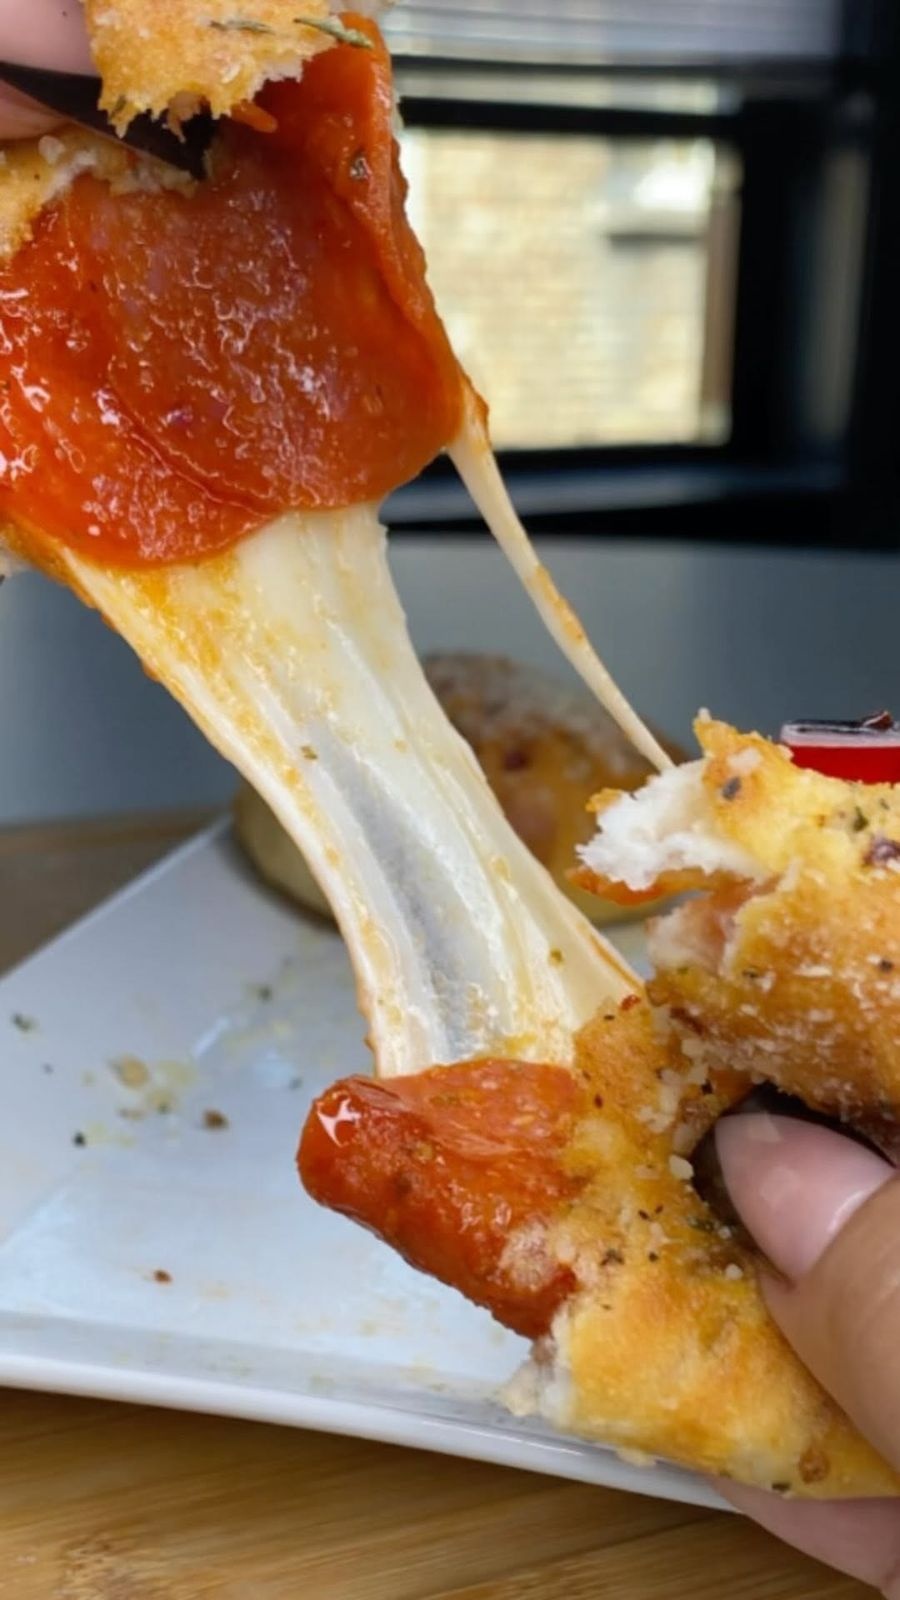
Ingredients
- 1 Biscuits
- 1 Pizza Sauce
- 1 Pepperoni
- 1 Mozzarella Cheese
- 1 Butter
- 1 Minced Garlic
- Garlic & Herb Seasoning
- 1 Crushed Red peppers
- 1 Grated Parmesan Cheese
Directions
- Roll out your biscuits.
- Add your sauce, pepperoni and mozzarella cheese, then form it into a ball.
- Melt some butter and add your seasonings, then brush your pizza balls with the butter and bake in air fryer on 350 for 8 minutes.
- Brush with more butter and top it with the parmesan cheese.
Notes
baws
Recipe from: instagram.com, saved in Lucy's cookbook.
Air fryer garlic bread toastie

Air fryer garlic bread toastie 🧄
Ingredients
- 1 peice of bread
- 1 garlic butter, i have a recipe for this pinned
- 1 cheese
- 1 another peice of bread
- 1 more garlic butter
- 1 more cheese
- 1 parsley
Directions
- get a peice of bread and add garlic butter (i have a recipe for this pinned)
- Add cheese
- Add another peice of bread and add some more garlic butter.
- Add more cheese and then some parsley.
- put in air fryer for 6 mins on 180 degrees.
- Enjoy! 😍
Recipe from: instagram.com, saved in Lucy's cookbook.
Air Fryer Korean Corn Dogs

No dough, no deep frying… and still the crispiest Korean corn dogs I’ve made 🙉🙈 Instead of kneading dough, waiting hours for it to rise, and deep-frying (I especially hate the lingering smell), I just used flattened sandwich bread and air-fried them — honestly shocked at how close they taste to the real deal 😭🔥 For the cheese ones, I used two sheets of bread to fully wrap the cheese (it was a thick block and I didn’t want it exploding — glad I did lol). Super crispy on the outside, perfectly melty inside 😍😋 And of course... Korean corn dogs need that little sugar sprinkle at the end ✨ Ketchup + mustard on top = you just can’t go wrong — so good and nostalgic 💛 If you’ve been craving Korean corn dogs but dread the dough or oil situation — please try this. Like genuinely. You’ll thank me 😍🤭🫶🫶🫶
Ingredients
- 1 Hot dogs or sausages
- 1 Cheese sticks, mozzarella or similar
- 1 Sandwich bread slices
- 2 eggs, beaten
- 1 Panko breadcrumbs
- 1 Sugar, for sprinkling
- 1 Ketchup & mustard, for topping
- 1 Oil spray, for air fryer
Directions
- Flatten sandwich bread with a rolling pin or glass until thin.
- Wrap sausages with one slice of flattened bread. For cheese dogs, fully wrap thick cheese sticks with two sheets of flattened bread to keep them sealed.
- Dip each in beaten eggs, then coat with panko breadcrumbs.
- Lightly spray the air fryer basket and tops of the corn dogs with oil.
- Air fry at 370°F (190°C) for 13 minutes, or until golden and crispy.
- Sprinkle with sugar while warm, and top with ketchup + mustard.
Notes
Just like you said I was sensitive to eggs 😂 what’s going on is once it’s in my system it makes me sensitive to cer things
Recipe from: instagram.com, saved in Lucy's cookbook.
Air fryer pork chicharron/cracklings
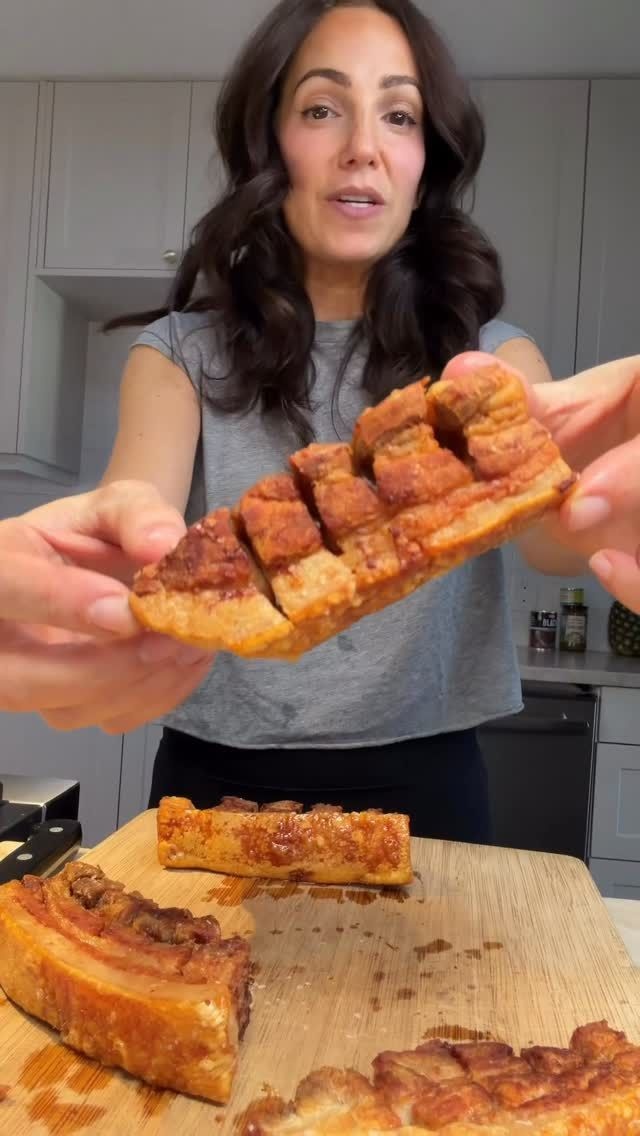
Dust off that air fryer because it’s time to get crispy.
Ingredients
- 1 piece skin on pork belly, about 2-3lb
- 1 kosher salt
- Hardcore Carnivore chili lime seasoning
Directions
- Cut the pork into pieces small enough to fit in your air fryer basket
- Make a foil boat/pouch for each one, protecting the meat but leaving the skin exposed.
- Place a thick coating of salt on the skin, covering it completely.
- Air fry for 30 min at 375f.
- Remove the pork from the air fryer. Discard salt crust, brushing away any excess and get rid of the foil. Let it rest for 10 mins to get rid of some steam and slice into hedgehogs. DO NOT let the skin sit in any moisture.
- Return the strips to the air fryer, skin side up. Cook for 20 minutes at 390f.
- Give them one final blast at 400f for 5-10 minutes.
- Season generously with the chili lime and enjoy.
Recipe from: instagram.com, saved in Lucy's cookbook.
Andes Peppermint Crunch Chunkies
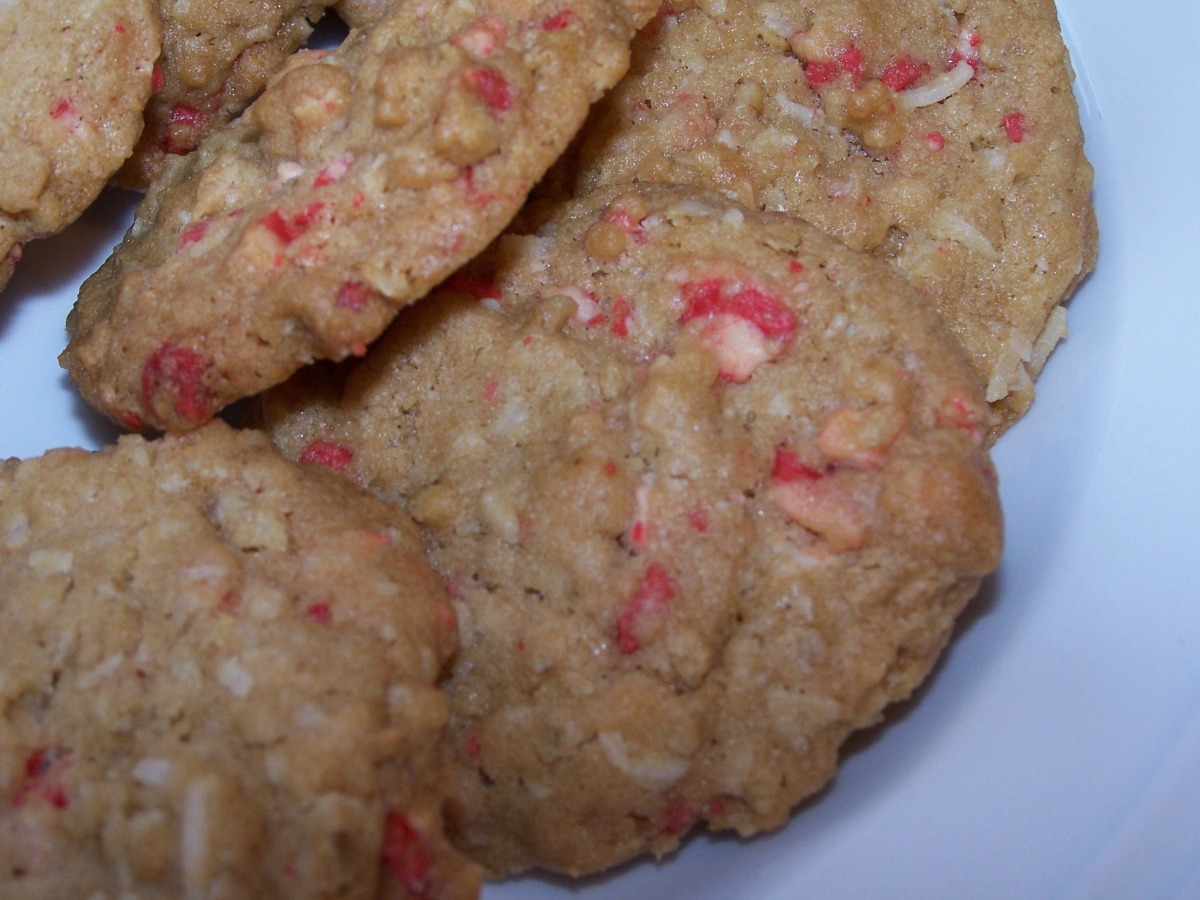
I got this recipe from a bag of Andes new peppermint crunch baking chips. The flavor is fabulous, but for some reason, when I baked them, they wouldn't bake through and I had to scrape them off the cookie sheets. They ended up being tasty, slightly chewy blobs... Perhaps someone will be brave enough to try this or to help me figure out how to fix the recipe?
Ingredients
- 1 cup unsalted butter, softened
- 1 cup dark brown sugar, packed
- 1 1⁄3 cup granulated sugar
- 1 large egg
- 2 teaspoons vanilla extract
- 1 1⁄2 teaspoon baking soda
- 1 1⁄2 teaspoon salt
- 1 3⁄4 cups flour
- 1 cup old fashioned oats
- 1 cup sweetened flaked coconut
- 1 1⁄2 cups Andes mint baking chips
- 1 1⁄4 cups coarsely chopped pecans, optional
Directions
- Preheat oven to 300 degrees F. Using an electric mixer, cream the butter, brown sugar, and granulated sugar until fluffy (about 3 minutes). Beat in egg and vanilla extract.
- On low speed, add baking soda and salt, and then flour. Mix completely. Stir in oats, coconut, pecans, and Andes baking chips.
- Measure out 2 tablespoons for large or 1 tablespoons for small cookies. Place on lightly greased cookie sheet two inches apart. Press lightly with a fork so they are about 1/4 thick (like peanut butter cookies). Sprinkle some of the remaining chips (from the 10 oz. bag) on top of each cookie.
- Bake for 20 minutes for large cookies or 12-15 minutes for small. Do not overbake.
Nutrition (per serving)
Calories: 73.1 · Fat: 3.8 · Saturated fat: 2.5 · Carbs: 9.2 · Sugar: 5.4 · Fiber: 0.3 · Protein: 0.7 · Sodium: 36.7 · Cholesterol: 11.2
Recipe from: food.com, saved in Lucy's cookbook.
Apple Crisp
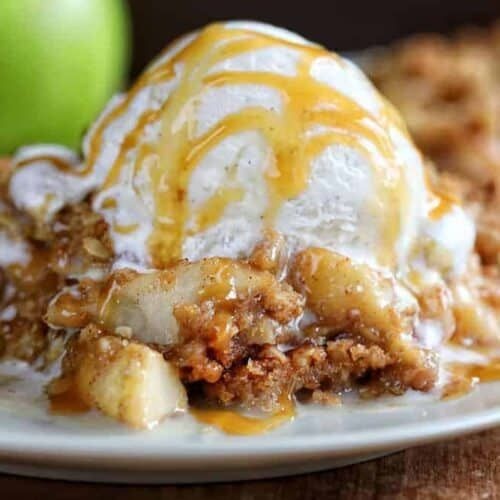
Once you try this recipe you will never want another! Perfection in every bite!
Ingredients
- Apple mixture:
- 10 medium Granny Smith apples, peeled, cored, and sliced, about 10 cups
- 1 cup light brown sugar, packed, 200 g
- 1 tablespoon all-purpose flour
- 1 teaspoon ground cinnamon
- Crisp mixture:
- 2 cups quick oats, 180 g
- 2 cups all-purpose flour, 250 g
- 2 cups light brown sugar, packed, 400 g
- 2 teaspoons ground cinnamon
- 1 cup Challenge® butter, cold, cubed, 2 sticks / 227 g
Directions
- Preheat oven. prepare baking dish.:
- Preheat oven to 375°F. Prepare a 9x13-inch baking dish with nonstick cooking spray or coating with butter.
- Cover apples with brown sugar, flour, and cinnamon:
- Place sliced apples in a bowl. Add brown sugar, flour, and cinnamon. Stir gently and make sure every piece of apple is covered in the sugar mixture. Set aside.
- Make crisp. combine all ingredients except butter.:
- In a medium bowl, combine the oats, flour, brown sugar, and cinnamon.
- Add cubed butter.:
- Add the cubed butter. Using your hands or a fork, mix the butter into the flour mixture until the butter pieces are pea-sized or smaller.
- Layer crisp, apples, and more crisp on top. bake.:
- Spread 3 cups of the crisp over the bottom of your prepared pan and press flat. Pour the apple mixture over top and press down with a rubber spatula. Pour the remaining crisp mixture over the tops of the apples.
- Bake, uncovered for 35-45 minutes. The apple crisp is done when the fruit is bubbling and the top is golden brown.
- Serve warm.
Notes
Baking the Oat Mixture
If you bake at 375°F for 35 minutes, the bottom oat mixture will be slightly caramelized and gooey while the top will be perfect crispy deliciousness.
If you bake at 375°F for 45 minutes, the bottom oat mixture will be crispy throughout. The top will be darker, but if you prefer a less dark crispy top you can add a foil tent to the crisp after 35 minutes.
Nutrition (per serving)
Serving Size: 12 · Calories: 422
Recipe from: iambaker.net, saved in Lucy's cookbook.
Arsenio’s Hot Honey Cornflake Chicken

Crispy. Sweet. Spicy. Everything you want in a bite.
Ingredients
- Marinade:
- ⅓ cup pickle juice
- ¼ cup milk
- ½ tsp salt
- ½ tsp black pepper
- ½ tsp paprika
- ½ tsp onion powder
- ½ tsp garlic powder
- ¼ tsp chili flakes
- Dredge:
- ⅓ cup all-purpose flour
- 2 eggs
- 1 Crushed Kellogg’s Corn Flakes
- Hot honey sauce:
- ½ cup honey
- ¼ cup Frank’s RedHot
- ½ tsp chili flakes
Directions
- Combine chicken breast with pickle juice, chili flakes, salt, pepper, garlic powder, onion powder, and paprika for the marinade.
- Prepare the dredge using flour, eggs, and crushed cornflakes.
- Coat the chicken in the egg mixture and cornflakes.
- Prepare the sauce by combining honey, Frank's RedHot, and chili flakes.
- Cook the chicken.
- Toss the cooked chicken in the hot honey sauce.
Recipe from: instagram.com, saved in Lucy's cookbook.
Bacon Cheddar Crackers
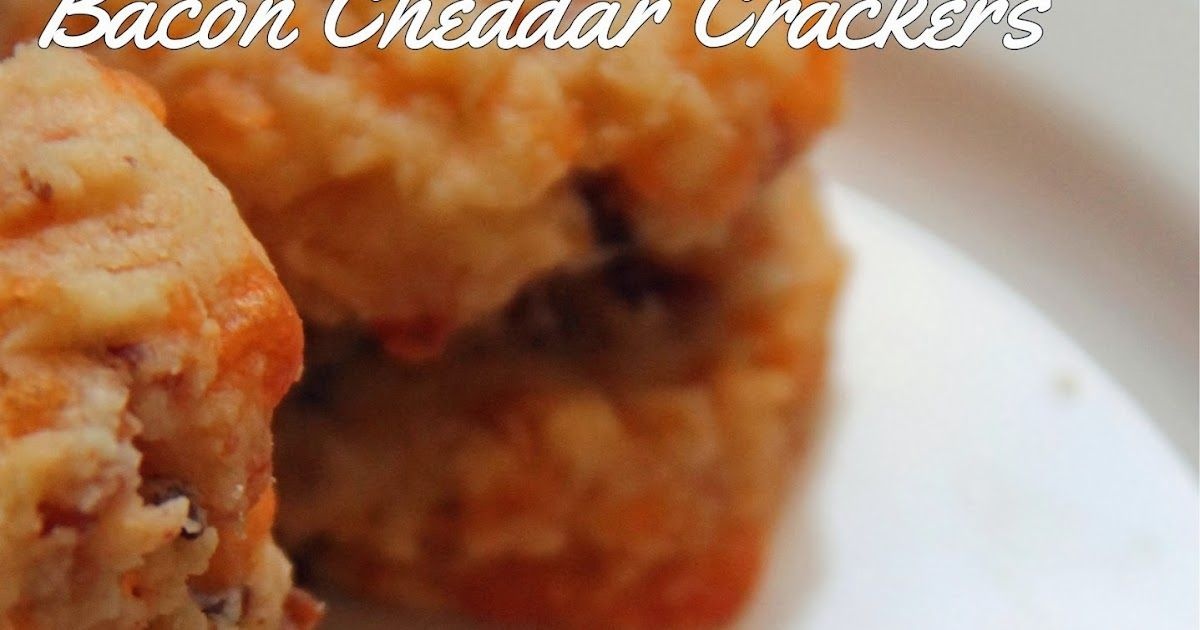
Having a party this season? Christmas, New Year's, blah-de-blah-de-blah? Well, I think we all know that every great party needs a meat and cheese and cracker tray. Why not fancy it up a little this year and make your own crackers? It is super simple and they taste sooooooooooo good. Little bites of crispy, cheesey, bacony, spicy, crackerness. Crackerness? Yes. It's a word now.
Ingredients
- 2 cups flour
- 1 tsp baking powder
- ½ tsp Maple Bacon Sea Salt, optional - available from Epicure Selections
- ½ tsp cayenne pepper
- 1 cup butter, cold
- 2 cups shredded, aged cheddar cheese
- 10 strips bacon, cooked, crumbled
- ¼ cup milk
Directions
- Preheat oven to 375. Line a cookie sheet with parchment paper. Set aside.
- In a large bowl, combine flour, baking powder, Maple Bacon sea salt (optional), cayenne pepper.
- Using 2 knives or a pastry cutter, cut in butter until mixture resembles coarse crumbs. Stir in cheese and bacon.
- Mix in milk to form dough.
- Using a small cookie scoop, place balls of dough about an inch apart. Using the bottom of a glass, dipped in flour, OR the tines of a fork - squish the ball so it is flat.
- It should be fairly thin but not too thin.
- Bake at 375 for about 16 minutes. I baked for 8 minutes, rotated cookie sheet, and then another 8 minutes. The edges and top will be a little bit brown. Remove from oven and let cool on wire rack.
Notes
This recipe made 60 crackers with me using the small cookie scoop (about 1 to 1 1/2 Tbsp of dough). You can half the recipe if you want but, trust me, you will want to make lots of these. They will disappear quickly. You can also add more or less cayenne pepper to suit your tastes. As written above I found them spicy (I'm a wimp) but Sue and the rest of the family thought they were "just right". Now you can go and impress your guests and have them think you slaved over a hot stove all day making them tasty snacks when really, these only take about 30 to 45 minutes to whip up. Oh, yeah, you can save even more time by using this tip - instead of using a cookie scoop you can roll the dough into 2 logs, chill for a bit to firm up, and then simply slice the crackers about 1/4 inch thick.
Recipe from: joandsue.blogspot.com, saved in Lucy's cookbook.
Balkan Feta-Cream Cheese Pie (Burek sa Sirom)
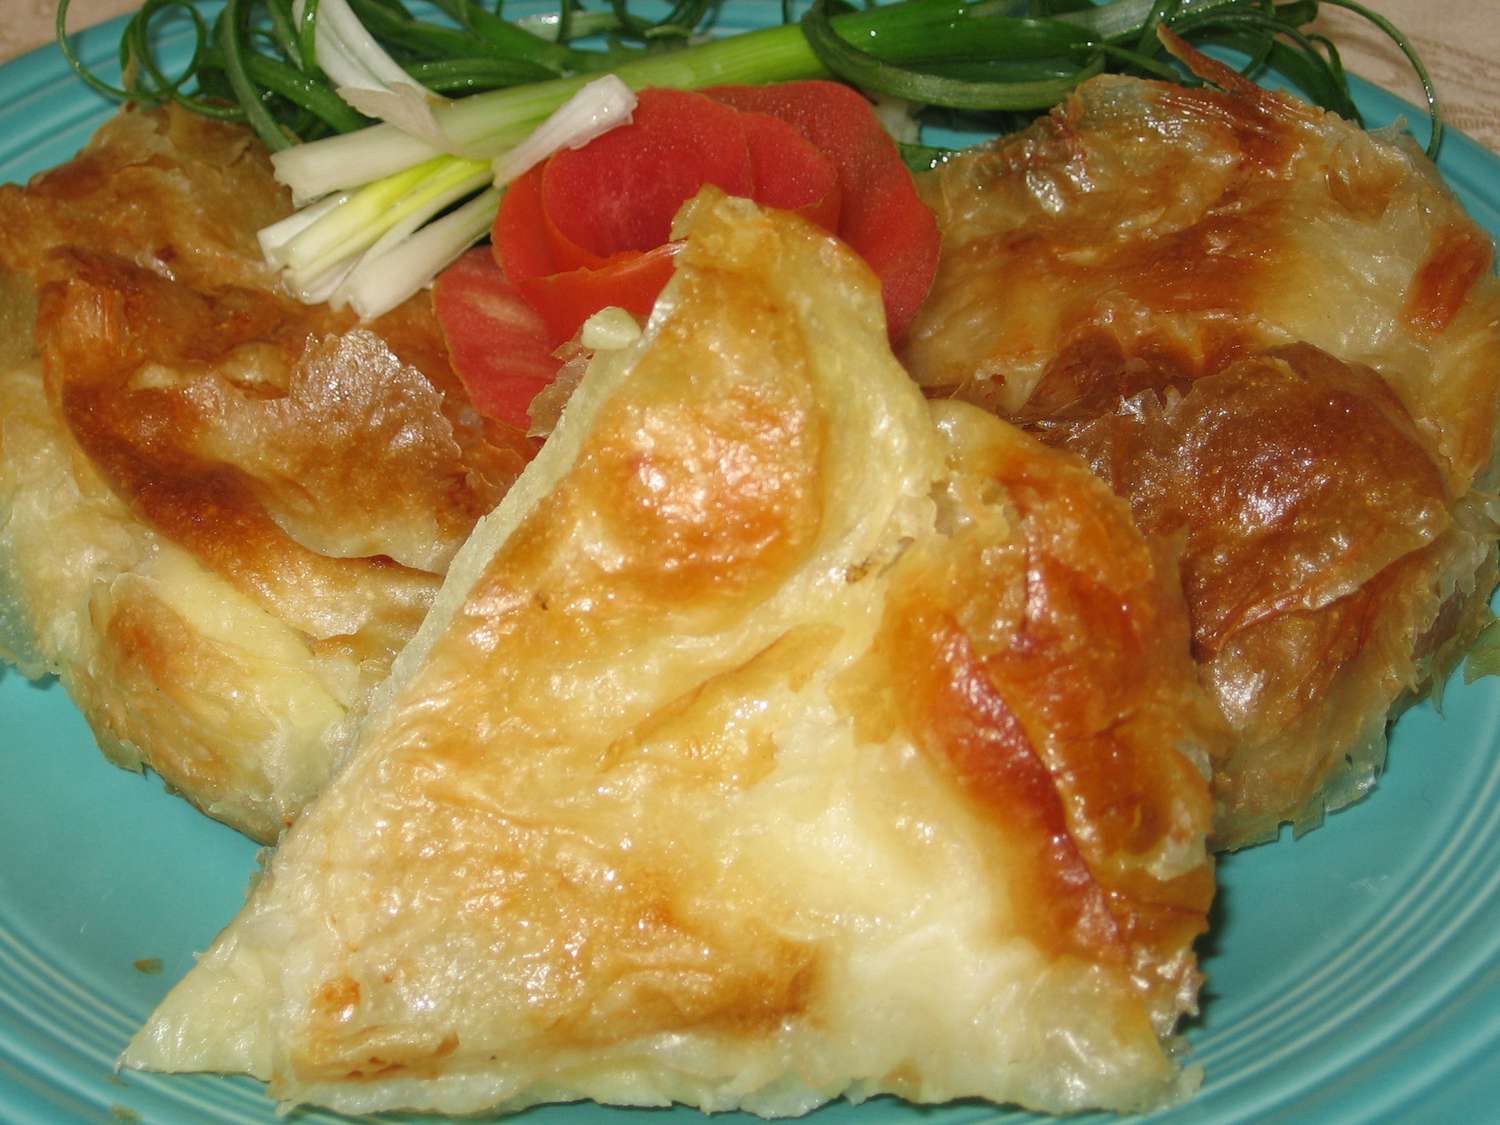
Burek sa sirom is a Balkan savory pie made with flaky filo (also spelled "phyllo") dough and, in this case, a combination of feta and cream cheeses. It is popular among Bulgarians, Bosnians, Serbians, Croats, Turks and, of course, there are the famous triangle-shaped Greek spanakopitas. There are myriad versions of burek some with cheese filling and some with meat filling. They can be round (as this one is) or coiled into horseshoe shapes or cigar shapes as well as those baked in a 13x9-inch pan. A slice of burek goes great with a glass of cold kefir especially, some say, if you have a hangover.
Ingredients
- 1 pound feta cheese, crumbled
- 8 ounces cream cheese, softened
- 2 large eggs, at room temperature, beaten
- 4 tablespoons chopped fresh parsley
- 2 tablespoons chopped fresh dill
- 1 package filo dough, thawed, 1-pound
- 4 ounces unsalted butter, melted, 1/2 cup
- ½ cup olive oil
Directions
- Gather the ingredients.
- In a large bowl, mix together feta cheese and cream cheese until light and fluffy. Add eggs, parsley, and dill, mixing well. Set aside.
- Separate filo dough into two piles of 24 sheets. Cut filo dough sheets in half. You should have two piles of 48 leaves. Cover with parchment paper followed by a damp towel or plastic wrap so they don't dry out.
- Heat oven to 375 F. In a small bowl, mix together melted butter and olive oil. Using a pastry brush, butter 6 (8-inch) round shallow pans.
- Lay down 2 sheets of filo dough and brush with butter-oil mixture. Repeat with 2 more sheets of filo dough and butter-oil mixture. Spread 1/6 of the cheese mixture evenly on top and to the edges.
- Lay down 2 sheets of filo dough on top of the cheese mixture and brush with butter-oil mixture. Repeat with 2 more sheets. Tuck edges of filo down sides of pan to create a rounded edge. Brush generously with butter-oil mixture.
- Repeat for 5 remaining pies. Each pie will use 4 sheets on the bottom and 4 sheets on the top for a total of 8 sheets each.
- Bake 20 to 30 minutes or until golden brown.
- Serve warm or at room temperature.
Notes
Bureks can be assembled and frozen unbaked. When ready to serve, bake directly from the freezer, increasing baking time by at least 15 minutes.
Nutrition (per serving)
Serving Size: 1 · Calories: 877 · Fat: 69 · Saturated fat: 33 · Carbs: 45 · Sugar: 5 · Fiber: 2 · Protein: 21 · Sodium: 1205 · Cholesterol: 208
Recipe from: thespruceeats.com, saved in Lucy's cookbook.
Banana Bread
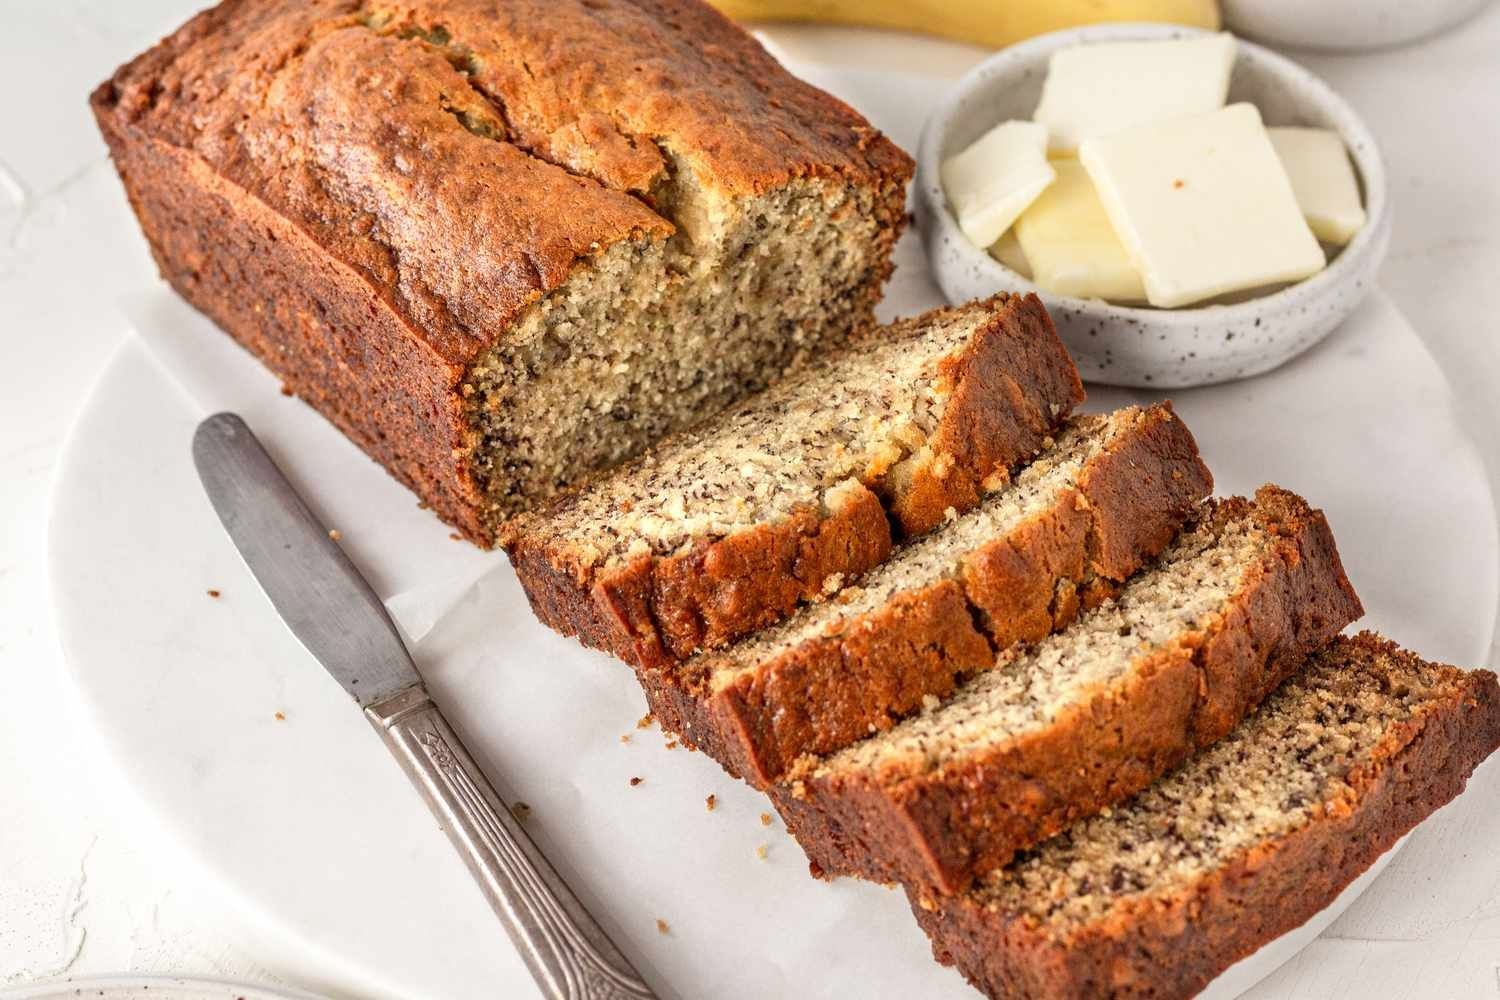
Put those ripe bananas to use in this moist, delicious banana bread and you'll learn why it's the most popular recipe on Simply Recipes.
Ingredients
- 3 medium very ripe bananas, 2-3, peeled, 7" to 7-7/8" long, about 1 1/4 to 1 1/2 cups mashed
- ⅓ cup butter, unsalted or salted, melted, 76g
- ½ teaspoon baking soda, not baking powder
- 1 pinch salt
- ¾ cup sugar, 150g, 1/2 cup if you would like it less sweet, 1 cup if more sweet
- 1 large egg, beaten
- 1 teaspoon vanilla extract
- 1 ½ cups all-purpose flour, 205g
Directions
- Preheat the oven to 350°f (175°c):
- Butter an 8x4-inch loaf pan.
- Mash the bananas and add the butter:
- In a mixing bowl, mash the ripe bananas with a fork until completely smooth. Stir the melted butter into the mashed bananas.
- Mix in the remaining ingredients:
- Mix in the baking soda and salt. Stir in the sugar, beaten egg, and vanilla extract. Mix in the flour.
- Bake the bread:
- Pour the batter into your prepared loaf pan.
- Bake for 55 to 65 minutes at 350°F (175°C), or until a toothpick or wooden skewer inserted into the center comes out clean. A few dry crumbs are okay; streaks of wet batter are not. If the outside of the loaf is browned but the center is still wet, loosely tent the loaf with foil and continue baking until the loaf is fully baked.
- Cool and serve:
- Remove from oven and let cool in the pan for a few minutes. Then remove the banana bread from the pan and let cool completely before serving. Slice and serve. (A bread knife helps to make slices that aren't crumbly.)
- Wrapped well, the banana bread will keep at room temperature for 4 days. For longer storage, refrigerate the loaf up to 5 days, or freeze it.
Notes
No need for a mixer for this recipe! Clean-up is easy, too. If you want, you can mix everything in one bowl. This recipe calls for an 8x4-inch loaf pan. If you are baking in an 8 1/2x4 1/2-inch pan, bake for 47 to 57 minutes. If baking in a 9x5-inch pan, bake for 45 to 55 minutes. Note that the larger pan size will produce a flatter loaf. The best bananas to use for banana bread are those that are overripe. The yellow peels should be at least half browned, and the bananas inside squishy and browning.
Nutrition (per serving)
Serving Size: 1 · Calories: 220 · Fat: 7 · Saturated fat: 4 · Carbs: 37 · Sugar: 19 · Fiber: 1 · Protein: 3 · Sodium: 85 · Cholesterol: 35
Recipe from: simplyrecipes.com, saved in Lucy's cookbook.
Banana Bread Pudding Cake
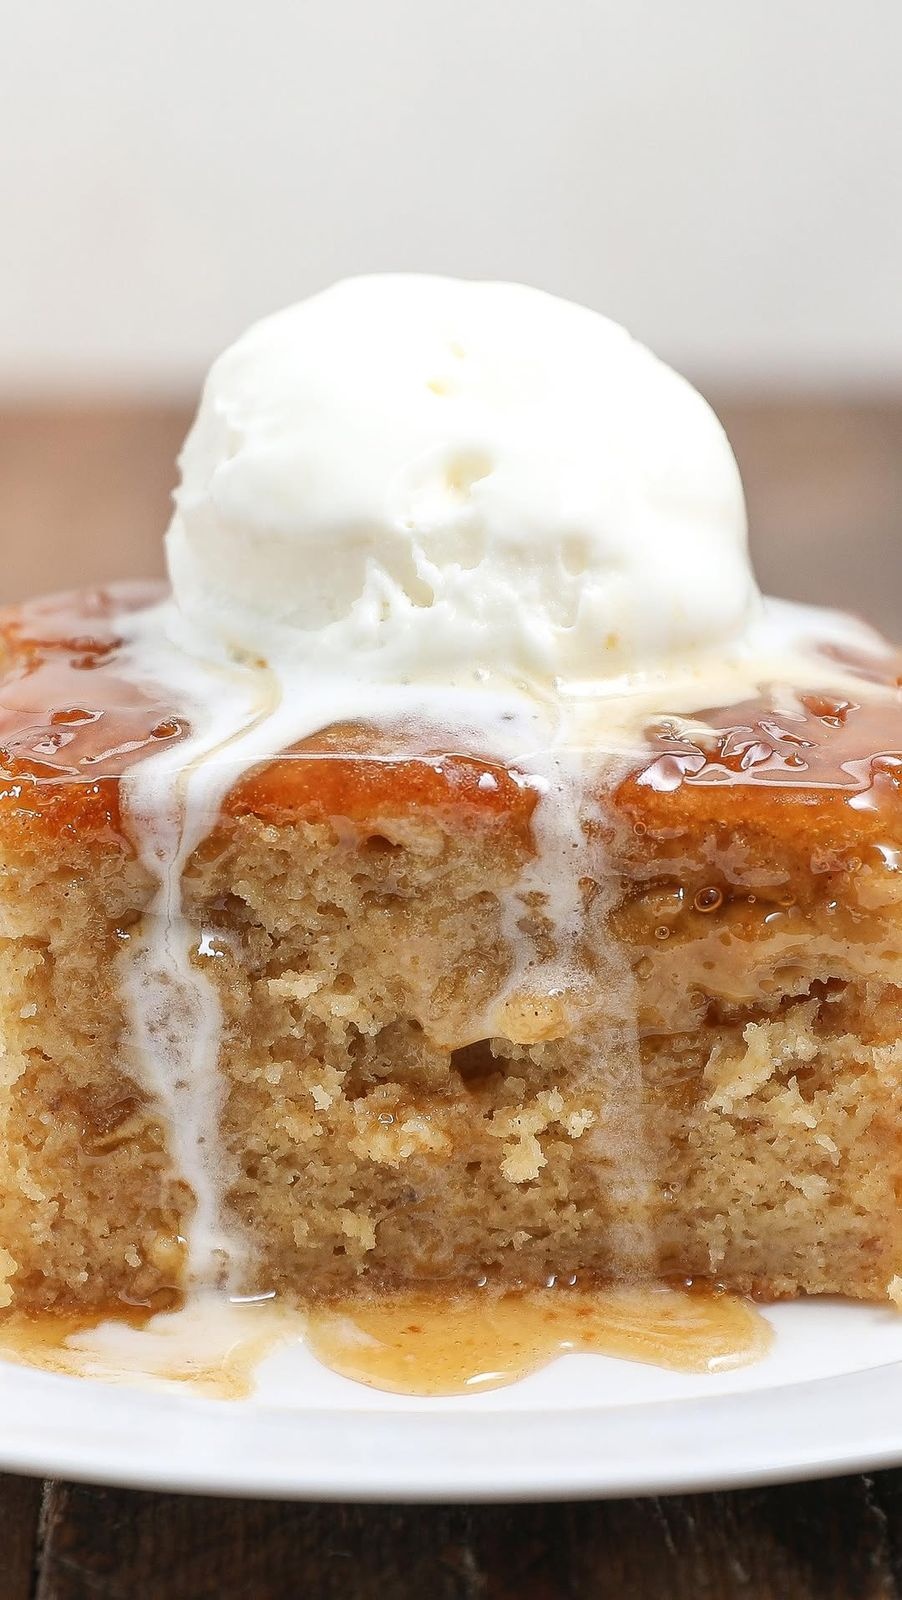
You guys are incredible!!! I’m still blown away by hitting 500k🍾🎉🥳🤯 Celebrating with one of my fave cakes!
Ingredients
- 2 cups 1.1 gluten free flour or all purpose flour
- 2 tsp baking powder
- ¼ tsp baking soda
- ½ tsp kosher salt
- 1 tsp ground cinnamon
- ⅓ cup granulated sugar
- ⅓ cup brown sugar
- 1 cup of mashed bananas, approx 2
- ⅓ cup maple syrup
- 2 tsp vanilla extract
- 3 eggs
- ¾ cup buttermilk
- 1 Toffee Sauce
- 8 tbsp butter
- ¾ cup brown sugar, packed
- ¾ cup heavy cream
- 1 tsp vanilla extraction
Directions
- Toffee sauce:
- Make the toffee sauce while the cake is baking. Add the butter and sugar to a medium stock pot over medium/low heat. Mix well and once the sugar and butter and mixed together well, about 10 minutes.
- Mix in the heavy cream and vanilla. Cook for an additional 5 minutes. Should note boil, if it starts to boil reduce heat. Should be silky smooth. Remove, pour into a glass container to cool while the cake bakes.
- Preheat the oven to 350 degrees. This cake will fit a 9x9x3” deep baking dish or a 9x11x3 in deep baking dish. (NOTE: you can use a larger baking dish, this will affect the bake time, always check cake doneness with toothpick) Spray the dish with nonstick baking spray.
- Mash the bananas. Add both sugars and the butter to a mixing bowl and mix for 3 minutes. Should be light and a little fluffy.
- Mix in the eggs, vanilla, buttermilk, maple syrup and bananas.
- In a separate bowl add all of the dry ingredients and mix well. Add the dry to the wet ingredients and mix until well incorporated.
- Pour into the baking dish and bake for 45-55 minutes. When you insert a toothpick it should come out clean. The cake will not jiggle. This is a super moist, more of a dense cake. Remove and allow to cool.
- Poke holes using a toothpick all over the top of the cake. Pour the toffee sauce on top. Let it soak in for at least 1 hr. Enjoy!
Notes
you can use a
Recipe from: instagram.com, saved in Lucy's cookbook.
banana cake
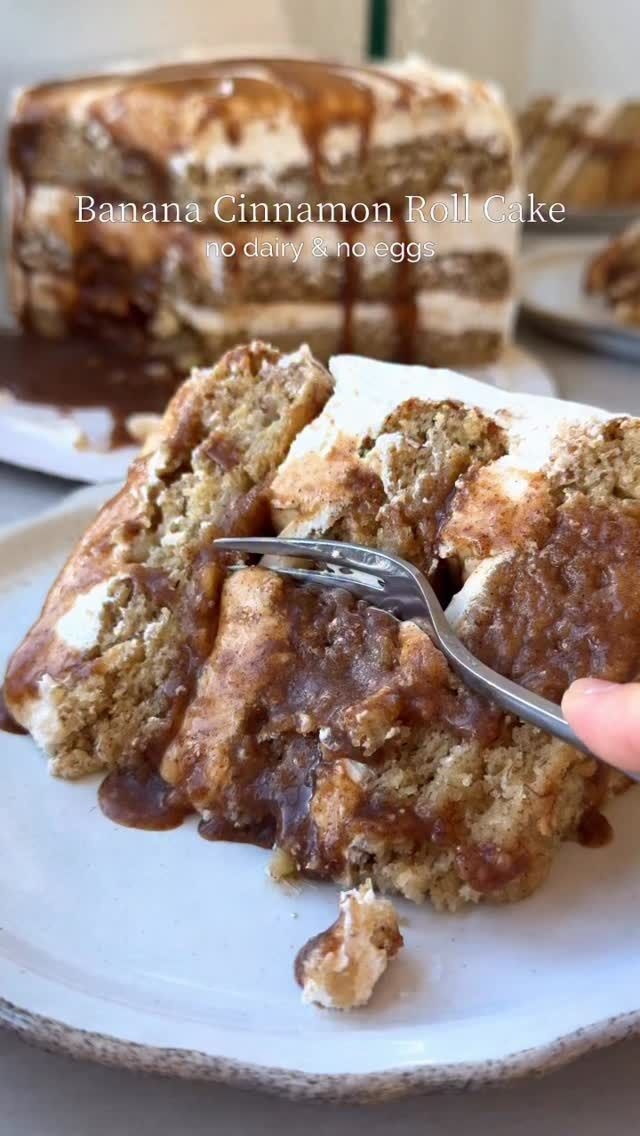
Ingredients
- 330 g cake flour, sifted, 2 ¾ cups
- 8 g cornstarch, 1 tbsp
- 10 g baking powder, 2 tsp
- 6 g baking soda, 1 tsp
- ¾ tsp fine sea salt
- 1 tsp ground cinnamon
- ¼ tsp freshly grated nutmeg
- ⅛ tsp ground cardamom
- 360 g ripe banana purée, 1 ½ cups, 3 large bananas, blended smooth
- 240 g non-dairy milk, room temp, 1 cup
- 15 g apple cider vinegar, 1 tbsp
- 160 g plain non-dairy yogurt, room temp, ⅔ cup
- 200 g organic cane sugar, 1 cup
- 100 g light brown sugar, ½ cup
- 120 g neutral oil, ½ cup
- 2 tsp vanilla bean powder
- Cinnamon roll filling:
- 113 g non-dairy butter, ½ cup
- 200 g brown sugar, 1 cup
- 1 tsp ground cinnamon
- ½ tsp fine sea salt
- 60 g non-dairy heavy cream, ¼ cup
- 1 tsp vanilla bean paste
- 1 1–3 tbsp non-dairy milk
- Cream cheese frosting:
- 450 g non-dairy cream cheese, cold, 2 cups
- 340 g non-dairy butter, cool but pliable, 1 ½ cups
- 720 g powdered sugar, sifted, 6 cups
- 1 tsp vanilla bean powder
- 1 1.5–3/4 tsp fine sea salt
- 1 2–3 tbsp non-dairy milk
Directions
- Prep:
- Heat oven to 335°F. Grease and line three 8-inch pans.
- Curdle:
- Stir milk + vinegar; rest 5 minutes.
- Wet:
- Whisk banana, yogurt, oil, sugars, vanilla. Stir in milk.
- Dry:
- Whisk remaining dry ingredients.
- Combine:
- Fold dry into wet just until smooth.
- Bake:
- Divide evenly. Bake 28–32 minutes until set.
- Cool:
- Rest 15 minutes, then wrap warm and chill.
- Instructions:
- Melt butter.
- Stir in sugar + cinnamon; cook until glossy.
- Whisk in cream; simmer 1–2 minutes.
- Remove from heat; add salt + vanilla. Cool.
- Once cold, whisk in milk as needed until spreadable.
- Method:
- Beat butter + cream cheese smooth. Add sugar gradually. Mix in vanilla + salt. Add milk as needed. Whip until fluffy and pipeable.
- Assembly:
- Pipe thin dam on each layer.
- Spread thin frosting inside dam.
- Spoon ⅓ goo over each layer.
- Stack and chill briefly.
- Frost exterior.
- Optional:
- Drizzle or swirl goo on top.
Notes
Recipe pleaseeee
Recipe from: instagram.com, saved in Lucy's cookbook.
Banana Cake with Salted Caramel Cream Cheese Frosting
This cake is a 10/10 and would be perfect for Easter brunch (or any important event coming up). It’s easy to make since there’s no layering involved. You just need a 9×13 pan and a mixer.
Ingredients
- For the cake:
- 1 cup salted butter, browned, 2 sticks, or melted
- 1 cup granulated sugar
- 1 cup packed light brown sugar
- 4 large very ripe bananas, mashed, about 1.5 - 2 cups
- 3 large eggs, room temperature
- 1 tbsp vanilla bean paste or extract
- 1 cup buttermilk, room temperature
- 2 ½ cups all-purpose flour
- 1 tsp baking soda
- ¼ tsp salt
- 1 tsp ground cinnamon, optional
- For the frosting:
- 1 Make the Salted Caramel Sauce
- 1 cup granulated sugar
- 6 tbsp unsalted butter, room temperature
- ½ cup heavy cream, room temperature
- 1 tsp sea salt, plus more to taste
- 2 Whip the Frosting
- 8 oz full-fat cream cheese, softened, 1 block
- ½ cup unsalted butter, softened, 1 stick
- 1 3–4 cups powdered sugar, sifted
- ½ cup of your cooled Salted Caramel Sauce
- 1 tsp vanilla bean paste or extract
Directions
- For the cake:
- Preheat oven to 350°F (175°C). Grease a 9x13 inch pan.
- In a large bowl, mix melted/browned butter with sugars. Whisk in eggs one at a time, then add mashed bananas and vanilla.
- In a separate bowl, sift together flour, baking soda, salt, and cinnamon.
- Add the dry ingredients and buttermilk to the wet mixture, starting and ending with dry. Mix until just combined; do not over-mix.
- Pour into the pan. Bake for 35-40 minutes, or until a toothpick comes out clean. Let it cool completely before frosting.
- For the frosting:
- Heat sugar in a medium saucepan over medium heat, stirring constantly with a wooden spoon until it melts into a thick, amber-colored liquid.
- Carefully whisk in the butter until melted. Be cautious as the mixture will bubble up rapidly.
- Slowly pour in the heavy cream while whisking. Let it softly boil for 39 seconds, then remove from heat.
- Stir in the salt. Pour into a glass jar and let it cool completely at room temperature (or in the fridge) until thickened.
- In a large bowl, beat the softened butter and cream cheese together until very smooth and fluffy (about 2–3 minutes).
- Mix in ½ cup of your cooled caramel sauce and the vanilla until fully incorporated.
- Gradually add powdered sugar one cup at a time on low speed until you reach your desired spreading consistency.
- Increase the speed to medium-high and beat for 2 minutes until light and airy.
- After spreading the frosting over your cooled banana cake, use a spoon to drizzle any remaining caramel sauce over the top and swirl it in with a knife for a marbled look.
Recipe from: christinabassrossetti.substack.com, saved in Lucy's cookbook.
BBQ Cheeseburger Sliders
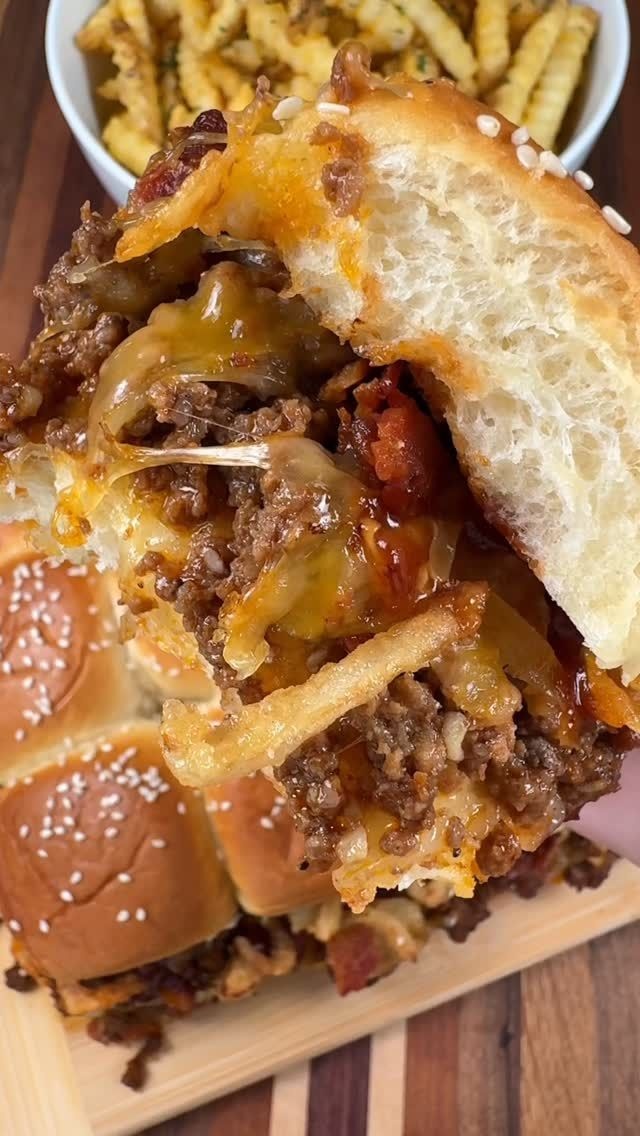
#sponsored BBQ Cheeseburger Sliders made with @kingshawaiian Original Sweet Rolls are an easy weeknight dinner the whole family will love!
Ingredients
- 12 count King’s Hawaiian Original Sweet Rolls
- 1 lb ground beef
- ½ tsp each of salt and pepper
- 1 tsp each of garlic powder, onion powder, and smoked paprika
- 1 tbsp minced garlic
- 2 tbsp BBQ sauce
- 1 Pepper jack cheese slices
- 1 Shredded colby jack cheese
- 1 Crispy fried onions
- 6 pieces of bacon, cooked and crumbled
- 2 tbsp melted butter
- 1 Sesame seeds
Directions
- Preheat your oven to 350 degrees F.
- Cook 1 lb of ground beef in a skillet over medium-high heat. Season with salt, pepper, garlic powder, onion powder, and smoked paprika. Once the ground beef is browned, drain any extra grease from the skillet. Add the minced garlic and BBQ sauce. Stir well.
- Slice King’s Hawaiian Original Sweet Rolls in half and put the bottom of the rolls in a greased baking dish or on a sheet pan.
- Add a layer of pepper jack cheese. Add the ground beef on top of the cheese. Top the ground beef with shredded colby jack cheese, some crumbled bacon, and crispy fried onions. Top with a little bit more BBQ sauce if desired!
- Put the tops of the slider rolls on and brush them with melted butter. Sprinkle sesame seeds on top. Bake at 350 degrees F for about 10-15 minutes. Enjoy!
Notes
This’ll feed 1
Recipe from: instagram.com, saved in Lucy's cookbook.
Berries & Cream Cottage Cheese Pancakes 🥞🍓
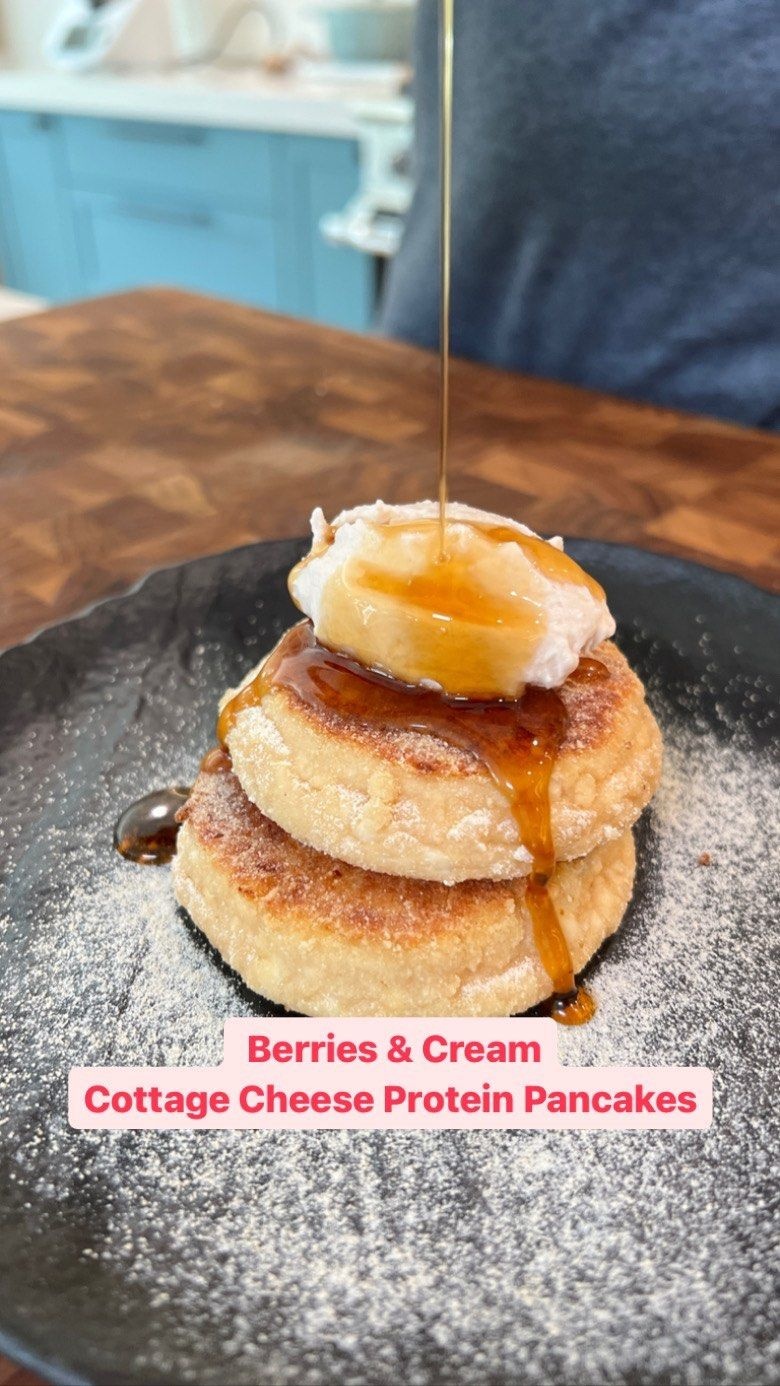
Our Berries & Cream Protein Smoothie is finally BACK IN STOCK! Head to www.ShopFlavCity.com and grab a bag so you can try this amazing protein-rich recipe!
Ingredients
- 2 cups cottage cheese
- 1 egg
- 1 scoop @shopflavcity Berries & Cream Protein Smoothie, 1/2 cup
- ¼ cup paleo flour + 2 tbsp for rolling out the pancakes
- 1 tsp vanilla bean ghee
- Powdered maple sugar, for dusting
- 1 Maple syrup
- Whipped cream quenelle:
- ¼ cup heavy cream
- ½ scoop Berries & Cream protein, 1/4 cup
Directions
- Add the cottage cheese to a cheese cloth, then strain out as much liquid as you can over your sink or a bowl. This is key in making sure the pancakes maintain their form and cook evenly.
- After straining out the liquid, empty the curds in a separate bowl, then mash the curds smaller with a fork. Add the egg, stir it in, then add the flour and @shopflavcity Protein Smoothie, and stir again to combine. If needed, use a potato masher to really incorporate it.
- Separate the dough into 4 equal portions and roll each out into a ball, then flattening it on the top and on the sides to create a hockey puck.
- Heat our @shopflavcity Ceramic Pan on medium/low heat and add some ghee. Place the pancakes on the pan and cook for a few minutes on each side until they are golden brown. Remember, low and slow is the key!
- Remove from the pan and set aside to cool for a few minutes.
- While the pancakes cool, make the whipped cream quenelle by beating the heavy cream and the @shopflavcity Berries & Cream protein til it’s nice and thick. Take two spoons and gently roll a spoonful of whipped cream back and forth from spoon to spoon until you get a nice oval shaped quenelle.
- Top the pancakes with a dusting of powdered maple sugar, the quenelle, and a dollop of maple syrup.
- Enjoy!
Notes
😍😍😍😍😍
Recipe from: instagram.com, saved in Lucy's cookbook.
Berry Acai Bowl
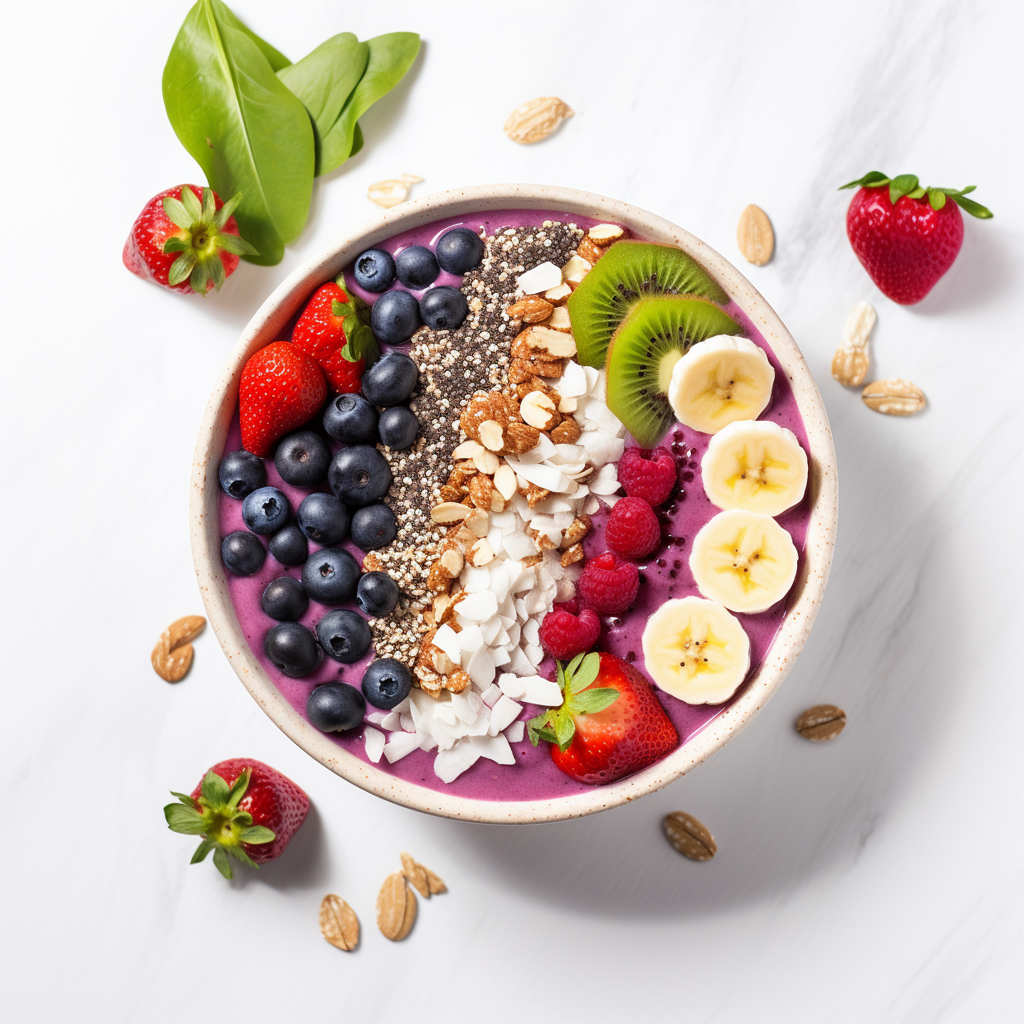
Perfect healthy breakfast for easy mornings. Acai bowls are essentially thick smoothie bowls loaded with toppings - yum! Thanks to their high antioxidant content, acai berries have many potential health benefits. They're loaded with powerful plant compounds that act as antioxidants and could have benefits for your brain, heart and overall health.
Ingredients
- Smoothie:
- 2 tsp acai powder
- 1 handful blueberries
- 1 medium banana
- 0.75 cup almond milk, or milk of your choice - adjust recipe as required
- Topping:
- 4 strawberries, sliced
- 1 sprinkle coconut flakes
- sprinkle chia seeds
- 1 medium banana, sliced
- 1 small handful raspberries
- 1 handful blueberries
- 0.5 kiwi, sliced
- 1 handful granola
Directions
- Put all the smoothie ingredients into a blender
- If the mixture is having trouble blending, add more almond milk or water
- Blend for 2-3 minutes or until the smoothie has no lumps. Pour the smoothie mixture into a bowl
- Top with desired ingredients
- Serve and enjoy!
Nutrition (per serving)
Servings: 1.00 · Calories: 511.65 kcal · Carbs: 102.84 g · Protein: 8.76 g · Total fat: 11.82 g · Saturated fat: 2.39 g · Unsaturated fat: 7.58 g · Trans fat: 0.03 g · Sugars: 53.61 g · Fiber: 16.26 g · Cholesterol: 0.00 mg · Sodium: 150.92 mg
Saved from Lucy's CookBook app, no website source listed for this one.
Best Blueberry Dump Cake
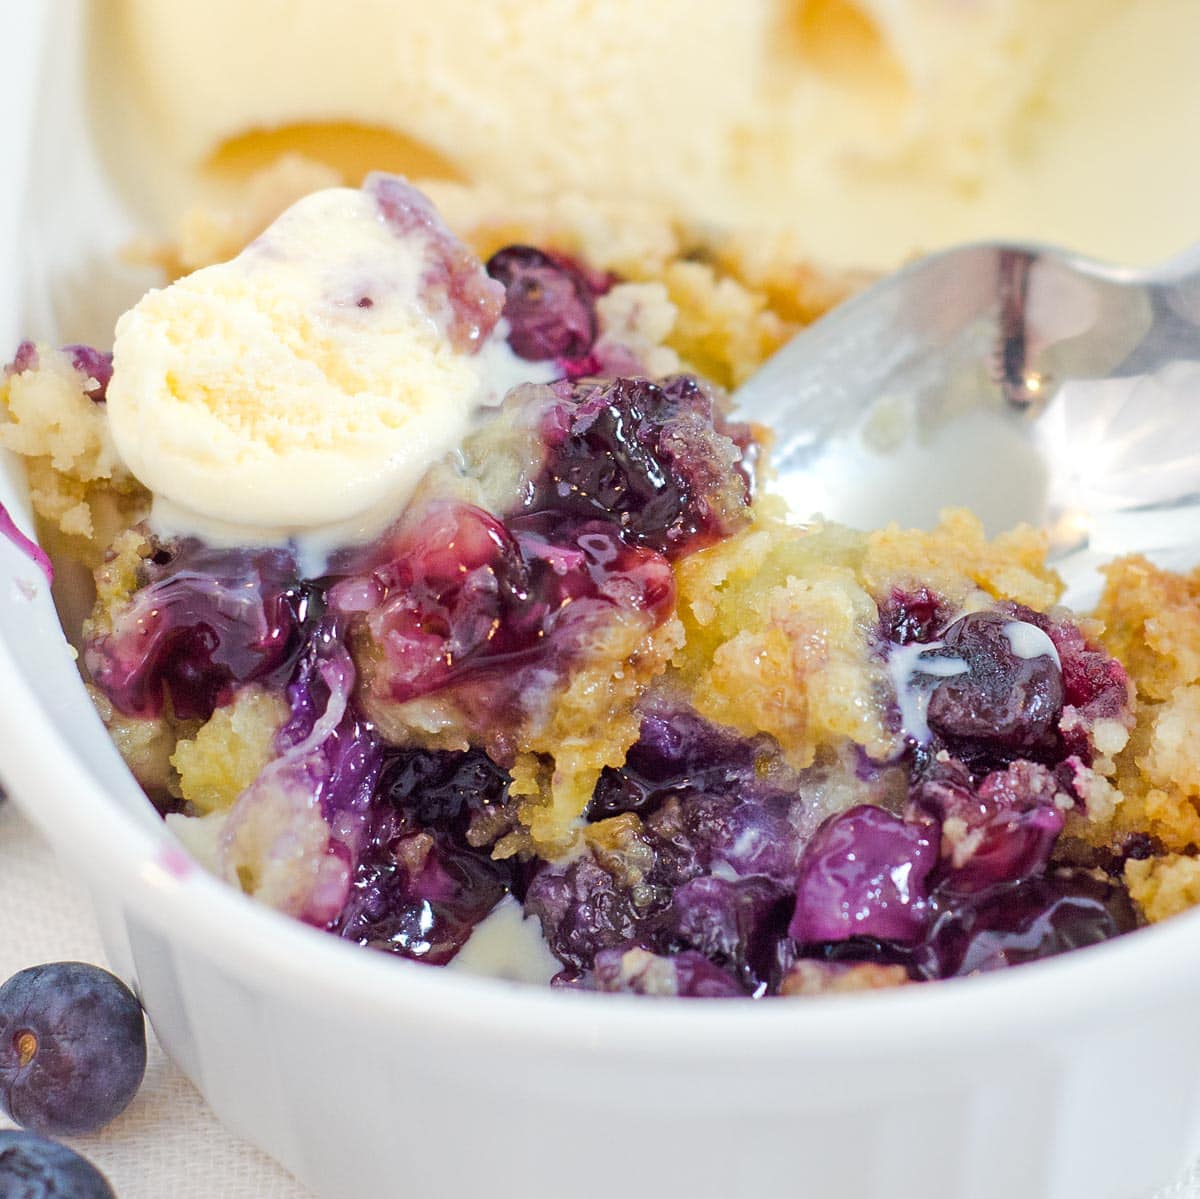
This delicious Blueberry Dump Cake Recipe is made with only 5 ingredients and is the most amazing buttery, decadent blueberry dessert ever! Sweet Blueberry pie filling topped with a crunchy buttery cake topping, severd with a scoop of vanilla ice cream. What’s not to love?
Ingredients
- 1 15.25 oz box of yellow cake mix
- 1 21 oz can of blueberry pie filling
- 1 large can of crushed pineapple, drained, 20 oz
- 1 cup fresh blueberries
- ½ cup shredded sweetened coconut, optional
- 1 ½ sticks of butter, use as much needed to cover the cake
Directions
- Preheat oven to 375.
- Spread the can of blueberry pie filling at the bottom of a 9.5 x 13 cake pan/pyrex dish (or similar size-but no bigger.)
- Spread crushed pineapple over pie filling and top with shredded coconut and 3/4 of the fresh blueberries.
- Evenly sprinkle the dry cake mix over the top of the fruit.
- Thinly slice the butter sticks and place the sliced butter pieces over the dry cake mix. (you can melt the butter and drizzle it too, but I have found the results are best by slicing the butter.)
- Sprinkle the rest of the fresh blueberries on top of the cake mix.
- Bake for 40 to 45 minutes or until the cake topping is golden brown.
Notes
Nutrition calculated on 12 servings, no ice cream.
Nutrition (per serving)
Serving Size: 1 · Calories: 368 · Fat: 12 · Carbs: 63 · Sugar: 44 · Fiber: 3 · Protein: 2
Recipe from: scatteredthoughtsofacraftymom.com, saved in Lucy's cookbook.
Best Chicken Piccata With Lemon Sauce

Chicken piccata with lemon sauce is exquisite and easy to prepare. Seasoned with parmesan and parsley, the chicken cooks up golden brown, then is drizzled with a light lemon sauce. The light and luscious lemon sauce really pops without being too acidic, it is simply divine.
Ingredients
- 8 boneless skinless chicken breast halves, 4 ounces each
- 3 teaspoons olive oil, divided
- 2 tablespoons butter
- ½ cup all-purpose flour
- ½ cup grated Parmesan cheese
- ½ cup egg substitute
- ½ teaspoon salt
- 2 tablespoons plus 1/4 cup dry white wine or chicken broth, divided
- ¼ cup minced fresh parsley
- ⅛ teaspoon hot pepper sauce
- 5 tablespoons lemon juice, divided
- 3 garlic cloves, minced
Directions
- Flatten chicken to 1/4-in. thickness. In a shallow dish, combine the egg substitute, 2 tablespoons wine, 2 tablespoons lemon juice, garlic, and hot pepper sauce. In an another shallow dish, combine the flour, Parmesan cheese, parsley, and salt. Coat chicken with flour mixture, dip in egg substitute mixture, then coat again with flour mixture.
- In a large nonstick skillet, brown four chicken breast halves in 1-1/2 teaspoons oil for 3-5 minutes on each side or until juices run clear. Remove and keep warm. Drain drippings. Repeat with remaining chicken and oil. Remove and keep warm.
- In the same pan, melt butter. Add the remaining wine and lemon juice. Bring to a boil. Boil, uncovered, until sauce is reduced by a fourth. Drizzle over chicken.
Recipe from: food.menuphd.com, saved in Lucy's cookbook.
Best Ever Beef Stew
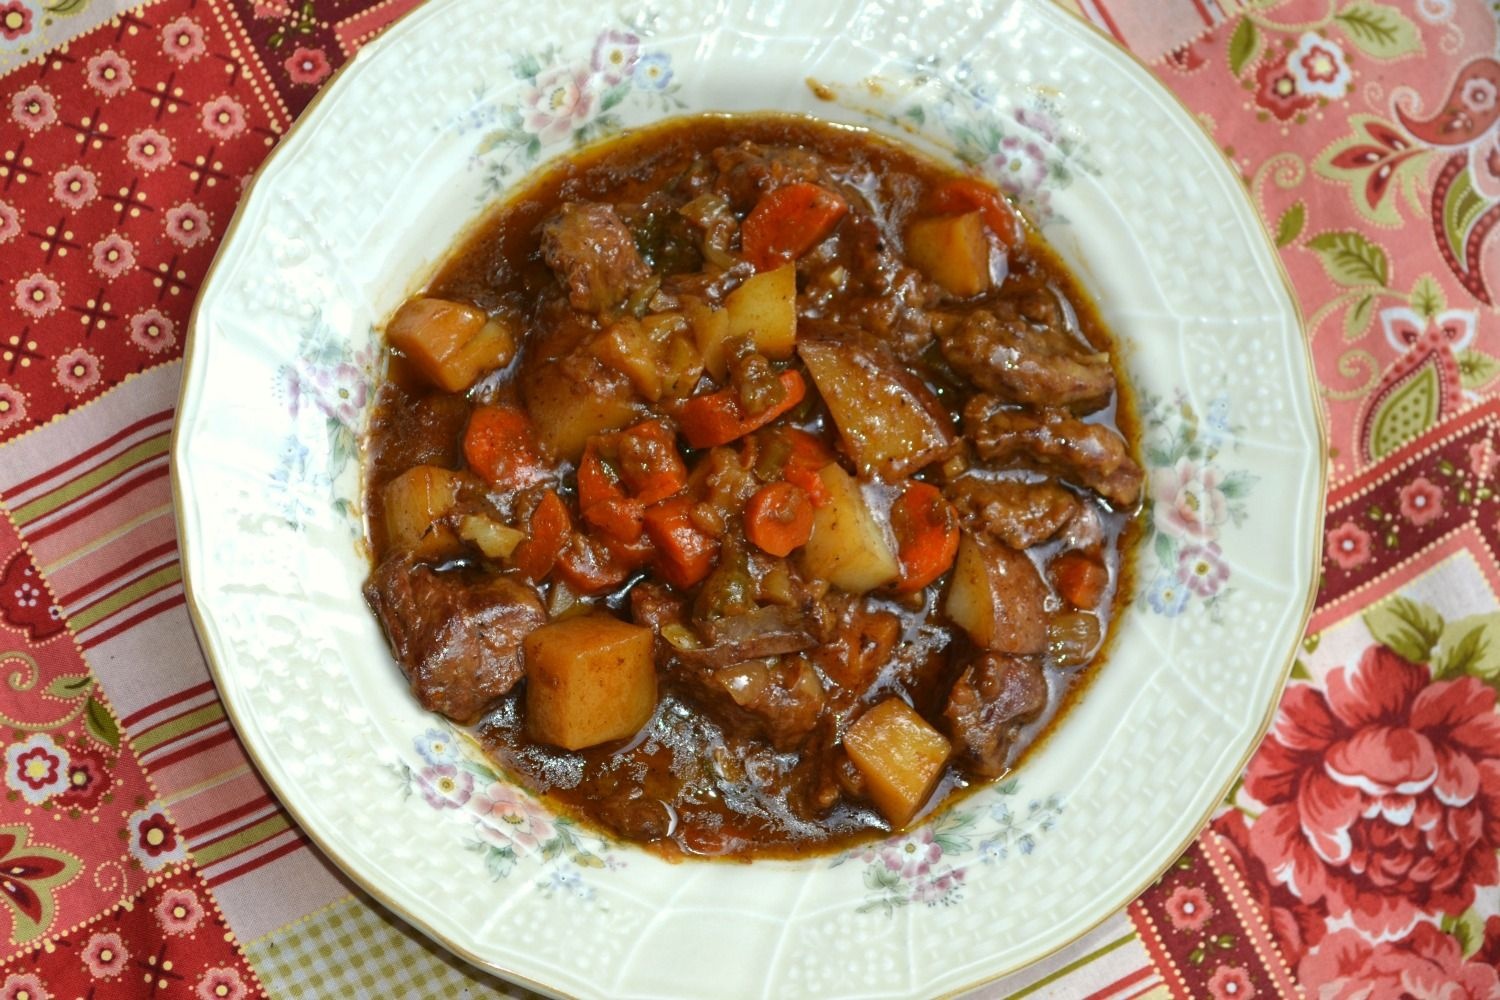
This Beef Stew is the #1 most popular recipe on my blog & my readers agree - it's the BEST EVER!
Ingredients
- 2 pounds beef stew meat
- ½ cup all purpose flour
- 1 tablespoon seasoning salt
- 2 tablespoons olive oil
- ½ teaspoon black pepper
- 1 large onion diced
- 2 bay leaves
- ¼ cup Worcestershire sauce
- 2 cups water
- 2 heaping teaspoons beef demi-glace or beef Swanson Flavor Boost or Better than Bouillon
- 4 medium to large red skinned potatoes washed & diced
- 3 large carrots peeled & sliced
- 1 stalk celery diced
Directions
- Shake the beef stew meat in a resealable plastic bag with the flour & seasoning salt until evenly coated. Heat the olive oil in a skillet; add the floured stew meat to the pan & brown on all sides. Remove using a slotted spoon or tongs & place into the bottom of a slow cooker. Season with pepper.
- Saute the diced onion in the same hot skillet for 2 minutes. Don't worry about cleaning it out in between - that's added flavor! Transfer the onions into the slow cooker as well. Pour the Worcestershire sauce, water, & beef demi glace (or Swanson Flavor Boost or Better than Bouillon) into the skillet and whisk until mixed, making sure you scrape up any browned bits in the bottom of the pan. Turn off the heat & set aside.
- Add the diced potatoes, carrots, celery, & bay leaves to the slow cooker. Now, pour the broth/Worcestershire mixture in the crockpot as well. Cover; cook on low for 8 hours. Remove the bay leaves before serving.
Recipe from: mrshappyhomemaker.com, saved in Lucy's cookbook.
Biko Recipe (Easy Filipino Sticky Rice Cake)
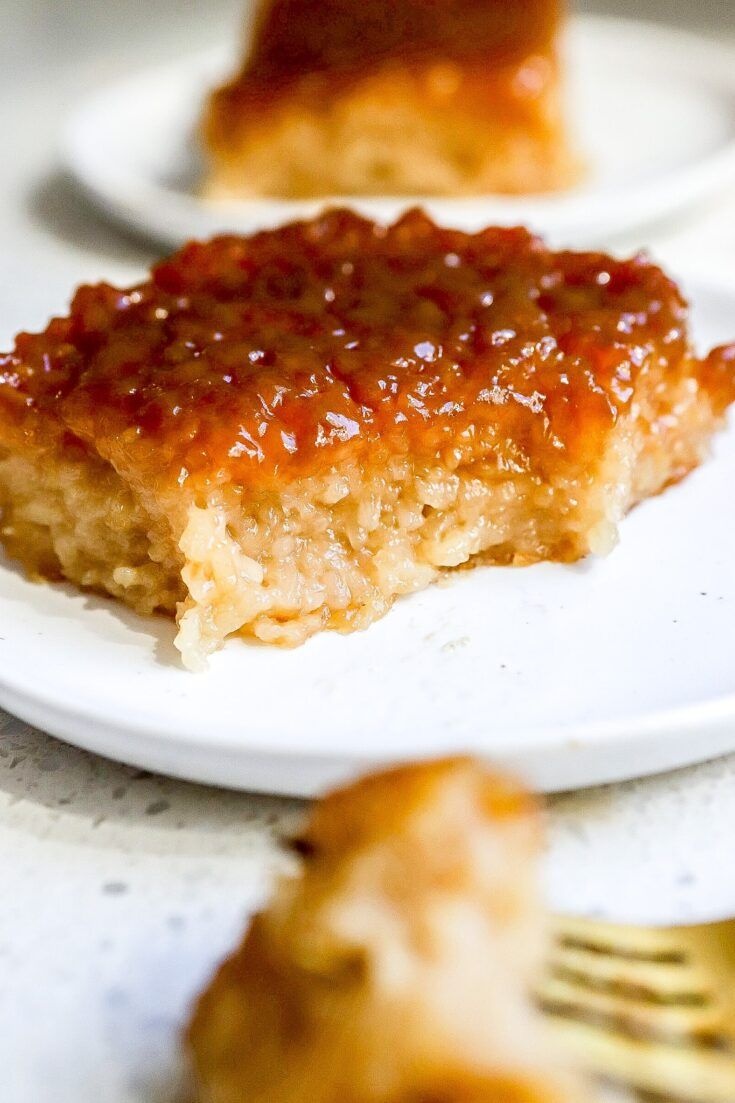
This easy Biko recipe makes a sweet and chewy Filipino rice cake with coconut milk and brown sugar. It’s rich, sticky, and topped with a caramelized glaze!
Ingredients
- 4 cups glutinous rice
- 5 cups full-fat coconut milk, divided
- 1 ½ cups water
- 2 ½ cups dark brown sugar, divided
- ½ tsp salt
Directions
- Prepping the rice:
- Start by soaking the glutinous rice in water overnight. This ensures a perfectly sticky texture for your Biko. After your rice has finished soaking, drain and rinse.
- Cooking the rice:
- Set aside 3/4 cup of the coconut milk. Add the remaining coconut milk and water to a large pot. Bring the liquid to a gentle boil, then add soaked rice. Reduce to medium heat, and let it simmer until the rice is cooked and has absorbed most of the liquid. This should take 6-8 minutes.
- Adding sweetness:
- Once the rice is cooked, it's time to add the sweetness! Reduce heat to medium-low, then stir in 1 1/2 cups of your brown sugar and salt until fully dissolved, infusing the rice with that irresistible caramel flavor. Cook for another 4-7 minutes, stirring constantly. Taste test to ensure the rice is cooked through. The rice mixture will be very thick and sticky.
- Letting it set:
- Preheat oven to 350 degrees F and transfer the sweetened cooked rice mixture to a greased 9x13" baking dish or pan, spreading it out evenly.
- Caramel topping:
- To a small sauce pot, combine the 3/4 cup coconut milk that was set aside with the remaining 1 cup brown sugar. Bring to a boil until mixture thickens slightly and sugar is fully dissolved. Remove from heat and allow to cool for 5 minutes. Pour over the rice mixture, then pop it in the oven and let it bake until the top is golden brown and slightly crispy. This will take about 60-65 minutes.
- Serve and enjoy:
- Once cooled, cut your Biko into squares or diamonds and serve it up to eager family and friends. Trust me, they won't be able to resist!
Nutrition (per serving)
Serving Size: 1 · Calories: 232 · Fat: 12 · Saturated fat: 11 · Trans fat: 0 · Unsaturated fat: 1 · Carbs: 31 · Sugar: 22 · Fiber: 0 · Protein: 2 · Sodium: 74 · Cholesterol: 0
Recipe from: basicswithbails.com, saved in Lucy's cookbook.
Birria grilled cheese
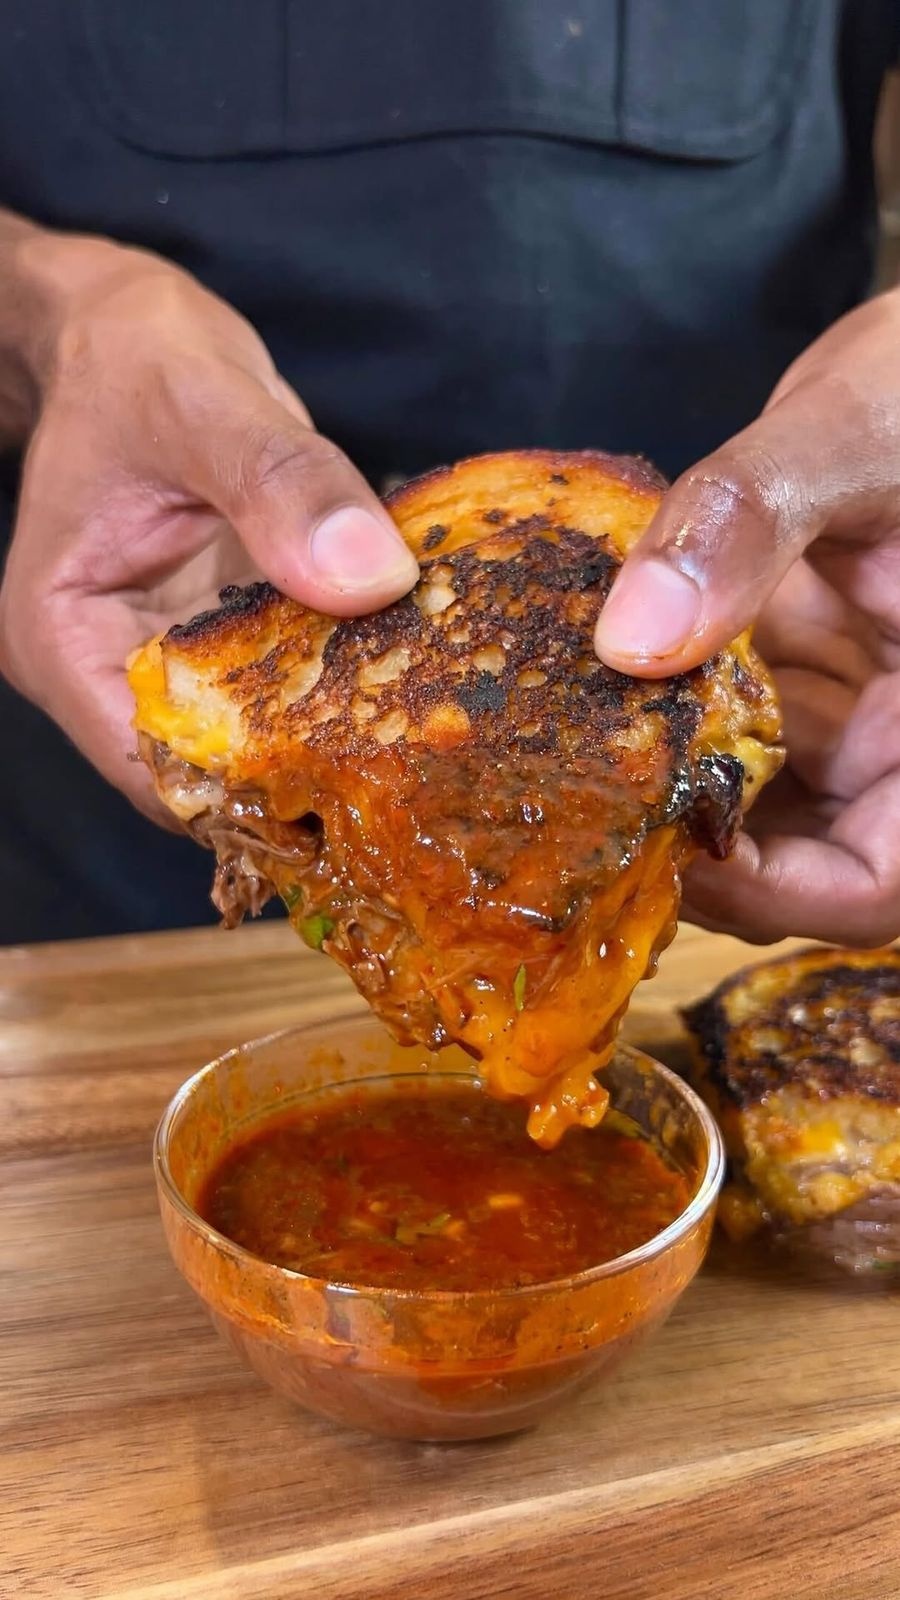
Birria grilled cheese by @brandongouveia is a fusion delight combining the rich savory flavors of Mexican birria with the comforting, gooey classic grilled cheese sandwich. Find the recipe below and linked in bio
Ingredients
- 3 pounds chuck roast
- 2 tablespoons olive oil
- 6 cloves garlic minced
- 4 Roma tomatoes, chopped
- 2 tablespoons canned chipotle peppers
- ½ large yellow onion, thinly sliced
- 10 dried guajillo peppers, seeds and stems removed
- 5 arbol chiles peppers
- 6 cups beef broth, plus more for braising if needed
- 5 bay leaves
- 2 tablespoons beef bouillon
- 3 tablespoons chili powder
- ½ tablespoon smoked paprika
- 2 teaspoons dried thyme
- 1 ½ tablespoons ground cumin
- 1 teaspoon peppercorns
- 1 tablespoon Mexican oregano
- 1 cinnamon stick
- 1 Sourdough bread loaf, sliced
- 1 Cheddar cheese, slices
- 1 Oaxaca cheese, shredded
- 3 tablespoons unsalted butter, for grilled cheese
- ½ a yellow onion, diced, for sandwich
- 1 Cilantro, roughly chopped
Directions
- Season the chuck roast generously with salt and pepper. Heat olive oil in a large Dutch oven over medium-high heat. Add the meat sear on all sides, until browned and a crust has formed. Remove beef and set aside.
- In the same pot, add garlic, tomatoes, chipotle peppers, and onions and cook until softened and fragrant, about 3-4 minutes.
- Add the seared beef back in, along with the guajillo and arbol peppers, beef broth, and al
- Next, add in your seared beef, chili peppers, beef broth, bay leaves, chili powder, smoked paprika, thyme, cumin, peppercorns, oregano and cinnamon stick. Stir.
- Cover and simmer on low heat for 2 hours, until meat is falling apart. Remove the meat and vegetables, leaving the broth in the pot. Blend vegetables, then stir back into the broth. Shred beef and add back into the broth.
- Melt butter on a griddle or skillet over medium heat. Add two slices of bread down. Place two slices of cheddar cheese and two slices of Oaxaca cheese on each slice of bread.
- Add shredded beef on the bread, followed by some of the sauce sauce, onions, and cilantro. Allow cheese to melt, and bread to get toasty, then fold up the sandwiches.
- Serve with more broth for dipping.
- Enjoy!
Notes
@derikstoneproductions014 😂😂😂
Recipe from: instagram.com, saved in Lucy's cookbook.
Bone Marrow Immune Lollipops

Ingredients
- 8 beef marrow bones or about 1 to 1.25 cups marrow, 6-8
- ½ to 3/4 cup wild blueberries fresh or frozen
- 2 teaspoons Manuka honey just enough to lightly sweeten, 1-2, skip this if your baby is not yet 1 year old
- Optional for toddlers only 1/8 teaspoon ginger or turmeric for the batch
Directions
- Roast marrow bones at 400°F for 15 to 20 minutes until soft and bubbling
- Scoop marrow into a saucepan and gently warm until melted
- Strain if desired for a smooth texture
- Optional step whip the marrow until light and creamy then gently warm again
- In a separate pan heat blueberries over low to medium heat for 5 to 8 minutes until they break down into a thick syrup
- Stir blueberry syrup into the warm marrow
- Add 1 to 2 teaspoons Manuka honey to lightly sweeten
- For toddlers only add a small pinch of ginger or turmeric
- Pour into silicone lollipop or popsicle molds
- Freeze until solid and store in the freezer
Notes
IMPORTANT- honey is only allowed after baby is 1 years old Honey is only for babies over 1 year old Ginger and turmeric are best for toddlers not infants Always supervise while eating
Recipe from: instagram.com, saved in Lucy's cookbook.
BROWN BUTTER CREAM CHEESE SNICKERDOODLE COBBLER
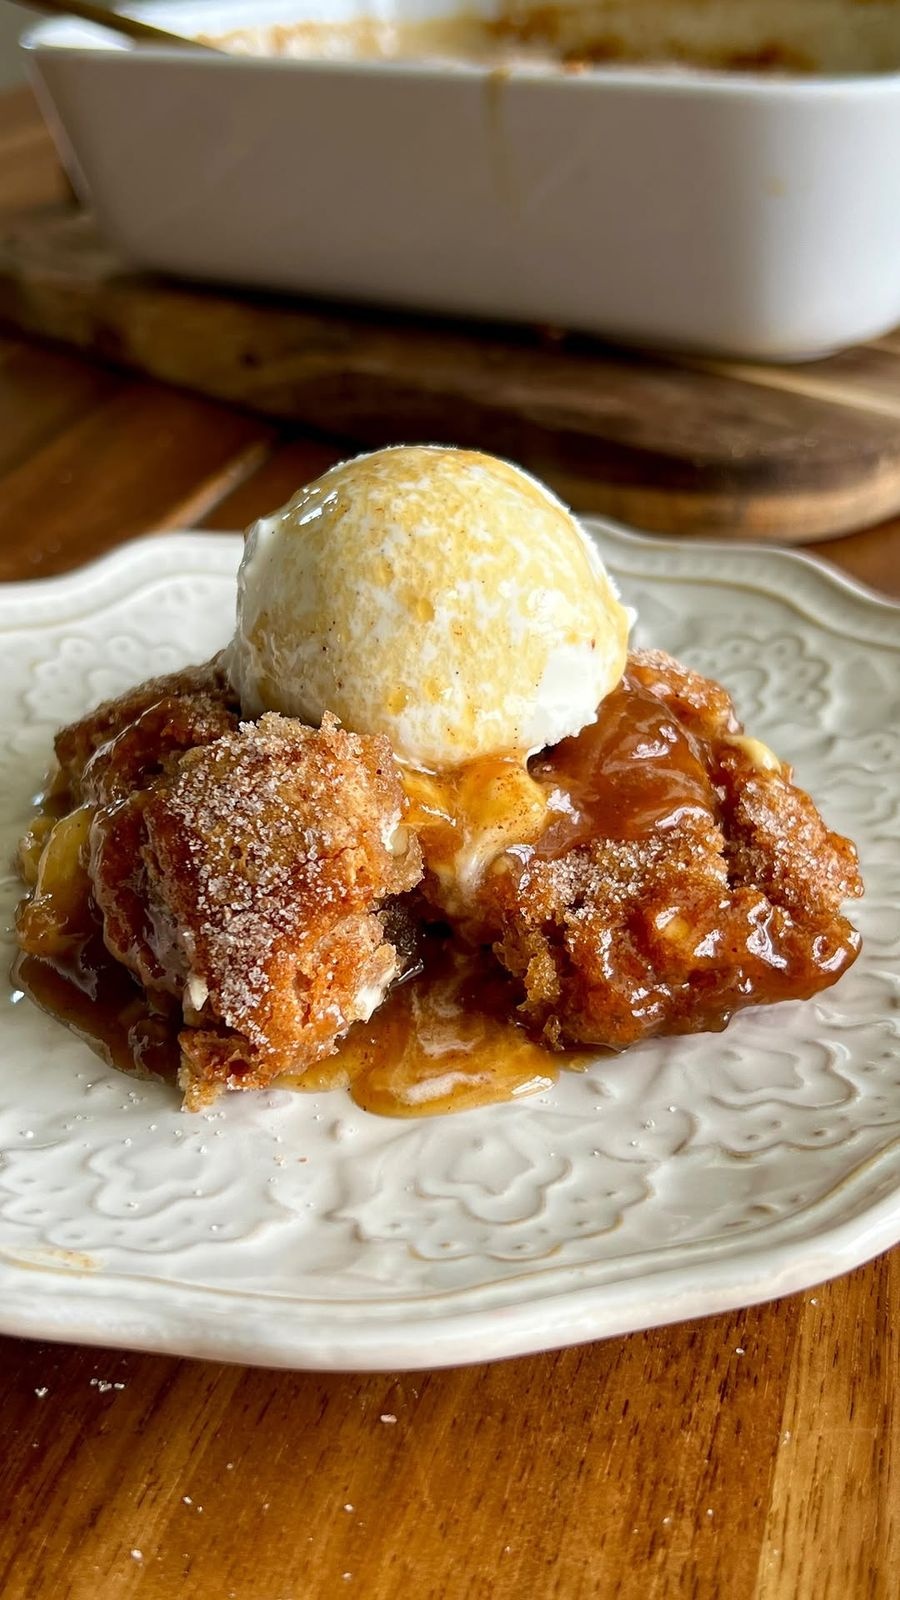
Snickerdoodle + brown butter + cream cheese??? I can’t think of a better combo ✨ Couldn’t be easier and just pure heaven in every bite!
Ingredients
- ⅓ cup salted butter
- ¾ cup milk of choice
- 2 tsp vanilla extract
- 1 ½ cups granulated sugar
- 1 ½ cups all-purpose flour
- 2 ¼ tsp baking powder
- ¾ tsp salt
- 2 tsp cinnamon
- 1 ½ cups brown sugar, light or dark
- 1 ½ cups hot water
- 6 oz cream cheese, cut into chunks
- Topping:
- ¼ cup granulated sugar
- ½ tsp cinnamon
- Vanilla ice cream, for serving
Directions
- Preheat the oven to 350F.
- Start by browning the butter. Add the butter to a saucepan over medium-high heat. Allow to melt and slightly brown, while stirring continuously (~5-8 minutes). Remove from heat and pour the brown butter into a 9x13” baking pan. Set aside.
- Make the cobbler. In a medium bowl, whisk together the flour, baking powder, salt, and cinnamon. Set aside.
- In a separate large bowl, whisk together the milk, vanilla, and granulated sugar.
- Add the dry ingredients to the wet, and use a wooden spoon or spatula to ix until just combined.
- Spoon or scoop the batter over the brown butter in the baking pan, being careful not to mix.
- Place the cubes of cream cheese all over the surface of the batter.
- Sprinkle the brown sugar all over the batter and cream cheese.
- Then, gently pour hot water over the batter and brown sugar.
- Carefully place the baking pan into the oven, and bake at 350F for 35-45 minutes, until golden brown and mostly set (the bottom will still be gooey).
- While baking, mix the sugar and cinnamon together for the topping.
- Remove the cobbler from the oven, and immediately sprinkle the cinnamon sugar mixture over the top.
- Let cool slightly before serving.
- Serve warm with a scoop of vanilla ice cream.
- Enjoy!
Notes
Cobbler
Recipe from: instagram.com, saved in Lucy's cookbook.
Buffalo Chicken Dip Crispy Rice Cups
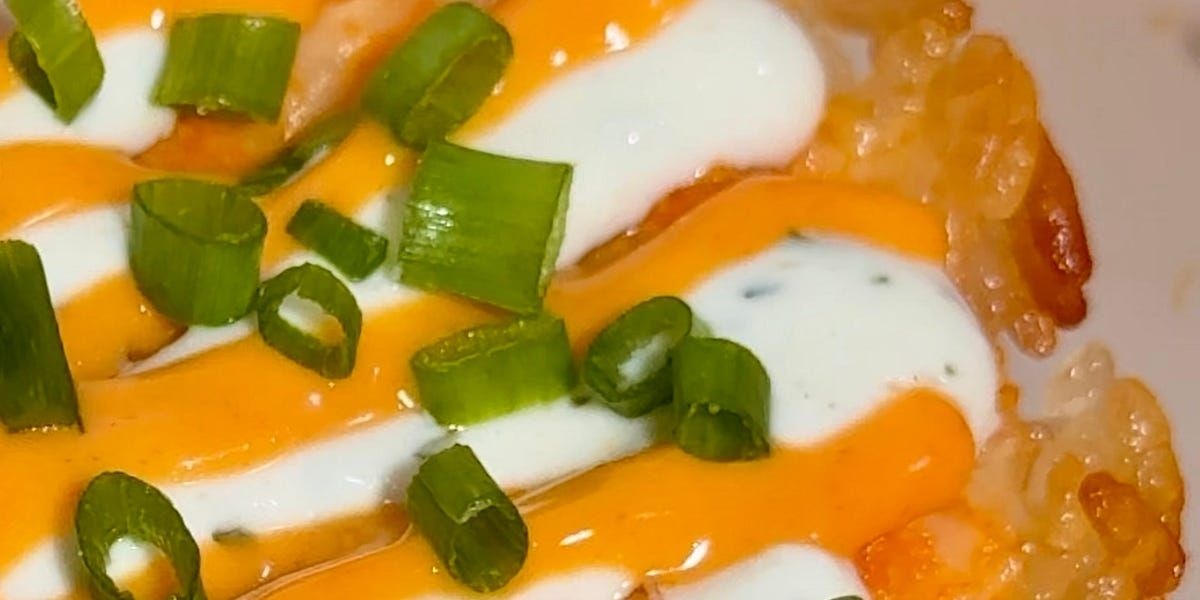
Your favorite dip...but make it handheld.
Ingredients
- 12 oz shredded chicken
- 4 oz buffalo sauce
- 8 oz cream cheese, softened
- ¼ c sour cream
- 6 oz shredded cheddar + more for topping
- 16 oz cooked sushi rice
- 3 tbsp avocado oil + more for coating muffin tin, 2-3
- 1 Chives
- 1 Ranch dressing
Directions
- Preheat oven to 400 F.
- Add avocado oil to rice and combine.
- Coat a muffin tin with avocado oil. (A nonstick muffin tin is highly recommended for this recipe!)
- Scoop equal amounts of rice into each compartment, filling about ¾ full. Use a ¼ cup measuring cup to press and smooth the tops. Center the measuring cup on each portion and press down to create a “cup” shape, rice should just reach the top. Bake at 400°F for 20 minutes.
- While the rice is baking, combine the chicken, cream cheese, sour cream, cheese and buffalo sauce.
- Remove the muffin tin from oven and divide the chicken evenly into each rice cup - just enough that it fills the top. Smooth out the top and add cheese to each one. Return to the oven and bake for another 10 minutes, until cheese is bubbling.
- Let the cups cool for 5-10 min. Use an offset spatula to gently release any edges. If using a nonstick tin, they should come out easily! Carefully slide the spatula under each cup and lift out.
- Top each cup with ranch, more buffalo sauce, and chives. Enjoy!
Recipe from: substack.com, saved in Lucy's cookbook.
Buffalo chicken sliders
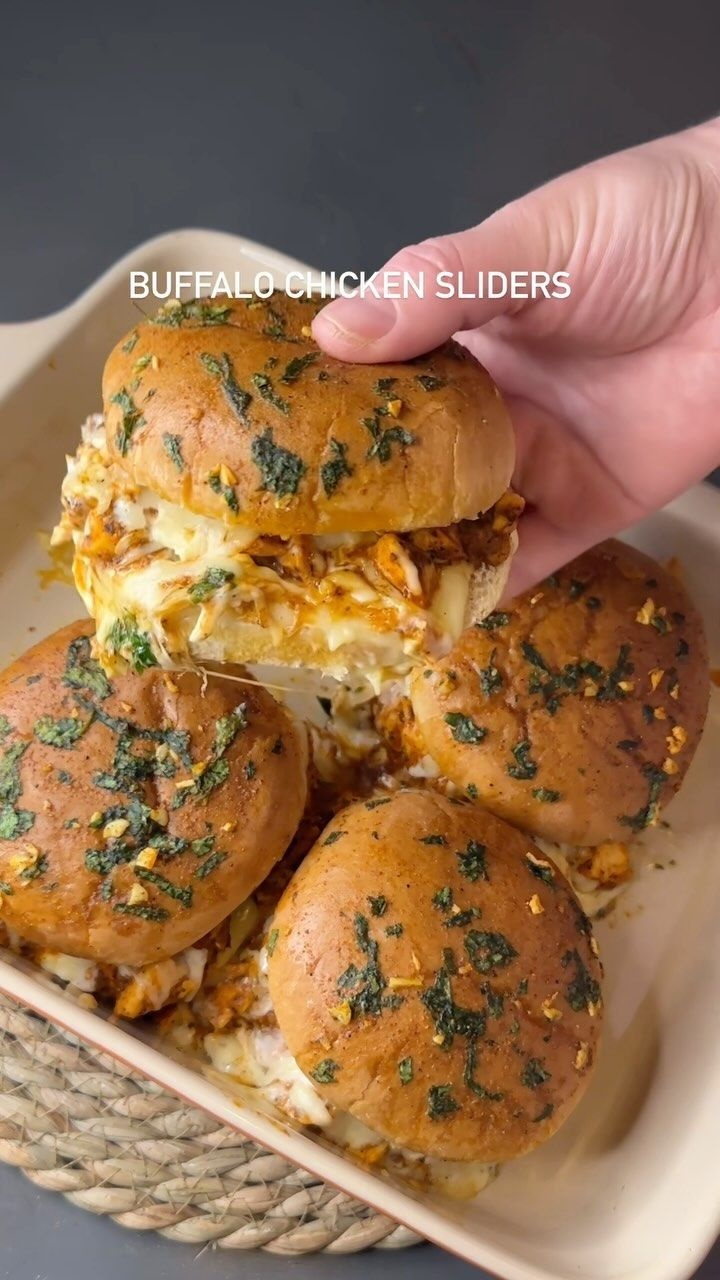
Hit save 📌 for your next easy recipe and follow @recipe_road for more recipes like this 🤍
Ingredients
- Chicken:
- 400 g chicken mini fillets
- 1 ½ tbsp Cajun seasoning
- 1 Juice of 1/2 lemon
- 2 tsp olive oil
- salt and pepper to taste
- For the filling:
- 130 ml buffalo sauce
- 3 tbsp ranch sauce
- 1 tsp Cajun seasoning
- 1 tsp garlic granules
- salt and pepper to taste
- 4 cheddar cheese slices
- 53 g grated mozzarella
- 4 sliced burger buns
- 1 For the garlic butter
- 20 g softened butter
- 1 tbsp chopped fresh parsley
- 1 garlic clove, chopped
- Pinch of paprika
- Pinch of pepper
Directions
- Preheat oven to 180C(fan). In a small bowl combine lemon juice, Cajun seasoning, pepper, salt and olive oil, then rub all over the chicken mini fillets. Line roasng tray with baking paper, place the fillets on the tray and bake for 22-23 minutes. Once the chicken is fully cooked, cut into bite sized pieces.
- In a bowl add cooked chicken, buffalo sauce, Cajun seasoning, garlic granules, pepper and salt, mix well.
- In a baking dish place the boom half of the dinner rolls, add cheese slices, chicken mixture , ranch sauce and grated cheese, place the other half of the white rolls on top.
- In small bowl combine softened butter , chopped garlic, parsley, pinch of paprika and pepper, then brush the top part of the rolls
- Bake for 10-12 minutes on 180C.
Notes
@recipe_road well that's very fair in this case, they still look good regardless though
Recipe from: instagram.com, saved in Lucy's cookbook.
Buffalo Chicken Sticks
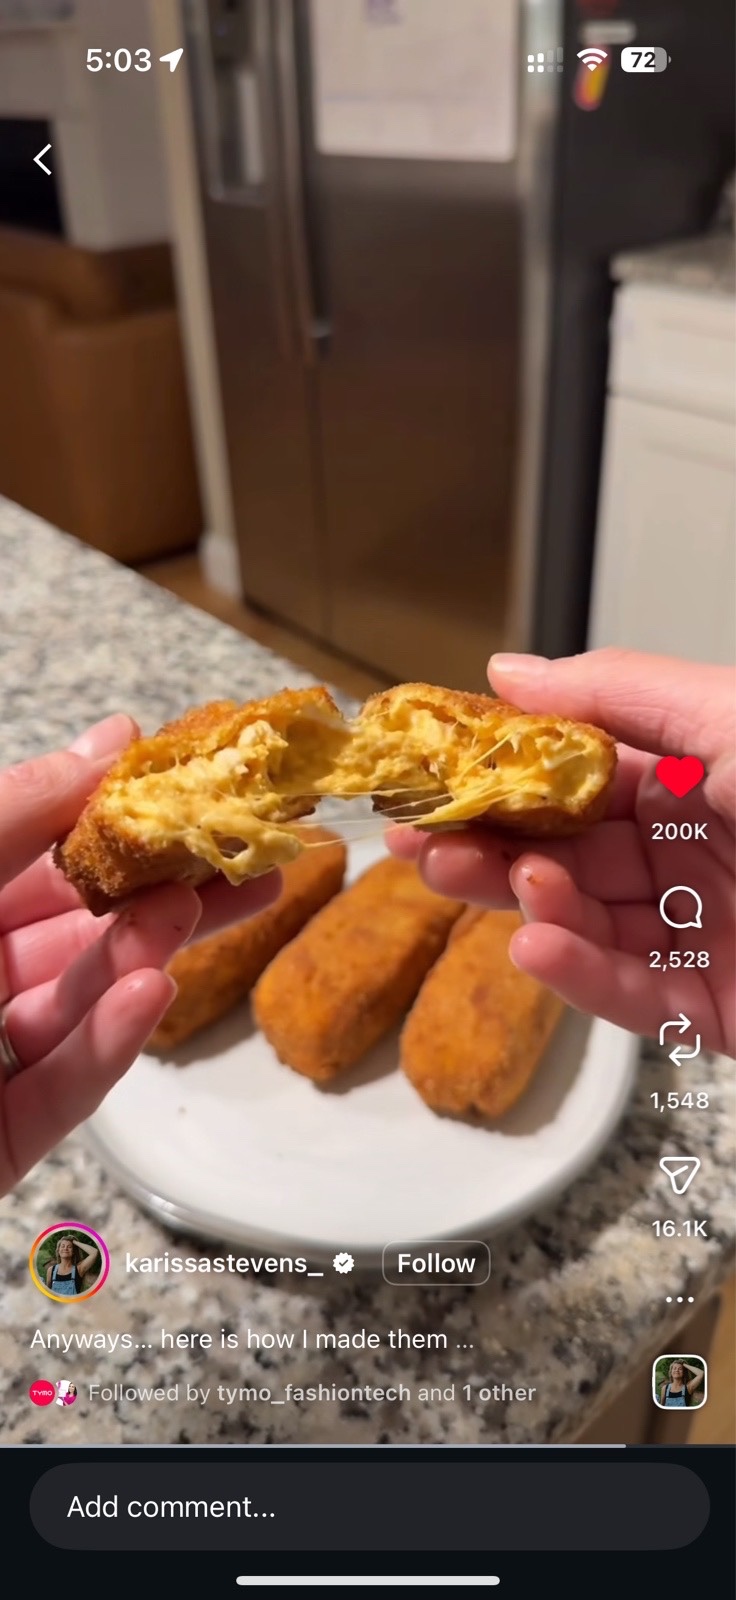
Anyways… here is how I made them:
Ingredients
- 2 cups shredded chicken, I used rotisserie
- 6 oz cream cheese, softened
- 8 oz mozzarella, grated
- ½ cup buffalo sauce
- 1 Pepper, garlic powder, onion powder
- 4 eggs, whisked
- 3 cups seasoned breadcrumbs
- 1 Vegetable oil for frying
Directions
- Mix chicken, cream cheese, mozzarella, buffalo sauce, and seasonings.
- Press mixture into a parchment paper lined loaf pan and freeze 1–2 hours.
- Remove and cut into 8 sticks.
- Heat oil.
- Dip each stick in eggs, then breadcrumbs, and repeat for a double coat.
- Fry in two batches, flipping occasionally, until golden brown.
- Serve warm.
Notes
Id eat her for sure
Recipe from: instagram.com, saved in Lucy's cookbook.
Buffalo One-Pan Chicken Alfredo
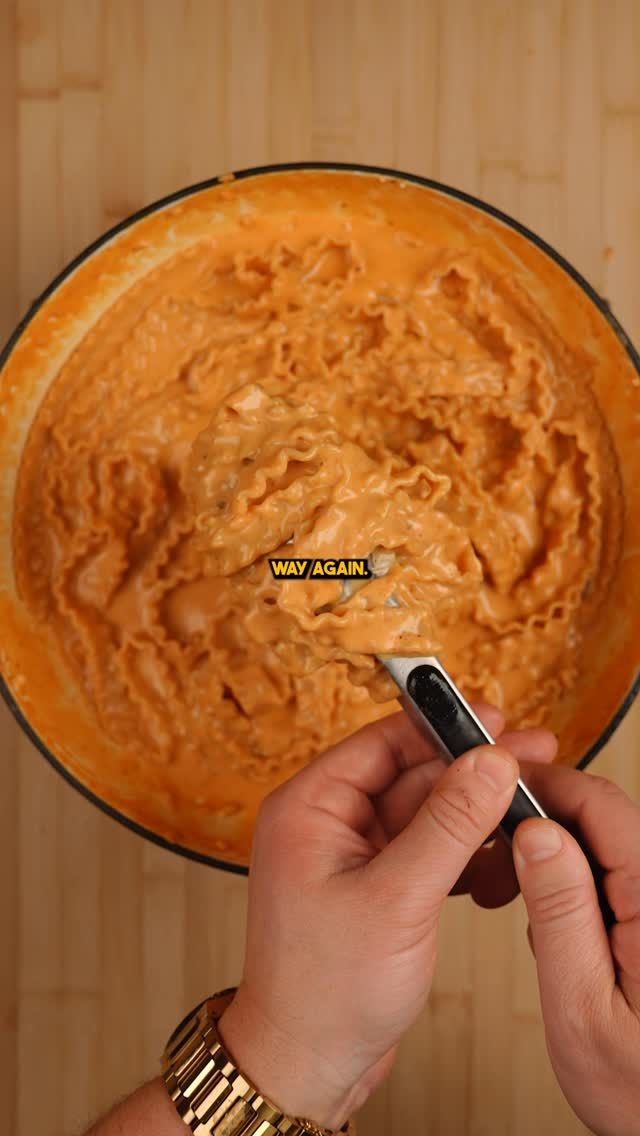
Ingredients
- 2 lbs chicken breast, flattened to 1/4 inch thick
- 10 oz dry pasta, I use mafaldine
- 6 cloves garlic, minced
- 2 tablespoons butter
- 3 tablespoons olive oil
- 1 ½ cups chicken broth
- 2 ½ cups milk, room temperature
- ½ cup buffalo wing sauce
- 4 oz cream cheese, cubes, room temp
- 3 tablespoons Italian seasoning, divided
- ¾ cup grated parmesan cheese
- 4 green onions, sliced
Directions
- Season chicken with most of the Italian seasoning, reserving 1 teaspoon.
- Heat olive oil in a skillet over medium heat. Cook chicken for 3-4 minutes on one side, flip, reduce heat to low, and cook another 4-5 minutes until the chicken reaches 165°F.
- Remove and in the same skillet, melt butter and cook garlic for 1 minute. Add chicken broth, milk, buffalo sauce, and remaining seasoning. Bring to a low boil.
- Add pasta, submerge in the liquid, and simmer for 8-10 minutes until al dente.
- Stir in cream cheese until melted, then add parmesan and green onions.
- Top with sliced chicken and drizzle with more buffalo sauce if desired.
Notes
Drop the recipe😢
Recipe from: instagram.com, saved in Lucy's cookbook.
Burrito Style Beef Enchiladas
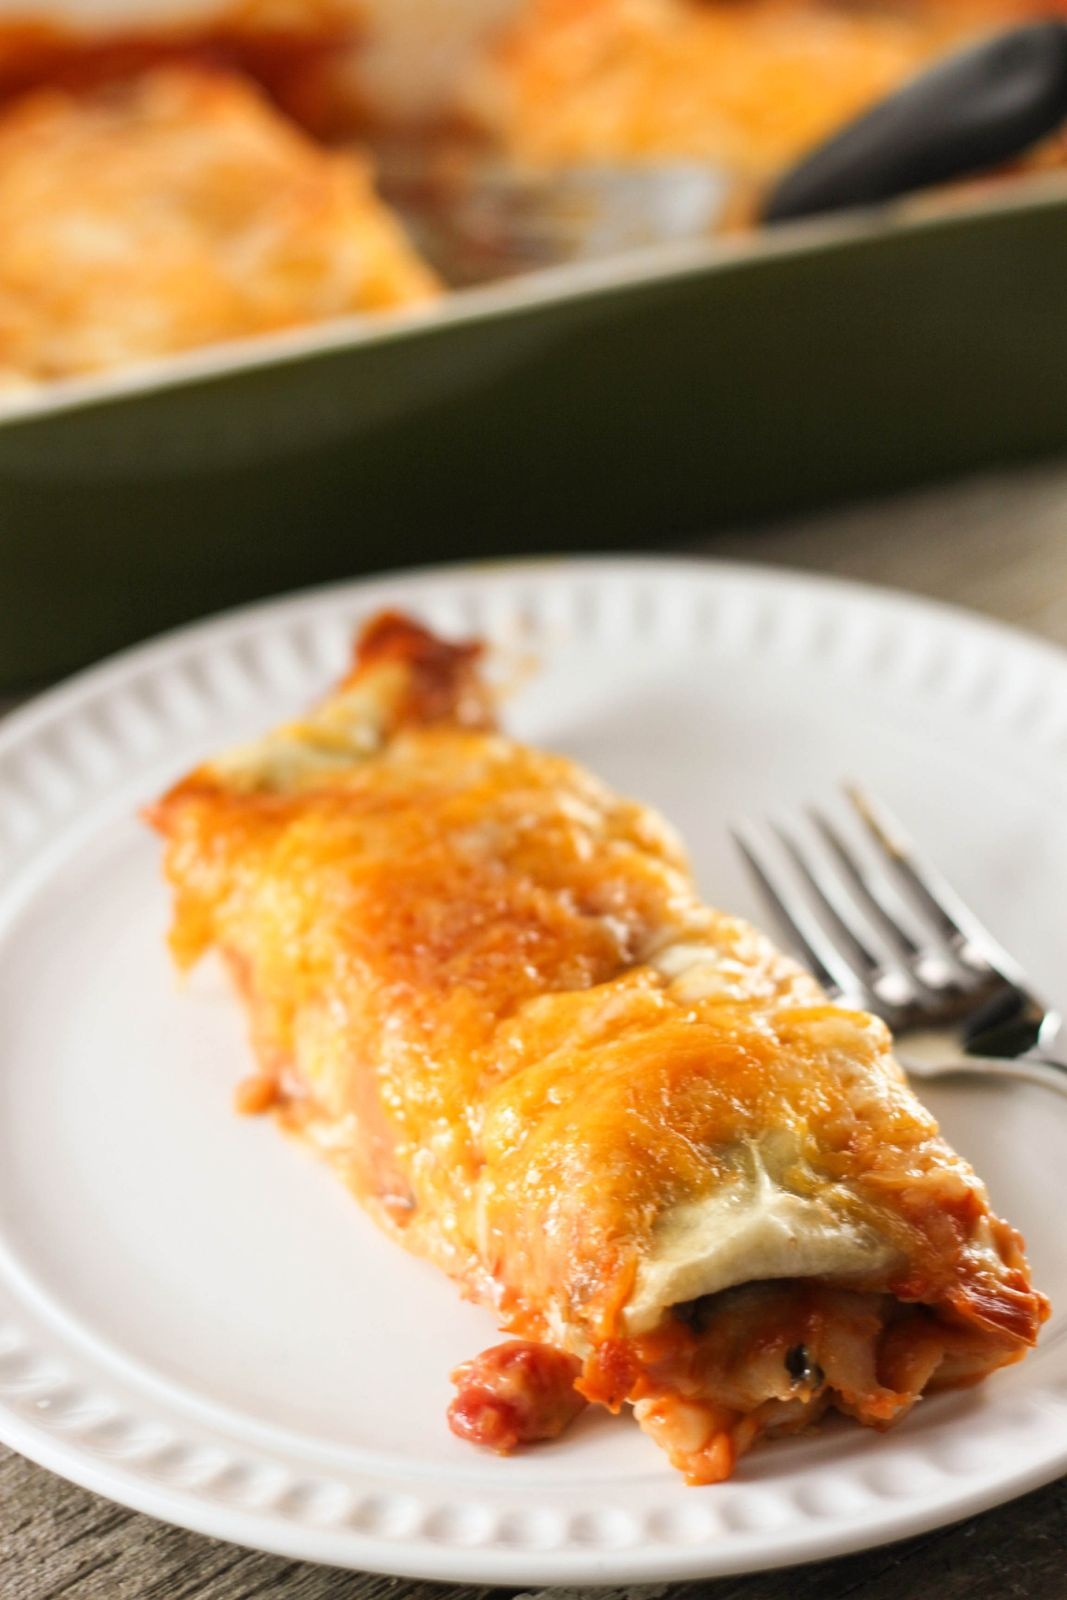
An easy Burrito Style Beef Enchilada recipe that will have everyone you make them for asking for the recipe!
Ingredients
- 1 pound ground beef browned and drained
- 1 1 oz package taco seasoning
- ¾ cup water
- 1 16 oz can refried beans
- 10 pack flour tortillas medium size, 1-10
- 2 cans cream of chicken soup
- 1 15.5 ounce jar of salsa
- 2 cups milk
- 2 cups taco shredded cheese
Directions
- Brown the ground beef; drain.
- Add taco seasoning and water.
- Simmer for a couple minutes.
- Add refried beans and mix together and take off heat.
- In a medium sauce pan add the sauce ingredients; cream of chicken, milk and salsa and cook until warm.
- Pour half of the sauce in the bottom of a greased 9 x 13 in pan.
- Put equal amounts of filling on each shell, about 3 tablespoons.
- Roll up the enchiladas and put in the dish.
- Cover with cheese and remaining sauce.
- Bake at 35o degrees for 30 minutes.
Recipe from: farmwifecooks.com, saved in Lucy's cookbook.
Candied Sweet Potatoes | Goguma Mattang (고구마 맛탕)
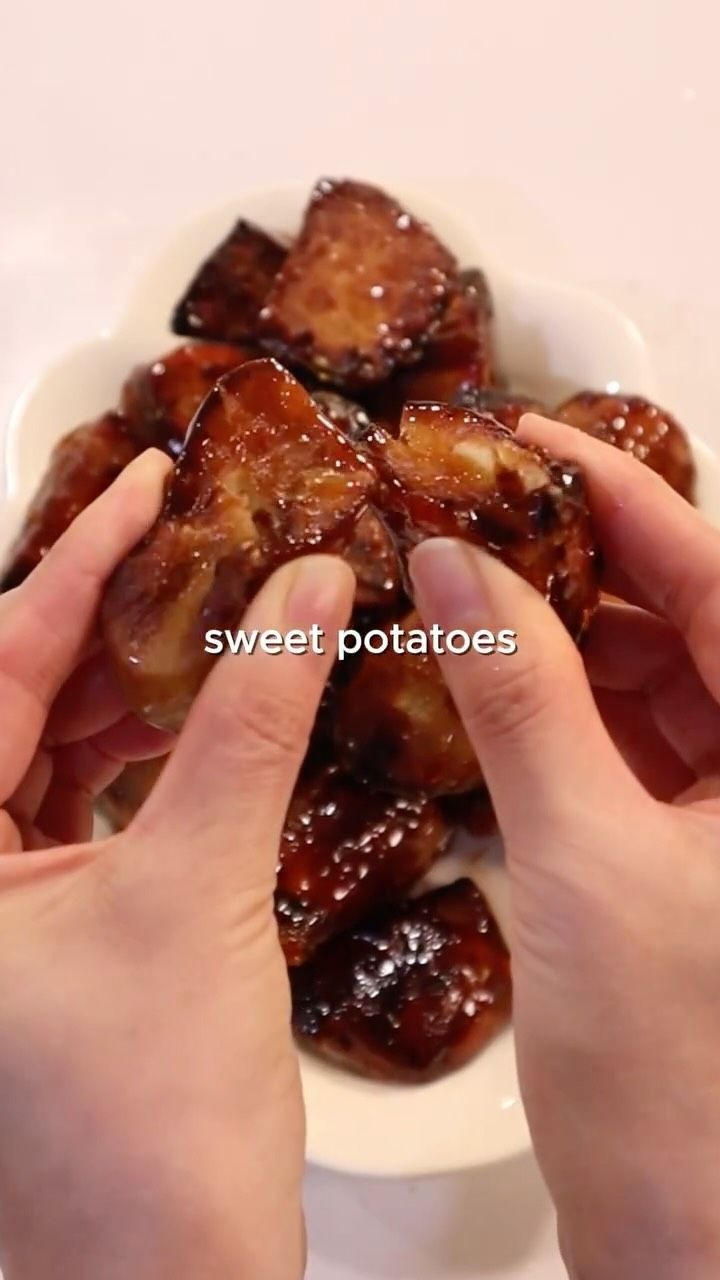
How Koreans ear sweet potatoes #gogumamattang #candiedsweetpotatoes #koreanfood #easyrecipe
Ingredients
- 4 Korean sweet potatoes
- 4 tablespoons cooking oil, for syrup
- 8 tablespoons white sugar, for syrup
Directions
- Peel the sweet potatoes and cut them into bite-sized pieces, rotating as you go.
- Soak the sweet potato pieces in water for about 10 minutes to remove excess starch — this helps them get crispier.
- Pat the sweet potatoes completely dry with a towel.
- Heat enough oil in a pan and fry the sweet potatoes over medium heat until fully cooked through.
- Drain the cooked sweet potatoes in a wire rack and let them rest for about 10 minutes.
- In a separate pan, spread the oil and sugar evenly and melt over low heat. Do not stir, and let it turn golden brown.
- While the sugar melts, fry the sweet potatoes a second time until all sides are nicely golden brown.
- Quickly add the fried sweet potatoes to the melted sugar and toss evenly to coat.
- Spread the candied sweet potatoes on parchment paper so they don’t stick together and let them cool for about 15 minutes.
Recipe from: instagram.com, saved in Lucy's cookbook.
Caramelized Onion Pasta with Chili Oil
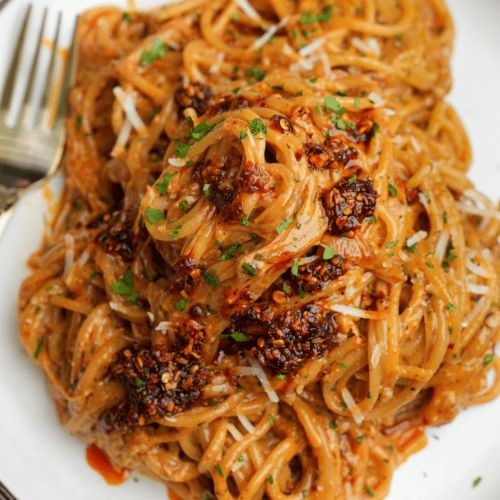
This caramelized onion pasta is made with sweet jammy onions, garlic, chili crisp, parmesan, and a light cream sauce. A bold and comforting 30-minute dinner.
Ingredients
- 8 oz dry thin spaghetti
- 1 large white onion, thinly sliced
- 1 tablespoon olive oil
- 4 tablespoons butter, divided
- 4 cloves garlic, pressed or minced
- 2 tablespoon chili crisp, 1-2, plus more for serving (depending on your heat preference
- 2 tablespoons soy sauce
- 2 tablespoons honey
- ⅔ cup half and half, coconut milk can be used for dairy free
- 1 teaspoon paprika
- ½ teaspoon garlic powder
- ½ teaspoon Italian seasoning
- ½ teaspoon black pepper
- ½ cup freshly grated parmesan
- fresh parsley, for garnish
Directions
- In a large skillet over medium-low heat, add olive oil and 2 tablespoons butter. Add sliced onion and cook, stirring frequently, for about 20 minutes until soft and lightly caramelized.
- Meanwhile, bring a large pot of salted water to a boil. Cook spaghetti until al dente. Reserve 1/2 cup pasta water, then drain.
- To the onions, add remaining butter and minced garlic. Cook for 1 minute until fragrant.
- Stir in chili crisp, soy sauce, and honey until combined.
- Reduce heat to low. Pour in half and half. Add paprika, garlic powder, Italian seasoning, and black pepper. Simmer 5 minutes until slightly thickened.
- Stir in parmesan until melted and smooth.
- Add cooked pasta to the skillet and toss until fully coated. Add reserved pasta water only if needed to loosen the sauce.
- Garnish with chili crisp oil and parsley before serving.
Notes
Cook onions slowly to avoid burning. Use freshly grated parmesan for best texture. Add pasta water gradually to adjust sauce consistency.
Recipe from: instagram.com, saved in Lucy's cookbook.
Carbonara fried rice✨
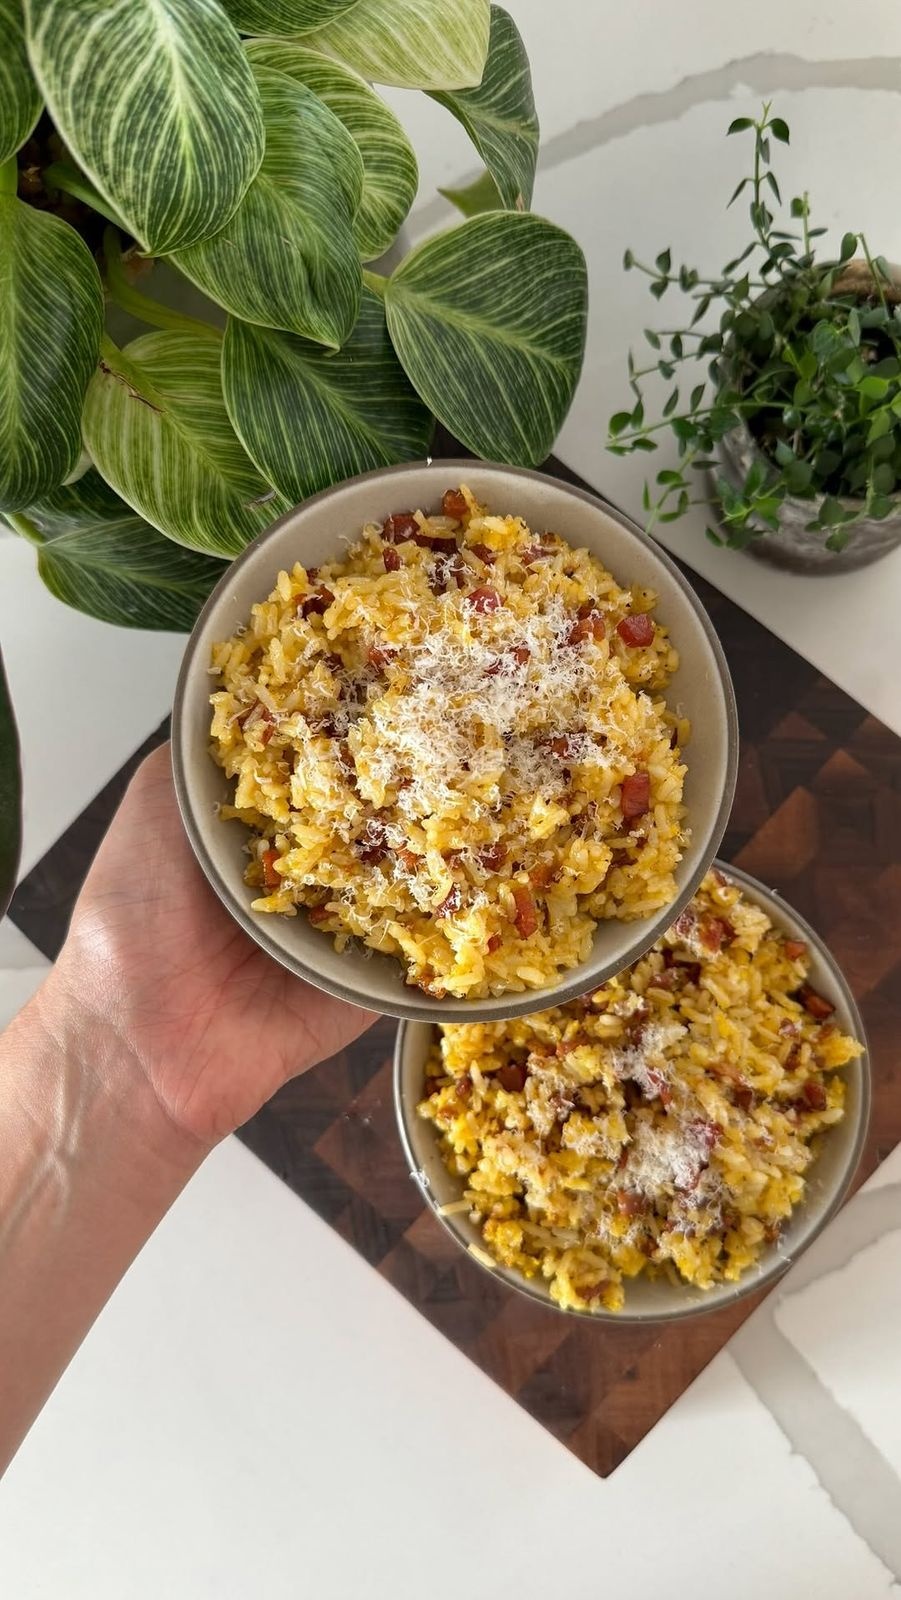
My debut cookbook Maxi’s Kitchen is available for pre-order now. Link in bio 🤍.
Ingredients
- 3 Eggs
- 2 Egg Yolks
- ¼ Cup Grated Pecorino Romano, plus more for serving
- 8 oz Pancetta, Guanciale, or Bacon, diced small
- 4 cups Cooked Jasmine Rice
- 1 tsp Freshly Ground Black Pepper
- Kosher Salt, to taste
Directions
- In a medium bowl, beat the eggs and egg yolks with the pecorino romano and a sprinkle of fresh ground pepper. Set aside.
- In a large wok or pan over medium high heat, add the pancetta and cook, stirring every couple of minutes, until golden brown and crispy (7-9 mins). Turn off the heat, remove the pancetta from the wok with a slotted spoon, and place it on a paper towel lined plate to drain.
- Whisk 1 Tbsp of the hot pancetta fat into the eggs (leaving the rest in the wok) which will temper them. Make sure to keep the eggs moving constantly while you pour in the fat.
- Turn the heat on the wok back to medium high and add the rice. Spread it into one layer and let it cook undisturbed for 3-4 mins until the bottom of the rice gets golden brown and crisped. Stir the rice and add the pepper. Cook while stirring for 2-3 more minutes until the rice is fully heated through.
- Remove the pan from the heat and immediately pour the egg mixture onto the rice while mixing rapidly. Once the eggs are evenly coating the rice, mix in the crispy pancetta.
- Taste and season with a little salt if desired (you may not need it though!). Serve immediately with an extra sprinkle of pecorino romano on top and enjoy!
Notes
@ciaraconlon8033
Recipe from: instagram.com, saved in Lucy's cookbook.
Cheese Stuffed Garlic Naan
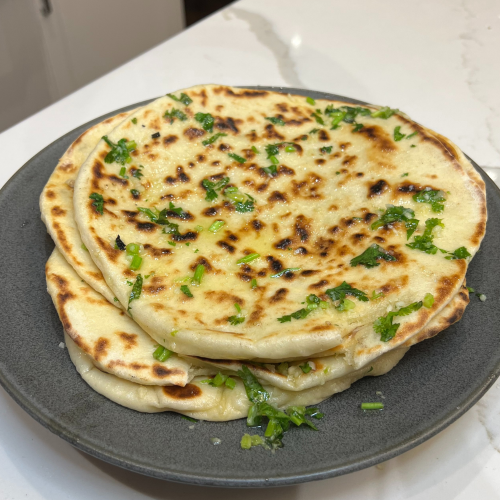
Garlic naan is already a God tier food, so I thought to myself, how do you make this even better…CHEESE! This cheese stuffed garlic naan is amazing by itself but I love eating it as an accompany to curry. It is surprisingly easy to make and doesn’t involve many ingredients at all.
Ingredients
- Dough:
- 2 cups AP flour
- ½ tbsp instant yeast
- ½ tbsp sugar
- 1 tsp salt
- ½ cup water
- ½ cup full fat Greek yoghurt
- 2 tbsp melted butter
- Cheese:
- 1 cup shredded mozarella
- Garlic butter:
- 1 stick melted butter
- 5 cloves minced garlic
- 1 tsp salt
- ¼ cup chopped cilantro
Directions
- Mix all dough ingredients together in a bowl making sure to mix the dry ingredients first before adding the wet.
- Start by mixing with a butter knife then once a ball starts to form, knead on the table until the doughball becomes smooth. (about 5-10 minutes) Alternatively, you can use a stand mixer which would take half the amount of time.
- Allow the dough to proof in the bowl with a tsp of olive oil and covered with plastic wrap for 1 hour until double in size.
- After 1 hour, the dough should be doubled in size. Flatten each piece of the dough with your palm or a rolling pin so that there is enough surface area to layer on some cheese.
- Place a handful of cheese into the flattened piece of dough, making sure not to overcrowd it. 1 solid layer should be enough.
- Fold the edges of the dough together, and pinch to seal the dough together. You want to bring all the edges together towards the middle.
- Then roll the dough over so that the seam side is facing the table. Shape it into a tight ball, forming surface tension then flatten slightly with your hand. Let this rest to proof again for 30-45 minutes.
- While you wait, make the garlic butter by combining all the ingredients.
- Heat up a cast iron pan up to med-high heat. (non stick works as well)
- Using a rolling pin, roll out the dough as thin as possible. If the dough is too sticky, sprinkle some flour on the rolling pin and work surface. As you can see here, the outline of the shredded cheese is shown and what prevents the dough from breaking is the gluten formation of the dough. That is why it is important to form surface tension on the dough
- Place dough in preheated high heat skillet to cook for 1-2 minutes each side. If you don't start to see bubbles and color does not start to change, increase the heat.
- Once cooked on both sides, remove and immediately brush with the garlic butter.
Notes
If the dough is too sticky when rolling out, dust with more flour. Be patient with the dough if it feels too wet. Continue to knead and it will get easier. Play around with the temperature of the pan, I find higher heats are better because I like the charred flavour it brings.
Recipe from: kwokspots.com, saved in Lucy's cookbook.
Cheeseburger Hot Pockets 🍔🔥

RUN to the kitchen asap and make these because you won’t believe how good they are 🤤
Ingredients
- 1 Hot Pocket Dough
- 400 g plain flour
- 410 g 0% Greek yogurt
- Pinch of salt, optional
- 1 Cheeseburger Filling
- 400 g lean ground beef, 5% fat or leaner
- 1 medium white onion, diced
- 1 tsp garlic powder
- 1 tsp smoked paprika
- ½ tsp cayenne pepper, optional, for heat
- 1 tsp salt
- 1 tsp black pepper
- 100 ml beef stock
- 80 g light cream cheese
- 45 g reduced-sugar ketchup
- 60 g diced pickles
- 1 Cheese
- 200 g low-fat grated cheese
- 1 To Cook
- 1 Cooking spray or a light brush of oil
Directions
Nutrition (per serving)
Calories: 350 · Fat: 7 · Carbs: 40 · Protein: 31
Recipe from: instagram.com, saved in Lucy's cookbook.
Cheeseburger Pizza Braid
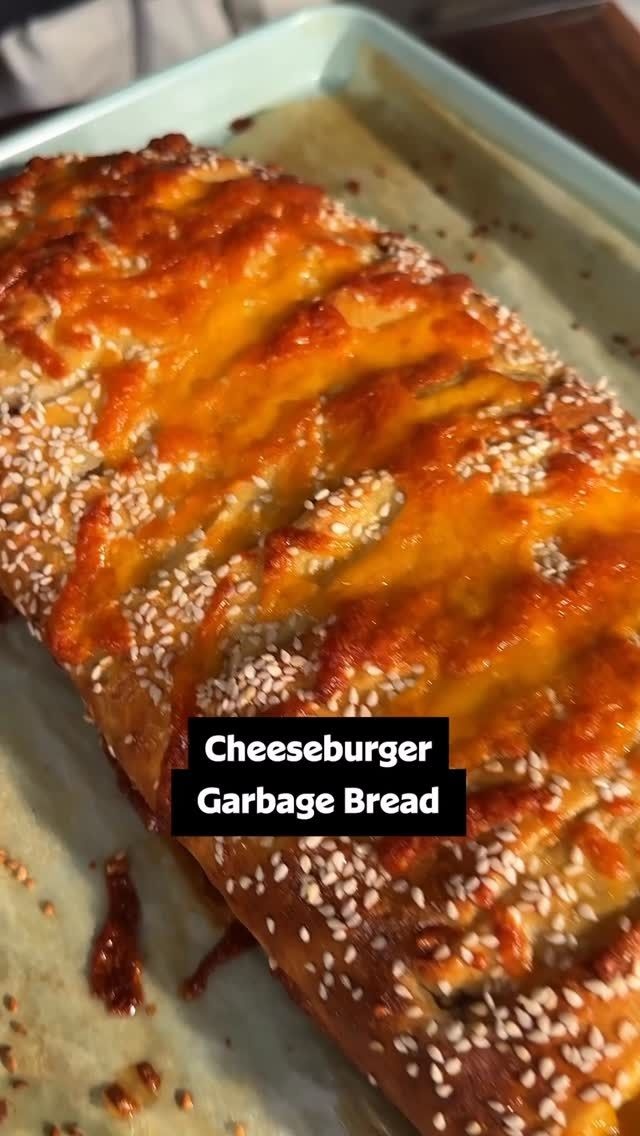
This 5-ingredient dinner is the easy pizza dough upgrade you’ve been looking for! 🍔🍕 It’s a great game-day food; just slice and serve with burger sauce.
Ingredients
- 6 slices bacon
- 1 ½ pounds ground beef
- 1 small onion, chopped
- ½ cup diced dill pickle or dill pickle relish
- 2 tablespoons ketchup
- 1 tablespoon Dijon mustard
- 2 teaspoons Worcestershire sauce
- 1 can refrigerated pizza dough, such as Pillsbury®
- 6 slices American cheese
- 8 ounces Cheddar cheese, shredded
- 1 large egg, beaten
- 1 tablespoon sesame seeds
- burger sauce, for topping, optional
- 1 Tap the link in @allrecipes bio to get the full recipe.
- Inspo:
- 1 @/whatsmomcookin’ on TT
- 🧑🍳: @guacmylife
- 1 #easydinner #cheeseburger #bread
- Image Url: https://media.cookbook.company/0/c
Directions
Notes
😍🙌😍
Recipe from: instagram.com, saved in Lucy's cookbook.
Cheesy Beef & Rice
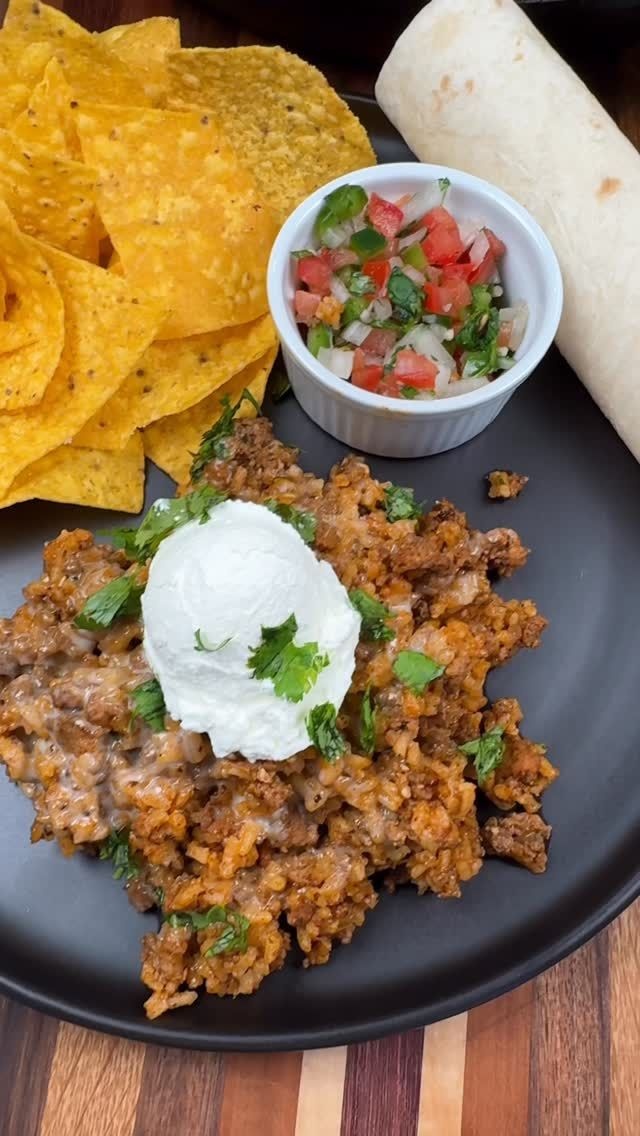
Cheesy Beef & Rice is an easy one pan dinner!
Ingredients
- 1 lb ground beef
- ½ tsp each of salt and pepper
- ¼ tsp cayenne
- 1 tsp each of cumin, dried cilantro, and chili powder
- 1 TBSP of minced garlic
- 8 oz can of tomato sauce
- 2 cups of beef broth
- 1 cup of long grain white rice, uncooked & rinsed
- 1 tbsp olive oil
- 1 White Queso Cheese Dip
- 1 Flour tortillas
- 1 Pico de gallo
- 1 Fresh cilantro
Directions
- Brown 1 lb of ground beef in a skillet over medium-high heat. Season with salt, pepper, cayenne, cumin, dried cilantro, black pepper, and chili powder.
- Let that cook until the beef is cooked through and drain any extra grease. Move the ground beef to the edges of the skillet and pour about 1 tbsp of olive oil into the skillet. Add uncooked, rinsed rice and stir around for a couple of minutes.
- Add tomato sauce, minced garlic, and beef broth. Stir well, cover with a lid, and cook on medium-low heat for about 20 minutes or until the rice is cooked. Once the rice is cooked use a fork to fluff it up, turn off the heat, and let sit covered for about 5 minutes.
- Microwave queso and pour some over the beef and rice. Top with fresh cilantro. Serve as is or in tortillas with fresh pico de gallo. Enjoy!
Notes
@cooking_with_fire___ appreciate it!
Recipe from: instagram.com, saved in Lucy's cookbook.
Cheesy Beef & Zucchini Casserole
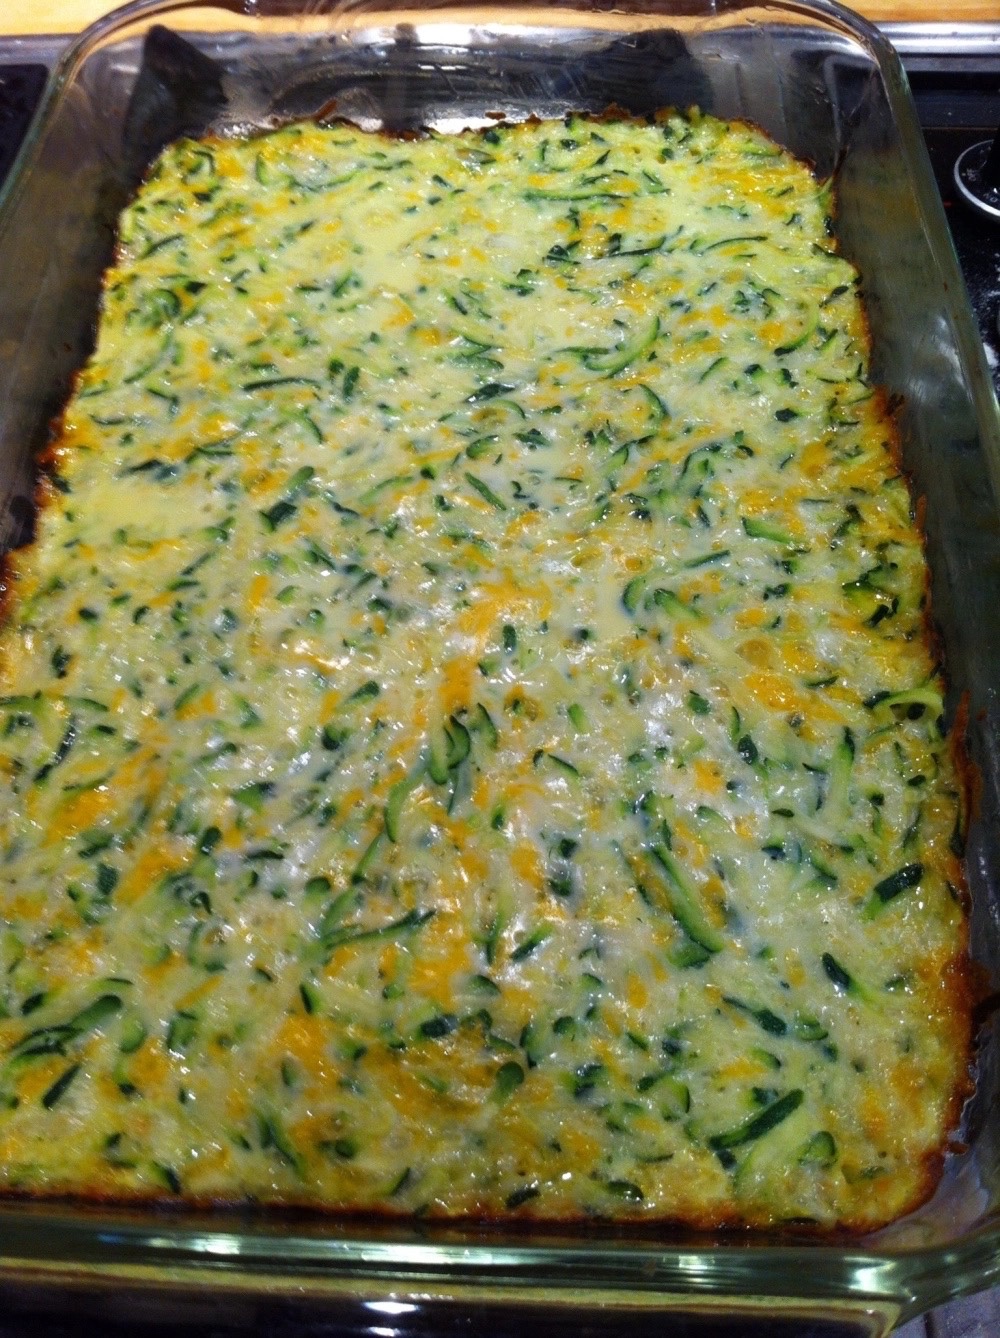
I have no idea why I made a casserole when it was 100°F in Los Angeles yesterday! Anyway, it was really good and easy to make.
Ingredients
- 4 cups shredded unpeeled zucchini
- ½ tsp salt
- 2 eggs
- ½ cup grated Parmesan cheese
- 2 cups shredded part-skim mozzarella cheese, divided, 8 oz
- 1 cup shredded cheddar cheese, divided, 4 oz
- 1 pound ground beef
- ½ cup onion, chopped
- 1 medium green pepper, chopped
- 1 can Italian tomato sauce, 15 oz
Directions
- Place zucchini in strainer; sprinkle with salt. Let stand for 10 minutes. Squeeze out moisture.
- Combine zucchini with the eggs, Parmesan and half of the mozzarella and cheddar cheeses. Press into greased 13-in. x 9-in. baking dish.
- Bake, uncovered, at 400° for 20 minutes.
- Meanwhile, cook beef, onion and green pepper over medium heat until meat is no longer pink; drain. Add tomato sauce; spoon over zucchini mixture.
- Sprinkle with remaining cheeses. Bake 20 minutes longer or until heated through.
Recipe from: leslieblythemiller.wordpress.com, saved in Lucy's cookbook.
Cheesy Chicken Taco Mac
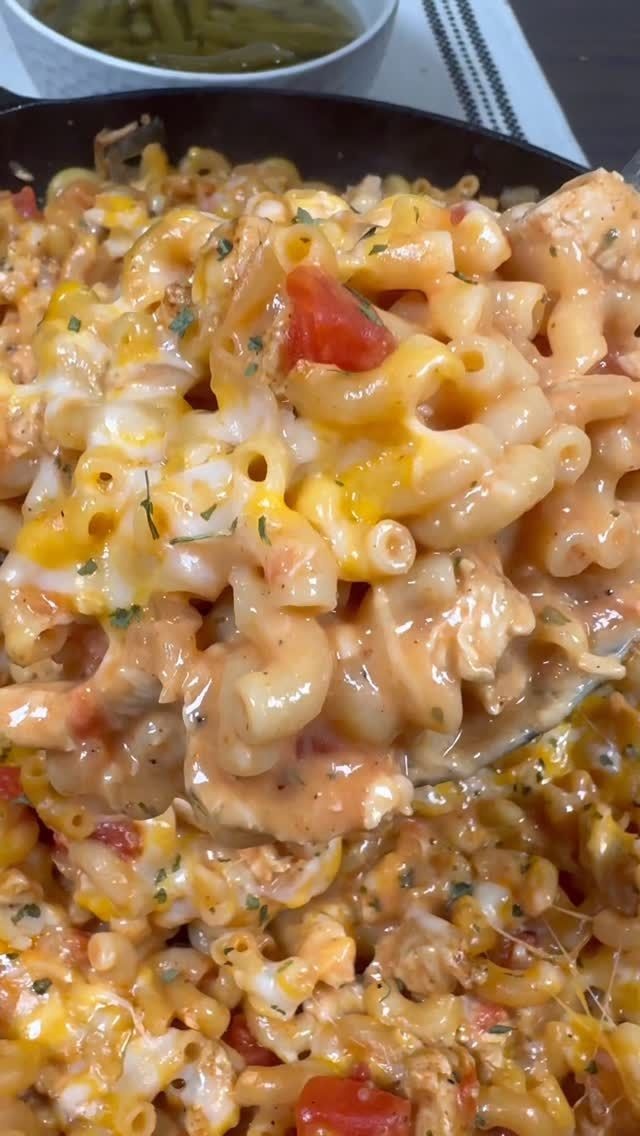
Cheesy Chicken Taco Mac is an easy one pan dinner!
Ingredients
- 1 lb of chicken breast, cut into cubes
- 1 tbsp oil
- 1 onion, chopped
- ½ tsp salt and pepper
- 2 tsp chili powder
- 1 tsp each of cumin and dried cilantro
- 1 ½ cups of chicken broth
- 2 ½ cups of elbow macaroni
- 10 oz can of Rotel, not drained
- 8 oz can tomato sauce
- 1 tbsp minced garlic
- 2 cups of shredded Colby Jack cheese
- ½ cup of milk
- 1 Fresh cilantro
Directions
- Heat a large skillet over medium-heat. Add 1 tbsp of oil, the chicken, and a chopped onion.
- Season with salt, pepper, chili powder, cumin, and dried cilantro.
- Once the chicken is pretty much cooked through, add the minced garlic, elbow macaroni, chicken broth, Rotel, and a can of tomato sauce.
- Stir everything together well and bring to a quick boil.
- Once you see bubbles, turn the heat down to medium low. Cover with a lid and cook for about 12 minutes or until the pasta is cooked. Stir at least once about half way through to keep the pasta from sticking to the skillet.
- Finally, add the shredded cheese and milk, stir, and let sit until the cheese is melted. Serve and top with fresh cilantro. Enjoy!
Notes
So good🥹
Recipe from: instagram.com, saved in Lucy's cookbook.
Cheesy Chicken Taco Rice

Cheesy Chicken Taco Rice is an easy one pan meal my family loves!
Ingredients
- 1 lb of chicken breast, cut into cubes
- 1 tbsp olive oil
- ½ tsp each salt and pepper
- 2 tsp chili powder
- 1 tsp each of cumin and dried cilantro
- 1 tbsp minced garlic
- 10 oz can of Rotel, not drained
- 8 oz can of tomato sauce
- 1 ½ cups of chicken broth
- 1 cup of long grain white rice, uncooked & rinsed
- 2 cups of shredded Colby Jack cheese
- 1 Sour cream
- 1 Cilantro
- 1 Buffalo Wild Wing’s Southwest Ranch
Directions
- Add the chicken with 1 tbsp of oil to a large skillet over medium-high heat, add all seasonings, and cook until the chicken is cooked through.
- Add the untrained Rotel, tomato sauce, minced garlic, chicken broth, and uncooked rice to the skillet. Stir well, make sure to bring the whole skillet to a boil, cover with a lid, and cook on medium-low heat for about 15-20 minutes or until rice is cooked (I stirred it once about half way through).
- Top with shredded Colby Jack cheese and let it melt or pop in the oven on broil. Serve and top with sour cream, cilantro, and Southwest Ranch sauce. Serve with tortilla chips. Enjoy!
Notes
That looks so good 😭😭😭
Recipe from: instagram.com, saved in Lucy's cookbook.
Cheesy Enchilada Rice Skillet
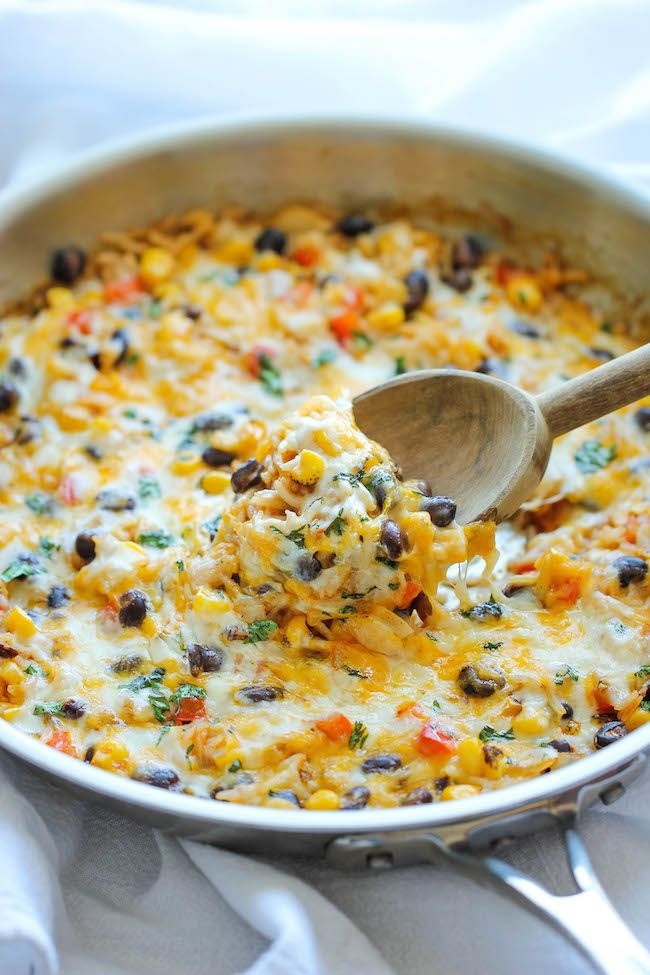
The easiest enchilada you will ever make. No rolling, no folding. Just throw everything into a skillet and you’re set!
Ingredients
- 1 cup uncooked rice
- 1 tablespoon olive oil
- 2 cloves garlic, minced
- 1 small onion, diced
- 1 bell pepper, diced
- 1 cup canned corn kernels, drained
- 1 cup canned black beans, drained and rinsed
- ¾ cup Old El Paso™ mild enchilada sauce
- ½ cup Old El Paso™ mild green enchilada sauce
- ½ teaspoon chili powder
- ¼ teaspoon cumin
- ¼ teaspoon oregano
- Kosher salt and freshly ground black pepper, to taste
- 1 cup shredded Mexican blend cheese
- 2 tablespoons chopped fresh cilantro leaves
Directions
- In a large saucepan of 1 1 /2 cups water, cook rice according to package instructions; set aside.
- Heat olive oil in a large skillet over medium high heat. Add garlic, onion and bell pepper, and cook, stirring frequently, until onions have become translucent, about 2-3 minutes.
- Stir in rice, corn, black beans, enchilada sauces, chili powder, cumin and oregano until well combined and heated through, about 2-3 minutes; season with salt and pepper, to taste.
- Remove from heat and top with cheese. Cover until cheese has melted, about 2 minutes.
- Serve immediately, garnished with cilantro.
Recipe from: damndelicious.net, saved in Lucy's cookbook.
Cheesy Garlic Bread
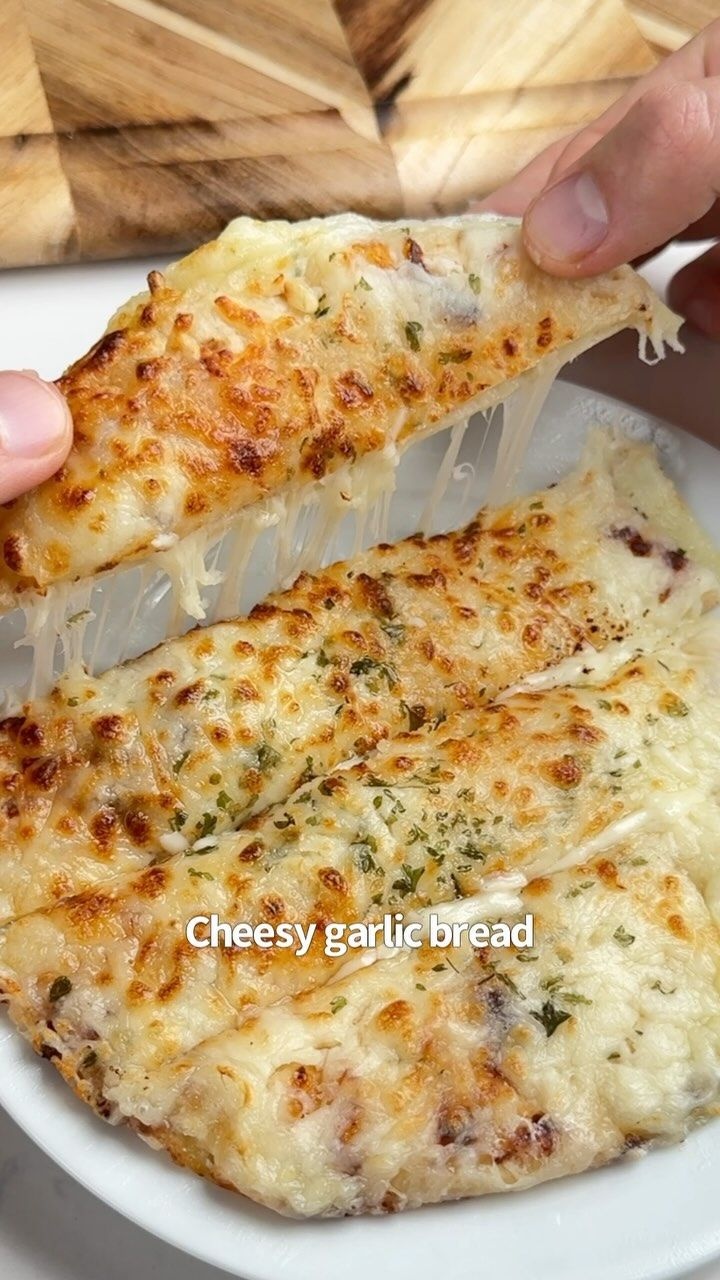
Say “YUM” if you would eat this Cheesy Garlic Bread 🥖😋🙌
Ingredients
- 2 low carb tortillas
- 2 oz cream cheese
- ½ cup shredded mozzarella
- 2 tbsp melted butter
- 1 tsp garlic, minced
- 1 tsp chopped parsley
Directions
- Spread your cream cheese on a tortilla and add half of your mozzarella. Top with the other tortilla.
- Mix the butter, garlic & parsley and brush on each side of the tortillas.
- Add your final layer of mozzarella to the top & air fry @ 380F for 8-10 mins.
- Take it out, serve with more garlic butter and enjoy!
Recipe from: instagram.com, saved in Lucy's cookbook.
Cheesy Ground Beef and Rice Casserole
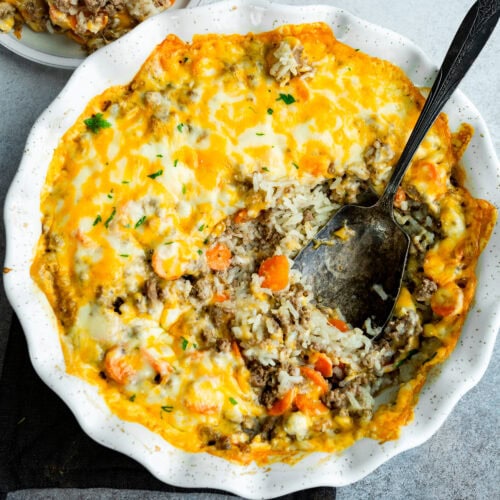
Picky eaters are going to love this Cheesy Ground Beef and Rice Casserole. Mom called it busy day casserole because it’s a quick and easy dinner.
Ingredients
- Quick recipe:
- 1 Can Cream of Mushroom Soup
- 1 Cup Long Grain White Rice, uncooked
- 2 cups Water
- 1 Cup Carrots, sliced
- ½ 1 Pound Ground Beef, cooked
- 1 Cheddar or Colby Jack Cheese, sliced about 9 pieces
- Semi homemade:
- 1 Cup Long Grain White Rice, uncooked
- 2 cups Water
- ½ to 1 Pound Ground Beef, cooked, depending on preference
- 1 Cup Carrots, sliced
- 1 Pacific Foods Mushroom Gravy, 13.9 ounces
- ½ Cup Milk
- 1 Colby Jack or Medium Cheddar Cheese, for topping
- From scratch:
- 3 tablespoons Unsalted Butter
- ¼ Cup Onion, minced
- 1 Clove Garlic, minced
- ½ Cup White Button Mushroom, minced
- 3 tablespoons Flour
- ½ Cup Cream
- ½ Cup Chicken Broth
- ¼ teaspoon Freshly Ground Black Pepper
- Salt, to taste
- 2 cups Water
- ½ 1 Pound Ground Beef, cooked
- 1 Cup Carrots, sliced
- 1 Cheddar or Colby Jack Cheese, sliced, about 9 slices
- 1 Cup Long Grain White Rice, uncooked
Directions
- Quick recipe:
- Heat the oven to 350 degrees and spray an 8×9" baking dish with nonstick spray.
- Stir together the soup, rice, water, carrots, and beef.
- Place in the baking dish and bake for 90 minutes.
- Top with cheese slices and bake a few more minutes or until melted.
- Semi homemade:
- Heat the oven to 350 degrees and grease an 8×9″ baking dish.
- Whisk together the water, mushroom gravy, and milk.
- Add the mushroom mix, rice, cooked beef and carrots to a bowl and stir to combine.
- Dump into an 8×9″ baking dish and bake, uncovered for 90 minutes.
- Add slices of cheese and return to the oven for another couple of minutes or until the cheese is melted.
- From scratch:
- In a medium pan over medium heat, add the butter and melt.
- Whisk in the onion, garlic and mushrooms.
- Add the flour, whisking continually and cook for 30-60 seconds.
- Add the cream and broth and cook until thick.
- Season and remove from heat.
- Heat the oven to 350 and spray an 8×9″ baking dish with nonstick spray.
- Place the cream mixture, rice, water, beef and carrots into the dish and stir to combine.
- Bake for 90 minutes, add the cheese and bake for a few more minutes or until melted.
Notes
May be reheated in the oven or microwave. *The nutritional information is based on the from scratch version of the recipe.
Nutrition (per serving)
Serving Size: 1 · Calories: 208 · Fat: 15 · Saturated fat: 8 · Trans fat: 1 · Carbs: 11 · Sugar: 2 · Fiber: 1 · Protein: 7 · Sodium: 93 · Cholesterol: 49
Recipe from: ohsweetbasil.com, saved in Lucy's cookbook.
Cheesy Mexican Honey Beef Pasta
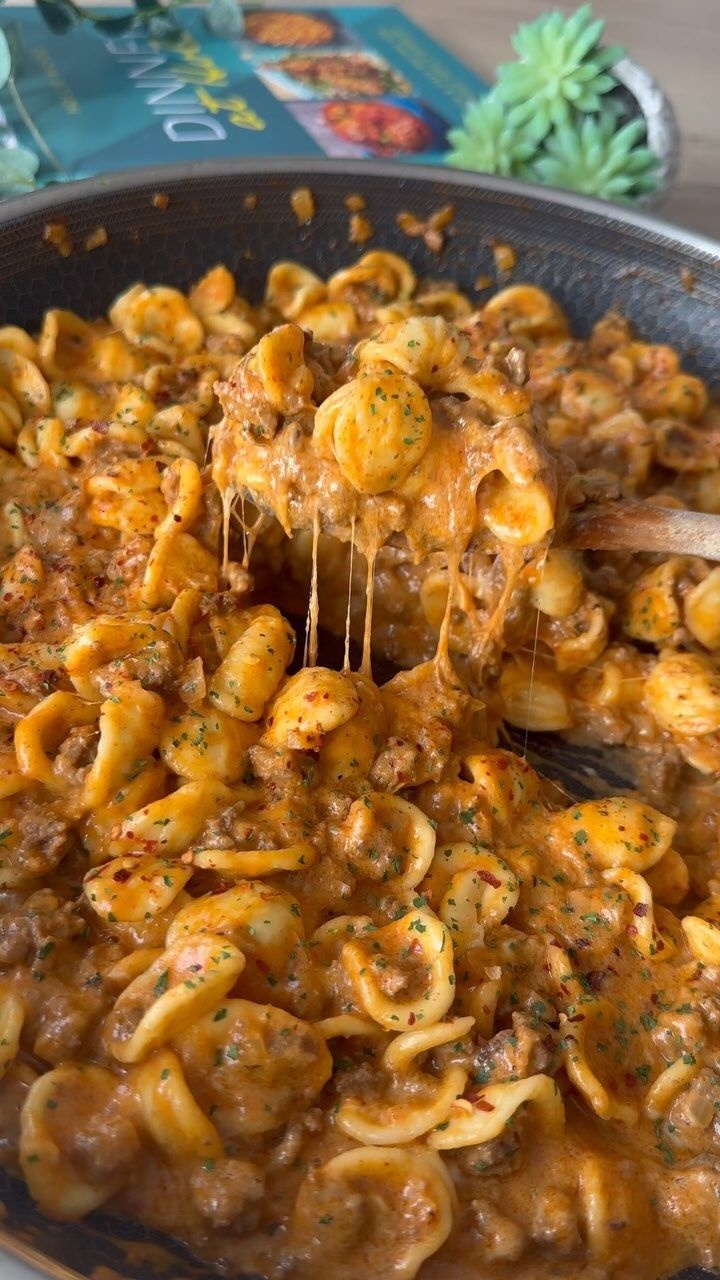
Ingredients
- 300 g pasta, uncooked weight
- 500 g beef mince
- 1 onion, finely diced
- 1 tbs garlic powder
- 1 tbs smoked paprika
- 2 tbs Mexican seasoning - I used fajita, 1-2
- 3 tsp garlic purée - or 3 cloves
- 2 tbs tomato puree
- 1 tbs Honey
- 300 ml chicken or beef stock
- 120 ml single cream - I used elmlea light
- 60 g mozzarella
- Salt and pepper to taste
- Parsley and chilli flakes to garnish, optional
Directions
- Fry off the beef mince until it’s starting to brown and then add in the seasoning.
- Meanwhile pop your pasta on to boil in salted water.
- Once the beef has browned add in the onions and cook until soft.
- Then add in the garlic, tomato puree and honey and cook for a few minutes mixing well.
- Add in the stock and cream and cook until the sauce has thickened.
- Add in the pasta and the mozzarella and season to taste.
- Garnish.
- Serve and enjoy.
Nutrition (per serving)
Calories: 603 · Protein: 48.3
Recipe from: instagram.com, saved in Lucy's cookbook.
Cheesy Sausage Wonton Cups

Cheesy Sausage Wonton Cups😮 💨
Ingredients
- 1 lb of original sausage
- 12 oz wonton wraps
- 8 oz Mexican blend shredded cheese
- ¾ cup chopped red and green bell peppers
- ½ cup ranch dressing
Directions
- Heat a skillet over medium-high heat. Brown 1 lb of sausage and drain any extra grease.
- Place wonton wraps in a muffin pan and bake at 350 degrees F for 5 minutes until they are just starting to lightly brown.
- In a large bowl, combine browned sausage, shredded cheese, the chopped peppers, and ranch dressing. Stir everything together well.
- Fill wontons with the sausage and cheese mixture and put them back in the oven for about 5-10 minutes until the cheese is melted.
Notes
This makes about 30 loaded wontons depending on how much filling is used. These have been a family favorite for years!
Recipe from: instagram.com, saved in Lucy's cookbook.
Cheesy Taco Potato Skillet
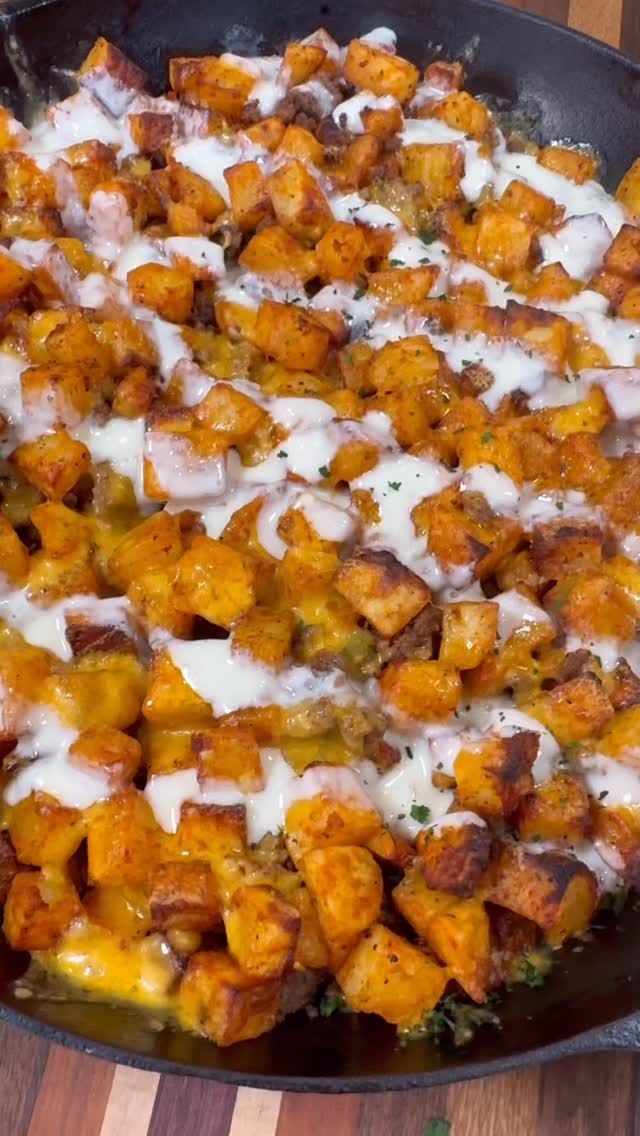
Cheesy Taco Potato Skillet😮 💨
Ingredients
- 5 small/medium potatoes
- 1 olive oil + salt, pepper, garlic powder, and paprika, for potatoes
- 1 lb ground beef
- ½ tsp salt and pepper
- ¼ tsp cayenne
- 2 tsp chili powder
- 1 tsp each of cumin, paprika, and dried cilantro
- 1 tbsp minced garlic
- 1 Shredded cheddar cheese
- 1 ½ cups white Queso
- 1 Sour cream
- 1 Cilantro
Directions
- Peel, wash potatoes, and cut up into cubes.
- Toss with olive oil, salt, pepper, garlic powder, and paprika (I don’t use exact measurements for this part).
- Cook potatoes in the air fryer at 400 degrees for about 20-25 minutes shaking them around at least a couple times while they cook.
- Heat a skillet over medium high heat.
- Add the ground beef to the skillet and cook until browned. Drain any extra grease. Season with salt, cayenne, chili powder, cumin, paprika, dried cilantro, and black pepper. Add minced garlic and stir well.
- Once the potatoes and ground beef are cooked combine them together in the skillet and top with shredded cheddar cheese. Put the skillet in the oven at 400 degrees F to melt the cheese.
- Pour warmed up Queso over them. Top with sour cream and cilantro. This is also good wrapped up in tortillas as burritos!
Notes
😍😍😍
Recipe from: instagram.com, saved in Lucy's cookbook.
Cheesy Taco Sticks

Cheesy Taco Sticks combine the bold flavors of tacos with the irresistible pull of melted cheese, all wrapped in a crispy, golden breadstick. This fun twist on tacos makes for a perfect snack, appetizer, or even a light meal. With seasoned beef, two kinds of gooey cheese, and a crisp pizza dough crust, these taco sticks are sure to be a hit at your next gathering. Serve them alongside your favorite dips, like salsa and sour cream, for an extra layer of flavor. Whether you’re hosting a game night or just want a cheesy, savory treat, these Cheesy Taco Sticks will satisfy any craving. They’re quick, easy, and bound to impress!
Ingredients
- 1 can refrigerated pizza dough
- ½ pound ground beef
- 1 packet taco seasoning
- 1 cup shredded cheddar cheese
- 1 cup shredded mozzarella cheese
- 1 tablespoon butter, melted
- ¼ teaspoon garlic powder
- 1 Salsa and sour cream for dipping
Directions
- Preheat oven to 375°F (190°C).
- In a skillet, cook ground beef over medium heat until browned. Drain any excess fat, then stir in taco seasoning according to the packet instructions. Set aside.
- Roll out the pizza dough on a floured surface into a large rectangle.
- Spread the cooked taco meat evenly over one half of the dough. Sprinkle the shredded cheddar and mozzarella cheese on top of the meat.
- Fold the other half of the dough over the filling and press the edges to seal.
- Cut the stuffed dough into strips about 1 inch wide. Twist each strip and place on a parchment-lined baking sheet.
- Brush the tops of the twisted sticks with melted butter and sprinkle with garlic powder.
- Bake for 15–20 minutes, or until golden brown and crispy.
- Serve with salsa and sour cream for dipping.
Nutrition (per serving)
Calories: 320
Recipe from: medium.com, saved in Lucy's cookbook.
Chewy Oatmeal Lace Cookies
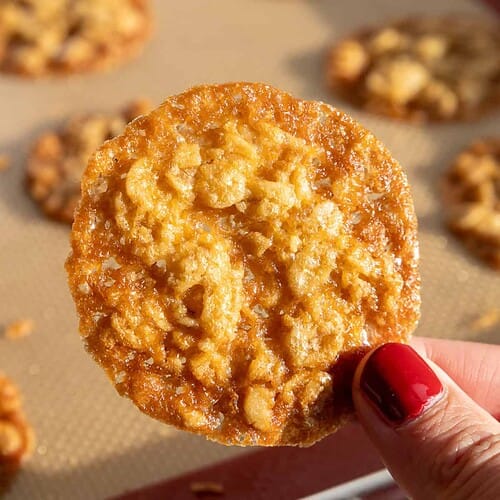
These chewy oatmeal lace cookies are super easy to make and are one of my favorite cookie recipes! They're perfectly caramelized so they have crispy golden brown edges and a chewy center.
Ingredients
- Chewy oatmeal lace cookies:
- ½ cup unsalted butter, room temperature 113g, 1 stick
- 1 cup packed light brown sugar 200 g
- 1 cup old fashioned oats 96 g
- 1 Tbsp + 1 tsp all-purpose flour 12 g
- ½ tsp fine salt 3 g
- 1 large egg, room temperature 56g
- 1 tsp vanilla extract or vanilla bean paste 4 g
Directions
- Preheat the oven to 375ºF/ 190ºC and line 4 large baking sheets with silicone baking mats or parchment paper. Set aside. If you don't have that many baking sheets, line however many you have.
- Add 1/2 cup of butter and 1 cup of packed brown sugar in a large frying pan and heat over medium heat. Stir frequently until the butter has fully melted and the mixture is smooth and no clumps of brown sugar remain. It's ok if the butter and brown sugar aren't fully combined. The mixture will come together once we mix in the remaining ingredients. Remove from heat.
- Stir in 1 cup of oats, 1 Tbsp + 1 tsp flour, and 1/2 tsp salt. Mix until the oats are fully covered with the brown sugar/butter mixture.
- Then mix in 1 large egg and 1 tsp of vanilla extract. Stir until fully incorporated. The batter should be a little soupy/thin!
- Drop 1 tsp of cookie batter onto the prepared baking sheets to make each cookie. Leave at least 2 inches between each cookie to allow them to spread.
- Bake two trays at a time for 5-7 minutes (the sweet spot in my oven is 6 1/2 minutes, but it will vary from oven to oven), until the edges are just starting to brown. If you like a chewier cookie, you can pull them out before the edges have browned much. If you like crispier edges, make sure the edges are nice and golden brown before pulling them out of the oven.
- As soon as the two trays are done, pop in the next round. Keep a close eye on these, as the bake time can also vary based on how much batter you use to make each cookie and how warm the batter is when the cookies are baked.
- If the cookies come out of the oven and aren't as circular as you'd like, use a large circle cutter or a large glass to scoot the sides of the cookies and reshape them into a circle while they're still warm.
- Let the cookies cool on the sheets for 15 minutes, then move to wire racks to cool completely. Drop more cookie batter onto the cleared cookie sheets and repeat steps 5 & 6 until you've used all your batter.
- If you don't plan to eat these cookies immediately, keep them out at room temperature in an airtight container for up to 5 days. Baked cookies can also be frozen in an airtight container or freezer ziplock bag for up to a month.
Notes
How Many Cookies Does This Recipe Make? This recipe makes about 60 small cookies, but the yield will vary based on how much batter you use per cookie. If you want to make larger cookies, I recommend using 2 tsp of batter per cookie and making sure the cookies are at least 3 inches apart on the baking sheet before being baked. Bake time will be a couple of minutes longer. How to Make the Best Chewy Oatmeal Lace Cookies Leave about 2 inches between each cookie as you spoon out the batter. They spread out quite a bit while they bake. Use a rounded teaspoon of batter to make each cookie. This will help you make chewy cookies with golden brown, caramelized edges. Make sure the cookie mixture isn’t too hot when you add in the egg. You don’t want the heat from the dough to scramble the egg! If the cookies come out of the oven and aren’t as circular as you’d like, use a large circle cutter or a large glass to scoot the sides of the cookies and reshape them into a circle. Let the cookies cool for at least 15 minutes on the pan before you try to move them to a wire rack. Making These Oatmeal Lace Cookies in Advance These cookies can be made in advance! Store them at room temperature in an airtight container for up to 5 days. Baked cookies can also be frozen in an airtight container or freezer ziplock bag for up to a month.
Nutrition (per serving)
Serving Size: 1 · Calories: 32 · Fat: 2 · Saturated fat: 1 · Carbs: 4 · Sugar: 3 · Sodium: 22 · Cholesterol: 7
Recipe from: chelsweets.com, saved in Lucy's cookbook.
Chick-fil-A Nuggets Dupe
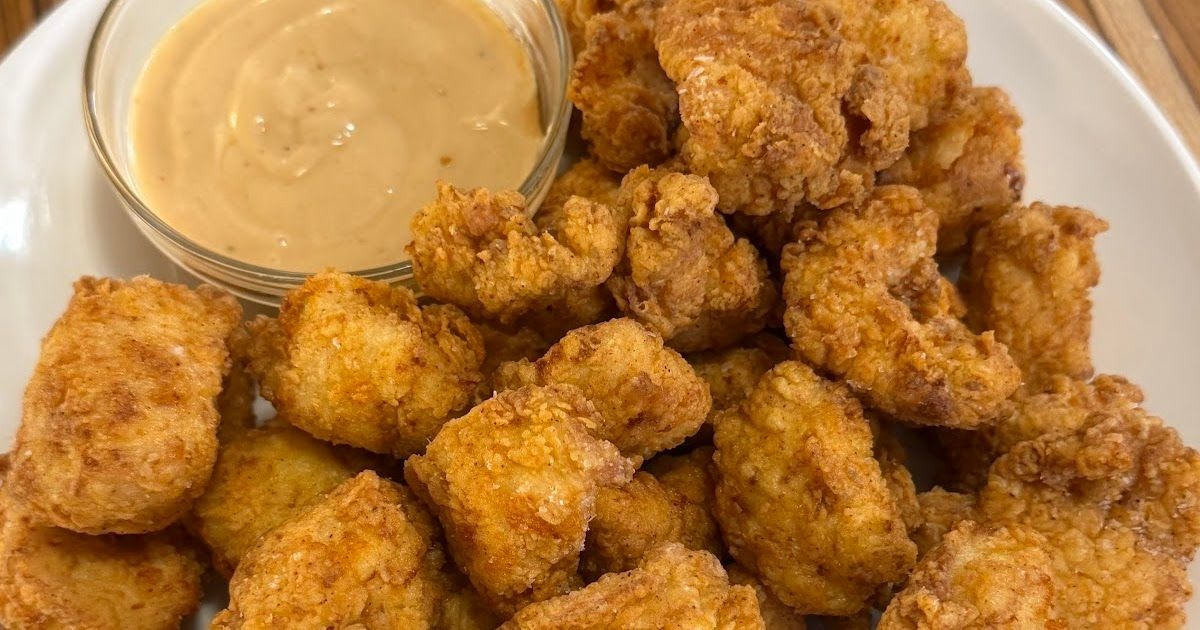
I worked at Chick fil A for way too long, and I probably made an unreal amount of nuggets while I was there, so let me show you how to make them at home. It is easier than you think, way cheaper, and honestly hits that same classic flavor when you do it right. The biggest key is the pickle juice marinade. Cut your chicken into bite sized pieces, let it sit in pickle juice for at least thirty minutes, and you are already halfway to that signature Chick fil A taste. From there it is a simple two step breading. A milk and egg wash, then a seasoned flour mixture with salt, paprika, black pepper, and the real secret, a little sugar. That tiny bit of sweetness is what makes the coating taste like the real thing. Fry the nuggets in peanut oil at 350 until golden and cooked through, then let them drain for a minute before serving. No pressure fryer required, just good technique and the right flavor combo. Now you can make Chick fil A nuggets at home any day of the week, even on Sunday, enjoyyy! ❤️
Ingredients
- 4 chicken breasts
- 1 cup dill pickle juice
- 2 large eggs
- 1 cup whole milk
- 1 ½ cups all-purpose flour
- 2 teaspoons white granulated sugar
- 2 teaspoons paprika
- 1 teaspoon ground black pepper
- 2 teaspoons kosher salt
- 8 cups peanut oil
- 1 Salt, for topping
Directions
- Cut the chicken breasts into 1-inch chunks. Place in a medium bowl and pour the dill pickle juice over the chicken. Cover and refrigerate for at least 30 minutes and up to 2 hours.
- In a mixing bowl, whisk together the eggs, whole milk, and 1 tablespoon of the dill pickle marinade. This is your egg wash.
- In a separate bowl, whisk together the all-purpose flour, paprika, black pepper, kosher salt, and sugar.
- Pour the peanut oil into a large heavy-bottom pot and heat over medium to medium-high until the oil reaches 350°F. A digital thermometer is highly recommended.
- When the chicken has finished marinating, drain it and transfer it to the egg wash. Toss to fully coat.
- Remove the chicken from the egg wash, allowing excess liquid to drip off, then transfer to the flour mixture. Toss with your fingers until evenly coated.
- Shake off excess flour from each piece.
- Carefully lower the chicken into the 350°F oil in batches. Fry for 5–7 minutes, or until the internal temperature reaches 160°F.
- Remove the cooked nuggets and place on a wire rack or paper towels. Lightly sprinkle with kosher salt while hot.
- Serve hot with your favorite dipping sauce.
Notes
Do not coat the chicken in the flour mixture (next step) unless your oil is fully preheated. Letting the coated chicken sit too long before frying can cause the breading to clump or fall off. Chicken is safe at 165°F. Removing at 160°F allows carryover cooking to bring it to temperature while keeping the nuggets juicy. These nuggets reheat really well in the air fryer or the oven; I often make large batches ahead of time and reheat them as needed. The nuggets will stay fresh for 3 days in an airtight container or Ziploc bag.
Recipe from: dishwithdrew.com, saved in Lucy's cookbook.
Chicken & Dumplings
Ingredients
- 1 chopped onion
- 3 chopped carrots
- 4 chopped celery stalks
- 1 Tbsp minced fresh rosemary
- 3 Tbsp olive oil
- 8 cloves minced garlic
- ¼ tsp each salt & pepper
- 4 Tbsp unsalted butter
- 4 Tbsp all-purpose flour
- 12 oz evaporated milk
- 6 cups chicken broth
- 3 stalks fresh rosemary
- 2 cooked, shredded chicken breasts
- 1 tsp each bouillon, pepper, and paprika
- 8 Pillsbury butter biscuits, quartered
Directions
- Heat the olive oil in a large saucepan over medium heat. Add the minced rosemary and stir for 30 seconds before adding the onions, carrots, and celery.
- Once the onions are translucent, add the garlic, salt, and pepper. Cook and stir until garlic is fragrant.
- Add in the butter. Once melted, stir in the flour. Keep stirring until the flour turns golden brown and the mixture has thickened.
- Slowly pour in the evaporated milk and stir to combine. Once thickened, pour in the chicken broth. Add the chicken, seasonings, and rosemary stalks. Cover and simmer for 10 minutes.
- Remove the rosemary stalks and add in the biscuits. Cover and simmer for 10 minutes or until biscuits are fully cooked.
From Lucy's own cookbook collection.
Chicken & Yogurt🤤
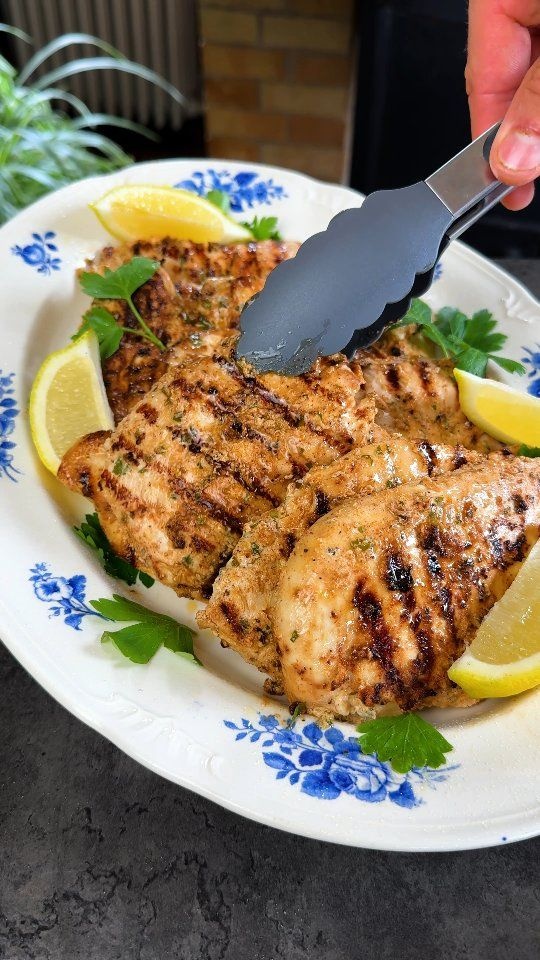
Looking for a healthy marinade for your chicken? Got ya! This one is PERFECT!😍 Creamy and tasty while being low fat and high in protein, this marinated chicken is an absolute must-try!🔥 Pair it with any veggie you like or with some rice (or both!) and enjoy a tender and tasty chicken✨ I really hope you like it! And as you can see, it can't get any easier than that✨
Ingredients
- 1 Chicken
- 1 Low-fat Greek yogurt
- 1 Olive oil
- 1 Honey
- 1 Lemon juice & zest
- 1 Garlic
- 1 Parsley
- 1 Salt & pepper
- 1 Paprika, onion powder, dried oregano, dried basil, cayenne pepper, coriander & cumin
Directions
Notes
😍❤️😍❤️😍🙌
Nutrition (per serving)
Calories: 149 · Fat: 8 · Carbs: 5 · Protein: 14
Recipe from: instagram.com, saved in Lucy's cookbook.
Chicken Alfredo Bake
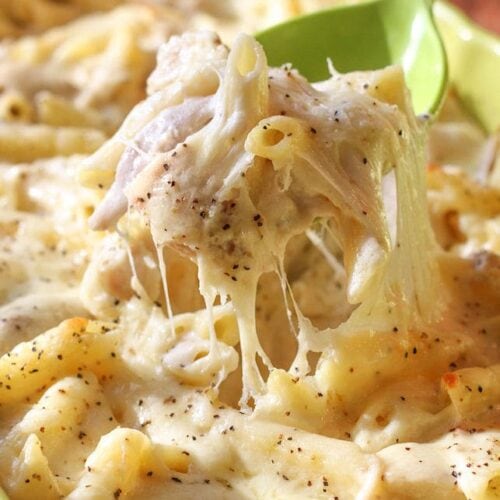
Cheesy Chicken Alfredo Bake is a simple twist on a family favorite! It’s an easy dinner, perfect any night of the week.
Ingredients
- 12 oz pkg penne pasta
- 3 boneless skinless chicken breasts marinated in Italian dressing if desired
- 1 vegetable oil
- ¼ tsp thyme
- ¼ tsp poultry seasoning
- salt and pepper to taste
- 2 TB olive oil
- ½ c butter
- 2 tsp minced garlic
- 4 TB all-purpose flour
- 3 c half and half
- 3 c milk
- 3 c Kraft Italian Five Cheese Blend divided
- Italian Seasoning, garnish
Directions
- If time allows, always try to marinate your chicken. Throw them in a bag of Italian dressing and let sit overnight or even a few hours will help your chicken to be tender and full of flavor.
- Cook pasta as directed. Drain and set aside.
- While pasta is cooking, heat 1 – 2 TB of oil in a skillet on medium heat.
- Slice your marinated chicken in half so they are thinner pieces. This will help them cook through evenly.
- In a bowl mix salt, pepper, thyme and poultry seasoning and rub it on all sides of your chicken breasts. Add chicken to hot oil and cook on both sides until done (about 15-20 minutes). Remove to a plate to let cool.
- While the chicken is cooling, preheat your oven to 350°F and start on your sauce. In a separate large skillet melt the butter; add garlic and cook for 1 – 2 minutes.
- Using a wire whisk, mix in flour and stir until bubbly. Mix in half & half and milk, stir to combine. Bring to a boil and then reduce to low heat and simmer for 5 minutes.
- With your whisk, mix in 1½ cup of cheese. Cook an additional 5 minutes until sauce starts to thicken. Remove sauce from heat.
- Cut your cooked chicken into bite size pieces and add to a large bowl. Add the pasta to your bowl and then the sauce. Mix everything to combine.
- Spray a 9×13 baking pan with non stick spray. Add the pasta mixture to the pan and sprinkle with an additional 1½ cup of cheese.
- Sprinkle with pepper and bake for 30 minutes or until bubbly and golden brown.
Nutrition (per serving)
Calories: 588 · Fat: 44 · Saturated fat: 25 · Carbs: 11 · Sugar: 5 · Fiber: 0.9 · Protein: 34 · Sodium: 539 · Cholesterol: 171
Recipe from: lilluna.com, saved in Lucy's cookbook.
Chicken Alfredo Lasagna Rolls
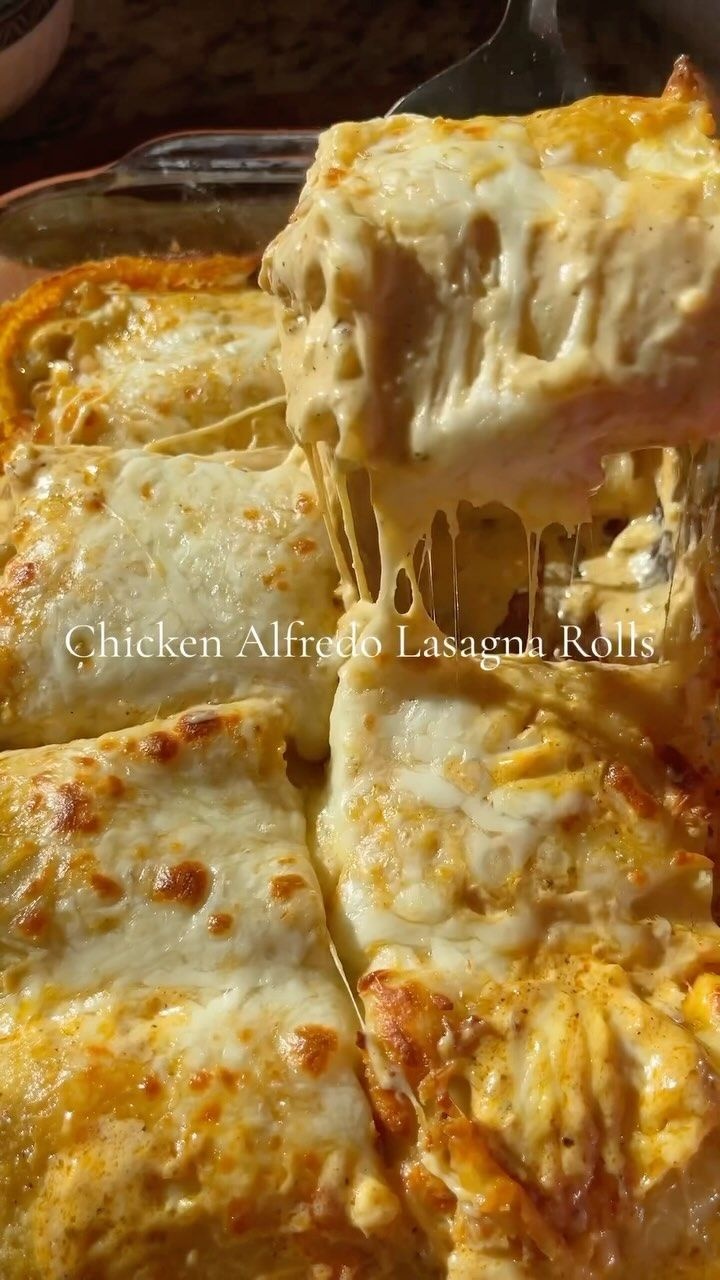
Indulge in these heavenly Chicken Alfredo Lasagna Rolls! Perfectly creamy, cheesy, and packed with flavor, they’re sure to be a hit at your dinner table. Give them a try and let the compliments roll in! 😋🍽️
Ingredients
- For the alfredo sauce:
- ¼ cup butter, cut into large cubes
- 1 ½ cups heavy cream
- Pinch of nutmeg
- Pinch of crushed red pepper flakes
- 1 ½ cups freshly grated Parmigiano-Reggiano cheese
- For the lasagna rolls:
- 9 uncooked/dry lasagna noodles
- 1 cup ricotta cheese
- 1 large egg
- 1 ½ cups shredded mozzarella, divided
- 2 cups cooked, shredded rotisserie chicken
- Fresh chopped parsley, for garnish
Directions
- Spread 1/9th of the mixture (about 1/3 cup each) onto the length of each lasagna noodle and roll up in a jelly-roll fashion.
- Arrange rolls, seam side down, in the baking dish. Top with remaining 1 cup of Alfredo sauce, and remaining 1/2 cup mozzarella cheese.
- Cover loosely with foil and bake for about 25 minutes or until cheese has melted and the inside is warmed through.
- Sprinkle with some fresh chopped parsley, serve and enjoy!
Notes
@cutechicky1 it’s literally not even rotisserie chicken like everything is wrong in this video and recipe
Recipe from: instagram.com, saved in Lucy's cookbook.
Chicken fajita rice
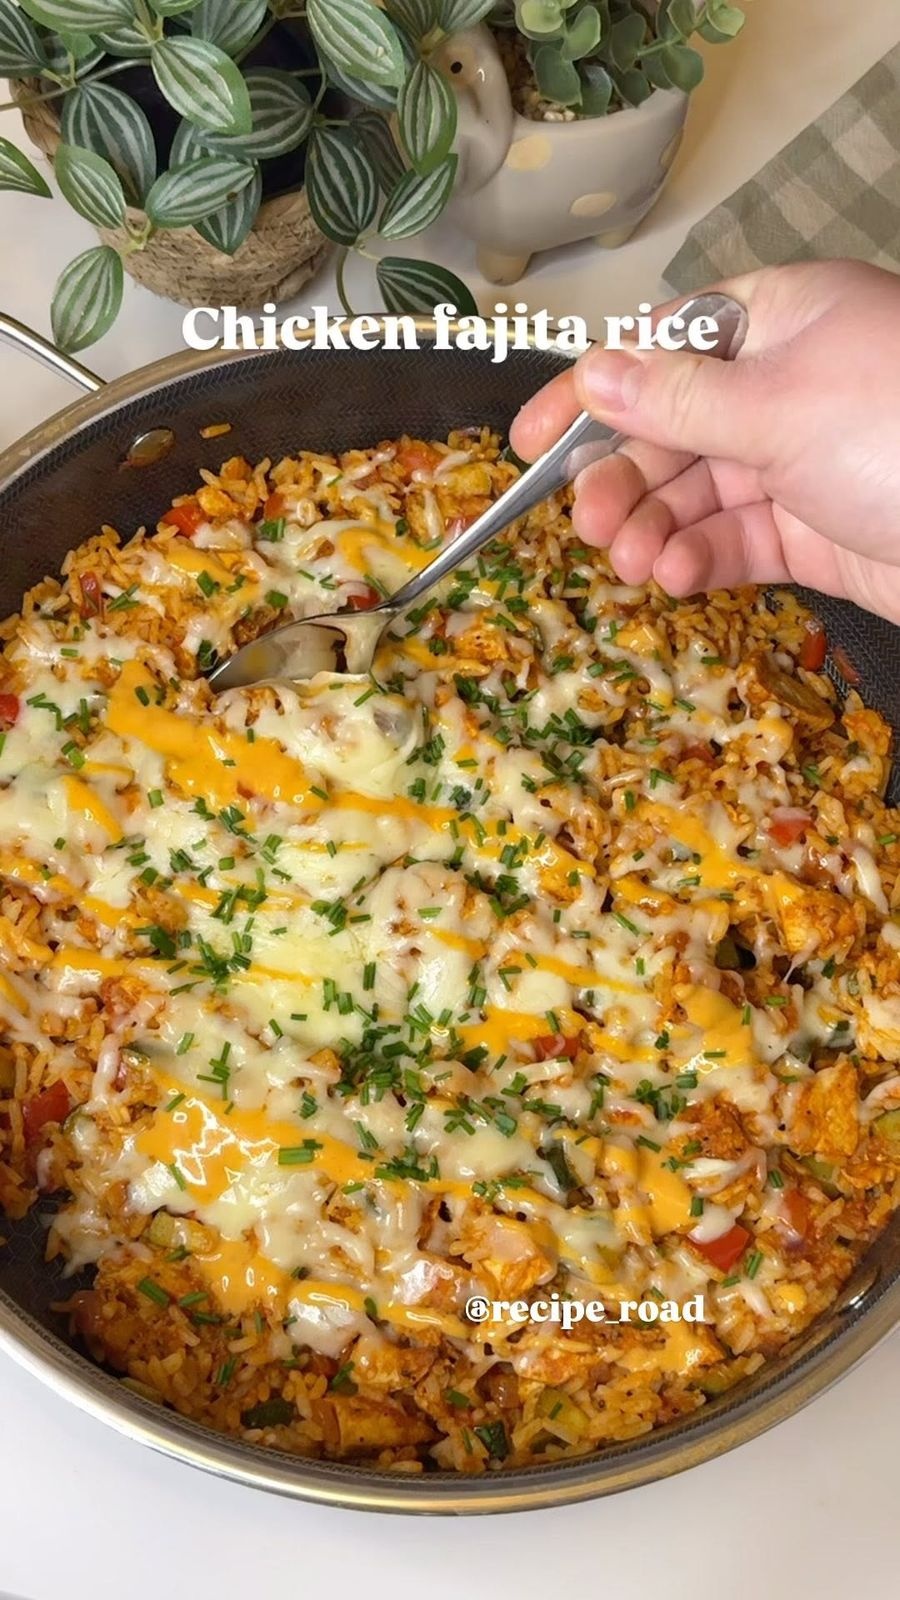
Chicken fajita rice 🍚
Ingredients
- For the chicken:
- 400 g chicken mini fillets
- 1 tsp paprika
- 1 tsp garlic granules
- ½ tsp onion granules
- pepper to taste
- ½ tbsp extra virgin olive oil
- For the rice:
- 320 g cooked white rice
- 1 red onion, chopped
- ½ red bell pepper, chopped
- 1 medium courgette, chopped
- 2 tomatoes, peeled and chopped
- 25 g old El Paso roasted tomato and pepper fajita seasoning mix
- 1 ½ tbsp tomato purée
- 60 ml water
- 60 g grated cheddar and mozzarella cheese mix
- 1 tbsp chopped chives
- ½ tbsp mayonnaise
- 1 tbsp sriracha sauce
Directions
Recipe from: instagram.com, saved in Lucy's cookbook.
Chicken Pot Pie Soup
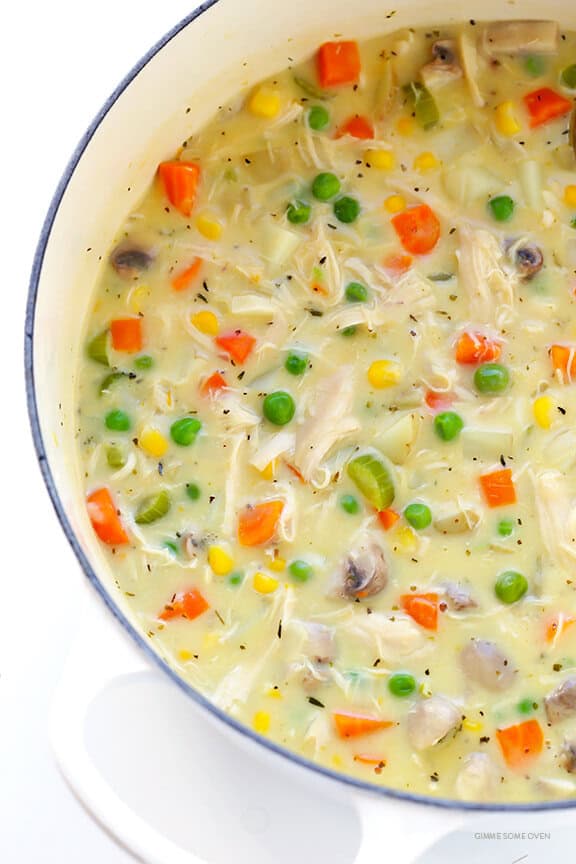
This Chicken Pot Pie Soup recipe is simple to make, lightened up with a few easy tweaks, and deliciously rich and creamy.
Ingredients
- 4 tablespoons butter or olive oil
- 1 medium onion, peeled and diced
- 2 medium carrots, peeled and diced
- 2 celery stalks, diced
- 4 cloves garlic, peeled and minced
- 4 ounces button or baby bella mushrooms, diced
- ⅓ cup all-purpose or white whole wheat flour
- 3 cups chicken stock
- 2 cups milk
- 3 cups shredded cooked chicken
- 1 pound Yukon gold potatoes, diced
- 1 cup frozen corn
- 1 cup frozen peas
- 1 teaspoon Italian seasoning, homemade or store-bought
- ½ teaspoon salt
- ½ teaspoon freshly-cracked black pepper
Directions
- Heat butter in a large stockpot over medium-high heat until melted (or heat the olive oil until it is shimmering). Add onion, carrots, and celery. Saute for 6-7 minutes, stirring frequently, until the onion is soft and translucent. Add in the garlic and mushrooms, and saute for an additional 2-3 minutes, stirring frequently, until the garlic is fragrant.
- Stir in the flour until it is completely combined, and saute for an additional 1 minute, stirring occasionally. Gradually add in the chicken stock and milk, stirring frequently. Stir in the chicken, potatoes, corn, peas, Italian seasoning, salt and pepper until combined.
- Bring the mixture to a simmer (be careful not to bring it to a boil!), stirring occasionally so that the bottom of the soup does not stick to the pan. Then reduce heat to medium-low, and continue simmering the soup for 10-15 minutes until the potatoes are soft and cooked through.
- Taste the soup and season with additional salt and pepper, if needed.
- Serve immediately, with crackers on top or on the side, if desired.
Recipe from: gimmesomeoven.com, saved in Lucy's cookbook.
CHICKEN TERIYAKI CRISPY RICE

CHICKEN TERIYAKI CRISPY RICE ✨my OG viral recipe✨ If you don’t like or eat seafood, this ones for you! This was my take on *spicy tuna crispy rice* that you can order from sushi restaurants. enjoy y’all ! 😉
Ingredients
- Chicken teriyaki topping:
- 2 cups Chicken, chopped/cooked
- 8 Teriyaki sauce, 6-8
- 4 tbsp Whipped Cream cheese, 3-4
- 2 Scallions, chopped
- 1 tbsp Spicy Mayo
- Crispy rice:
- 1 ¼ cup Sushi Rice, dry
- 1 ½ tbsp Rice vinegar
- 1 ½ tsp Sugar or *monkfruit
- Pinch of salt
- 1 High heat cooking oil
Directions
- Chicken teriyaki topping:
- Add everything to a mixing bowl (starting out with less teriyaki sauce and cream cheese at first, only add in the rest later if needed) and stir until combined. *Note* Adjust teriyaki sauce, based off of the one you are using cause depending on which one/ the consistency differs* I used homemade. Some are thicker than others so please keep that in mind!
- Crispy rice:
- Cook rice according to your sushi rice package.
- Place in a pan *I used a 10 x6 dish, but 8x8 would work great!
- Line pan w/ plastic wrap or parchment paper.
- Once rice has cooled a bit, evenly place it in the pan. Press the rice down to evenly distribute it around the edges of the pan.
- Place in the fridge overnight.
- Carefully cut rice into squares, cleaning your knife with a wet paper towel each time.
- Fry the rice in oil on medium-high heat for about 3-4 minutes, keeping an eye on it until it’s golden, it can burn quickly so again only until golden. Take out carefully and place on a paper towel.
- Top with the mixture. Enjoy!
- To the cooked rice:
- Add in sugar, rice vinegar, salt and stir.
Recipe from: instagram.com, saved in Lucy's cookbook.
Chicken Teriyaki Crispy Rice Cups
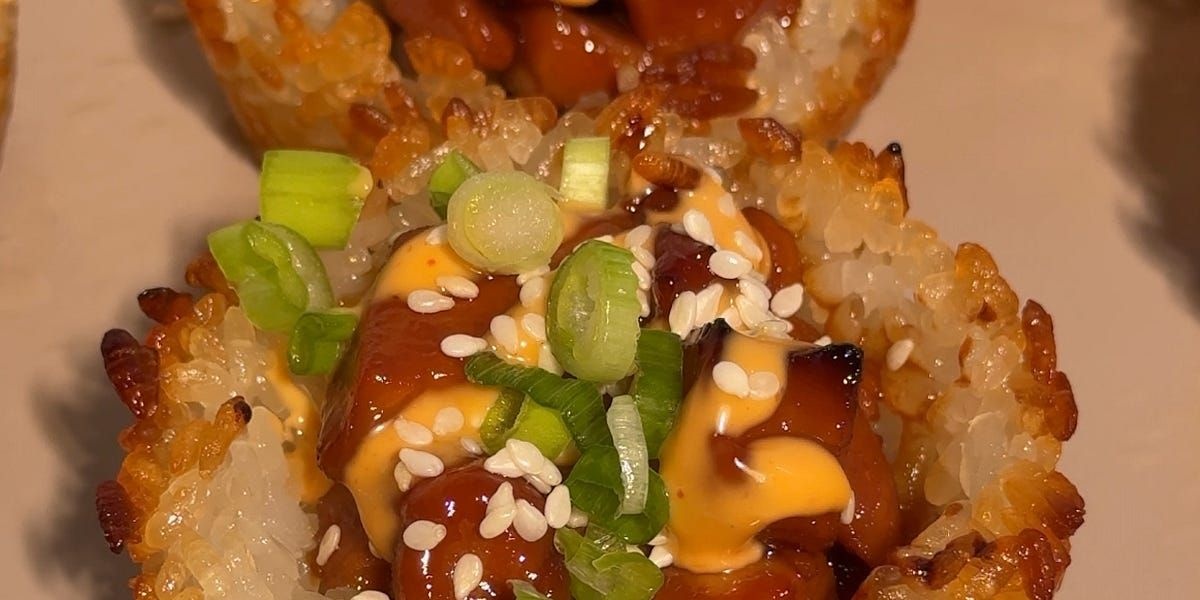
Because why not make everything hand-held
Ingredients
- 1 Teriyaki Sauce
- 1 ½ t Corn Starch
- 2 T Rice Vinegar
- 3 T Water
- 1 Clove Garlic, minced
- 1 t Fresh Ginger, minced
- 6 T Soy Sauce
- 2 T Honey
- 2 T Brown Sugar
- 1 t Sesame Oil
- 1 Other Ingredients
- 16 oz Sushi Rice, cooked
- 1 0.25 lbs Chicken Breasts, diced into 0.25-0.5 chunks
- 1 Spicy Mayo
- 1 Sesame Seeds
- 1 Scallions, chopped
- 1 Avocado Oil / Avocado Oil spray
Directions
- Combine all sauce ingredients, stir well
- Add about 2 T avocado oil or spray to sauté pan. Add chicken and cook over medium/high heat for about 10-12 min, until chicken is mostly cooked.
- Add sauce, stirring to combine. Cook for about 5 min, until sauce thickens & becomes shiny. Set aside.
- Coat muffin tin with avocado oil. (Highly recommend nonstick muffin tin for this recipe)
- Scoop equal amounts of rice into each compartment about 3/4 way full. Use a 1/4 measuring cup to smooth and even the top of the rice. Center the measuring cup on top of the rice & press down to create cup. The rice should just reach the top. Freeze for about 45 min. Remove from freezer, spray rice with avocado oil. Bake on 400 for 20 min.
- Remove the muffin tray & scoop equal amounts of chicken into each vessel. Bake for another 10 min. Remove from oven & let set for 10/15 min.
- Use an offset spatula to release any sides that may be stuck - if you use a nonstick, it will slide out easily. Carefully slide the offset spatula under the cup & lift.
- Garnish with spicy mayo, sesame seeds & scallions.
Recipe from: seriousfoodfetish.substack.com, saved in Lucy's cookbook.
Chicken-Pecan Quiche
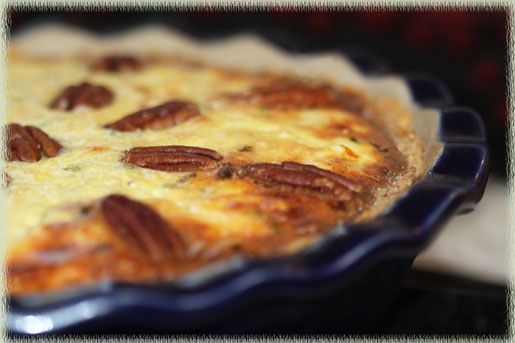
This recipe was inspired by one I found on MyRecipes.com. The crust is what really makes this quiche unique. It's reminiscent of Southern cheese wafers or cheese straws and provides a nice, crunchy foil to the creamy chicken filling. The filling doesn’t use as many eggs or cheese as a typical quiche does, so it turns out a little looser in texture than a traditional custard–style one. To give your filling more eye-appeal, use orange-colored cheese (instead of white cheddar like I used) and add lots of fresh herbs.
Ingredients
- 1 cup all-purpose flour
- 1 cup sharp cheddar cheese, grated
- ¾ cup pecans, chopped
- ½ teaspoon salt
- ¼ teaspoon paprika
- ⅓ cup olive oil
- 1 cup sour cream
- ½ cup chicken broth
- ¼ cup mayonaise
- 3 large eggs, lightly beaten
- 2 cup cooked chicken, finely chopped
- ½ cup sharp cheddar cheese, grated
- ¼ cup white onion, minced
- ¼ cup scallion, finely chopped
- 2 tablespoon chives, chopped, or other fresh herbs
- 4 drop tabasco or other hot sauce, 3-4
- 2 tablespoon freshly grated parmesan, 1-2
- ¼ cup pecan halves
Directions
- Combine first 5 ingredients in a medium bowl; stir well. Add oil; stir well. Firmly press mixture in bottom and up sides of a 9-inch deep-dish pie plate. Bake at 350° for 12 minutes. Cool completely.
- Combine sour cream and next three ingredients; stir with a wire whisk until smooth.
- Stir in chicken and next 5 ingredients.
- Pour chicken mixture over prepared crust. Sprinkle a layer of grated parmesan cheese on top of chicken filling.
- Arrange the pecan halves in radial lines on top of the parmesan-topped filling.
- Bake at 350° F for 55 minutes or until set. Let stand 10 minutes before serving.
Recipe from: food52.com, saved in Lucy's cookbook.
Chili Mac and Cheese Recipe (30 Minute Dinner)
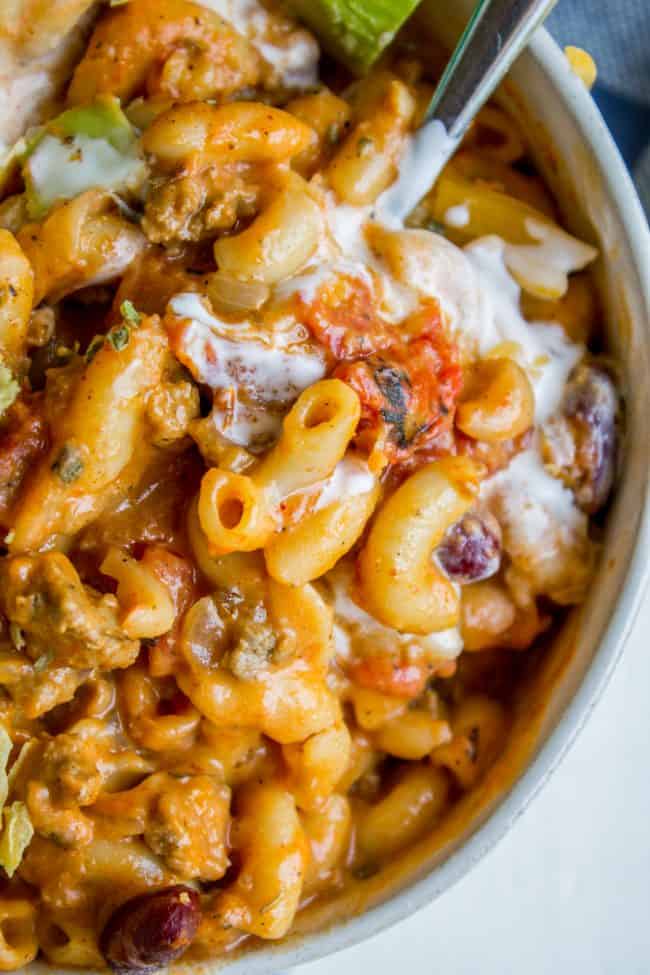
This Chili Mac and Cheese recipe is your new favorite 30 minute dinner! It is so easy to put together and calls for pantry items you always have on hand.
Ingredients
- 1 pound ground beef
- 1 medium onion, chopped
- 2 teaspoons garlic, minced
- 2 tablespoons flour
- 1 teaspoon salt
- ½ teaspoon paprika
- ½ teaspoon smoked paprika
- 1 teaspoon oregano
- 1 ½ teaspoons cumin
- 2 ½ teaspoons chili powder
- 4 cups beef broth *
- 1 can Rotel **, 10-oz, diced tomatoes and green chilies
- 1 can tomato sauce, 8-oz
- 1 can drained beans, any kind, I like white or kidney
- 2 cups dry elbow macaroni
- 8 ounces Velveeta, OR 8 ounces freshly shredded sharp cheddar cheese
- salt and pepper to taste
- To garnish:
- 1 tortilla chips
- 1 sour cream
- 1 shredded cheese
- 1 chopped onions
- 1 avocado
Directions
- Heat a large pot over medium heat and add the ground beef, breaking it up with a wooden spoon. Add the chopped onion and continue cooking for 5-8 minutes, until the ground beef is no longer pink and the onion is translucent.
- Add the minced garlic and cook for 1 minute until fragrant.
- Drain the meat. (I usually do this by setting a colander over a bowl.) Return the beef to the pot.
- Turn the heat on to medium again. Add the flour, salt, paprika, smoked paprika, oregano, cumin, and chili powder. Stir it together and cook for one minute.
- Add the beef broth, Rotel, tomato sauce, and drained beans. (Don’t drain the Rotel, add all those juices in.) Turn the heat up to high and bring to a boil.
- Add the elbow macaroni. If you are using Velveeta, roughly chop it and add it in along with the noodles. Stir occasionally for about 8 minutes until the noodles are al dente and the Velveeta has melted.
- If you are using shredded cheddar cheese, add it after the noodles are al dente. Add the cheese and turn off the heat. Stir until melted.
- Chili mac is nothing without the garnishes:
- crushed tortilla chips, sour cream, shredded cheddar cheese, chopped white onions, avocado…the sky is the limit here.
Notes
*I love to use Better Than Bouillon Beef Base. 4 teaspoons beef base + 4 cups water = 4 cups beef broth. It adds so much flavor to soups. ** Rotel is diced tomatoes with green chilies. I love to use the fire roasted kind, it’s so good! Don’t drain it, open the can and dump the whole thing in.
Nutrition (per serving)
Serving Size: 1 · Calories: 593 · Fat: 21 · Saturated fat: 9 · Trans fat: 1 · Carbs: 65 · Sugar: 8 · Fiber: 8 · Protein: 36 · Sodium: 1104 · Cholesterol: 69
Recipe from: thefoodcharlatan.com, saved in Lucy's cookbook.
Chinese Steamed Egg 水蒸蛋 - microwave hack less than 5min
Chinese Steamed Egg 水蒸蛋 - microwave hack less than 5min. Save this for later! Which toppings is your favorite?
Ingredients
- 2 large eggs
- 1 Warm chicken broth or stock, use 1.5x the weight of the eggs
- 1 teaspoon light soy sauce
- 1 Furikake and sesame oil
Directions
- Crack the eggs into a bowl
- Add warm chicken broth/stock (1.5 times the egg weight).
- Stirr and use a spoon to skim off any bubbles on top.
- Microwave at 360W for 4:30 min. and enjoy with soy sauce and green onions.
Notes
Try it out with your own microwave settings since all brands have different heat exposures.
Recipe from: instagram.com, saved in Lucy's cookbook.
Chinese Steamed Egg 蒸水蛋 - microwave hack less than 5min.
Perfect for meal prep and you don’t have time to cook. Save this for later! Which toppings is your favorite?
Ingredients
- 3 large eggs
- 1 Warm chicken broth or stock, use 1.5x the weight of the eggs
- 1 teaspoon light soy sauce
- 1 Furikake and sesame oil
Directions
- Crack the eggs into a bowl
- Add warm chicken broth/stock (1.5 times the egg weight).
- Stirr and use a spoon to skim off any bubbles on top.
- Microwave at 360W for 4:30 min. (for 150ml) and enjoy with soy sauce and green onions. Containers are from @ikea @ikeanederland and could hold up to 180ml.
Notes
Try it out with your own microwave settings since all brands have different heat exposures.
Recipe from: instagram.com, saved in Lucy's cookbook.
Chocolate rice and chocolate rice pudding
🍫🍚Chocolate rice and chocolate rice pudding @katlieu
Ingredients
- 2 cups uncooked short-grain rice
- 2 bars of unsweetened or semi-sweet chocolate
- 1 knob or 1 teaspoon of red or white miso
- 1 Water, adjust according to your rice cooker’s instructions
- Optional toppings: dried berries, nuts, honey, maple syrup, sweetened condensed milk, cocoa powder, whipped cream
Directions
- For the chocolate rice:
- Rinse the short-grain rice in a colander under cold water until the water runs clear.
- Add the washed rice to your rice cooker bowl and fill it with the correct amount of water. For a 5.5-cup Zojirushi rice cooker, use the measuring cup provided and fill the water up to the corresponding water level for 2 cups of rice. Adjust the water level accordingly for your specific rice cooker. For sticky rice, fill the water to the Sticky/Sweet Rice marking in your rice cooker.
- Break the chocolate bars into pieces and place them directly on top of the rice, along with a knob of red miso.
- Start the cooking cycle on your rice cooker (use a mixed or standard cycle). Once the rice is done, fluff the rice with a rice paddle, mixing the melted chocolate and miso thoroughly into the rice.
- Optional toppings:
- For extra sweetness, drizzle honey, maple syrup, or sweetened condensed milk over the rice. You can also mix in dried berries and nuts at this point.
- For the chocolate rice pudding:
- Allow the cooked chocolate rice to cool down.
- Take about 1 cup of the cooled chocolate rice and blend it with 1/2 cup of coconut milk or warm water until smooth. Add sweetener (honey, maple syrup, or sugar) to taste, and blend again until there are no remaining rice chunks. If the mixture is too thick, add more liquid to reach your desired consistency.
- Pour the blended mixture into ramekins or your chosen serveware. Refrigerate for a few hours, or overnight, to let it set.
- Before serving, dust the pudding with cocoa powder and top with your favorite toppings like whipped cream or berries.
Notes
Chocapic at the beginning
Recipe from: instagram.com, saved in Lucy's cookbook.
Chocolate Spritz Cookies
These easy Chocolate Spritz Cookies will be your go-to spritz cookie recipe for large family gatherings, office cookie swaps, and sharing with your neighbors this holiday season. This batch makes over 3 dozen cookies and can be scaled up easily!
Ingredients
- 4 oz unsalted butter, 1 stick, 113 g, room temperature
- ⅓ cup granulated sugar, 66 g
- 1 egg yolk
- 1 teaspoon pure vanilla extract
- 1 cup all-purpose flour, 130 g
- 2 tablespoon cocoa powder, 12 g
- ¼ teaspoon baking powder
- 1 large pinch of salt
Directions
- Cream softened butter and sugar in a stand mixer bowl with the paddle attachment until light and fluffy. Add egg yolk and vanilla extract and beat until combined.
- Sift together flour, cocoa powder and baking powder in a small mixing bowl. Add the salt and whisk together to distribute evenly. With the mixer on the lowest speed, slowly add the flour mixture to the stand mixer bowl and mix until thoroughly combined. The dough should be soft and easy to handle.
- Fill the cookie press with the cookie dough and line three baking sheets with silicone baking mats or parchment paper. Hold the cookie press perpendicular to the prepared baking sheet and press out the cookies, spacing about 1 – 2 inches apart.
- Add sprinkles, colored sugars or any decorative touches desired to your cookies. Chill in the fridge or freezer while the oven preheats. Preheat oven to 375°F.
- Bake for 8 – 10 minutes. Remove from the oven, let cookies cool on the baking sheet for 5 – 10 minutes before transferring to a wire rack to completely cool.
Notes
If you don’t have a stand mixer, a regular mixing bowl and an electric hand mixer will work just as well. Or you can cream the butter by hand with a whisk and just use a spatula to incorporate the dry ingredients. I recommend silicone baking mats for this recipe but parchment paper will also work if you don’t own any silicone baking mat. Just make sure to hold down the paper when lifting up the cookie press when using parchment paper because you may experience the parchment paper lifting up with the dough. You can easily double or triple this recipe to make a lot more when preparing for the holidays.
Nutrition (per serving)
Serving Size: 9 · Calories: 45
Recipe from: wildwildwhisk.com, saved in Lucy's cookbook.
Chocolate Strawberry Bites
Healthy Dessert Idea: Chocolate Strawberry Bites🤩 These are such a perfect dessert idea for spring! They are so refreshing and delicious😋
Ingredients
- 1 cup diced strawberries, 240 ml
- ½ cup Greek yogurt, lactose-free, 120 ml
- 100 g / 3.5 oz. dark chocolate, melted, 80% dark chocolate
Directions
- Mix the strawberries and yogurt together
- Spoon dollops onto a plate lined with parchment paper
- Freeze for 1 1/2 - 2 hours
- Dip in melted dark chocolate (let the chocolate cool down before dipping & make sure that the bites are fully covered in the chocolate)
- Store in the fridge.
Notes
They last in the fridge for a couple of days. When stored in the fridge they will have a soft consistency. You can also store them in the freezer and let them defrost for a while before serving.
Recipe from: instagram.com, saved in Lucy's cookbook.
cinnamon bun cookies

What's better than a cinnamon bun? Cinnamon bun cookies! Soft, tender, and packed with cinnamon flavour.
Ingredients
- 1 cup unsalted butter at room temperature
- ⅓ cup granulated sugar
- ¾ cup confectioners' sugar
- ½ teaspoon salt
- 1 ½ teaspoons grated orange zest
- 1 teaspoon pure vanilla extract
- 1 large egg
- 2 ¼ cups all-purpose flour
- Cinnamon smear:
- 5 tablespoons plus 2 teaspoons unsalted butter, softened
- ¼ cup packed light brown sugar
- 1 ½ teaspoons light corn syrup
- 1 tablespoon ground cinnamon
- 2 tablespoons all-purpose flour
- ½ teaspoon salt
- ½ teaspoon pure vanilla extract
- Glaze:
- ½ cup confectioners' sugar
- 2 tablespoons light corn syrup
- 1 teaspoon pure vanilla extract
- 1 teaspoon water
Directions
- In the bowl of a stand mixer fitted with the paddle attachment, beat the butter, sugars, salt, zest, and vanilla together on medium speed until light and fluffy, about 3 or 4 minutes. Scrape down the sides of the bowl and add the egg, beating well to incorporate.
- Turn the mixer down to low and add the flour, mixing until just barely combined.
- On a sheet of wax or parchment paper (whatever your preference), roll the dough out to approximately 12" square (or more if you want to get more spirals – see my comment above). When it comes time to roll into a log, the paper makes it easier to lift the edge and handle the dough.
- Making the roll:
- In the bowl of a stand mixer fitted with the paddle attachment, combine all of the cinnamon smear ingredients and beat on medium speed until light and fluffy, about 2 or 3 minutes.
- Spread the cinnamon mixture on top of the rolled out cookie dough.
- Roll the dough into a log shape. Once you get an edge started rolling by just folding it over slightly, you can simply lift the paper edge and use it to guide the dough to continue rolling. There's a video here that shows what I mean about lifting the paper edge to create the roll. The ends of the log will likely be a bit gappy, so you can just smoosh them in to form a flat edge. The first slice from each end will not have the pretty spiral, but there won't be any wasted dough.
- Wrap the log in plastic wrap or the parchment paper you used to roll it out and gently squeeze the log to ensure there are no air pockets inside. You can then roll the log a few times to smooth it back out if necessary.
- Transfer the dough to the freezer for at least 15-20 minutes, until firm.
- When ready to bake, preheat the oven to 375°F.
- Remove the dough log from the freezer and using a sharp knife, cut the dough into 1/4" slices. Give the log a quarter roll after each cut so it doesn't develop a flat edge from constantly pressing on the same side.
- Transfer the cut slices to your prepared cookie sheets and bake for about 12-14 minutes, rotating the baking sheet halfway through, until they’re lightly golden around the edges. Allow to cool on a wire rack for a few minutes before removing the cookies from the pan and allowing them to cool completely.
- Glazing the cookies:
- Combine all the ingredients for the glaze in a small bowl and whisk together. Add additional water if it seems too thick. Using a pastry brush, apply a thin coat to the top of each cookie. Allow to sit at room temperature to dry completely.
Notes
I’m almost embarrassed to admit this, but this is the first time I’ve ever made a pinwheel cookie. Honestly, I’m not sure I’ve ever even eaten one before! But every time I see a picture of one online or in one of my cookbooks, I just think “oooh, how pretty!” And even after reading recipes and techniques (and yes, I even watched a couple YouTube videos before attempting), I had this idea that they must be so complicated to make. Nope. If you can roll out dough, you can make a pinwheel cookie. This cookie caught my eye the first time I paged through this cookbook, so I flagged it with a post-it and it’s been in the back of my mind ever since. But if you look at my cookbook shelf, you’ll see a lot of little flags sticking out of the pages. So many cookies, so little time… *sigh* Unfortunately, this is yet another recipe where the picture in the book and the instructions don’t quite jive. According to the recipe, the dough is to be rolled out to approximately 12″ square. Mine was pretty close to that, maybe even a little larger, and you can see I only got a few spirals in the finished cookie. The photo in the book, however, has several spirals, and the dough layer is much thinner than mine. Next time I make these (oh yes, there will be a next time), I’ll roll it thinner – maybe even twice as much. Flavour-wise, there is absolutely nothing wrong with this cookie, but I think it would look much prettier with more spirals. That is, in fact, what drew me to this cookie in the first place. This dough is great to work with. Not sticky at all, but soft and pliable. It rolled out really easily, so getting it thinner should be absolutely no problem. The cinnamon mixture turned out a bit thick and tough to work with, but I’m going to blame that on how cold it was in my kitchen – in a warmer kitchen, the butter would be softer and easier to spread. It probably would have worked out better if I’d softened it a bit in the microwave rather than simply counting on the room temperature to do it. The cookie spreads slightly in the oven, and flattens out a tiny bit, but overall holds its shape well. But the cinnamon layer bubbles up and oozes out of the spiral, making it look even more like a cinnamon bun. So pretty. Using the proportions in the recipe, the glaze was much too thick for me to brush on – I could have maybe spread it on with a knife, but that’s not the effect we’re going for here. I thinned it with a bit more water and it was fine. Although I ran out for the last few and had to whip up a bit more. It seemed like a lot of glaze at first, but when they say to brush on a “thin layer” they really mean “thin”. Oops. Prior to adding the glaze, the cookie has a more subtle flavour. It’s okay, but in my opinion, the glaze adds a touch of extra sweetness that the cookie needs. It doesn’t overpower the cinnamon, but makes the cookie taste more like its namesake. The cookie has a bit of crunch, but is overall soft and tender. One of my coworkers declared this cookie “life-changing”. I think he may have been exaggerating slightly, but he’s adamant that I make more. I tried just one of these immediately after I made them, and yes, it was a good cookie, but I couldn’t figure out why he thought they were so great. And then I had another. OMG, I don’t know if my tastebuds just weren’t picking up on it the first time or these cookies needed a day or two for the flavour to mature, but this is a good cookie. This is only the second recipe I’ve tried from this cookbook, and they’ve both landed among my all-time favourites. I have very high hopes for the rest of this book!
Recipe from: wannacomewith.com, saved in Lucy's cookbook.
Cinnamon Swirl Chocolate Chunk Pumpkin Bread
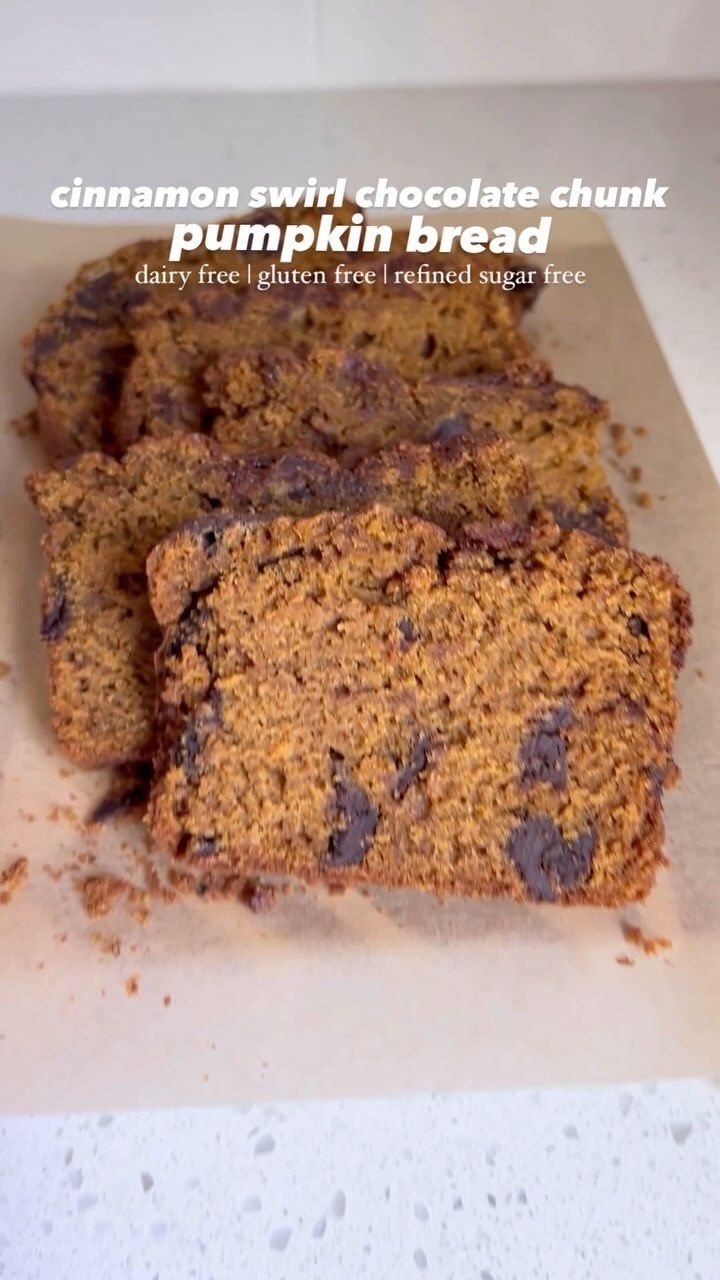
It’s gluten free, dairy free, and refined sugar free, and made only with ingredients from @vitacost.
Ingredients
- 1 Pumpkin Bread
- 1 ¼ cups pure pumpkin purée
- 3 flax eggs, or regular eggs
- ½ cup olive or avocado oil
- ¾ cup pure maple syrup
- 1 tsp pure vanilla extract
- 3 cups gluten free oat flour
- 1 ½ tsp baking powder
- ½ tsp baking soda
- ¾ tsp salt
- 2 tbsp pumpkin spice
- ½ cup chocolate chunks, I use dairy free and refined sugar free
- 1 Cinnamon Swirl
- ¼ cup coconut sugar
- 1 tbsp cinnamon
Directions
- First, make the pumpkin bread batter: whisk together all of the wet ingredients in a large bowl then add in the dry ingredients (except for the chocolate). Once the batter is well mixed, fold in the chocolate chunks.
- Next, mix together the coconut sugar and cinnamon in a small bowl then line an 8x5 loaf pan with parchment paper. Add half of the batter to the bottom of the lined pan and top with half of the cinnamon sugar mixture. Top with the remaining batter and cinnamon sugar then gently swirl the top of the loaf.
- Preheat the oven to 350°F and let the loaf rest while the oven preheats. Once the oven is preheated, bake the bread for 1 hour and 15 minutes, or until a toothpick inserted in the center comes out clean. Once baked, let the bread cool completely in the pan.
- Once the bread has cooled, slice and enjoy! Store leftovers at room temperature for 2-3 days or in the fridge for 4-5 days.
Notes
@jonathanreisfeld granulated monk fruit would probably work instead of coconut sugar! And maybe almond flour instead of oat flour but haven’t tried that!
Recipe from: instagram.com, saved in Lucy's cookbook.
Classic Jello Salad

This cool, sweet, creamy jello salad is good any time. Tune in to Mad Men, put your apron on, and whip up a retro jello salad!
Ingredients
- 1 small package lemon jello
- 1 small package lime jello
- 1 cup boiling water
- 1 can sweetened condensed milk, 14 oz
- 1 carton small curd cottage cheese, 16 oz
- 1 cup real mayonnaise
- 1 can crushed pineapple in juice, 13 to 15 oz
Directions
- Empty jello packages into a large bowl. Pour in boiling water and stir until gelatin is dissolved.
- Pour in condensed milk, cottage cheese, mayo, and pineapple, and stir until well-combined.
- Pour into a 2 to 3 quart dish, cover, and refrigerate until firm (several hours).
Notes
Only a member of this blog may post a comment.
Nutrition (per serving)
Servings: 1.00 · Calories: 3185.33 kcal · Carbs: 261.49 g · Protein: 80.51 g · Total fat: 208.10 g · Saturated fat: 44.64 g · Unsaturated fat: 157.77 g · Trans fat: 1.08 g · Sugars: 245.94 g · Fiber: 6.05 g · Cholesterol: 133.18 mg · Sodium: 3953.04 mg
Recipe from: yesterfood.blogspot.com, saved in Lucy's cookbook.
Coconut Oatmeal Cookies
Ingredients
- 2 sticks butter
- 1 c white sugar
- 1 c brown sugar
- 2 eggs
- 2 tsp vanilla
- 1 ½ c flour
- 1 tsp salt
- 1 tsp soda
- 3 c instant oatmeal
- 1 c chopped nuts
- 1 c coconut
Directions
- Cream sugar with butter.
- Add vanilla and eggs.
- Mix in flour, salt and soda.
- Add oatmeal, coconut and nuts.
- Drop by teaspoon on ungreased, non-stick cookie sheet. Dark Pan rises better
- Bake 350° for 10 min.
Recipe from: cooked.wiki, saved in Lucy's cookbook.
Coconut Tiramisu (No Eggs or Alcohol)
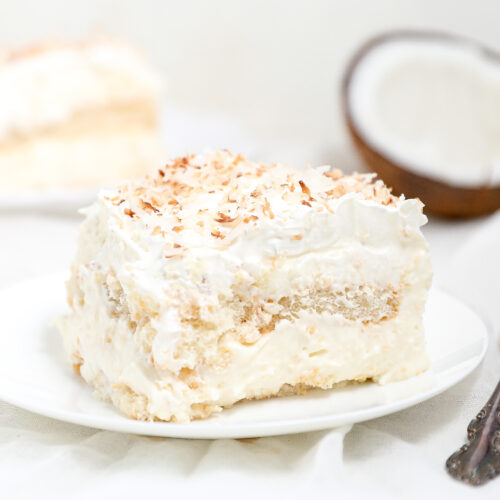
Coconut Tiramisu is a tropical twist on the classic Italian dessert that’s as easy to make as it is delicious. This no-bake dessert combines creamy mascarpone cheese, whipped coconut cream, and a hint of coconut extract for a flavor that’s smooth and satisfying. No eggs needed! Instead of the usual coffee-soaked ladyfingers, this recipe uses a coconut milk soak, giving each bite a rich, tropical flavor. You can assemble it in minutes, and after a few hours in the fridge, you’re left with a dessert that’s perfect for any occasion, from casual dinners to fancy parties. This simple, yet indulgent treat is made with just a few easy ingredients, like whipped cream, coconut milk, and ladyfingers, making it a breeze to whip up. The final touch of toasted coconut on top adds a bit of crunch and an extra dose of coconut flavor. Whether you’re a fan of classic tiramisu or just looking for a new dessert to try, this one is sure to impress with its tropical flair and creamy texture.
Ingredients
- 1 pkg gluten-free lady fingers
- 24 oz mascarpone cheese room temperature, or use dairy-free cream cheese
- 1 cup sugar
- 16 oz heavy cream
- 2 tsp coconut extract
- 1 cup coconut milk I used MALK
- 8 oz whipped topping
- Topping:
- 1 cup sweetened coconut flakes toast before using for extra flavor
Directions
- Prepare the cream mixture:
- In a mixing bowl, combine the sugar, coconut extract, and cream cheese (or dairy-free cream cheese). Mix on high for 3-5 minutes until fluffy.
- Slowly add the heavy cream and mix on high until smooth and whipped.
- Prepare the lady fingers:
- In a shallow bowl, pour the coconut milk. Dip the lady fingers into the coconut milk one at a time, making sure they are lightly soaked but not soggy.
- Line the bottom of your 10×7-inch baking dish with a layer of dipped lady fingers.
- Layer the tiramisu:
- Pour half of the cream mixture over the lady fingers, spreading it evenly.
- Repeat with another layer of dipped lady fingers, then pour the rest of the cream mixture over the top.
- Chill:
- Place the tiramisu in the fridge to set for at least 6 hours, or overnight for best results.
- Add the toppings:
- Once chilled, top with the whipped topping and toasted coconut flakes.
- Serve:
- Slice, serve, and enjoy!
Notes
While almond milk is an option, it is less preferred due to its liquid consistency. Consider opting for a milk alternative with a thicker texture.
Nutrition (per serving)
Calories: 320 · Fat: 24 · Carbs: 28 · Sugar: 22 · Fiber: 2 · Protein: 4 · Sodium: 50
Recipe from: thesaltycooker.com, saved in Lucy's cookbook.
Coconut water + Sugar + Almonds / Cashews
Ingredients
Directions
From Lucy's own cookbook collection.
Copycat Auntie Anne's Pretzel Bites w/ Cheese Dip & Cream Cheese Frosting
There are very few things in this world that can beat Auntie Anne's Pretzel Bites. Making them at home is surprisingly simple and they really do taste like the real deal! Add some of your favorite homemade sauces for dipping and you've got yourself the most incredible snack that's perfect for an afternoon treat or your next game day watch party!
Ingredients
- For the dough:
- ½ cupswhole milk
- 1 warm
- ½ cupswater
- 1 warm
- 2 ¼ tspsyeast
- 1 dry rapid/instant
- 1 tspgraunulated sugar
- 3 cupsbread flour
- ⅓ cupsdark brown sugar
- 1 lightly packed
- ½ tspssalt
- 1 fine
- ½ tspsbaking powder
- 2 Tbsbutter
- 1 unsalted partially melted
- ½ tspssalt
- 1 fine
- For the water bath:
- 2 cupswater
- 1 warm
- 2 Tbsbaking soda
- For the toppings:
- 5 Tbsbutter
- 1 melted unsalted
- 1 servingcinnamon sugar
- to taste
- 1 servingcoarse sea salt or pretzel salt
- to taste
- For the cheese dip:
- 1 ½ Tbsbutter
- 1 unsalted
- 2 Tbsall-purpose flour
- 1 1/16 cupswhole milk
- 2 cupssharp cheddar cheese
- 1 freshly grated
- ¼ tspsgarlic powder
- ¼ tspssmoked paprika
- ¼ tspsground black pepper
- Ingredient, OPTIONAL
- 1 For the Cream Cheese Frosting Dip
- 4 ozscream cheese
- 1 softened
- 2 cupspowdered sugar
- 1 sifted
- ¼ cupsheavy cream
Directions
- For the dough & baking:
- In a small microwave-safe bowl, warm the milk and water for about 45 seconds.
- Add the granulated sugar and instant yeast to the warm milk/water. Give it a quick mix and set that aside for ~5-8 minutes or until the yeast blooms (you will know that it's ready when it's bubbling and foaming on top!)
- In the bowl of your stand mixer (or just a large mixing bowl), combine all of the other dough ingredients using a whisk (bread flour, dark brown sugar, salt, baking powder, and partially melted butter).
- Place the dough hook on your stand mixer (or continue mixing by hand). Add the bloomed yeast to the dry ingredients and begin mixing the dough on low speed until a dough ball begins to form.
- Sprinkle bread flour on a clean and dry counter and then place the dough ball on top of the counter.
- Continue kneading the dough by hand for about 3 minutes until it's just slightly sticky and soft.
- Form the dough in a tight ball and place it in a well-oiled bowl.
- Cover the bowl with plastic wrap and a warm kitchen towel. Allow the dough to rise for 45 minutes – 1 hour or until it has doubled in size. This rising time will greatly depend on the temperature of the room (a warmer room will allow the dough to rise faster!)
- Line a baking sheet with parchment paper and preheat your oven to 400℉.
- After the first rise, place the dough back onto a lightly floured counter and gently roll it out using a rolling pin.
- Cut the dough into 6 equal strips and then roll each strip out to about 22" long.
- Cut 1" pieces from those dough strips.
- In a medium mixing bowl, combine the warm water and baking soda for the water bath.
- Dunk all of the dough pieces into the water bath for just a few seconds before taking them out, straining the excess water, and placing them on your baking sheet.
- Bake at 400℉ on the center rack for 8-9 minutes until the tops are just slightly golden and the bottoms are a deeper brown. As always, the baking time will vary depending on your oven so keep an eye on them as they bake!
- Allow the pretzel bites to cool off before tossing in butter, salt, and/or cinnamon sugar.
- For the toppings:
- In a microwave-safe bowl, melt 5 tbsp of butter (you can use more or less depending on your personal preference)
- If you would like to make both the salted pretzels as well as the cinnamon sugar pretzels, divide the pretzel bites in half between two separate mixing bowls.
- Add the melted butter to the pretzel bites and then add the coarse salt or cinnamon sugar mixture (this is just granulated sugar mixed with ground cinnamon to taste).
- Toss the pretzels to incorporate the melted butter and toppings. This ensures that each pretzel bite is properly coated with all of the yummy goodness!
- For the cheese dip:
- **If you would like all of your pretzel bites to be salted, I would recommend making 1 batch of the cheese dip as listed in the ingredients. If you are like me and would like to split the pretzel bites between salted and cinnamon sugar, I would recommend only making a 1/2 batch of the cheese dip as it does make a lot!
- In a saucepan over medium heat, melt the butter.
- Whisk in the all-purpose flour and continue whisking it until it's well incorporated and you don't have any flour lumps (Please do not burn the flour! Keep mixing it the entire time! This should take about 1 minute)
- Next, slowly pour the milk into the saucepan as you gently whisk. Do not stop whisking as you don't want that flour to settle to the bottom and burn.
- Once the milk mixture thickens, take the saucepan off the heat.
- Add in the freshly grated sharp cheddar cheese as well as all of the seasonings.
- Begin to gently fold in the cheese and allow the residual heat from the milk mixture to melt the cheese.
- Continue mixing until you have a smooth consistency and be sure to serve the cheese sauce while it's warm (you can re-heat it if you need to!)
- For the cream cheese frosting dip:
- **If you would like all of your pretzel bites to be cinnamon sugar, I would recommend making 1 batch of the frosting dip as listed in the ingredients. If you would like to split the pretzel bites between salted and cinnamon sugar, I would recommend only making a 1/2 batch of the frosting dip as it does make a lot!
- In a small bowl, combine all of the cream cheese frosting ingredients and mix very well using a rubber spatula until smooth.
Notes
The Ultimate Game Day Snack It’s that time of year where there always seems to be a reason to host (and I’m not mad about it). When it comes to hosting, things tend to be a little stressful but they don’t need to be! Having appetizer options that don’t take all day to prep is a must. This pretzel recipe may seem complicated from the outside, however, since the dough only requires one rise (less than an hour) and the pretzel bites take less than 10 minutes to bake in the oven, you can really have this snack ready in no time. Short on Time? If you’re short on time and you want to have this appetizer ready as quickly as possible, you can always buy pre-made dips at the grocery store as opposed to making them from scratch. Though I always prefer a homemade recipe, it’s never a bad thing to take a few shortcuts when needed! Dough Details Personally, I am a visual learner and sometimes it can be difficult to follow a recipe when the only instructions that are available are written. If you’re like me and you want to see exactly how to prep the dough for these pretzel bites, I have included a step-by-step photo guide below:
Nutrition (per serving)
Calories: 5162.6 · Fat: 232.1 · Carbs: 651 · Protein: 129.6
Recipe from: ostarecipes.com, saved in Lucy's cookbook.
Copycat Crunchwrap Supreme
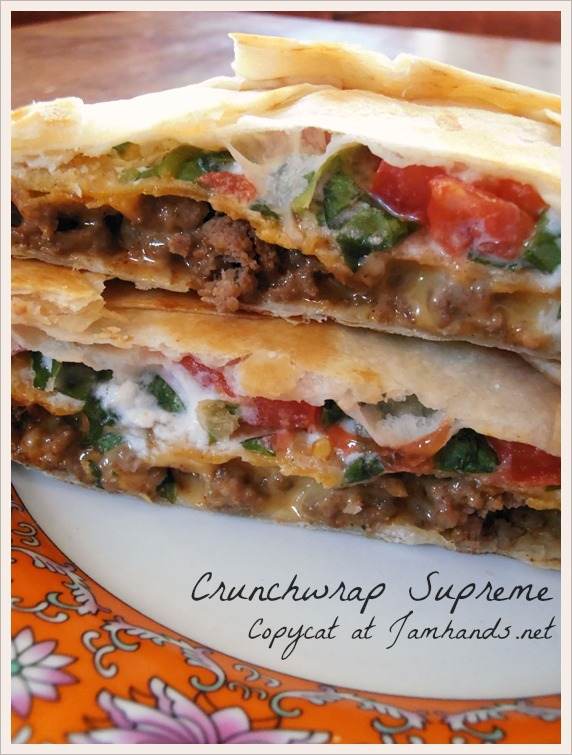
Make the classic Crunchwrap Supreme at home with this easy to make recipe!
Ingredients
- 6 large flour tortillas
- 6 small corn tortillas or alternatively skip step #2 and use tortilla chips
- 1 pound ground beef
- 1 package taco seasoning
- All to taste:
- ½ cup sour cream
- ½ cup nacho cheese sauce from a can or made from scratch, see notes
- ½ cup shredded lettuce
- ½ cup diced tomatoes
Directions
- Brown ground beef in a skillet, then add taco seasoning (according to package directions). Set aside.
- Bake the corn tortillas in the oven at 400f degrees for a couple of minutes, until they are golden and crunchy.
- Microwave the flour tortillas, one at a time (because they cool off quickly), for about 10 seconds to warm them up; this will make wrapping easier. You could also warm them up in the oven; just wrap them in aluminum foil and heat them up for about 10 minutes at 350 degrees.
- Lay out the flour tortilla. Spoon some of the seasoned beef into the center of the tortilla. Top with some nacho cheese, or shredded cheese. Place the crunchy corn tortilla on top of the cheese/beef; spread a dollop of sour cream on top of it, then toss on some diced tomatoes and shredded lettuce.
- Starting with the bottom of the tortilla, fold the edge up to the center. Continue doing this in a clockwise or counter-clockwise movement until all of the tortilla is folded over, and the filling is entirely enclosed. If your filling isn’t entirely enclosed and you have an open spot, simply cut out a circle from another flour tortilla and place it on the exposed area, then wrap the tortilla again.
- Spray a frying pan with cooking spray. Carefully place the Crunchwrap, seam-side down, in the pan. Press with a spatula and cook on medium-low heat, for about 3 minutes, until the bottom is nice and brown. Flip it over and cook until it is golden brown.
Notes
Homemade nacho cheese sauce: I cubed up about 1 cup of Velveeta, added to a medium heat saucepan. Add a tablespoon of milk and a few glugs of hot sauce. Stir until melted.
Nutrition (per serving)
Serving Size: 1 · Calories: 432 · Fat: 26 · Saturated fat: 10 · Trans fat: 1 · Carbs: 33 · Sugar: 4 · Fiber: 4 · Protein: 18 · Sodium: 924 · Cholesterol: 67
Recipe from: jamhands.net, saved in Lucy's cookbook.
Corn and Squash Soup

This hearty soup pairs squash and cream-style corn for pleasant taste. My family says this is their favorite squash recipe, and friends also comment on its wonderful flavor. —Janice Zook, White River Junction, Vermont
Ingredients
- 12 bacon strips, diced
- 1 medium onion, chopped
- 1 celery rib, chopped
- 2 tablespoons all-purpose flour
- 1 can chicken broth, 14-1/2 ounces
- 6 cups mashed cooked butternut squash
- 2 cans cream-style corn, 8-3/4 ounces each
- 2 cups half-and-half cream
- 1 tablespoon minced fresh parsley
- 1 ½ teaspoons salt
- ½ teaspoon pepper
- Sour cream, optional
Directions
- In a large saucepan, cook bacon over medium heat until crisp. Remove to paper towels; drain, reserving 2 tablespoons drippings.
- In the drippings, saute onion and celery until tender. Stir in flour until blended. Gradually stir in broth. Bring to a boil; cook and stir for 2 minutes or until slightly thickened.
- Reduce heat to medium. Stir in the squash, corn, cream, parsley, salt, pepper and bacon. Cook and stir until heated through. Garnish with sour cream if desired.
Nutrition (per serving)
Serving Size: 1 · Calories: 381 · Fat: 26 · Saturated fat: 11 · Carbs: 29 · Sugar: 12 · Fiber: 6 · Protein: 9 · Sodium: 1021 · Cholesterol: 53
Recipe from: tasteofhome.com, saved in Lucy's cookbook.
Cottage Cheese Chips
High-protein, low-carb, keto-friendly, and totally customizable—these are going on repeat around here.
Ingredients
- 1 cup whole milk small curd cottage cheese, 4% milkfat
Directions
- Preheat oven to 350°F. Line a large baking sheet with parchment paper.
- Scoop 1 tablespoon portions of cottage cheese onto the sheet, spacing them about 2 inches apart.
- Flatten each scoop using the back of a spoon (to about ¼ inch thick).
- Sprinkle with your favorite seasoning (optional but delicious).
- Bake for 40–50 minutes, or until the edges are dark golden and the tops are browned and crispy.
- Let them cool completely—they’ll crisp up as they cool!
Notes
Store in an airtight container and enjoy within a few hours for max crunch. 💡 Flavor ideas: – Everything bagel seasoning + dip in whipped cream cheese – Taco seasoning + dip in guacamole or salsa – Ranch seasoning + dunk in Greek yogurt ranch – Italian herbs + warm marinara
Recipe from: instagram.com, saved in Lucy's cookbook.
Cottage Cheese Dessert
Who doesn't love a rich protein-packed dessert that's actually good for you? This one is a winner!
Ingredients
- 16 oz full fat cottage cheese
- ¼ cup maple
- 2 tsp vanilla
Directions
- Blend and enjoy with your favorite toppings - granola, berries, chocolate chips, or whatever you crave! Healthy eating doesn't have to be dull.
Recipe from: instagram.com, saved in Lucy's cookbook.
Cowboy Casserole
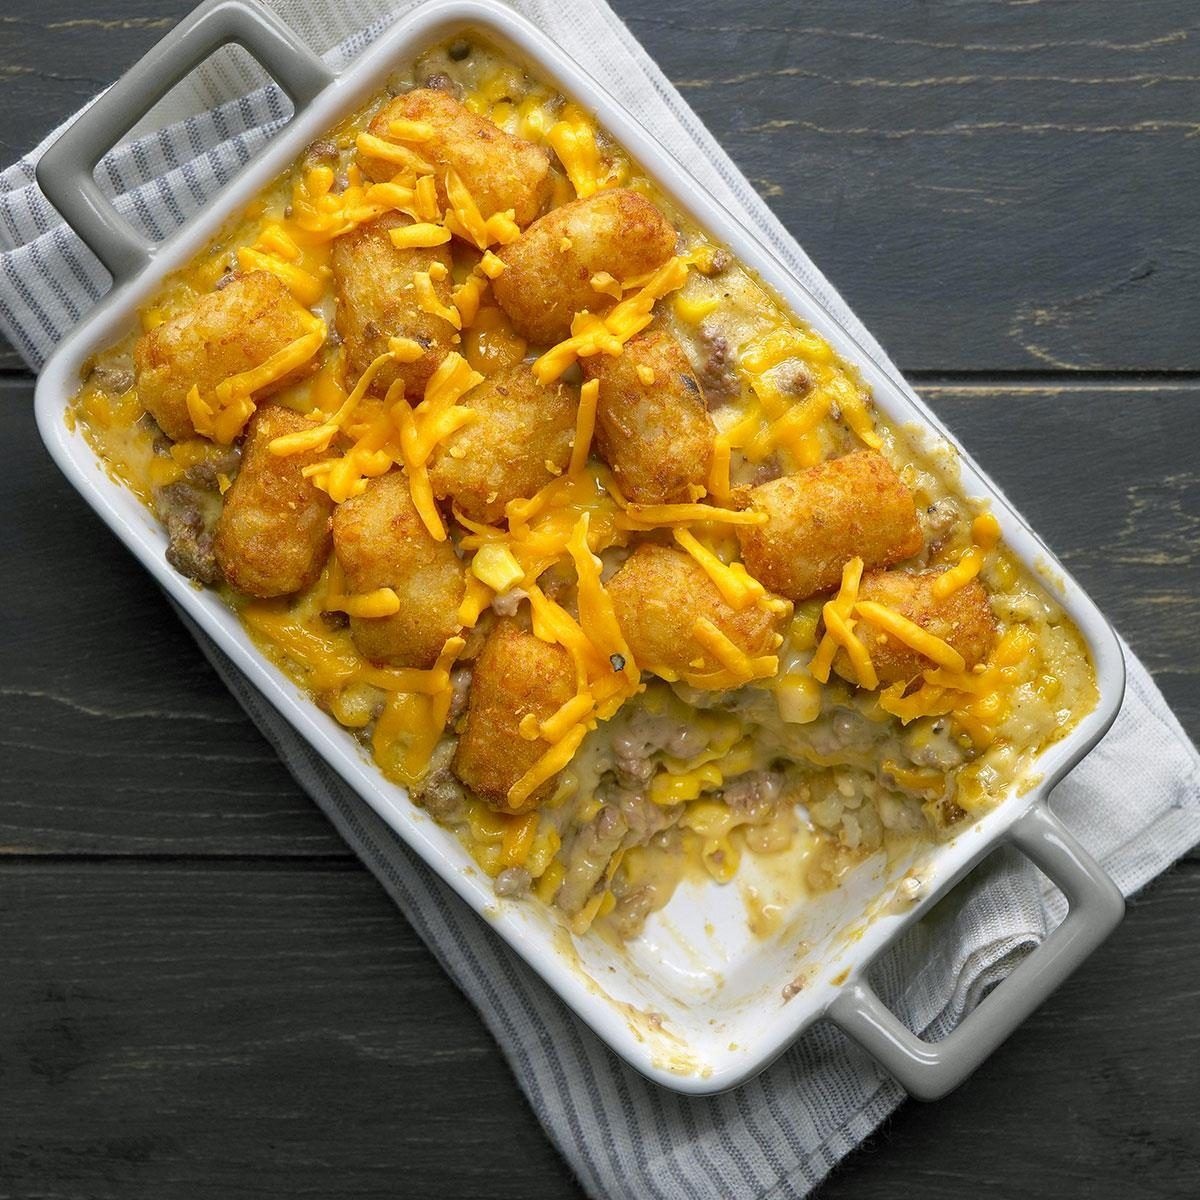
Cowboy casserole—made with ground beef, corn, cheese and Tater Tots—is a big, warm hug after a long day and is especially comforting when the weather turns cold.
Ingredients
- ½ pound lean ground beef, 90% lean
- 1 can whole kernel corn, drained, 8-3/4 ounces
- ⅔ cup condensed cream of chicken soup, undiluted
- ½ cup shredded cheddar cheese, divided
- ⅓ cup 2% milk
- 2 tablespoons sour cream
- ¾ teaspoon onion powder
- ¼ teaspoon pepper
- 2 cups frozen Tater Tots
Directions
- Preheat oven to 375°. In a large skillet, cook beef over medium heat until no longer pink.
- Stir in corn, soup, 1/4 cup cheese, milk, sour cream, onion powder and pepper.
- Place 1 cup Tater Tots in a greased 3-cup baking dish. Layer with beef mixture and remaining 1 cup Tater Tots; sprinkle with remaining 1/4 cup cheese. Bake, uncovered, until bubbly, 20-25 minutes.
Nutrition (per serving)
Calories: 714 · Fat: 38 · Saturated fat: 15 · Carbs: 56 · Sugar: 9 · Fiber: 6 · Protein: 37 · Sodium: 1675 · Cholesterol: 120
Recipe from: tasteofhome.com, saved in Lucy's cookbook.
Cracked Out Pea Salad
Cracked Out Pea Salad – Macaroni and green peas tossed in mayonnaise, cheddar, bacon, and ranch. Seriously delicious!!! Great for potlucks or a side dish with sandwiches. Great for all your spring and summer cookouts! Can make ahead and refrigerate until ready to serve. It has become our favorite pasta salad recipe!! #pastasalad #sidedish #bacon #ranch
Ingredients
- 1 cup elbow macaroni, uncooked
- ¼ cup cooked chopped bacon
- 3 green onions, chopped
- 2 cups frozen baby peas, thawed
- ¾ cup mayonnaise
- ¼ cup bottled ranch dressing
- ½ cup shredded cheddar cheese
Directions
- Cook macaroni according to package directions. Drain and cool.
- In a bowl, combine cooked macaroni and bacon, green onions, peas, and cheese.
- Whisk together mayonnaise, Ranch dressing. Pour over macaroni mixture and toss to coat.
- Cover and refrigerate 2 hours before serving.
Notes
Here is our recipe for Homemade Ranch Dressing: https://www.plainchicken.com/copycat-outback-ranch-dressing/
Recipe from: plainchicken.com, saved in Lucy's cookbook.
Cranberry & Spinach Stuffed Chicken with Brie
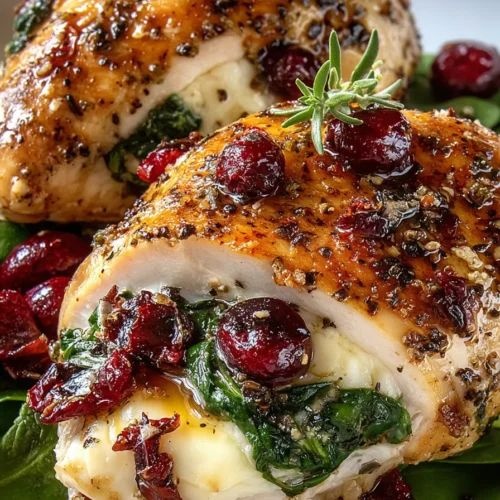
Savor the fusion of savory chicken, creamy Brie, and tart cranberries in this mouthwatering stuffed dish! If you’re looking for a dinner that feels both gourmet and comforting, Cranberry & Spinach Stuffed Chicken with Brie is your new go-to. This recipe combines tender boneless, skinless chicken breasts wrapped around a luscious blend of wilted spinach, sweet dried cranberries, and melty Brie cheese. With just 15 minutes of prep, 30 minutes of cooking, and a brief 5-minute rest, you’ll have a beautiful, restaurant-worthy entrée on the table in under an hour. Clocking in at around 400 calories per serving, it’s hearty enough to satisfy but still fits into a balanced menu. Rated as intermediate difficulty, this dish is perfect for home cooks ready to level up beyond the basics. Whether you’re hosting friends or simply craving something special midweek, this stuffed chicken recipe checks all the boxes for flavor, presentation, and that warm-and-cozy feeling we all love at dinner time.
Ingredients
- 4 boneless, skinless chicken breasts
- Salt and pepper to taste
- 1 tablespoon olive oil
- 2 cups fresh spinach leaves
- 1 1⁄2 cup dried cranberries
- 4 ounces brie cheese, sliced
- 1 1⁄2 teaspoon garlic powder
- 1 1⁄2 teaspoon onion powder
- 1 teaspoon dried thyme
- 1 1⁄2 cup chicken broth
Directions
- Preheat your oven to 375°F (190°C).
- Begin by preparing the chicken breasts. Place them on a cutting board and cut a pocket into the side of each breast.
- Season the inside and outside of the chicken breasts with salt, pepper, garlic powder, onion powder, and dried thyme.
- In a pan over medium heat, add the olive oil. Sauté the spinach until wilted, then remove from heat and let cool slightly.
- In a small bowl, mix together the sautéed spinach and dried cranberries.
- Stuff each chicken breast with equal portions of the spinach and cranberry mixture, followed by slices of brie cheese.
- Secure each chicken breast with toothpicks to ensure the filling stays inside during cooking.
- Heat the remaining olive oil in an oven-safe skillet over medium heat. Add the stuffed chicken breasts and sear each side until golden brown, about 3 minutes per side.
- Pour the chicken broth into the skillet, then transfer the skillet to the preheated oven.
- Bake for 20-25 minutes, or until the chicken is cooked through and the internal temperature reaches 165°F (74°C).
- Remove from the oven and let the chicken rest for 5 minutes before serving.
Notes
This dish pairs well with a simple green salad or roasted potatoes. For a richer flavor, try using a cranberry sauce instead of dried cranberries. Ensure to adjust seasonings according to personal taste preferences. Experiment with adding nuts such as walnuts or pecans for added crunch.
Nutrition (per serving)
Calories: 400
Recipe from: julianrecipes.com, saved in Lucy's cookbook.
Cream Corn Like No Other
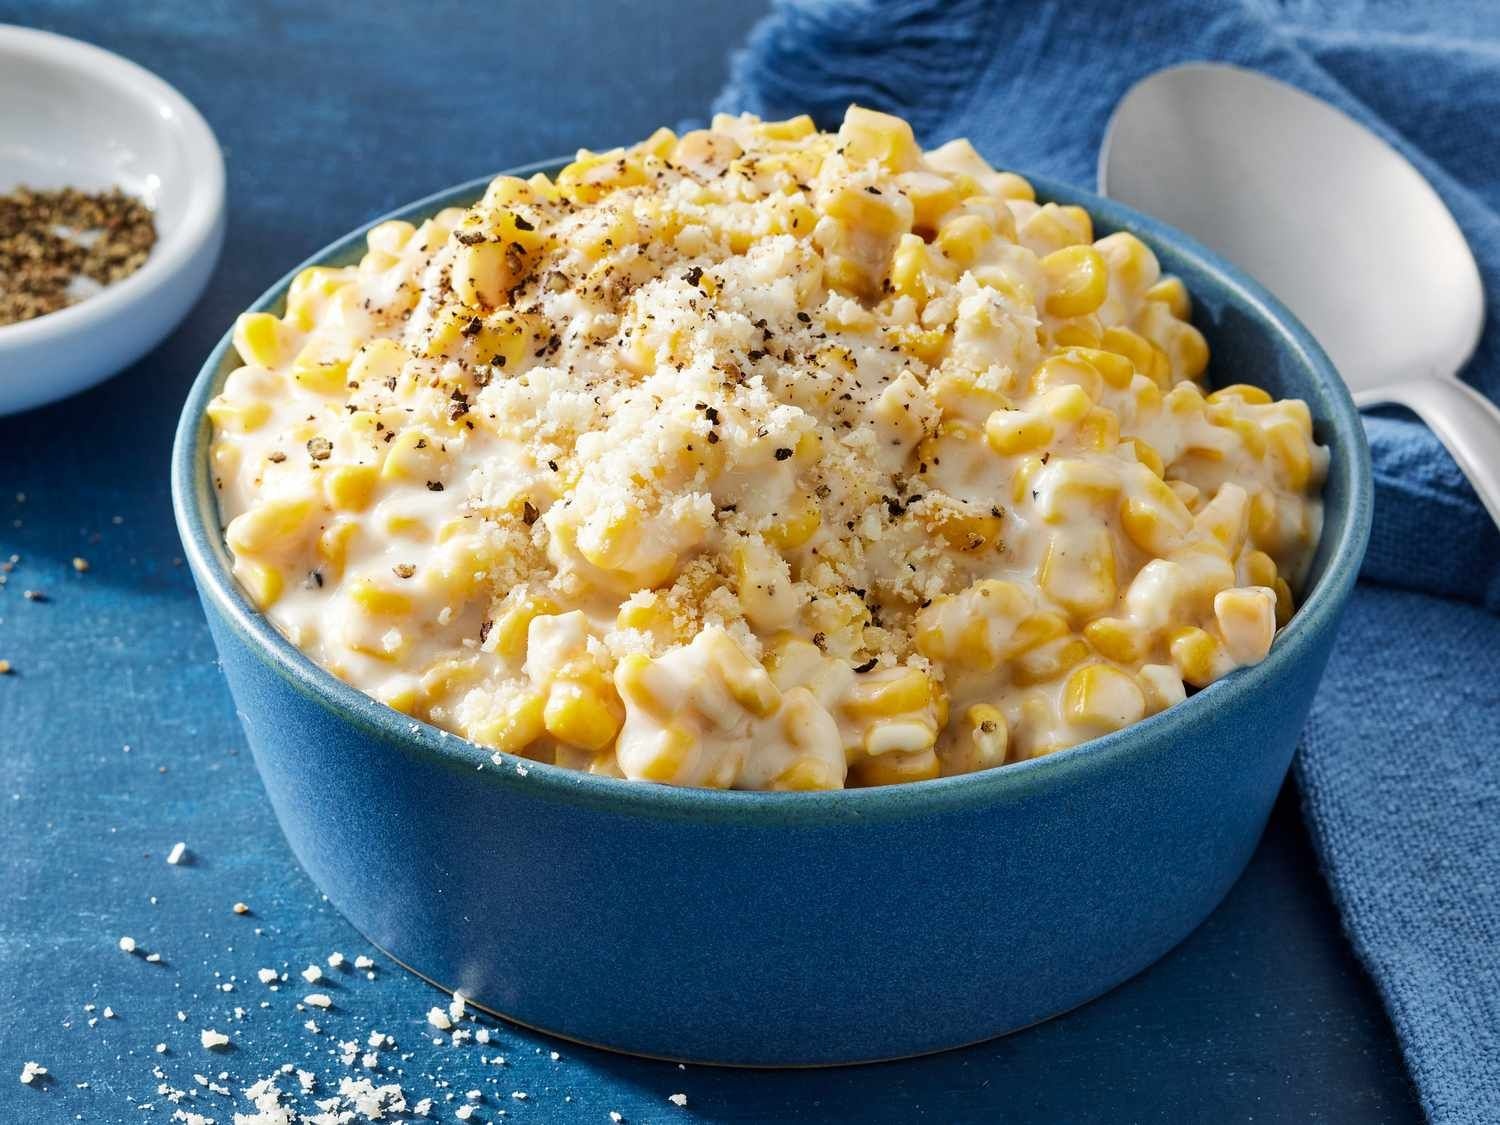
Creamed corn made from scratch is so much better than anything you'll find in a can. This quick and easy creamed corn recipe pairs frozen corn kernels with a decadently creamy sauce. My husband is not a fan of corn or creamed dishes, but he thinks this is great! An easy and delicious side for Thanksgiving.
Ingredients
- 2 packages frozen corn kernels, thawed, 10-ounce
- 1 cup heavy cream
- 1 teaspoon salt, or to taste
- 2 tablespoons granulated sugar
- ¼ teaspoon freshly ground black pepper, or to taste
- 2 tablespoons butter
- ½ cup whole milk
- 2 tablespoons all-purpose flour
- ¼ cup freshly grated Parmesan cheese, or more to taste
Directions
- Gather all ingredients.
- Combine corn, heavy cream, sugar, butter, salt, and black pepper in a skillet over medium heat. Cook, stirring occasionally, until butter melts, 3 to 5 minutes.
- Meanwhile, whisk milk and flour together in a small bowl until smooth.
- Whisk in milk mixture; cook, stirring constantly, until thickened and corn is heated through, about 4 minutes.
- Remove from heat and stir in Parmesan cheese until melted. Serve hot.
Notes
For extra cheesy flavor, stir in more Parmesan or sprinkle on top before serving. For variation, try adding a pinch of cayenne for heat.
Nutrition (per serving)
Calories: 253 · Fat: 17 · Saturated fat: 10 · Carbs: 25 · Sugar: 7 · Fiber: 2 · Protein: 5 · Sodium: 373 · Cholesterol: 54
Recipe from: allrecipes.com, saved in Lucy's cookbook.
Creamed Corn
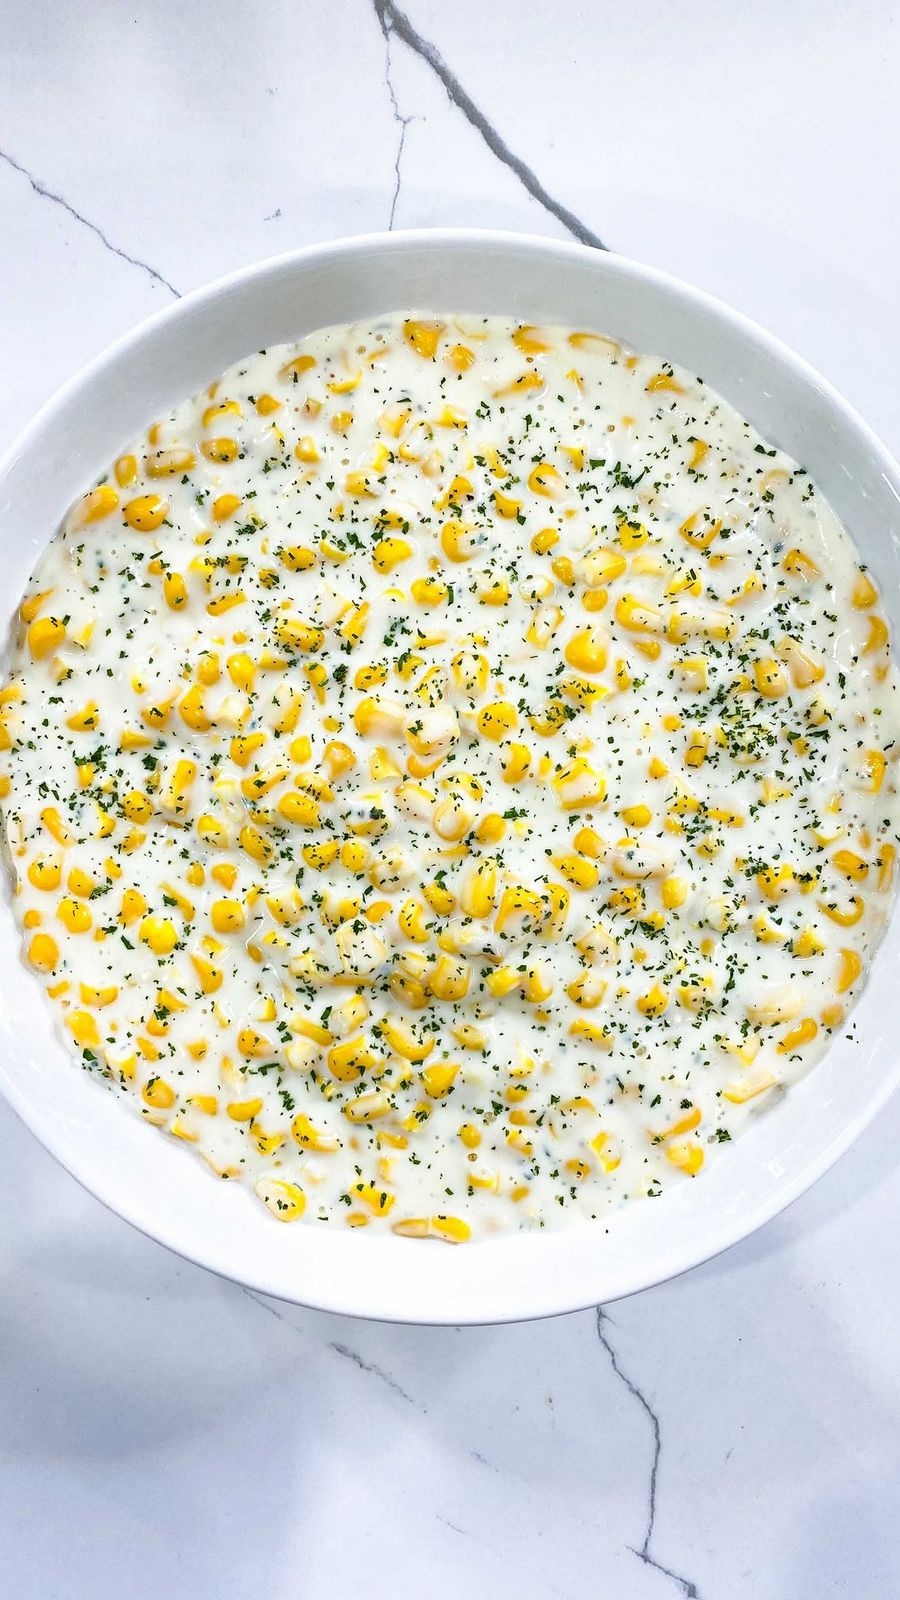
Inspired by the creamed corn queen @dorothy.v 🌌
Ingredients
- 8 cups Del Monte whole corn kernels, 4 cans
- ½ cup heavy cream
- 1 cup milk
- 1 TB sugar
- 2 TB butter
- Salt and pepper to taste
- Cornstarch/milk slurry:
- ½ cup milk
- 2 TB corn starch
Directions
- Corn starch and 0.5 cup milk in separate. Then set aside
- Add milk heavy cream and butter
- Then add corn
Notes
💜🔥
Recipe from: instagram.com, saved in Lucy's cookbook.
Creamy Baked Penne
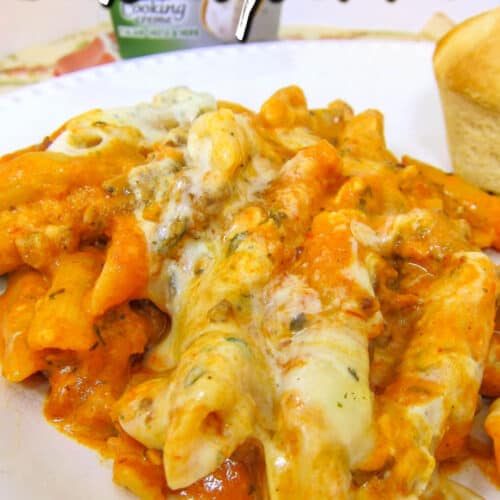
Creamy Baked Penne – quick and easy weeknight meal. Penne pasta, Italian sausage, onion, bell pepper, spaghetti sauce, cream cheese, milk, Italian seasoning, and mozzarella cheese. SO good! Everyone cleaned their plate!!
Ingredients
- ½ lb extra-lean ground beef or Italian Sausage
- ½ cup chopped onions
- ½ cup green peppers
- 1 jar spaghetti sauce, 24-oz
- 1 tub whipped cream cheese, 8-oz
- 2 Tbsp milk
- 1 Tbsp Italian seasoning
- 1 cup shredded mozzarella cheese divided
- 3 cups cooked penne pasta
Directions
- Heat oven to 350°F.
- Stir together whipped cream cheese, milk, and Italian seasoning. Set aside.
- Brown meat with vegetables in large nonstick skillet.
- Stir in spaghetti sauce, ¾ cup cream cheese mixture and ½ cup mozzarella; cook and stir 2 to 3 min. or until mozzarella is melted.
- Add pasta; mix lightly. Spoon into 2-qt. casserole; top with remaining cooking creme and mozzarella.
- Bake 20 min. or until heated through.
Notes
The original recipe used a 10-oz tub of Philadelphia Italian Cheese and Herb Cooking Creme. The suggested substitute to Philadelphia Italian Cheese and Herb Cooking Creme by Philadelphia Brand is 1 tub of whipped cream cheese, 2 Tbsp milk, and 1 Tbsp Italian seasoning. 3 cups of cooked pasta is approximately 1½ cups uncooked penne pasta. My favorite store-bought spaghetti sauces are Trader Joe’s Roasted Garlic Marinara (green label), Rao’s, and La Famiglia DelGrosso. Can Creamy Baked Penne be made in advance? Yes! You can assemble the casserole ahead of time and refrigerate overnight. You will need to add a few minutes to the cooking time since the dish will be cold. If you are feeding a crowd, feel free to double the recipe.
Recipe from: plainchicken.com, saved in Lucy's cookbook.
Creamy Beef & Gnocchi Soup
Ingredients
- 1 tbsp Olive oil
- 1 Onion, diced
- 2 tbsp Minced garlic
- 1 lb Lean ground beef
- 1 tbsp Tomato paste
- 1 tsp Parsley flakes
- 1 tsp Oregano
- 1 tsp Italiano seasoning
- 1 tsp Balck pepper
- ⅔ tsp Salt
- 3 cups Chicken stock
- 400 g Gnocchi
- 2 cups Heavy whipping cream
- 2 cups Baby spinach
- 1 cup Parmesan cheese, grated
Directions
- In a deep pan, heat up your olive oil on med/high heat.
- Add in your garlic and onion. Fry until fragrant. 3-4min.
- Add in your ground beef and cook until brown.
- Drain excess fat (optional).
- Add in your tomato paste and mix well.
- Add salt, black pepper, oregano, parsley, Italiano seasoning, and chicken stock. Mix and bring to a simmer.
- Once simmering, add in your gnocchi and cook for 2-3min.
- Turn heat down to medium and add in your heavy cream and baby spinach. Mix and let simmer for 3min or until spinach cooks down.
- Add in Parmesan cheese and cook for 1-2min or until cheese is melted.
Nutrition (per serving)
Serving Size: 1 · Calories: 646 · Fat: 29 · Carbs: 38 · Protein: 30
Recipe from: instagram.com, saved in Lucy's cookbook.
Creamy Beef and Shells
Creamy Beef and Shells 🔥 This one’s a WINNER. Here’s how to make it:
Ingredients
- 1 T olive oil, I used @wearebrightland rosemary
- 1 yellow onion, diced
- 8 cloves garlic, 6-8, minced, to taste
- 1 t red pepper flakes, to taste
- 1 t Italian seasoning
- Salt and pepper, to taste
- 1 t smoked paprika, to taste, can sub regular
- 1 lb grass-fed ground beef
- 3 T tomato paste, 2-3
- 4 cups beef broth, I use @kettleandfire
- 1 cup cream
- 1 lb medium shells
- 4 oz freshly shredded sharp cheddar cheese, I use @tillamook
- Fresh chives, to garnish
Directions
- In a large saute pan (I use misen), heat your olive oil over medium/low heat. Add in your onion, red pepper, Italian seasoning, and a pinch of salt. Saute for a few minutes. Throw in your garlic and cook for another 30 seconds.
- Add in your ground beef and season with salt, pepper, and paprika. Break up with a wooden spoon and cook until no longer pink.
- Once your beef is cooked through, make a small center in the middle of your pan and add in your tomato paste. Let it cook off in the pan for a couple minutes before stirring everything together.
- Pour in your beef broth and cream, season with a pinch of salt and pepper. Bring to a low boil.
- Reduce heat to low. Pour in your uncooked pasta and stir. Simmer, uncovered, for 16-17 minutes, or until your pasta is tender.
- Sprinkle in your cheese, stir, and taste for seasonings.
- Top with extra cheese and garnish with fresh chives. Enjoy!
Recipe from: instagram.com, saved in Lucy's cookbook.
CREAMY CHICKEN & BROCCOLI CASSEROLE
Okay…so I don’t remember my Grandma{s} making anything like this growing up, but it definitely reminds me of something a grandma would whip up. It’s SUCH a comfort food it’s ridiculous. I won’t begin to tell you how many servings I helped myself to, nor will I share the quickness in which it was devoured. This is the PERFECT makes-me-feel-so-cozy meal and we’ll DEFINITELY be eating this again…SOON!!
Ingredients
- 3 chicken breasts, cooked & shredded
- 2 cans of cream of chicken soup
- 1 cup of mayo
- 1 cup shredded cheddar cheese
- 1 cup colby & monterrey jack cheese
- 1 bag frozen broccoli, thawed and chopped
- salt & pepper to taste
Directions
- Cook chicken & shred. Meanwhile, chop the broccoli. Okay…so we used frozen broccoli, and while I know they make the frozen chopped broccoli, the store was OUT. SO, I chopped my own…and it didn’t take any time.
- Now, mix all ingredients together.
- Transfer mixture to a lightly greased 2 qt. casserole dish & heat oven to 375.
- Cook for 30 minutes or until bubbly.
- And the most important part…SERVE WITH RICE!!!! Omg…SO AMAZING!!!!!!! This is definitely a meal where the leftovers are *almost* better!! These pictures are making my mouth water…time to eat!!!
Recipe from: pearls-handcuffs-happyhour.blogspot.com, saved in Lucy's cookbook.
Creamy Chicken Breast in Spinach Parmesan Sauce
This creamy chicken breast recipe is an easy one-pan chicken dish that will wow the entire family for dinner!
Ingredients
- 2 chicken breasts
- 3 tablespoons butter, divided
- ½ teaspoon salt and pepper, or to taste
- 1 teaspoon oregano
- 1 medium onion, minced
- 4 cloves garlic, minced
- 1 small jar sun-dried tomatoes, drained from oil and chopped
- ½ cup chicken broth
- ½ cup heavy cream
- ⅓ cup grated Parmesan cheese
- 1 cup spinach, or more if you like
Directions
- How to make the creamy chicken breast:
- Thoroughly season chicken breasts with salt, pepper, and 1/2 teaspoon oregano on both sides.
- In a large skillet, melt 2 tablespoons of butter with a bit of oil from the sun-dried tomatoes over medium-high heat. Add chicken breasts and cook for about 4 minutes on each side until browned. Once done and no longer pink, transfer grilled chicken breasts to a plate and set aside.
- To make the creamy spinach parmesan sauce, add the remaining tablespoon of butter to the same pan. Cook onion, garlic, 1/2 teaspoon oregano, and sun-dried tomatoes. Slowly add chicken broth, heavy cream, and Parmesan cheese and mix to combine until smooth while simmering for 2-3 minutes. Adjust seasoning with salt and pepper.
- Add spinach to the mixture and continue cooking until wilted.
- Add the chicken breasts back to the pan and reheat for 2-3 minutes.
- Serve the creamy chicken breasts with spinach and parmesan sauce immediately, garnished with fresh chopped parsley. Enjoy! ❤️
Recipe from: eatwell101.com, saved in Lucy's cookbook.
Creamy Garlic Pasta
There are few things I love as much as cheese. One of these few things, however, is garlic. I’m the kind of person that nearly doubles the amount of garlic a recipe calls for because I feel like I can never get enough of it, and you can bet I always pair garlic bread with my pasta. This time, however, I decided to cut out the middleman and go straight for garlic pasta. It’s rich and creamy, while the fresh parsley gives it a nice bit of color and flavor. But more importantly, it gives me my garlic fix. And when I can combine my two loves, garlic and cheese? Now that’s a beautiful thing.
Ingredients
- 2 tsp olive oil
- 4 cloves garlic, minced
- 2 tbsp butter
- ¼ tsp salt
- ½ tsp pepper
- 3 cups chicken stock
- ½ lb spaghetti or angel hair pasta
- 1 cup grated parmesan cheese
- ¾ cup heavy cream
- 2 tbsp chopped fresh parsley
Directions
- In a pot, bring the olive oil to medium-low heat. Add the garlic and stir, allowing it to cook for 1-2 minutes. Mix in the butter until melted. Add the salt, pepper and chicken stock. Raise the heat to high and let it come to a boil.
- Once it is at a rolling boil, add the pasta and cook for as long as the box’s directions indicate. Reduce the stove to medium heat and mix in the parmesan until completely melted. Turn off the heat and stir in the cream and parsley. Serve immediately.
Notes
the potatoes will brown very quickly. Have no fear, they’ll still look and taste good when they’re finished.)After grating the potatoes and onion, place them in several paper towels and squeeze out all the liquid. Stir in the eggs, flour and seasonings until thoroughly mixed.Fill a pan with about half an inch of vegetable oil and bring it to high heat. Place spoonfuls of the potato mixture in the oil and flatten them. Flip them occasionally until golden brown. Once finished, lay out on paper towels to drain the excess oil. Serve with sour cream and applesauce.#Potatoes#holidays#JewishthecheesepusherCheesy Rice and BeansWhen it comes to cooking, I like to do it cheap. I am, after all, a starving student (well, maybe not starving… I certainly eat enough). And because I just got back from a weekend in Las Vegas, I need to make some budget-friendly dishes for a while.On a side note, while in Vegas I spent a ridiculous amount of money at a ridiculously large buffet where they had—wait for it—Bacon Mac ‘n Cheese. Chyeah! But I digress. This recipe for Cheesy Rice and Beans is one of the cheapest ones I know, and it makes a pretty sizeable amount of food. Not to mention, it makes “the entire apartment smell like a Mexican restaurant” (says the disgruntled roommate). Well, I’ll take that.Cheesy Rice and Beans
Recipe from: tumblr.com, saved in Lucy's cookbook.
Creamy Harissa Chicken Pasta
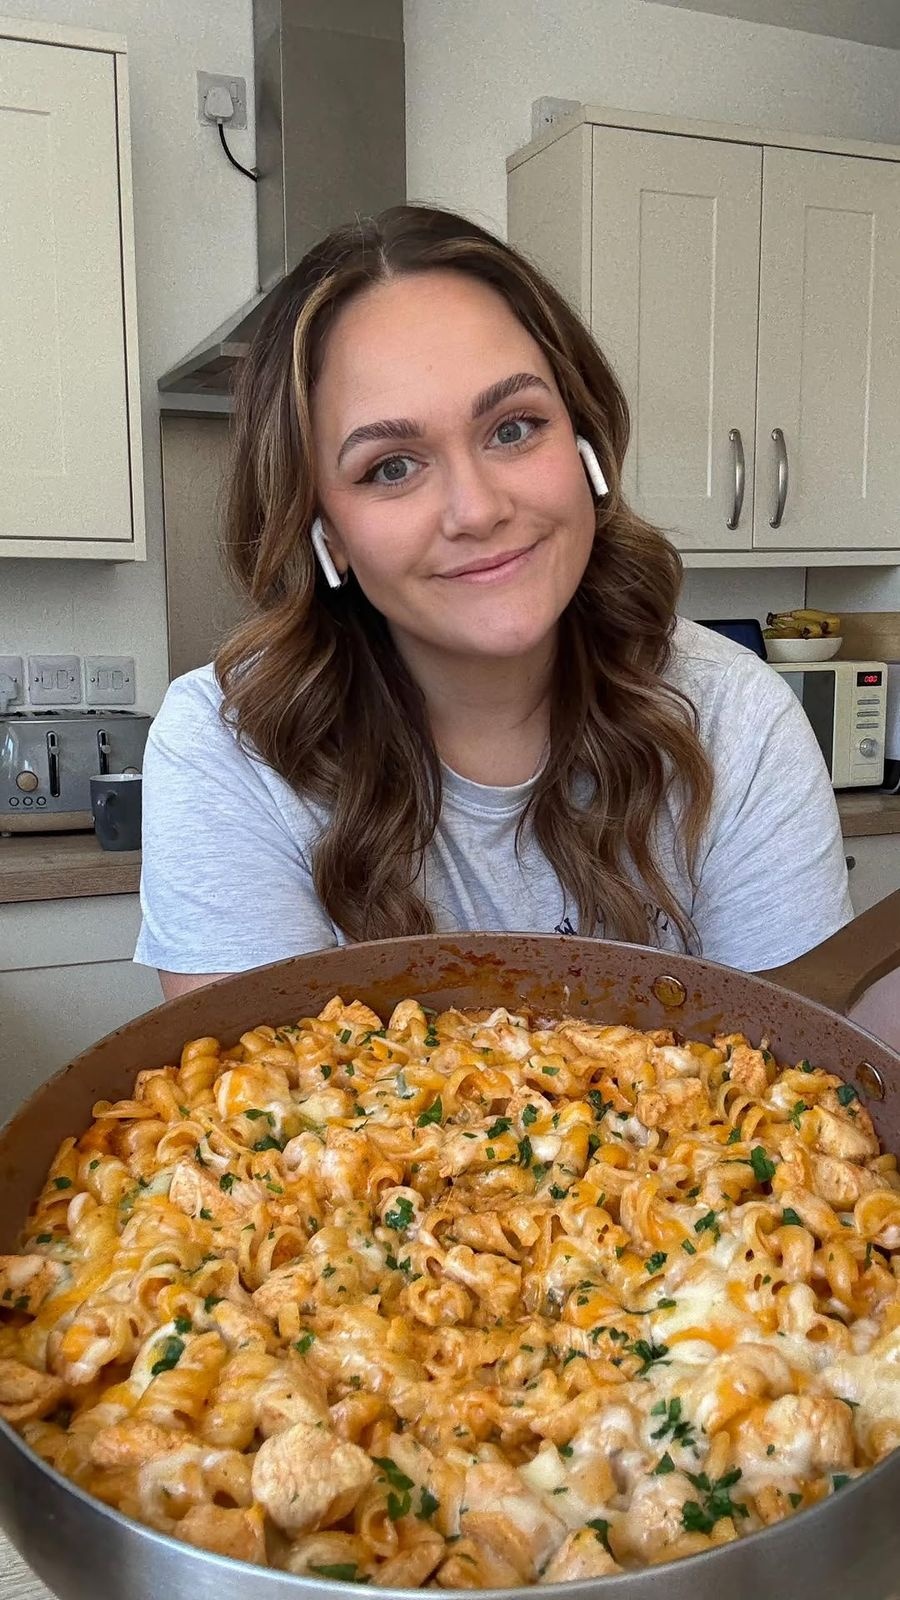
Welcome back to my new series where we’re keeping dinner quick, easy and all in one pan 🙌 If you’re short on time but still want something packed with flavour, this creamy harissa chicken pasta is the one 💥 It’s spicy, silky and done in 15, so you can spend less time cooking and more time doing literally anything else 😅 One pot, big flavour, zero faff.
Ingredients
- 500 g chicken breast, diced
- 1 tbsp chicken seasoning
- 2 tsp garlic purée, or 2 cloves
- 1 tbsp tomato purée
- 1 tbsp rose harissa paste, add more if you like it spicy
- 300 ml chicken stock, hot
- 100 g single cream
- 500 g fresh pasta
- 120 g cheese, i used a mix of cheddar, Red Leicester and mozzarella
- Fresh parsley or basil, to garnish, optional
Directions
- Season the chicken with chicken seasoning.
- Add to a large pan over medium-high heat and cook for 4–5 mins until starting to brown.
- Stir in the garlic purée, tomato purée and harissa paste. Cook for 30 seconds.
- Pour in the hot stock and stir in the cream.
- Add in the fresh pasta, stir well, then cover and simmer for 4–5 mins, stirring occasionally, until the pasta is tender and the sauce has thickened.
- Sprinkle over the cheese pop the lid back on and let it melt for 1–2 mins.
- Garnish with parsley or basil if using, and serve straight away.
Notes
😍😍
Nutrition (per serving)
Calories: 542 · Protein: 38.5
Recipe from: instagram.com, saved in Lucy's cookbook.
Creamy Hot Turkey Sandwich with Leftovers
Turn your turkey leftovers into pure comfort in only 3 steps! This Open-Faced Hot Turkey Sandwich is smothered in a rich and creamy sauce and served on toasted bread for the ultimate cozy meal. Quick, easy, and perfect for those post-holiday cravings. One bite, and you’ll wish you had leftovers year-round!
Ingredients
- ½ cup butter
- ¼ cup flour
- 1 ½ cup turkey broth
- ½ tsp salt
- ¼ tsp ground pepper
- ½ cup cream
- 3 ½ cups turkey shredded, diced or chopped
Directions
- In a large saucepan, melt the butter and whisk in the flour. Continue whisking until smooth.
- Whisk in the broth into the flour mixture. When blended whisk in the cream. Season with salt and pepper. Stir to combine. Add the turkey.
- Serve over bread, potatoes, or dressing.
Notes
The nutritional calculations do not include bread.
Nutrition (per serving)
Calories: 308 · Fat: 26 · Saturated fat: 15 · Carbs: 5 · Sugar: 1 · Fiber: 1 · Protein: 14 · Sodium: 616 · Cholesterol: 110
Recipe from: hostessatheart.com, saved in Lucy's cookbook.
Creamy Pesto Chicken & Broccoli Pasta Bake
Creamy Pesto Chicken & Broccoli Pasta Bake 🤤
Ingredients
- 1 lb pasta of choice
- ⅓ cup cun-dried tomatoes + oil
- 1 lb chicken
- 1 tbsp butter
- ½ yellow onion, diced
- Salt and pepper, to taste
- Paprika, to taste
- Oregano, to taste
- Tony’s seasoning, to taste
- 1 head of garlic, minced, or to taste
- 2 cups heavy cream
- 2 cups cooked broccoli, 1-2, to taste
- 2 handfuls spinach, to taste
- 2 cups freshly shredded parmesan cheese, plus more for topping and serving
- 2 cups shredded mozzarella, I used @tillamook in this recipe
- ½ cup pesto, to taste, I recommend Costco brand
- Parsley to garnish
Directions
- Preheat oven to 350F
- Boil noodles in salted water until al dente. Drain and set aside.
- In a large (oven-safe) saucepan or dutch oven, heat about 1 tbsp of sun-dried tomato oil over medium/high heat. Cook your chicken until no longer pink. Remove from pan and set aside. Let rest for a few minutes and then cut into bit sized pieces.
- In the same pan, melt your butter. Add in your seasonings and stir to toast. Add in your onion and sauté for 4 minutes or so. Throw in your garlic and stir for another 30 seconds.
- Pour in your heavy cream and stir. Simmer for a couple of minutes.
- Add in 1 cup of parmesan and 1 cup of mozzarella cheese. Reduce heat to medium/low, and stir until melted.
- Add in your sun-dried tomatoes, cooked broccoli, spinach, and pesto. Stir.
- Top with remaining mozzarella and parmesan cheese. Bake at 350F for 15 minutes, then finish under the broiler for another 5 minutes, or until you have a nice and golden crust.
- Sprinkle with fresh parsley, a touch more parmesan, and enjoy!
Notes
Also the spice is Tony Chacheres Creole Seasoning Although this dish had many steps, it tasted great. I will make it again just not on a week night. I seasoned my chicken before cooking and I used penne pasta.
Recipe from: instagram.com, saved in Lucy's cookbook.
Creamy Pesto Chicken Spaghetti Squash Boats
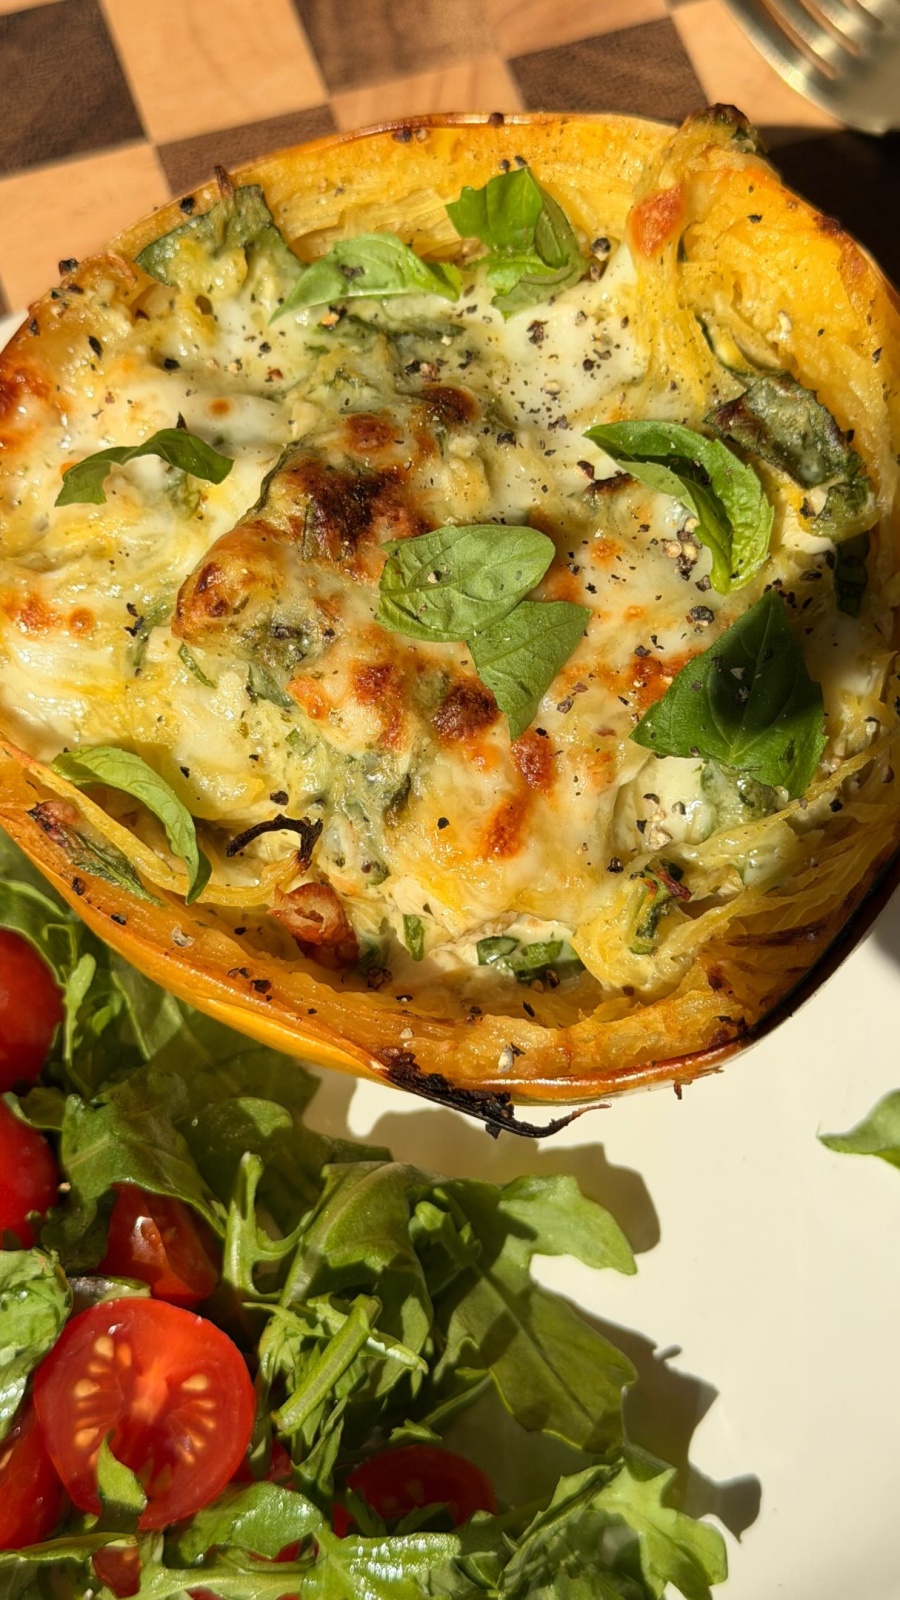
These creamy, cheesy spaghetti squash boats are filled with chicken, spinach, and a cottage cheese pesto sauce, then baked with melty mozzarella. They’re a cozy, high-protein dinner with plenty of veggies in every bite!
Ingredients
- 2 spaghetti squashes, about 2.8 lb each
- 2 tsp olive oil
- Salt and black pepper, to taste
- 1 cup 2% cottage cheese
- 6 tbsp basil pesto
- ¼ cup grated Parmesan
- 2 tsp garlic powder, 1-2
- Optional:
- ½ tsp Italian seasoning
- 16 oz cooked chicken breast, shredded or chopped, about 2 large breasts; use cooked weight for accuracy - can also use rotisserie chicken
- 2 cups fresh spinach, roughly chopped
- 1 cup shredded mozzarella, divided
Directions
- Preheat oven to 400°F. Carefully cut each spaghetti squash in half crosswise, across the middle, and scoop out the seeds. Brush the cut sides with olive oil and season with salt and pepper. Place cut-side down on a lined baking sheet and roast for 35–45 minutes, or until fork-tender, adding time as needed.
- Blend the cottage cheese, pesto, Parmesan, garlic powder, and optional Italian seasoning until smooth. Taste and add salt and pepper as needed.
- Transfer the sauce to a large bowl. Stir in the cooked chicken, spinach, and 1/2 cup mozzarella. Refrigerate while the squash finishes roasting.
- Let the squash cool slightly, then gently loosen the strands with a fork, keeping the shells intact. Add the strands to the chicken mixture and toss until evenly coated. If the squash releases excess liquid, drain it before mixing.
- Divide the filling among the four squash shells and sprinkle with the remaining 1/2 cup mozzarella. Return to the oven for 15–20 minutes, or until the filling is hot throughout and the cheese is melted.
Nutrition (per serving)
Serving Size: 1 · Calories: 525 · Fat: 23 · Carbs: 27 · Sugar: 10 · Fiber: 5 · Protein: 55
Recipe from: instagram.com, saved in Lucy's cookbook.
Crispy Baked Mac & Cheese
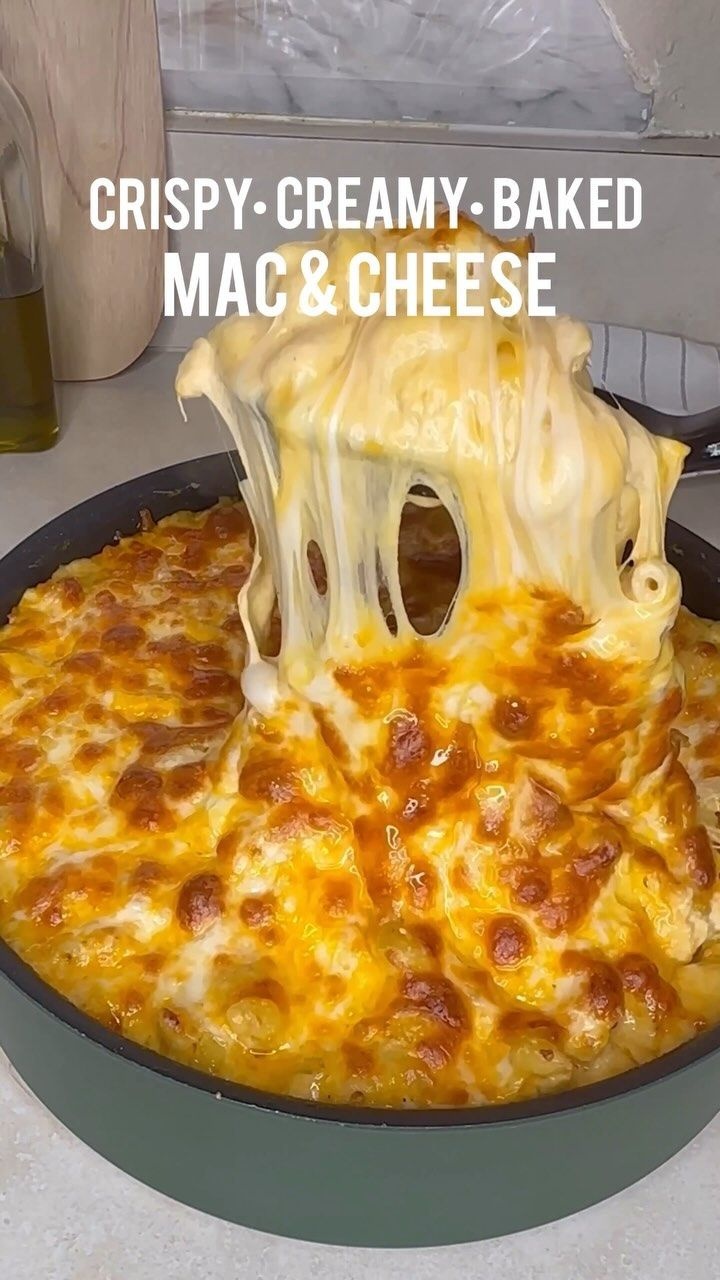
Ingredients
- 1 lb corkscrew pasta
- 1 lb mozzarella cheese
- 1 lb colby jack cheese
- ½ lb sharp cheddar cheese
- 3 tbsp salted butter
- 3 tbsp flour
- 1 tsp garlic powder
- 1 tsp smoked paprika
- ½ tbsp dijon mustard
- 1 can evaporated milk
- 2 cups heavy cream
Directions
Notes
caption
Recipe from: instagram.com, saved in Lucy's cookbook.
Crispy Bang Bang Chicken: An Incredible Sweet and Spicy Sensation

Crispy Bang Bang Chicken is an incredible sweet and spicy sensation that tantalizes the taste buds with its perfect flavor balance. If you have a penchant for dishes that offer both heat and sweetness, then this delightful recipe is just what you need. With crispy chicken pieces drenched in a creamy, spicy sauce, each bite is an explosion of flavor that is both enjoyable and addictive. Whether you’re serving it for a cozy dinner at home or a lively get-together with friends, Crispy Bang Bang Chicken is sure to impress your guests and leave them wanting more.
Ingredients
- 1 pound boneless, skinless chicken breasts, cut into bite-sized pieces
- 1 cup all-purpose flour
- 1 teaspoon garlic powder
- 1 teaspoon onion powder
- 1 teaspoon paprika
- ½ teaspoon salt
- ½ teaspoon black pepper
- 2 eggs, beaten
- 1 cup panko breadcrumbs
- 1 Vegetable oil for frying
- For the bang bang sauce:
- ½ cup mayonnaise
- 2 tablespoons sweet chili sauce
- 2 tablespoons Sriracha, 1-2, adjust to taste
- 1 teaspoon honey
- 1 tablespoon lime juice
Directions
- Prepare the chicken:
- Cut the chicken breasts into bite-sized pieces. Pat them dry with paper towels.
- Make the seasoned flour:
- In a shallow bowl, mix together the flour, garlic powder, onion powder, paprika, salt, and black pepper.
- Set up the breading station:
- In a separate bowl, beat the eggs. In another bowl, place the panko breadcrumbs.
- Coat the chicken:
- Dip each chicken piece first into the seasoned flour, shaking off excess. Then, dip into the beaten eggs, and finally coat with panko breadcrumbs, pressing gently to adhere.
- Heat oil:
- In a large skillet or deep pan, heat vegetable oil over medium-high heat until shimmering.
- Fry the chicken:
- Fry the chicken pieces in batches, avoiding overcrowding, until golden brown and cooked through, about 5-7 minutes per side. Ensure the internal temperature reaches 165°F.
- Drain the chicken:
- Remove the chicken from the oil and place it on a paper towel-lined plate to drain.
- Prepare the bang bang sauce:
- In a small bowl, whisk together the mayonnaise, sweet chili sauce, Sriracha, honey, and lime juice until smooth. Adjust Sriracha to taste for desired spice.
- Coat the chicken in sauce:
- In a large mixing bowl, add the crispy chicken and pour the Bang Bang sauce over it. Toss gently to coat each piece.
- Serve immediately:
- Transfer the coated chicken to a serving platter, garnishing with green onions or sesame seeds if desired.
Notes
To achieve maximum crispiness, double-dip the chicken. After flouring it, dip it back in the egg and then in the panko breadcrumbs again. Yes, chicken thighs can be used for a juicier result. Just remember to adjust the cooking time slightly if they are thicker. If panko is unavailable, you can use crushed regular breadcrumbs or even crushed cornflakes for a different texture. To increase the heat, add extra Sriracha or crushed red pepper flakes into the Bang Bang sauce. You can also mix in chopped fresh jalapeños when coating the chicken. Yes, you can make this gluten-free by using gluten-free breadcrumbs and substituting all-purpose flour with a gluten-free flour blend.
Nutrition (per serving)
Serving Size: 4 · Calories: 550 · Fat: 35 · Protein: 30
Recipe from: easyplateideas.com, saved in Lucy's cookbook.
Crispy Beef Cones
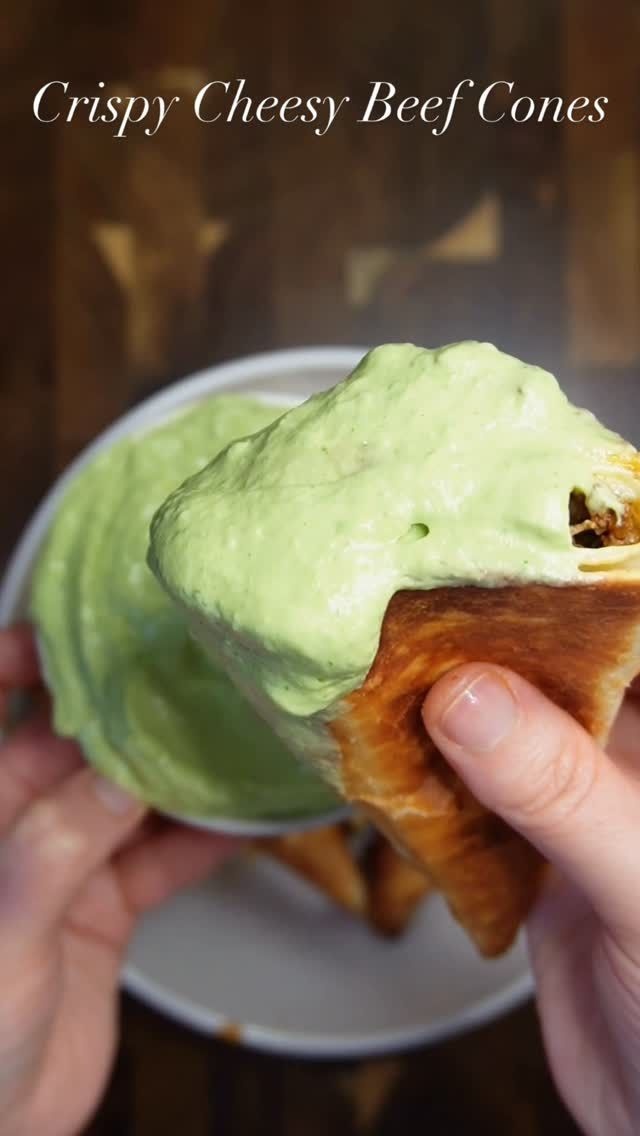
Ingredients
- 1 lb ground beef 450 g
- 1 small onion, finely chopped
- 2 cloves garlic grated
- 1 tsp salt
- 1 tsp paprika
- 1 tsp smoked paprika
- ½ tsp black pepper
- ½ tsp cumin
- 1 cup bell peppers
- 2 Tbsp tomato paste
- 1 cup water
- 1 Cheese sticks
- 4 Flour tortillas
- 1 Oil for frying
- Avocado sauce:
- 1 ripe avocado
- 2 Tbsp sour cream
- ½ fresh lime juice
- 1 fresh cilantro
- Salt to taste
- 1 tsp garlic powder
- 5 tbsp water, 4-5
Directions
- Heat a pan over medium-high heat and add olive oil add the chopped onion and cook for 2–3 minutes, until softened.
- Add the garlic and cook for about 30 seconds until fragrant add the ground beef and cook for 5–6 minutes, until browned stir in the spices, bell peppers, and tomato paste.
- Cook for 1 minute to bloom the spices.
- Pour in the water, stir well, and let it simmer until the mixture thickens and becomes slightly saucy.
- Cut the tortillas and shape them into cones.
- Add a cheese stick inside, then spoon the meat mixture on top and sprinkle with grated cheese.
- Heat a pan over medium-high heat, add oil, and fry the cones until golden brown on all sides.
Notes
Porque me salen estas cosas cada que quiero empezar la dieta e ir a GYM, noooo😩
Recipe from: instagram.com, saved in Lucy's cookbook.
Crispy beef tacos with pico de gallo and cream taco sauce. 🌮

Crispy beef tacos with pico de gallo and cream taco sauce. 🌮
Ingredients
- For the taco seasoning:
- 1 tbsp red chili powder
- 2 tbsp garlic powder
- 1 tbsp onion powder
- 1 tbsp smoked red paprika powder
- 1 tsp dried oregano
- 1 tsp black pepper powder
- 1 tbsp ground cumin
- 1 tbsp salt
- For the beef:
- 2 lb ground beef, 80 % lean, 20 % fat
- 1 tbsp taco seasoning, less or more, adjust to taste
- 1 onion, diced
- Salt to taste
- 1 tbsp clarified butter or oil
- 2 tbsp tomato paste
- ½ cup warm water
- 1 tbsp minced garlic
- For the pico de gallo:
- 1 onion, finely chopped
- 2 tomatoes, diced
- 1 tbsp freshly chopped cilantro
- 2 tbsp lime juice
- Salt to taste
- 1 tsp black pepper
- For the taco sauce:
- ⅓ cup sour cream
- ⅓ cup mayonnaise
- ⅓ cup butter milk or water
- 1 juice of lime
- 1 tbsp taco seasoning, less or more adjust to taste
- 1 tbsp dried parsley
- To assemble:
- 15 mini flour tortillas, 12-15
- 1 Oil for lightly frying tortillas
- 1 cup mozzarella cheese
Directions
- Make taco seasoning:
- In a bowl combine salt , pepper, paprika, garlic powder, onion powder, cumin, chili powder and oregano. Mix to combine.
- In a pan heat clarified butter add onion , sauté for a minute or until fragrant. Add minced beef. Cook on medium heat until it changes color, add fresh garlic mix to combine. Season with taco seasoning add tomato paste. Mix and sauté for 2-3 min. Taste and add more salt if needed Add warm water and cook for 8-10 min or until the beef is fully cooked and the water has evaporated.
- Make salsa:
- In a bowl make salsa by mixing onions, tomatoes, cilantro, lime juice salt and pepper.
- Make taco sauce:
- In a bowl add mayonnaise, sour cream, butter milk, add taco seasoning , lime juice and dried parsley. Mix until creamy and smooth.
- In a pan heat oil on medium heat l, place tortilla , add shredded cheese, top it with beef one side. Close the tortilla by flipping half side.
- Cook until crispy and golden serve warm with salsa and taco sauce.
Notes
😍
Recipe from: instagram.com, saved in Lucy's cookbook.
Crispy Chicken Caesar Salad Croissants
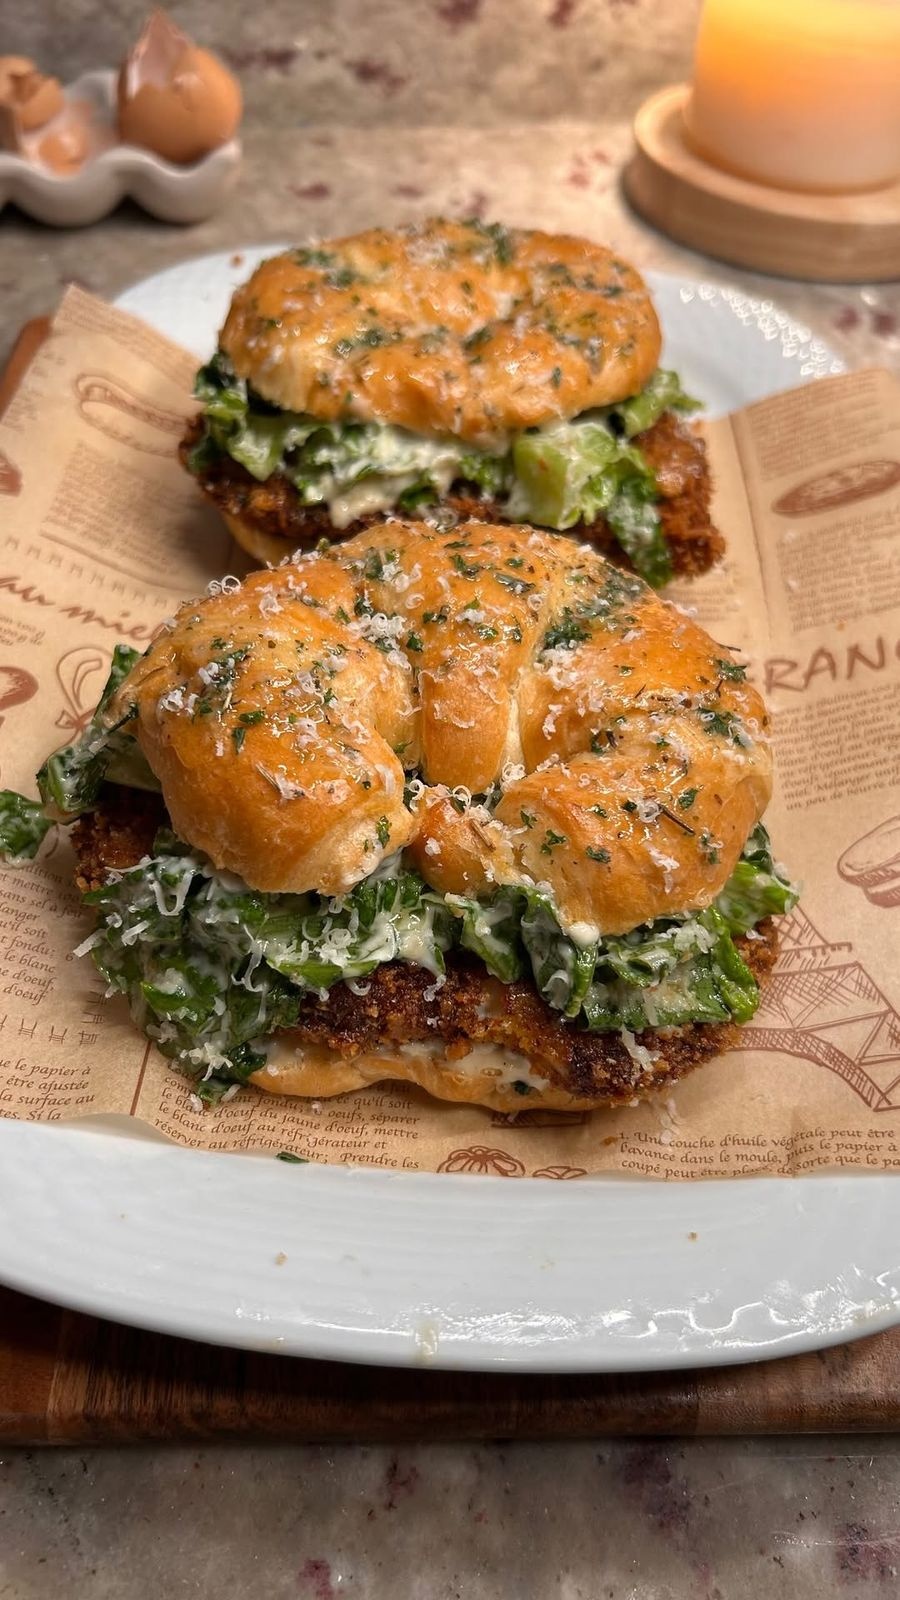
Crispy chicken caesar salad croissants.
Ingredients
- 4 thin sliced chicken breasts
- 1 cup all-purpose flour, 120g
- Seasonings (to taste):
- salt, black pepper, garlic powder, onion powder, smoked paprika, italian seasoning, chili powder, kinder bold chicken seasoning blend
- For the wet mixture:
- 2 eggs
- 1 2–3 tbsp heavy cream, 30–45g
- 1 1–2 tbsp pickle juice
- For the coating:
- 1 ½ cups panko breadcrumbs, 90g
- 1 2–3 tbsp grated parmesan
- For the caesar salad:
- 1 romaine lettuce, chopped
- 1 croutons
- 1 extra parmesan
- Other ingredients:
- 4 large croissants
- 1 oil for frying
- Garlic butter:
- 2 tbsp melted butter, 28g
- 1 clove garlic, minced
- 1 parsley
- 1 extra parmesan
- Caesar dressing:
- 1 cup mayo, 240g
- ½ cup finely grated parmesan, 50g
- 1 2–3 cloves garlic, minced
- 2 tbsp lemon juice, 30g
- 1 tbsp dijon mustard, 15g
- 1 tsp worcestershire sauce
- ½ tsp salt
- ½ tsp black pepper
- ¼ cup olive oil, 60g
- 1 2–4 tbsp water, to thin if needed
Directions
- Season the chicken generously with your spices. In one bowl, mix the flour with any remaining seasoning. In another bowl, whisk together the eggs, heavy cream, and pickle juice. In a third bowl, combine the panko and parmesan.
- Coat each piece of chicken in the flour, then the egg mixture, then the panko mixture. Let the breaded chicken rest for 5–10 minutes.
- Fry in oil over medium heat until golden brown and cooked through, about 4–5 minutes per side. Transfer to a wire rack.
- For the dressing, whisk together the mayo, parmesan, garlic, lemon juice, dijon, worcestershire, salt, and pepper. Slowly whisk in the olive oil, then add water until smooth and pourable.
- Toss the chopped romaine with some of the caesar dressing. Add croutons and extra parmesan.
- Slice the croissants in half and spread a little caesar dressing on both sides. Add the crispy chicken, top with the caesar salad mixture, and sprinkle with more parmesan.
- Mix together the melted butter, garlic, and parsley. Brush the tops of the croissants with the garlic butter and finish with extra parmesan.
- Serve immediately and enjoyyyy
Notes
FUHHHHHHK yes
Recipe from: instagram.com, saved in Lucy's cookbook.
Crispy Corn Cheese Balls
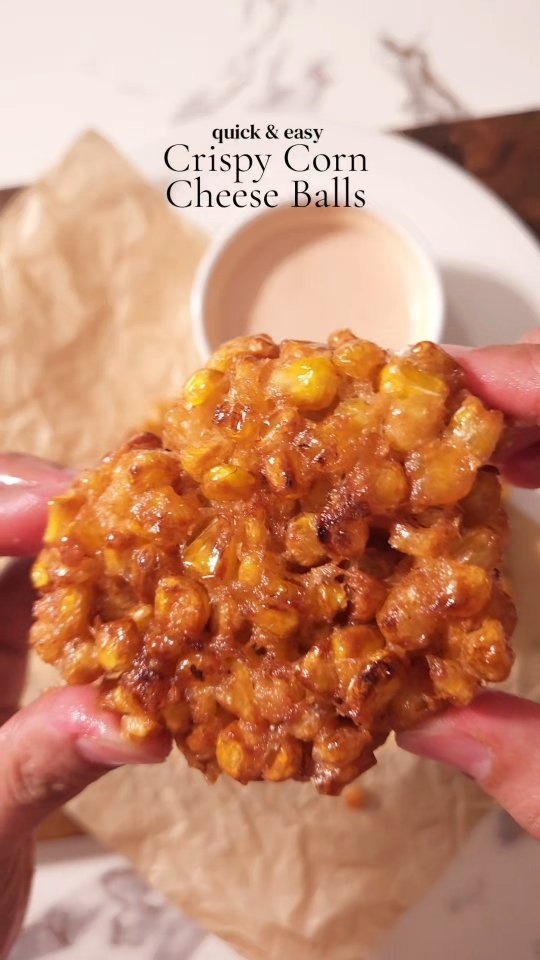
Ingredients
- 280 g boiled corn
- 40 g all-purpose flour
- 35 g cornstarch
- 1 egg yolk
- Salt, to taste
- 0.5 tsp black pepper
- 1 tsp garlic powder
- 1 tsp smoked paprika
- 100 g mozzarella cheese, cut into 10 g pieces
- Oil, for frying
Directions
- In a large bowl, add boiled corn, flour, cornstarch, egg yolk, salt, black pepper, garlic powder, and smoked paprika. Mix well.
- Cover and freeze for 30 minutes.
- Take a full spoonful of the mixture and flatten it slightly in your hands.
- Place 10 g mozzarella in the center. Shape into a ball, completely sealing the cheese inside.
- Freeze the balls for another 10 minutes.
- Fry in hot oil at 350°F (175°C) until golden and crispy.
- Serve hot with your favorite sauce.
Recipe from: instagram.com, saved in Lucy's cookbook.
Crispy Honey Butter Chicken
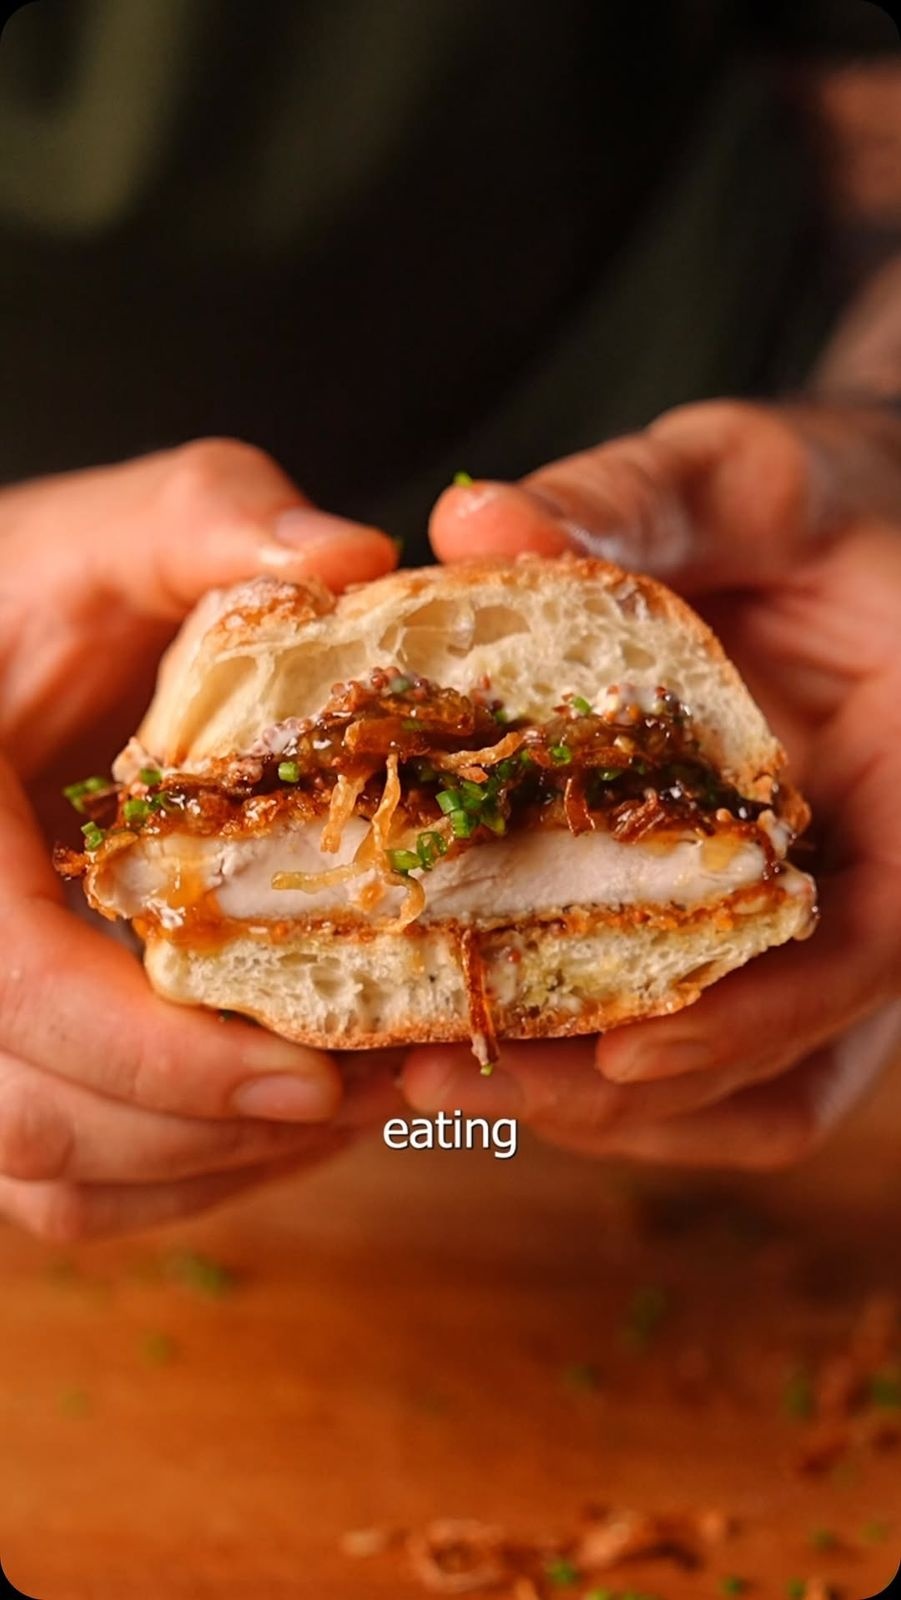
I can’t believe how good this was and I’m definitely going to be making this again. It was easy to change to healthier. All I had to do was exchange regular butter for light butter and change the brown sugar to a replacement blend like splenda or truvia or any of those. I’m not saying this is my lowest calorie sandwich but it’s under 700 calories and that’s pretty good for a lunch.
Ingredients
- 1 crushed garlic
- 1 honey
- 1 light butter 2 tbsp
- 1 brown sugar replacement like splenda or truvia
- 1 soy sauce
- 1 sesame oil
- 1 cornstarch slurry
- crushed red peppers, optional
- 1 flour
- 1 beaten egg
- 1 crushed corn flakes
- 1 olive oil
- 1 chicken thigh
- 1 ciabatta bread
Directions
- Honey butter:
- In a pan on medium heat adds crushed garlic, honey, light butter 2 tbsp, brown sugar replacement like splenda or truvia, soy sauce, sesame oil, and a cornstarch slurry. optional some crushed red peppers. melt everything together and use right away.
- Air fried chicken thigh:
- Dredge the chicken thigh is flour then a beaten egg and then in crushed corn flakes. give a light spray of olive oil and air fry for 16 minutes. flip half way through. cook till golden brown and an internal temp of 165F is reached.
Nutrition (per serving)
Calories: 677
Recipe from: instagram.com, saved in Lucy's cookbook.
Crispy honey chilli lime chicken tender
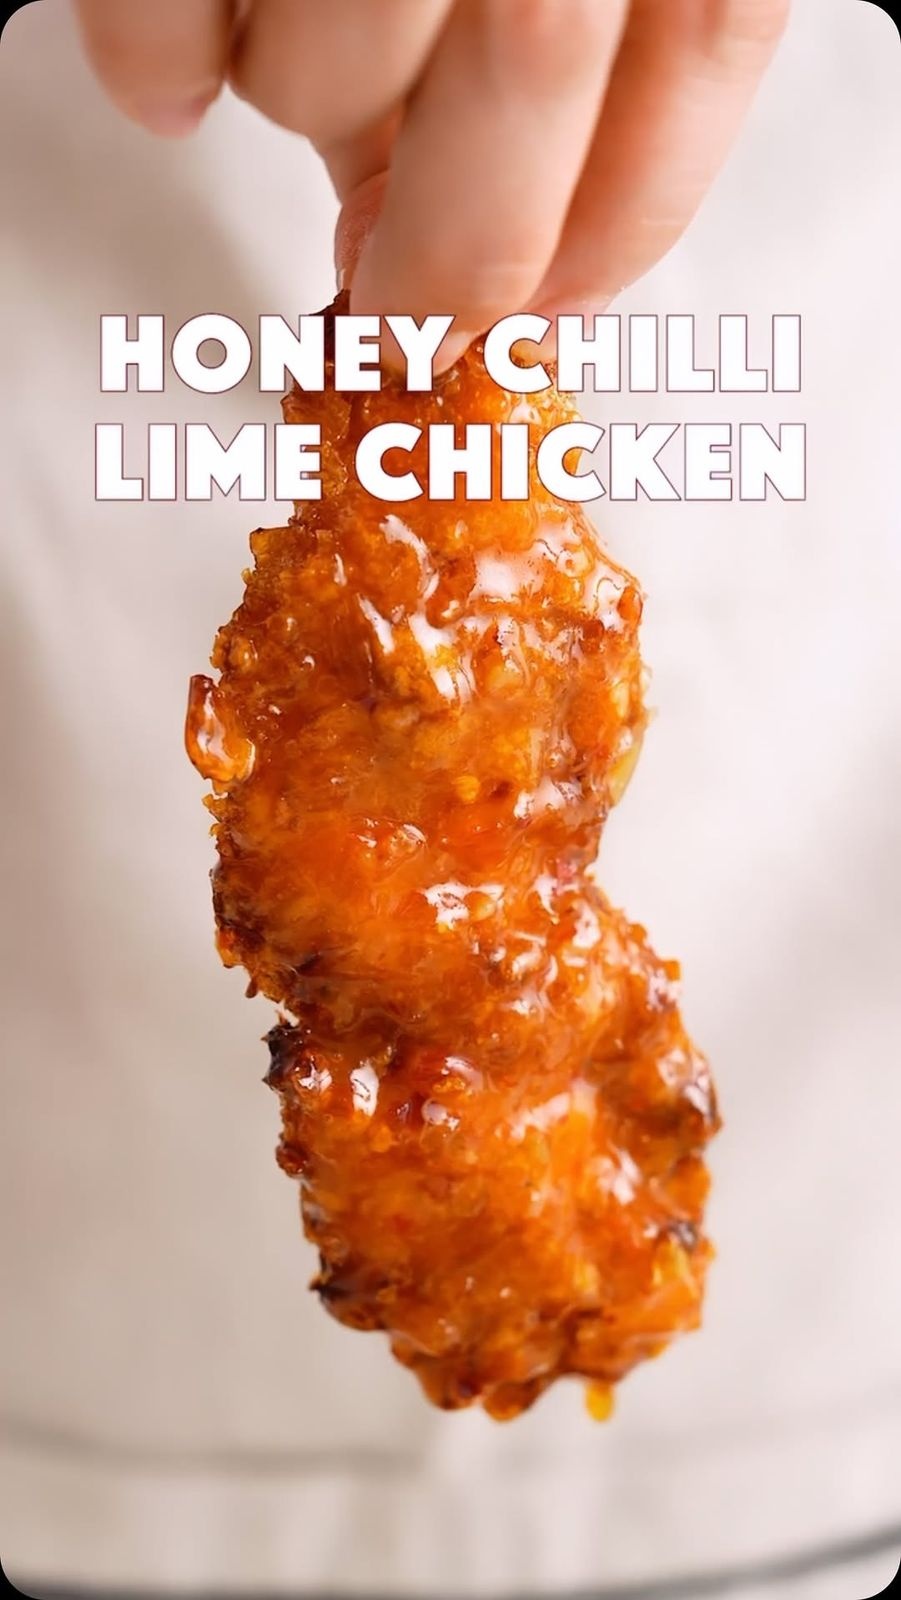
Crispy honey chilli lime chicken tender recipe, air-fried crispy chicken tenders glazed with sweet and sticky chilli lime sauce.
Ingredients
- 1 Chicken tender 500 g
- 1 Garlic powder 1 tsp
- 1 Paprika 1 tsp
- 1 Black pepper 1 tsp
- 1 Salt 1/2 tsp
- 1 Egg 1-2
- 1 Plain flour 2-3 tbsp
- 1 Cornflakes 2-3 cups
- 1 For Chilli Lime Sauce
- 1 Butter 1 tbsp
- 1 Garlic 2 cloves
- 1 Crushed chillies 1 tsp
- 1 Lime juice 4 tbsp
- 1 Lime zest 1 tsp
- 1 Sweet chilli sauce 2 tbsp
- 1 Honey 2 tbsp
- 1 Soy sauce 2 tbsp
- 1 Cornstarch slurry, ¼ tsp cornstarch + 3 tbsp water
- 1 Water 1 tbsp
Directions
Notes
👏👏👏👏
Recipe from: instagram.com, saved in Lucy's cookbook.
Crispy Ranch Parmesan Smashed Carrots
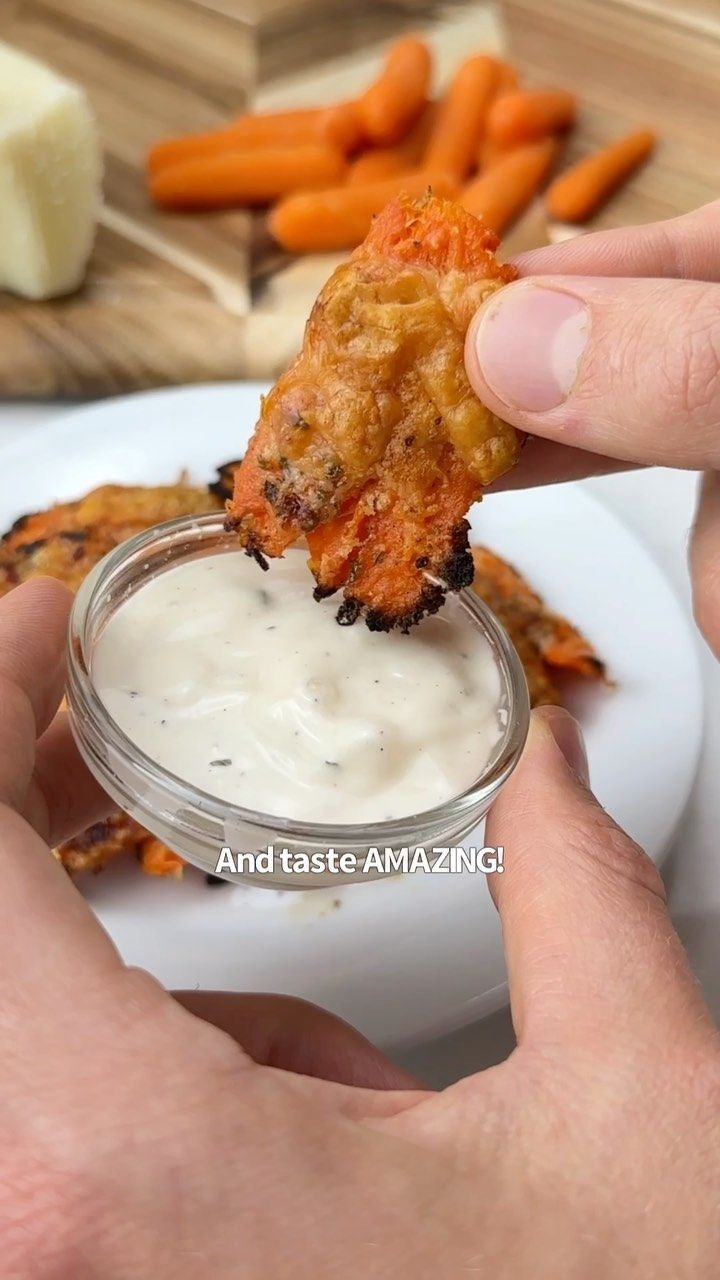
Say “YUM” if you would eat these Crispy Ranch Parmesan Smashed Carrots 🥕🤤 This yummy recipe is super easy to make, here’s what you do:
Ingredients
- 1 bag carrots
- 1 Oil
- 1 Parmesan
- Ranch seasoning
Directions
- Steam a bag of carrots, smash them & pat dry.
- Add to parchment paper & drizzle both sides with oil. Top with Parmesan and ranch seasoning.
- Bake @ 400F for 20 mins & enjoy 🙌
Recipe from: instagram.com, saved in Lucy's cookbook.
Crockpot Marry Me Chicken Sandwiches
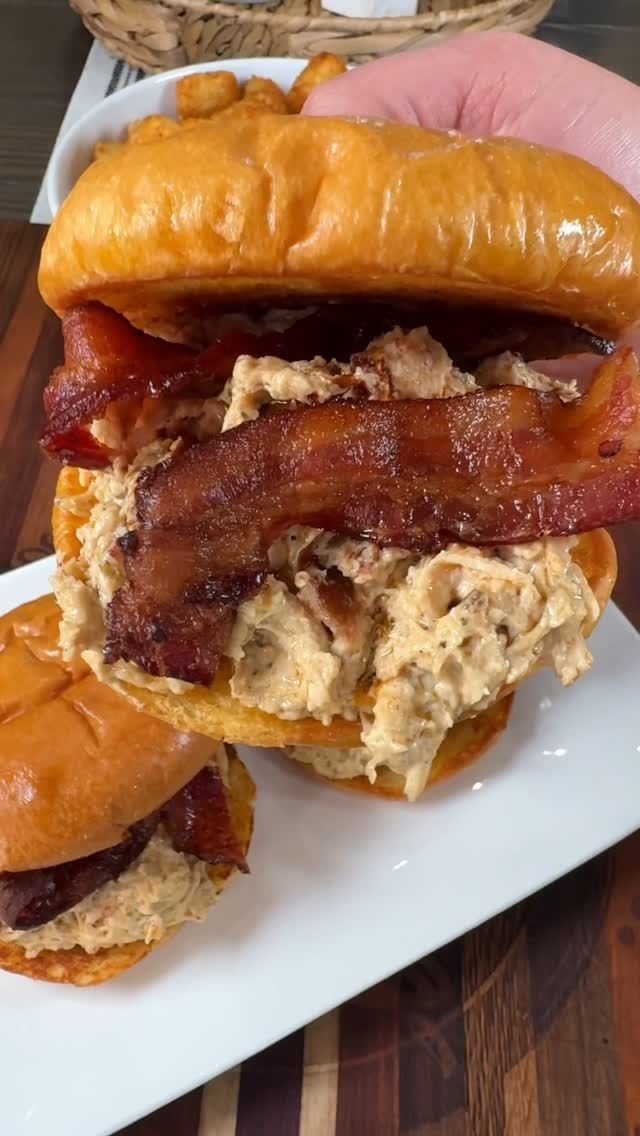
Crockpot Marry Me Chicken Sandwiches are an easy dinner recipe!
Ingredients
- 1 lb chicken breast
- ½ tsp each salt, pepper, oregano, thyme
- 1 tsp each onion powder and garlic powder
- ¼ tsp red pepper flakes
- 1 tbsp minced garlic
- ⅓ cup sun dried tomatoes, chopped
- ½ cup of chicken broth
- 8 slices of bacon
- 1 block of cream cheese
- 1 cup of shredded mozzarella cheese
- 1 Brioche buns
Directions
- Spray a crockpot with cooking spray and add the chicken. Season the chicken with salt, pepper, oregano, thyme, onion powder, garlic powder, and red pepper flakes. Next, add the minced garlic, chopped sun dried tomatoes, and chicken broth.
- Be sure to stir the sun dried tomatoes and garlic around. You want the sun dried tomatoes to be down in the chicken broth, so they don’t burn.
- Cook on low for 4-6 hours. Once the chicken is fully cooked shred the chicken, add a block of cream cheese, and shredded mozzarella cheese. Let this keep cooking on low until the cream cheese is melted and stir everything together well.
- Cook bacon while cream cheese is melting. Once bacon is cooked build sandwiches on toasted buns and top with the crispy bacon. Enjoy!
Notes
Gonna have to give this one a try! Hopefully without sun dried tomatoes doesn’t change the taste too much! 😂 looks great!
Recipe from: instagram.com, saved in Lucy's cookbook.
Croffles (Croissant Waffles)
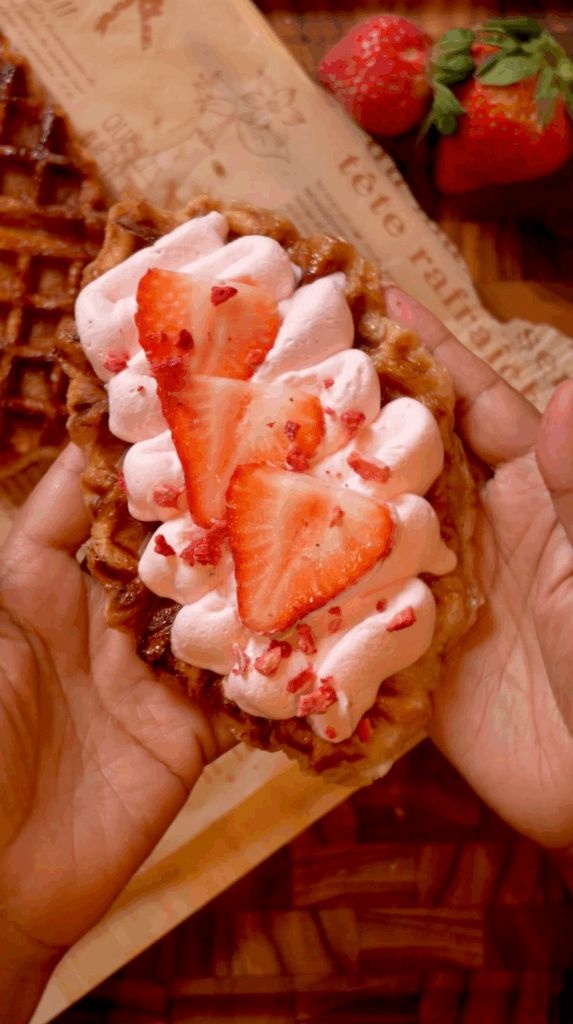
These croffles are the viral Korean dessert trend that took the internet by storm, and for good reason! They're crispy, flaky, buttery, and absolutely addictive. If you've never heard of croffles, they're basically croissants pressed in a waffle maker, which transforms those delicate buttery layers into the most incredible crispy, crunchy texture while keeping all that flaky goodness inside. The genius is in the simplicity: you take frozen croissant dough (the kind you can buy at the grocery store), let it thaw, sprinkle it with a little sugar, then press it in your waffle maker until it's golden brown and crispy.
Ingredients
- For the croffles:
- 1 Butter or cooking spray, for greasing the waffle maker
- 4 frozen croissants, thawed completely, from 1 package
- 2 tablespoons granulated sugar or brown sugar
- Optional toppings (choose your favorites):
- 1 Fresh strawberries and whipped cream
- 1 Crushed chocolate cookies
- 1 Boba pearls and sweetened condensed milk
- 1 Chocolate sauce, caramel sauce, or maple syrup
- 1 Powdered sugar
- 1 Ice cream
- 1 Fresh berries
- 1 Nutella or peanut butter
Directions
- Preheat Your Waffle Maker Plug in your waffle maker and preheat it to medium heat. A standard-size waffle maker with a 7-inch grid works perfectly, but any size will do. Once it's heated up, lightly grease it with butter or cooking spray. Don't skip this step or your croffle might stick!
- Prepare the Croissant Dough Make sure your frozen croissants are completely thawed. If they're still cold or firm, let them sit at room temperature for about 30-45 minutes until they're soft and pliable. Separate the croissants into individual portions. You can gently roll or flatten each one slightly with your hands to help it fit better in the waffle maker and ensure even cooking, but don't roll them too thin or you'll lose those beautiful flaky layers.
- Add the Sugar Sprinkle about ½ tablespoon of sugar over both sides of each croissant. You can use granulated sugar for a classic sweet crunch or brown sugar for a deeper, caramelized flavor. The sugar will caramelize as it cooks, creating that amazing crispy, slightly sweet exterior.
- Cook in the Waffle Maker Place one piece of sugared croissant dough right in the center of your preheated waffle maker. Close the lid gently but firmly. You might need to press down a little to help the croissant flatten and fill the waffle grids. Cook for 2-3 minutes, keeping an eye on it. The croffle is ready when it's golden brown, crispy on the outside, and those layers are all visible and flaky. Cooking time might vary depending on your waffle maker, so check after 2 minutes and add more time if needed.
- Let It Set Carefully remove the croffle from the waffle maker using tongs or a fork (be careful, it's hot!). Transfer it to a wire rack or plate and let it sit for 1-2 minutes. This cooling time helps the croffle set and get even crispier. Resist the urge to stack them or they'll steam and get soggy.
- Repeat with Remaining Dough Repeat the cooking process with the remaining croissant pieces, re-greasing the waffle maker lightly between each one if needed. You should end up with 4 beautiful, crispy croffles.
- Add Your Toppings Now comes the fun part! Top your warm croffles with whatever you're craving. Fresh strawberries and a cloud of whipped cream is classic and delicious. Crushed chocolate cookies with a drizzle of chocolate sauce is decadent. Boba pearls with sweetened condensed milk drizzled over top is trendy and amazing. Or keep it simple with just maple syrup and butter. There's no wrong way to do this!
- Serve Warm Serve your croffles immediately while they're still warm and crispy. They're best eaten fresh, but leftovers can be stored and reheated.
Notes
Make sure croissants are fully thawed: This is super important! If the croissants are even slightly frozen or too cold, they won't press properly in the waffle maker and could cook unevenly. Let them sit at room temperature until they're completely soft and pliable before pressing them. Don't overfill the waffle maker: Place the croissant dough in the center of the waffle maker, not too close to the edges. As it cooks and presses, it will spread out to fill the grid. If you start with it too big or positioned wrong, it might overflow and make a mess. Adjust your heat setting: Every waffle maker is different. Start with medium heat and adjust from there. If your croffles are browning too quickly on the outside but not cooking through, lower the heat. If they're taking forever and not getting crispy, increase the heat slightly. The sweet spot is golden brown and crispy in about 2-3 minutes. Get creative with toppings: The beauty of croffles is that they work with both sweet and savory toppings. Try them with fried chicken and maple syrup for a sweet and savory combo, cream cheese and smoked salmon for brunch, or Nutella and bananas for dessert. Those waffle pockets are perfect for holding whatever you pile on top! Use the sugar strategically: The sugar not only adds sweetness but also helps create that crispy, caramelized exterior. Brown sugar gives you a deeper caramel flavor, while granulated sugar gives you a lighter, classic sweetness. You can also skip the sugar entirely and season with cinnamon sugar, or go savory with a sprinkle of salt and herbs.
Nutrition (per serving)
Calories: 280
Recipe from: mymanabites.com, saved in Lucy's cookbook.
Crunchy Japanese Long Fries with garlic mayo parmesan sauce 🥔
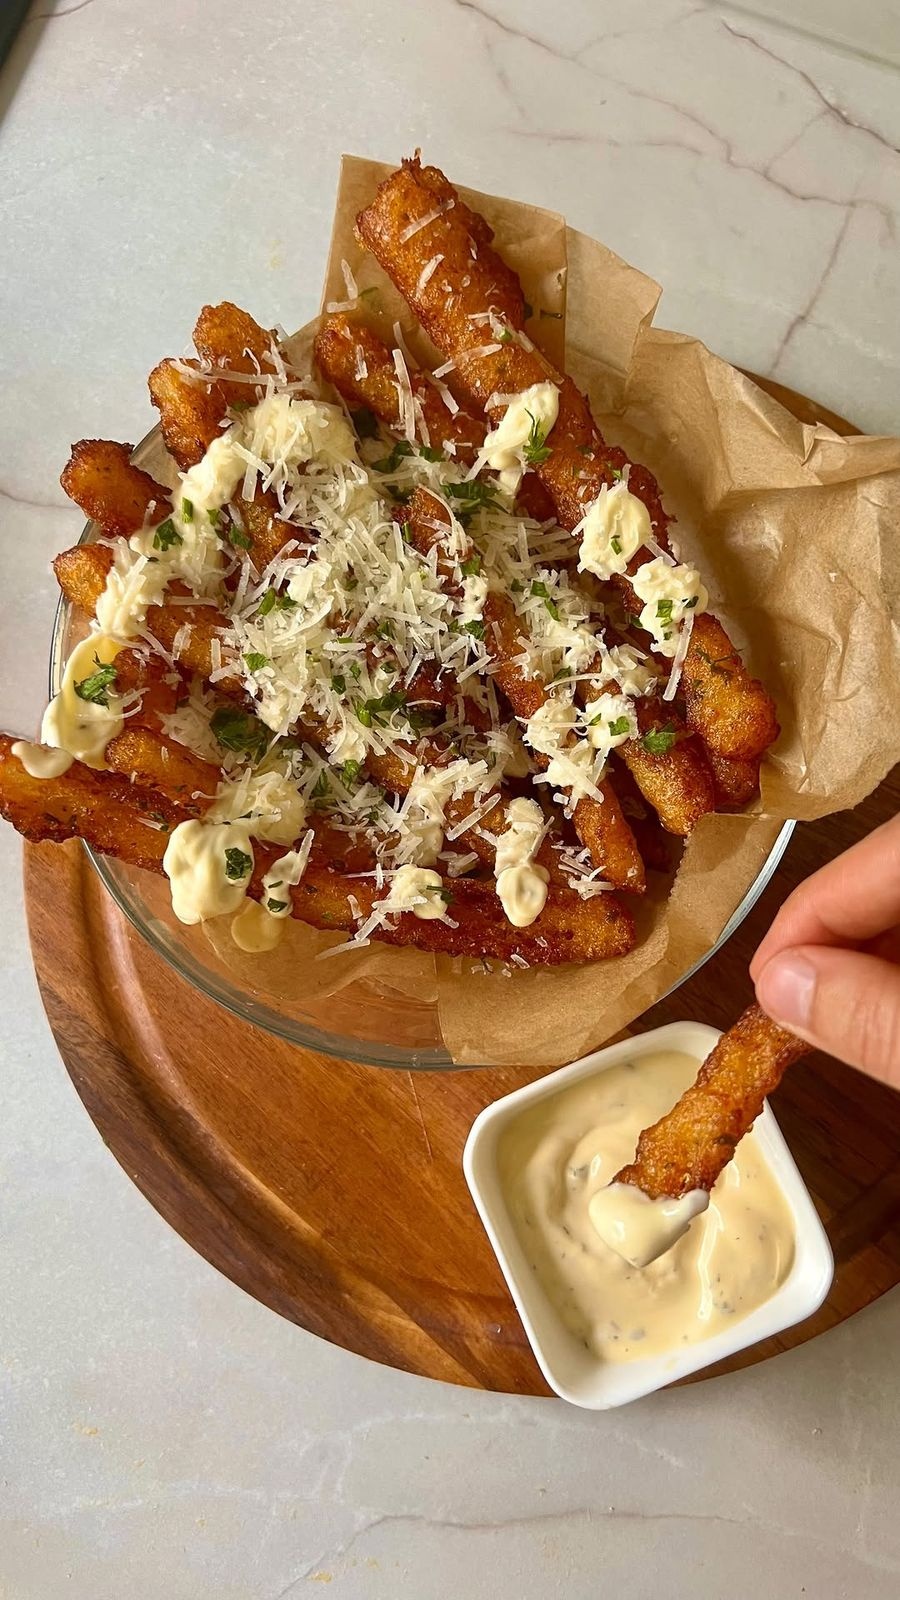
Crunchy Japanese Long Fries with garlic mayo parmesan sauce 🥔
Ingredients
- 1 3–4 big potatoes
- 1 80–100 g cornstarch, about 6–7 tbsp
- Seasoning:
- 1 tsp onion powder
- 1 tsp garlic powder
- 1 tsp dried parsley
- 1 tsp salt
- 2 tsp paprika powder
- 2 tsp black pepper
- Garlic mayo sauce (aioli):
- 4 tbsp Mayo
- 1 tbsp Garlic powder
- 1 tbsp Onion powder
- 1 Parsley
- 1 tsp Lemon juice
- 1 tsp Olive oil
- On top : parmesan, parlsey, and garlic mayo
Directions
- Peel and boil potatoes for 20–25 mins until soft.
- Mash them until smooth.
- Add all seasonings + cornstarch. Mix well.
- Transfer into an ice bag (or piping bag).
- Let it chill in the fridge for 30 mins.
- Cut into long rectangle shapes, then cut in half.
- Deep fry in hot oil until golden and crispy.
Notes
If they break while frying, gently lift with a spatula to keep the shape!
Recipe from: instagram.com, saved in Lucy's cookbook.
Crunchy Pasta Salat
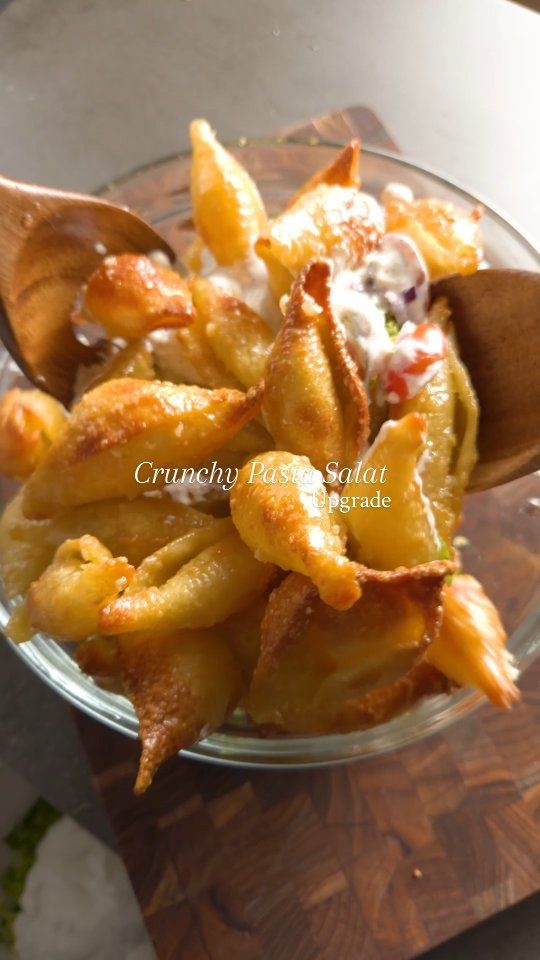
Knusprige Parmesan-Pasta aus dem Airfryer trifft auf frischen Salat und ein cremiges Zitronen-Dressing. Außen ultra crunchy, innen leicht chewy und durch das Knoblauchöl besonders aromatisch.
Ingredients
- Salat:
- 1 Romana Salatherz, grob geschnitten
- 1 Rote Zwiebel, fein gewürfelt
- 1 Cherry Tomaten, geviertelt
- 1 Petersilie, grob gehackt
- Crunchy pasta:
- 1 Muschelnudeln
- 1 Olivenöl
- 1 Parmesan, fein gerieben
- Knoblauchöl:
- 1 Knoblauchzehen, gepresst
- 1 Olivenöl
- Dressing:
- 1 Joghurt
- 1 Saure Sahne
- 1 Senf
- 1 Zitronensaft
- 1 Zwiebelpulver
- 1 Olivenöl
- 1 Salz
- 1 Pfeffer
Directions
- Muschelnudeln in Salzwasser al dente kochen und gut abtropfen lassen. - Cook shell pasta in salted water until al dente and drain well.
- Die noch warmen Nudeln mit Olivenöl und reichlich Parmesan vermengen. - Toss the still-warm pasta with olive oil and plenty of Parmesan cheese.
- Die Pasta im Airfryer bei 200 °C rösten, bis sie goldbraun und knusprig ist. - Toast the pasta in an air fryer at 200°C (390°F) until golden brown and crispy.
- Für das Knoblauchöl gepressten Knoblauch mit reichlich Olivenöl verrühren. - For the garlic oil, combine pressed garlic with plenty of olive oil.
- Die knusprige Pasta mit dem Knoblauchöl vermengen. - Toss the crispy pasta with the garlic oil.
- Joghurt, saure Sahne, Senf, Zitronensaft, Zwiebelpulver, Olivenöl, Salz und Pfeffer zu einem cremigen Dressing verrühren. - Whisk together yogurt, sour cream, mustard, lemon juice, onion powder, olive oil, salt, and pepper to make a creamy dressing.
- Romana Salat, rote Zwiebel, Cherrytomaten und Petersilie in eine große Schüssel geben. - Place romaine lettuce, red onion, cherry tomatoes, and parsley in a large bowl.
- Das Dressing über den Salat geben und alles leicht vermengen. - Place romaine lettuce, red onion, cherry tomatoes, and parsley in a large bowl.
- Zum Schluss die crunchy Parmesan Pasta oben auf den Salat geben.- Drizzle the dressing over the salad and toss gently. Finally, top the salad with the crispy Parmesan pasta.
Recipe from: instagram.com, saved in Lucy's cookbook.
Crustless Broccoli Quiche with Cheddar and Scallions
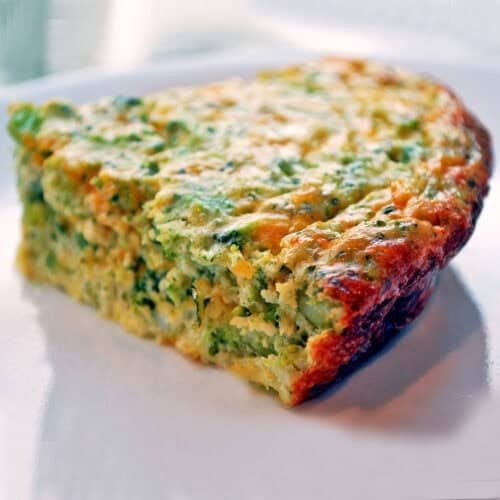
This crustless broccoli quiche is easy to make, is perfect for meatless weeknight dinners, and also makes a filling brunch or lunch.
Ingredients
- 1 tablespoon butter - for the pan
- 16 ounces frozen chopped broccoli - or fresh broccoli cut into florets
- 8 large eggs
- ½ cup sour cream - or full-fat Greek yogurt
- 1 teaspoon Diamond Crystal kosher salt - or 1/2 teaspoon of any other salt, including Morton kosher salt
- ¼ teaspoon black pepper
- 1 teaspoon garlic powder
- ¼ cup scallions - chopped, white and green parts
- 1 cup cheddar cheese - sharp, shredded; 4 ounces
Directions
- Preheat the oven to 400°F. Generously butter a 9-inch glass or ceramic pie dish.
- Frozen broccoli:
- Place the chopped broccoli in a large microwave-safe bowl. Add ¼ cup of water. Cover and microwave on high for 6 minutes, stirring after the first 3 minutes. Drain well.
- Fresh broccoli:
- Place the broccoli florets in a large microwave-safe bowl. Add ¼ cup of water. Cover and microwave on high for 3 minutes. Drain well, then chop the florets into small pieces.
- In a large bowl, whisk the eggs, sour cream, kosher salt, black pepper, and garlic powder.
- Stir in the broccoli, scallions, and cheese.
- Transfer the mixture to the prepared pie dish. Bake the quiche until it's golden brown, and a knife inserted in its center comes out clean, about 30 minutes.
- Allow the quiche to cool and set in the pan on a wire rack for about 15 minutes, then slice it into 8 triangles and serve.
Notes
You can double the recipe, bake it in a 9x13-inch baking dish, and cut the quiche into squares. Butter works best for greasing a pie plate. I prefer it to a cooking spray or brushing the pan with oil. I'm loyal to cheddar, but I tested this recipe with shredded Gruyere, shredded Gouda, and crumbled feta. All of these options were delicious. If you don't need this quiche to be meatless, you can add a cup of cooked meat, such as shredded cooked chicken or diced ham. ¼ cup of crumbled bacon is another great addition. To make sure the leftovers don't become soggy, let the quiche cool and slice it. Let the slices cool for 30 more minutes on a cooling rack. Store the slices on a layer of paper towels in an airtight container in the fridge and replace the paper towels daily. Stored this way, the leftovers keep well for about 4 days. Once completely cool, you can also freeze individual slices in freezer bags. You can reheat them in the microwave directly from their frozen state.
Nutrition (per serving)
Serving Size: 1 · Calories: 196 · Fat: 14 · Saturated fat: 8 · Carbs: 5 · Sugar: 2 · Fiber: 2 · Protein: 12 · Sodium: 317
Recipe from: healthyrecipesblogs.com, saved in Lucy's cookbook.
Easy Buttermilk Pie
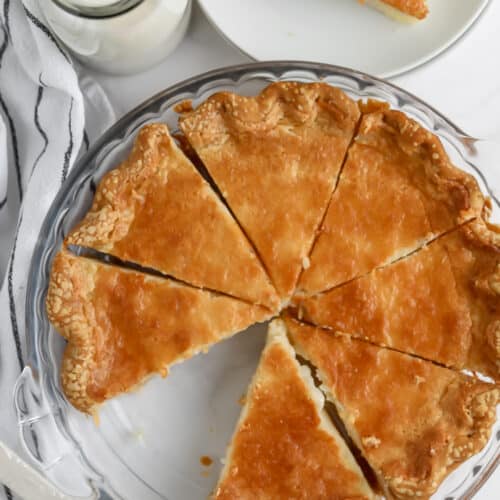
Buttermilk pie is an easy classic dessert made with simple pantry ingredients! The result is a deliciously comforting custard pie with a slightly caramelized topping.
Ingredients
- 1 single pie crust unbaked, store-bought or homemade
- 3 large eggs room temperature
- ½ cup unsalted butter softened
- 1 ½ cups granulated sugar
- 3 tablespoons all-purpose flour
- 1 cup buttermilk room temperature
- 2 teaspoons vanilla extract
- 1 tablespoon fresh lemon juice
- ¼ teaspoon ground nutmeg freshly grated
Directions
- Preheat oven to 350°F.
- Line a 9-inch pie plate with unbaked pie dough.
- In a medium bowl, whisk the eggs until foamy. Beat in butter, sugar, and flour until fluffy.
- Add the buttermilk, vanilla extract, lemon juice, and nutmeg, along with a small pinch of salt, and mix until smooth.
- Pour the batter into the prepared crust and bake for 45-55 minutes until a knife inserted in the center comes out clean.
- Cool completely before serving.
Notes
You can use pre-made crust or prepare a Flaky Homemade Pie Crust. If the edges of the crust begin to brown, you can cover them with aluminum foil or a pie shield.
Nutrition (per serving)
Calories: 400 · Fat: 19 · Saturated fat: 10 · Carbs: 51 · Sugar: 39 · Protein: 4 · Sodium: 243 · Cholesterol: 95
Recipe from: spendwithpennies.com, saved in Lucy's cookbook.
Easy Cheeseburger Puffs
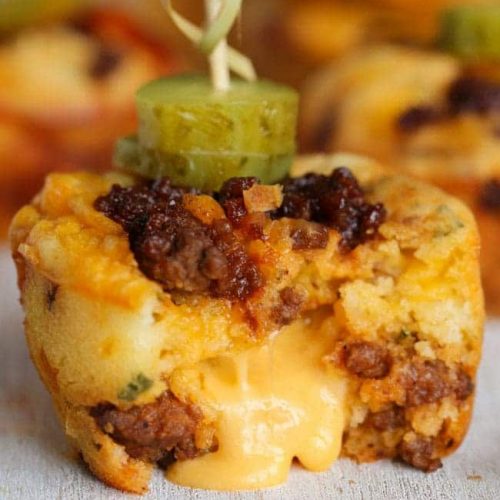
These easy Easy Cheeseburger Puffs are the perfect lunch or snack. Top them with your favorite cheeseburger toppings to make them your own!
Ingredients
- ½ lb lean ground beef
- ⅓ cup minced onion
- ⅓ cup barbecue sauce
- ¾ cup flour
- 1 teaspoon baking powder
- ¾ cup milk
- 1 egg lightly beaten
- 1 cup shredded cheddar cheese
- ½ teaspoon onion powder
- 1 teaspoon dried parsley
- 3 cheddar cheese strings
- pickles for garnish
Directions
- Preheat the oven to 375 degrees. Grease a muffin pan very well.
- Brown onion and ground beef until no pink remains. Drain well.
- Add barbecue sauce and cook on low until sauce thickens. Cool completely.
- Combine flour, baking powder and spices in a bowl. Add in milk and egg and stir until combined.
- Stir in shredded cheese and beef. Allow mixture to stand for 10 minutes.
- Divide among 9 muffin wells. Cut each cheese string into 3 pieces and gently press 1 piece into the center of each muffin. Cover with batter.
- Bake 19-21 minutes until lightly browned and puffed.
Nutrition (per serving)
Calories: 164 · Fat: 7 · Saturated fat: 4 · Carbs: 14 · Sugar: 5 · Fiber: 1 · Protein: 11 · Sodium: 220 · Cholesterol: 49
Recipe from: kitchenfunwithmy3sons.com, saved in Lucy's cookbook.
Easy Cheesy Taco Soup
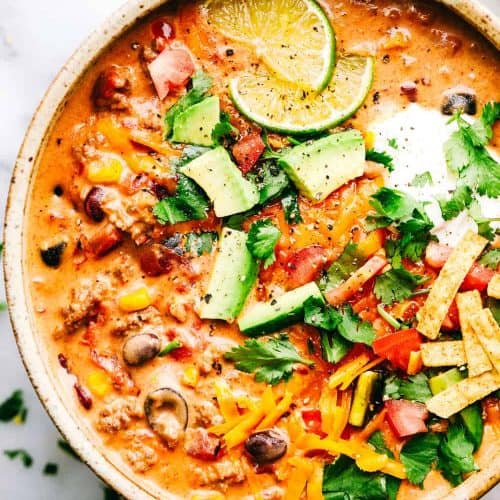
Cheesy Taco Soup is so simple to throw together and is loaded with taco inspired ingredients. The cheesiness takes this soup to the next level of delicious and will be loved by the entire family!
Ingredients
- 1 pound lean ground beef
- 2 cans diced tomatoes I like to use fire roasted, 14.5-ounce
- 1 drained can whole kernel corn, 15-ounce
- 1 drained and rinsed can kidney beans, 15-ounce
- 1 drained and rinsed can black beans, 15-ounce
- 1 drained can sliced olives, 4-ounce
- 1 package McCormick® taco seasoning about 2 heaping tablespoons, 1-ounce
- 1 can beef broth, 14.5-ounce
- 1 package cubed Velveeta cheese or 2 cups shredded cheddar cheese, 16-ounce
Directions
- Heat a large pot over medium-high heat and add 1 pound lean ground beef. Cook and crumble the meat until it is cooked through and no longer pink. Drain off the grease.
- Add 2 (14.5-ounce) cans diced tomatoes, 1 (15-ounce) drained can whole kernel corn, 1 (15-ounce) drained and rinsed can kidney beans, 1 (15-ounce) drained and rinsed can black beans, 1 (4-ounce) drained can sliced olives, 1 (1-ounce) package McCormick® taco seasoning , and 1 (14.5-ounce) can beef broth to the pot and stir to combine.
- Add 1 (16-ounce) package cubed Velveeta cheese. Stir until the Velveeta is fully melted, then bring to a low boil. Reduce the heat to medium-low and simmer for 5-10 minutes to let the flavors blend. Serve warm with your desired toppings.
Nutrition (per serving)
Calories: 567 · Fat: 17 · Saturated fat: 8 · Trans fat: 0.3 · Carbs: 60 · Sugar: 11 · Fiber: 14 · Protein: 46 · Sodium: 2248 · Cholesterol: 79
Recipe from: therecipecritic.com, saved in Lucy's cookbook.
Easy homemade pretzels
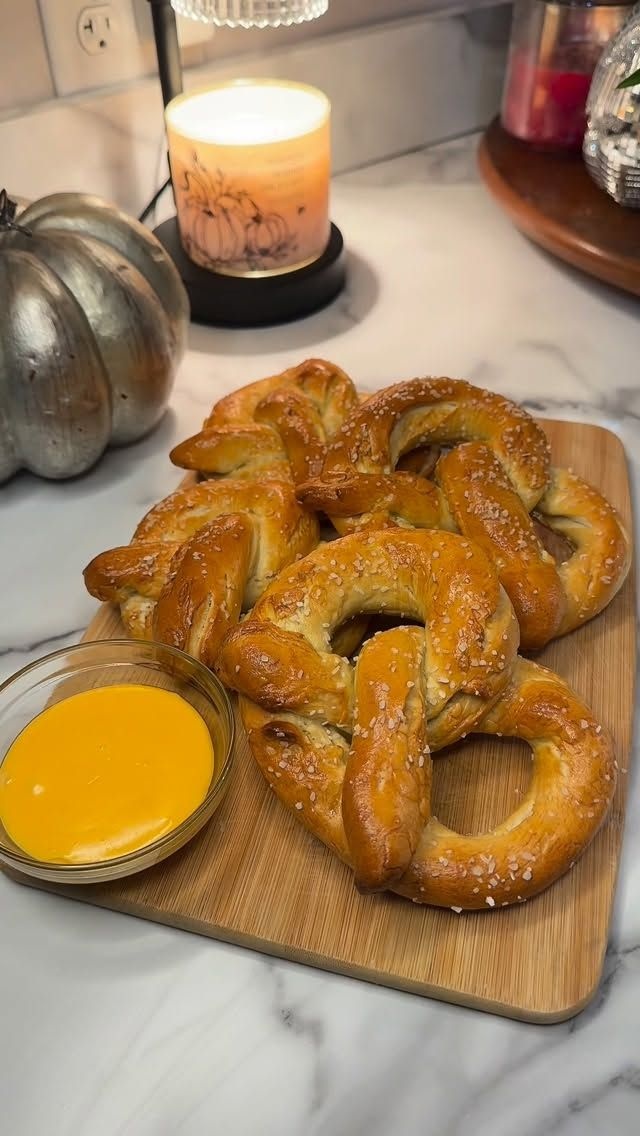
Easy homemade pretzels 🥨 they’re crispy on the outside and so fluffy on the inside
Ingredients
- ¾ cup warm water 110 degrees F
- 1 tsp active dry yeast
- 1 tsp sugar
- 2 cups all purpose flour
- ½ tsp salt
- 1 tbs melted butter, unsalted
Directions
- Bake at 450 for 12 min
Notes
to create the dark brown color and chewy, slightly shiny crust.
Recipe from: instagram.com, saved in Lucy's cookbook.
Easy Layered Taco Bake
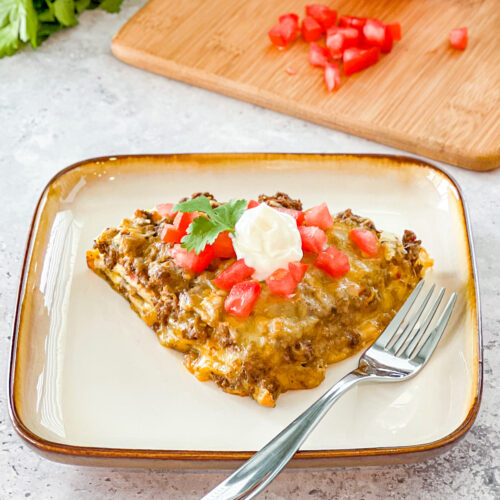
The Easy Layered Taco Bake is a simple and delicious twist on taco night, made with layers of seasoned taco meat, creamy salsa con queso, tortillas, and melted cheese. This dish comes together quickly and bakes to perfection, creating a cheesy, flavorful meal that can be sliced and served in wedges.
Ingredients
- 1 lb ground beef
- 1 ¼ ox pkg taco seasoning
- water as called for on back of seasoning packet usually 3/4 cup water
- ½ cup salsa con queso
- 3 flour tortillas 8-inch soft taco size
- 2 cups shredded Mexican cheese blend divided
Directions
- Preheat oven to 350F degrees.
- In a skillet, brown ground beef until fully cooked and drain off excess grease.
- Add the taco seasoning and water as called for on the back of the seasoning packet (usually 3/4 cup). Then, follow the directions on the back of the seasoning packet.
- Once the taco meat is ready, turn off the heat and mix in 1/2 cup salsa con queso.
- Spray an 8-inch round baking pan with nonstick cooking spray.
- Layer the bottom of the pan with one of the flour tortillas. Next, layer 1/3 of the ground beef taco filling followed with 1/3 of the shredded Mexican cheese blend.
- Repeat layers 2 more times:
- another tortilla, 1/3 of the taco mixture, 1/3 of the cheese.
- Bake at 350F degrees for about 15-20 minutes until cheese is melted and edges are slightly golden brown.
- Allow to cool for a couple of minutes. Slice and serve. Top with desired toppings. Serves 4-6.
Notes
Can I use corn tortillas instead of flour tortillas? Yes, you can substitute corn tortillas if you prefer or want a gluten-free option. Keep in mind that corn tortillas are smaller and more delicate, so you may need to use more of them, so adjust the layering accordingly.
Can I make this dish ahead of time? Yes, you can assemble the layered taco bake ahead of time and store it in the refrigerator for up to 24 hours before baking. When ready to bake, take it out of the fridge and bake as instructed, adding a few extra minutes to account for the chill.
Can I add extra ingredients to the taco bake? Absolutely! You can customize this recipe by adding ingredients like black beans, corn, diced onions, or bell peppers to the taco meat mixture. This will add flavor and texture to the dish.
How do I store leftovers? Leftovers can be stored in an airtight container in the refrigerator for up to 3-4 days. To reheat, simply warm individual portions in the microwave or bake in the oven at 350°F until heated through.
What toppings go well with this taco bake? You can top the taco bake with various toppings, including sour cream, guacamole, salsa, shredded lettuce, diced tomatoes, green onion, jalapeños, black olives, and chopped cilantro. These toppings add fresh flavors and textures to the dish.
Can I use ground turkey or chicken instead of beef? Yes, ground turkey or chicken can be used instead of ground beef for a lighter option. Follow the same instructions for browning the meat and seasoning with taco seasoning.
Nutrition (per serving)
Serving Size: 1 · Calories: 398 · Fat: 28 · Saturated fat: 13 · Trans fat: 1 · Unsaturated fat: 9 · Carbs: 11 · Sugar: 2 · Fiber: 1 · Protein: 26 · Sodium: 791 · Cholesterol: 92
Recipe from: realmomkitchen.com, saved in Lucy's cookbook.
Easy Pineapple Upside-Down Cake
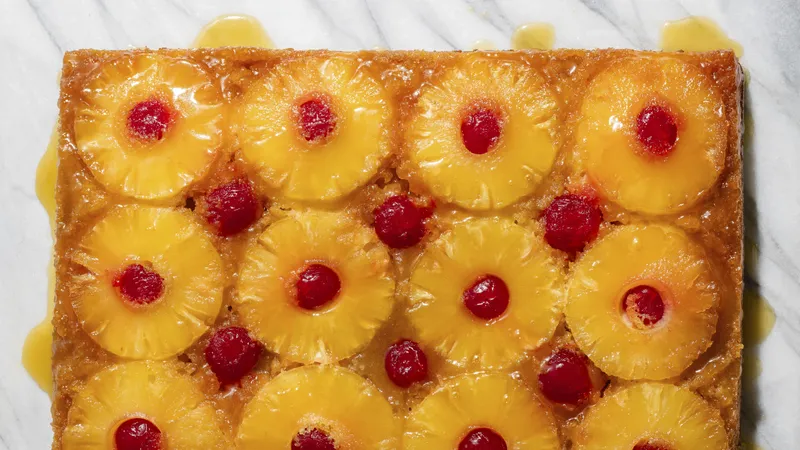
Super moist and fluffy, pineapple upside-down cake is a comforting and festive one-layer dessert. The combination of yellow cake mix, pineapple, brown sugar, and cherries keeps the cake wonderfully tender and flavorful. After baking, the cake is flipped, and the caramelized fruit becomes the stunning, glossy topping. The sweet syrup created while baking infuses the cake with extra flavor, making it as impressive as it is easy to make. With just 15 minutes of prep, it's easy to enjoy pineapple upside-down cake.
Ingredients
- ¼ cup butter
- 1 cup packed brown sugar
- 1 can pineapple slices in juice, drained, juice reserved, 20 oz
- 1 jar maraschino cherries without stems, drained, 6 oz, about 18 cherries
- 1 box Betty Crocker™ Super Moist™ Yellow Cake Mix
- 1 Vegetable oil and eggs called for on cake mix box
Directions
- Heat oven to 350°F (325°F for dark or nonstick pan).
- As the oven is preheating, place the butter in a 13x9-inch pan and set it on the middle oven rack to melt. Set a timer for 5 to 7 minutes to remind yourself to check when the butter is fully melted.
- Sprinkle brown sugar evenly over melted butter. Arrange pineapple slices on brown sugar. Place a cherry in the center of each pineapple slice, and arrange remaining cherries around slices; press gently into brown sugar.
- Add enough water to reserved pineapple juice to measure 1 cup. Make cake batter as directed on box, substituting pineapple juice mixture for the water.
- Pour batter over pineapple and cherries.
- Bake 40 to 46 minutes (44 to 53 minutes for dark or nonstick pan) or until toothpick inserted in center comes out clean. Immediately run knife around side of pan to loosen cake.
- Place heatproof serving plate upside down on top the pan; turn plate and pan over. Leave pan over cake for 5 minutes so brown sugar topping can drizzle over cake; remove pan.
- Cool 30 minutes. Serve warm or cool. Store covered in refrigerator.
Nutrition (per serving)
Serving Size: 0 · Calories: 360 · Fat: 12 · Saturated fat: 4 · Trans fat: 0 · Carbs: 58 · Sugar: 42 · Fiber: 0 · Protein: 3 · Sodium: 260 · Cholesterol: 55
Recipe from: bettycrocker.com, saved in Lucy's cookbook.
Easy, Healthier Creamy Garlic Beef Pasta
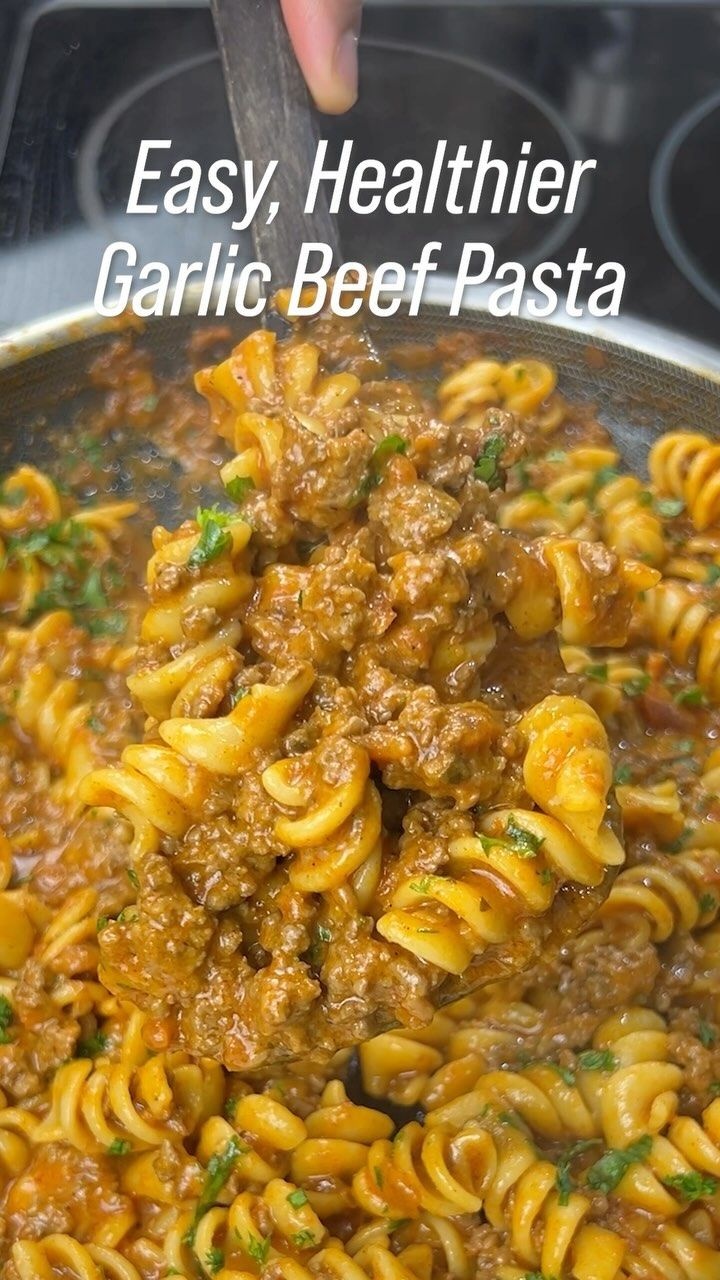
It’s packed with protein, lower in calories, SO delicious and done in 25 minutes.👇🏼
Ingredients
- Pasta:
- 1 water, boiling in a pot
- 1 salt
- 170 g pasta, I used rotini
- Garlic beef:
- 1 tsp olive oil
- 2 tbsp minced garlic, I finely chopped fresh cloves
- 1 red onion, diced
- 500 g lean ground beef, leaner it is, the lower the calories
- 1 tsp salt, pepper, paprika, chili powder and oregano
- Sauce:
- 1 cup tomato sauce, or pasta/pizza sauce
- 1 cup beef broth
- 1 cup any milk
- ⅓ cup pasta water
- ½ cup low fat cheese
Directions
Notes
• Be patient and let the sauce boil for a bit until it slightly thickens. Then make sure to lower the heat before mixing in the cheese so it doesn’t curdle! • For a spicy kick, feel free to add 1 tsp of chili flakes into your sauce mix • Double this recipe for up to 6 servings for the week! • chopped zucchini is a great veggie addition to this recipe. • Any type of pasta of your choice works great here such as a low carb option, chickpea, high protein, veggie, and more.
Nutrition (per serving)
Calories: 467 · Fat: 10.5 · Carbs: 50 · Protein: 49
Recipe from: instagram.com, saved in Lucy's cookbook.
Egg drop soup
Ingredients
- 500 g skinless chicken thighs, cut into large pieces
- 3 eggs, beaten
- 300 g corn, 2-300, preferably on the cob
- 1 ½ tbsp soy sauce
- 1 knob ginger, sliced or smashed, ≈ 25–30 g
- 1 5–7 cloves garlic, minced, ≈ 20 g
- 2 green onions, sliced for finishing, ≈ 30 g
- 500 ml chicken stock
- 1 300–500 ml water, adjust to preferred thickness
- 1 3–4 tbsp potato starch
- 4 tbsp cold water, for slurry
- ½ tbsp oil, olive, avo
Directions
- Marinate chicken in a bowl and mix with soy sauce and a touch of pepper
- During marinade, mince garlic, slice and smash the ginger, cut the corn and beat the eggs in a bowl, slice the green onions for finishing.
- Over medium-high heat add the oil and cook the chickenfor 2-3 minutes per side until lightly browned. Add the ginger during searing so it perfumes the oil.
- Remove chicken from the pot. Cut the chicken into bite-size cubes and set aside.
- Lower heat to medium. Add minced garlic into the same pot and cook 30–45 seconds until fragrant, using the remaining chicken fat.
- Pour in chicken stock and 300 ml water. Bring to a gentle simmer.
- Mix potato starch with cold water to form a smooth slurry. Slowly stir the slurry into the simmering broth and cook 1–2 minutes until the soup thickens slightly.
- Return the cubed chicken to the pot and simmer gently for 3–5 minutes until cooked through.
- Reduce heat to low. Slowly pour in beaten eggs in a thin stream while gently stirring in one direction to create egg ribbons.
- Turn off heat, add sliced green onions, taste, and adjust seasoning if needed. Serve hot.
Notes
EYYYEEE Liyue bg les goooo, and on theme too!
Recipe from: instagram.com, saved in Lucy's cookbook.
Ezekiel Bread
The recipe that convinced me that I need a grain mill! Thank you @chefandreastrauss ❤️ Her recipe below:
Ingredients
- 2 ½ cups hard red wheat
- 1 ½ cups spelt, Biblically spelt was used, Ezekiel 4:9
- ½ cup purple barley
- ¼ cup millet
- ¼ cup lentils, green preferred
- 2 Tbs great northern beans
- 2 Tbs red kidney beans
- 2 Tbs pinto beans
- 4 cups lukewarm water
- 1 cup honey
- ½ cup olive oil
- 2 tsp salt
- 2 Tbs Dry active or quick rise yeast
Directions
- Bake at 345 for 55 min
Recipe from: instagram.com, saved in Lucy's cookbook.
Fat Burning Soup
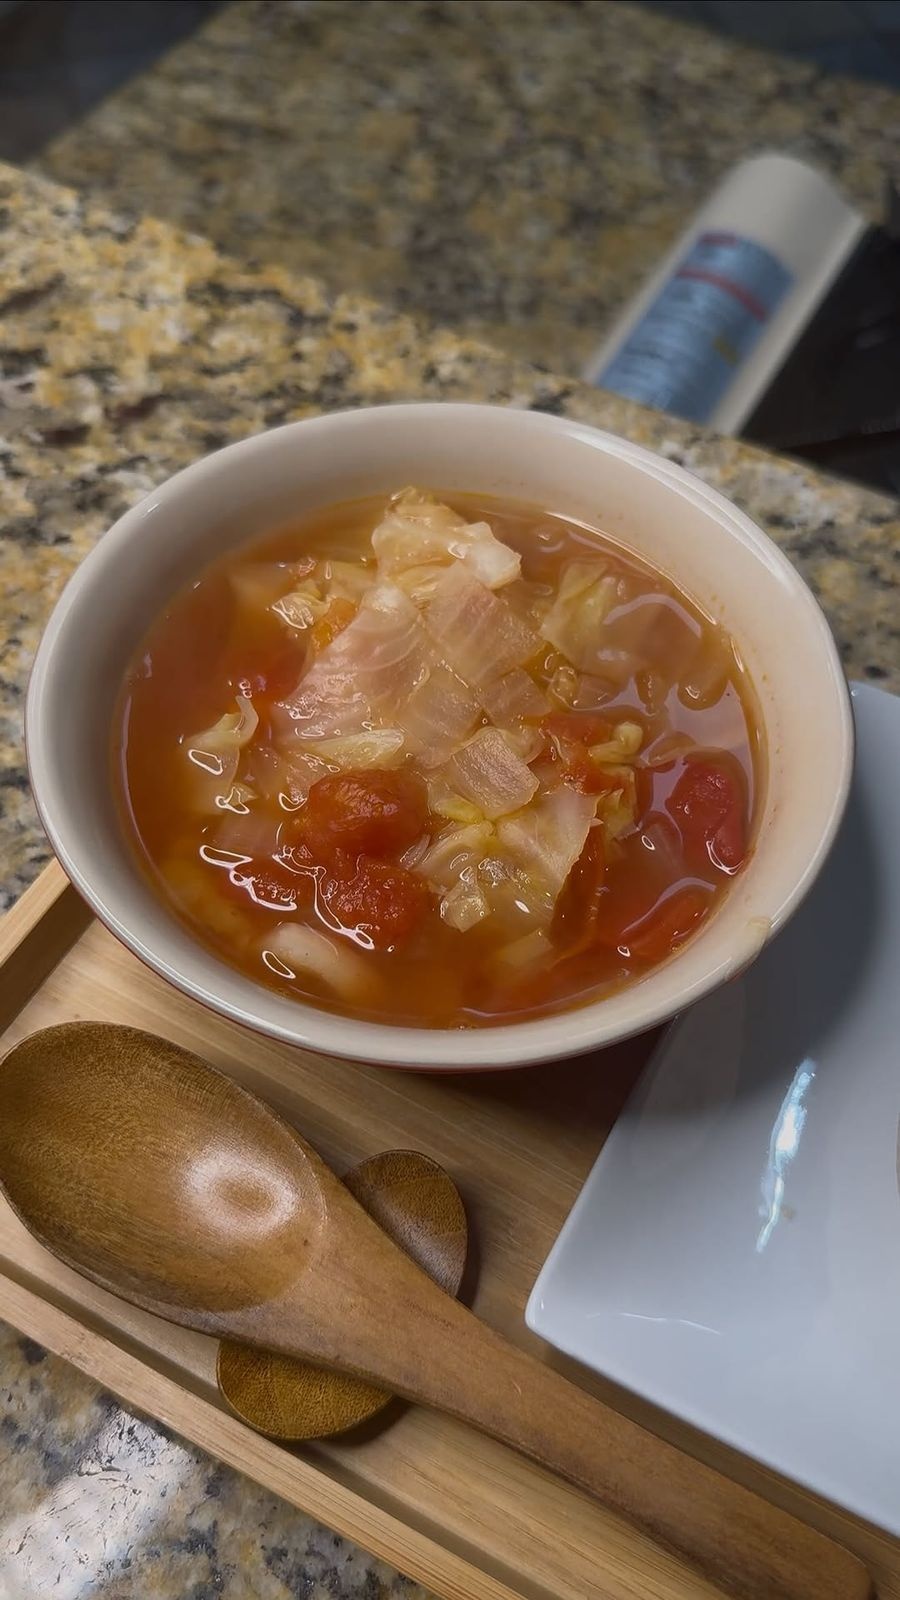
what my Japanese mom made for dinner: fat burning soup!
Ingredients
- 1 Cabbage
- 1 Carrot
- 1 Onion
- 1 big can of diced tomato
- 1 Water
- 1 Chicken cube, consomme
- 1 Salt & pepper
Directions
- Combine all ingredients in a pot and simmer until vegetables are tender.
Recipe from: instagram.com, saved in Lucy's cookbook.
FLOURLESS “FAKE” TEQUEÑOS 🤤🧀
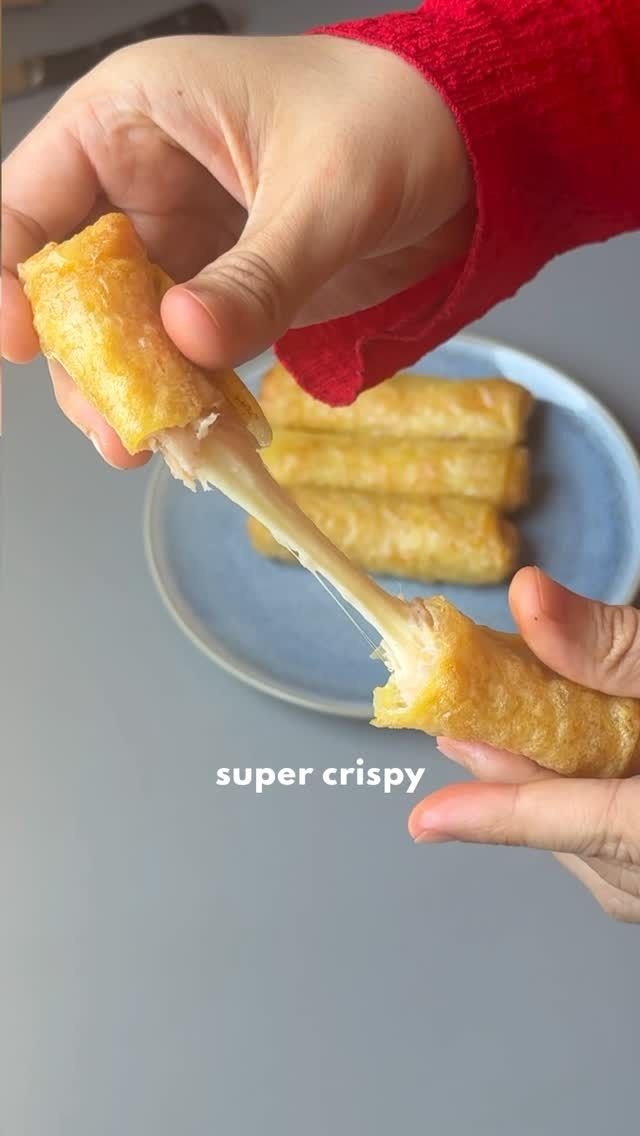
FLOURLESS “FAKE” TEQUEÑOS 🤤🧀
Ingredients
- 1 ️4 rice paper sheets
- 1 ️2 beaten eggs
- 1 ️4 cheese sticks, like mozzarella or gouda
- 1 ️4 slices of turkey ham or deli ham
- ³ total time:
- 1 👉🏻 9 min at 350°F in air fryer
- 1 👉🏻 12 min at 400°F in oven
- 1 1️⃣ Soak rice papers for a few seconds in the beaten egg.
- 1 2️⃣ Wrap each cheese stick in a slice of ham or turkey.
- 1 3️⃣ Roll the wrapped cheese inside the egg-soaked rice paper.
- 1 4️⃣ Bake or air fry until crispy and golden.
- 1 #healthyrecipe #glutenfree #snackideas #airfryerrecipes #easyrecipes #cheesesticks
- Image Url: https://media.cookbook.company/0/36 f
Directions
- Soak rice papers for a few seconds in the beaten egg.
- Wrap each cheese stick in a slice of ham or turkey.
- Roll the wrapped cheese inside the egg-soaked rice paper.
- Bake or air fry until crispy and golden.
Notes
😂😂😂😂 NO! These aren’t Tequeños. Look good though.
Recipe from: instagram.com, saved in Lucy's cookbook.
Fluffy Lime Jello Salad
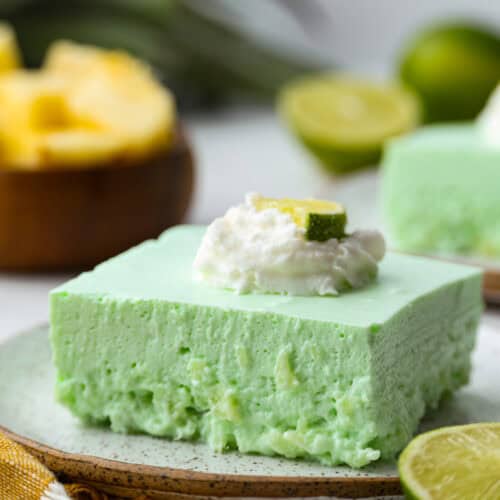
I gave the vintage lime Jello salad a modern makeover. With cream cheese for tang, pineapple and lime for zip, and a splash of 7-Up for that light, fizzy fluff, this retro-inspired treat is now a sweet, citrusy dream I know you guys will love!
Ingredients
- 1 cup water
- 1 cup reserved pineapple juice
- 1 box lime gelatin, 6-ounce
- 8 ounces softened cream cheese
- 1 cup 7-Up Soda or other lemon-lime soda
- 1 can drained crushed pineapple juice reserved, 20-ounce
- 1 container thawed whipped topping, 8-ounce
Directions
- Spray a 9 x 13 x 2-inch baking dish lightly with nonstick cooking spray and set aside.
- Combine 1 cup water with 1 cup reserved pineapple juice and heat it in the microwave for 1-2 minutes, until boiling. Add it to a medium bowl with 1 (6-ounce) box lime gelatin and whisk until the gelatin is completely dissolved. Set it aside to cool for at least 10 minutes,
- Add 8 ounces softened cream cheese to a large bowl and use a hand mixer or stand mixer fitted with the paddle attachment to beat the cream cheese until smooth. Take the time to scrape down the sides and bottom of the bowl and beat it again, ensuring that there are no lumps of cream cheese remaining.
- Add the cooled gelatin to the cream cheese and carefully mix until completely combined.
- Slowly add 1 cup 7-Up Soda to the cream cheese mixture to ensure it's evenly incorporated and there aren't any lumps. Add 1 (20-ounce) can drained crushed pineapple and mix until combined.
- Whisk in 1 (8-ounce) container thawed whipped topping until smooth, then pour the gelatin into the prepared baking dish.
- Cover with plastic wrap and chill for at least 4 hours, or until completely set. Serve with additional whipped topping or whipped cream.
Notes
Leftover Instructions: Store leftovers tightly covered in the fridge for up to 5 days—skip the freezer, Jello doesn’t thaw well.
Nutrition (per serving)
Calories: 96 · Fat: 7 · Saturated fat: 4 · Carbs: 8 · Sugar: 7 · Fiber: 0.03 · Protein: 1 · Sodium: 58 · Cholesterol: 15
Recipe from: therecipecritic.com, saved in Lucy's cookbook.
Freezer-Friendly Chicken Marinades
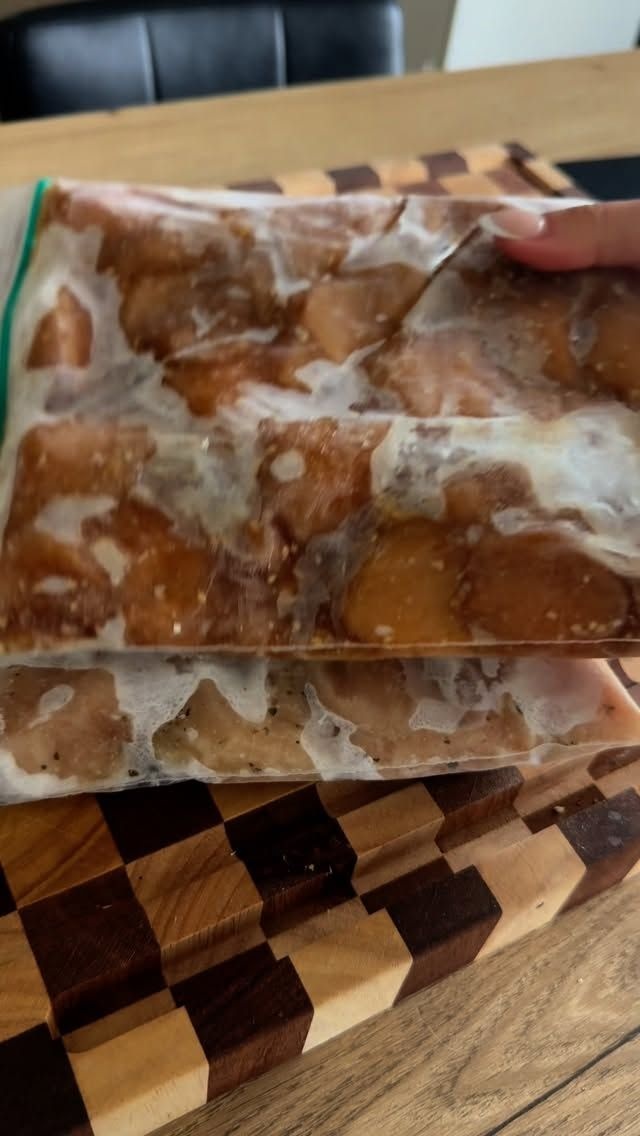
Lately, I’ve been loving freezing meals so I always have something ready for the week ahead. These marinades are super quick and easy to make — I’m using 500g of chicken for each one. I put the chicken in a Ziploc bag, mix the seasonings well inside, seal it, and then freeze.
Ingredients
- Asian-style chicken:
- 2 tbsp soy sauce
- 1 tbsp honey
- 1 tbsp rice vinegar
- 2 garlic cloves, minced
- 1 tbsp ginger, minced
- 1 tbsp sesame seeds
- Greek-style chicken:
- ¼ cup yogurt
- 1 tbsp olive oil
- 2 garlic cloves, minced
- 1 Juice of 1/2 lemon
- 1 tsp each: oregano, paprika, chili flakes, salt
- 1 Fresh parsley
- Orange chicken:
- 1 orange, Juice
- 2 garlic cloves, minced
- 1 tbsp rice vinegar
- 2 tbsp olive oil
- 1 tsp each: salt, pepper, oregano
Directions
Recipe from: instagram.com, saved in Lucy's cookbook.
French Dip Loaded Garlic Bread
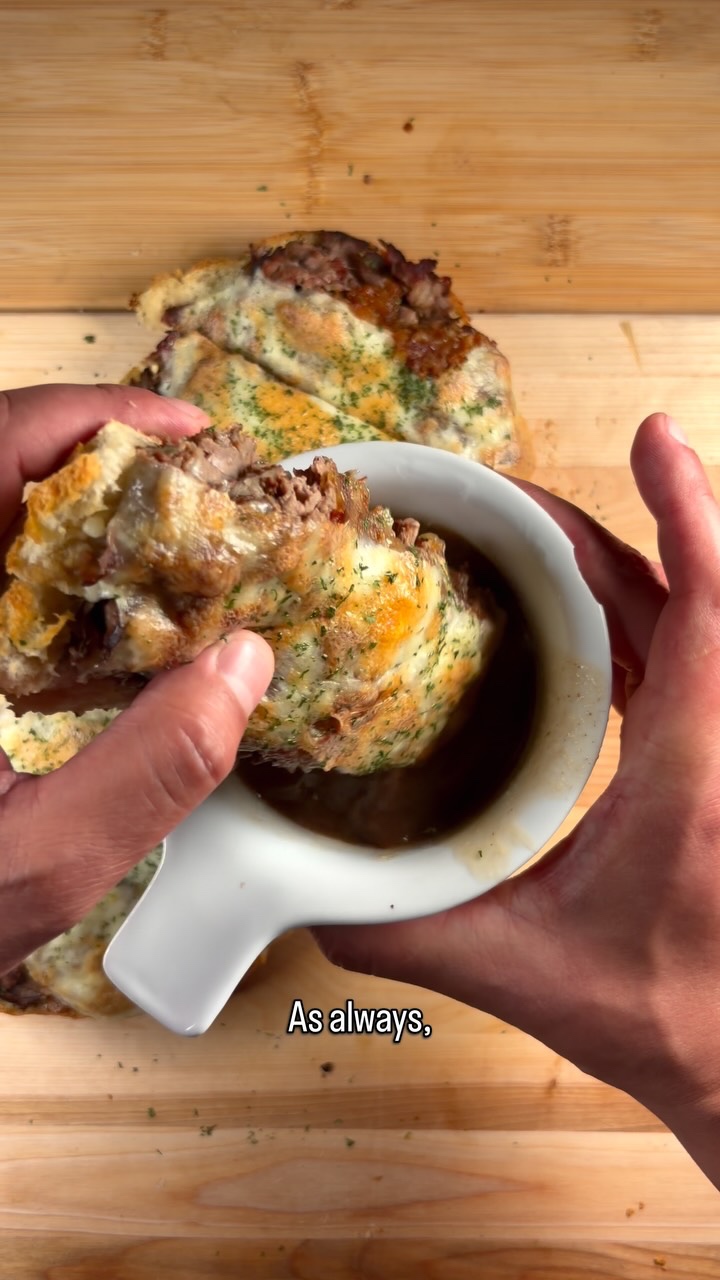
Ingredients
- Garlic bread:
- ½ French loaf
- 1 lb shaved roast beef
- 3 onions, thinly sliced
- 1 tbsp butter
- 1 tbsp brown sugar
- 8 slices provolone
- Garlic butter:
- ¾ cup butter
- 4 garlic cloves, minced
- 2 tbsp parsley
- ½ tsp salt
- Au jus:
- 3 cups beef broth
- 1 ½ tbsp Worcestershire sauce
- 1 ½ tsp soy sauce
- ¾ tsp onion powder
- ¾ tsp black pepper
Directions
- Melt 1 tbsp butter over medium-low heat.
- Add the sliced onions, brown sugar and a pinch of salt. Cook, stirring occasionally, until deeply golden and caramelized, about 45–60+ mins.
- Mix all Garlic Butter ingredients together.
- Add all Au Jus ingredients to a pot and simmer for 15–20 mins.
- Warm the shaved roast beef in the hot Au Jus for 30–60 seconds.
- Slice the loaf lengthwise. Spread with Garlic Butter, then top with beef, caramelized onions and provolone.
- Bake at 400°F for 12 mins, then broil for 2 mins until the cheese is golden.
- Slice into portions and serve with the warm Au Jus for dipping.
Recipe from: instagram.com, saved in Lucy's cookbook.
Garlic cheese rolls
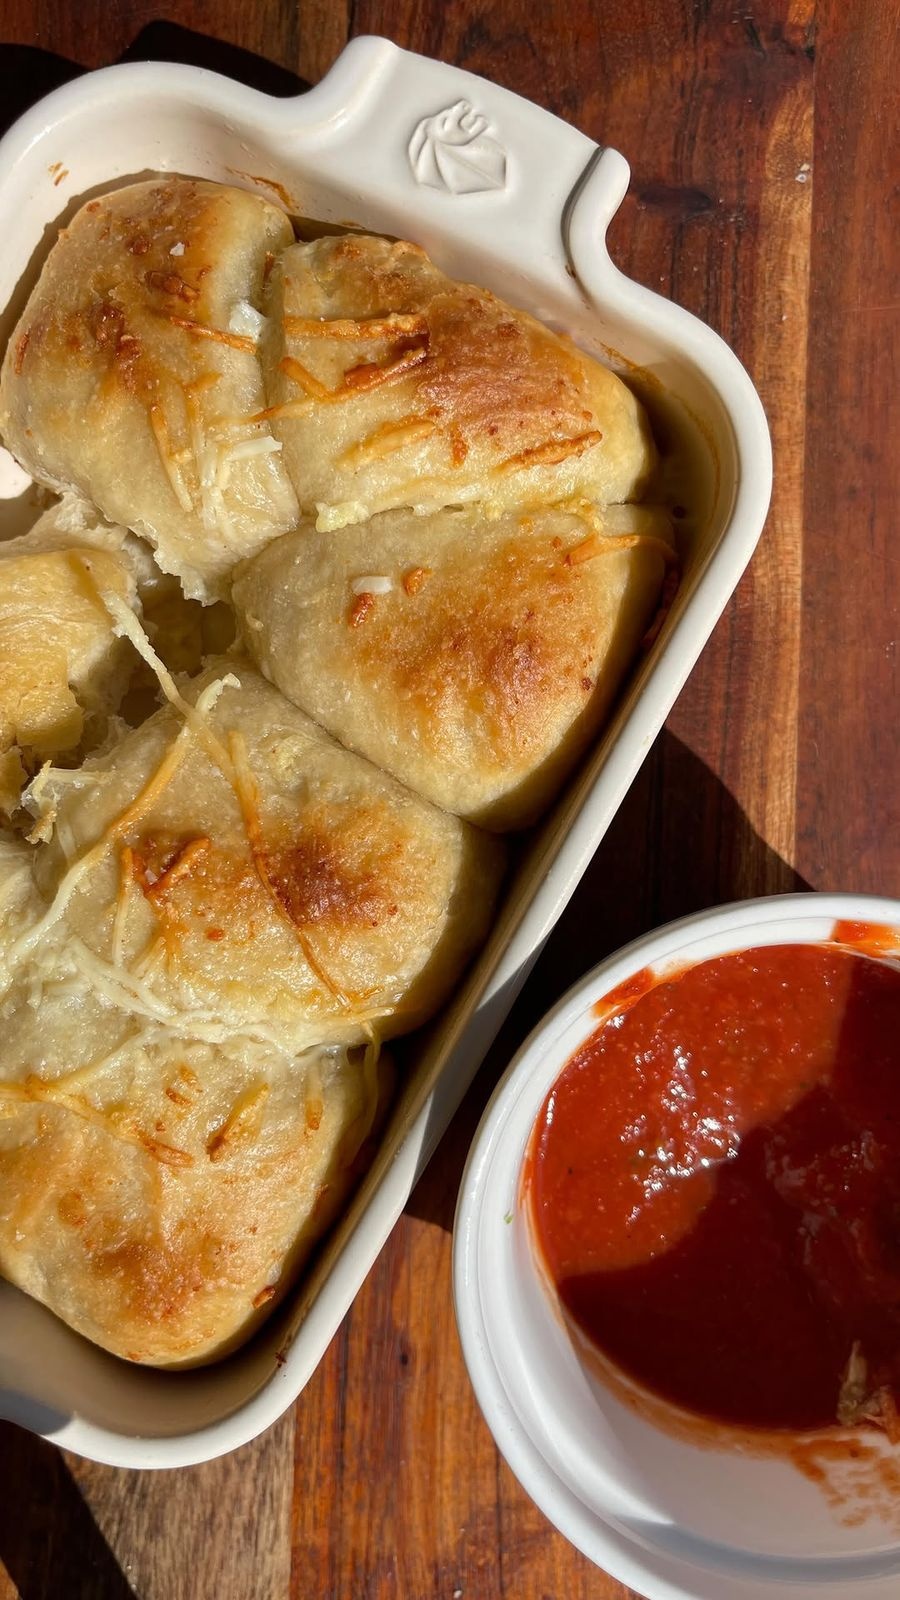
Garlic cheese rolls
Ingredients
- 1 Trader Joe’s pizza dough
- 1 string cheese
- 3 tbsp unsalted butter, melted
- ½ tsp salt
- 1 Parmesan cheese or grated pecorino Romano, I used both for the butter mixture, feel free to use whatever you have
- 2 minced garlic cloves
Directions
- Preheat oven to 375
- In a bowl mix together the melted butter, salt, Parmesan cheese/pecorino Romano, and garlic.
- For the pizza dough cut into 8-12 pieces depending on how thick or thin you want it. Flatten each roll using a rolling pin or hands. Then add the cheese, then fold over the dough & pinch until sealed.
- In a buttered baking dish, place these rolls next to each other and brush with the butter mixture.
- Bake for 15-25min.
- Brush with more butter and enjoy with marinara sauce!
Notes
😍
Recipe from: instagram.com, saved in Lucy's cookbook.
GARLIC KNOT DOUBLE SMASHBURGER WITH CARAMELIZED ONION & CHIPOTLE SAUCE
Juicy double smash patties, melty cheese, sweet caramelized onions, and smoky chipotle sauce, all stacked between buttery toasted garlic knots. This burger is the perfect fusion of comfort food and creativity, soft, garlicky buns meet bold, smoky flavor in every bite.
Ingredients
- For the burgers:
- 4 giant garlic knots – click here for the homemade recipe
- 240 g ground beef, 4 patties, 60 g each
- 4 slices melting cheese, American or cheddar
- 1 Butter for toasting buns
- 1 For the Caramelized Onions
- 1 large onion, thinly sliced
- 10 g butter
- 1 tbsp sugar
- Salt to taste
- 1 For the Chipotle Sauce
- 3 tbsp mayonnaise
- 1 tsp Dijon mustard
- 1 tsp lemon juice
- 1 tsp chipotle paste, or chipotle in adobo, finely chopped
- 1 tbsp caramelized onions, from above
- Salt & pepper to taste
Directions
- Caramelize the onions:
- Heat butter in a pan over medium-low heat. • Add sliced onions and 1 tbsp sugar. Cook slowly for 15–20 minutes until deep golden brown. Stir occasionally to prevent burning. Add a pinch of salt at the end and set aside.
- Make the chipotle sauce:
- In a small bowl, mix mayonnaise, mustard, lemon juice, chipotle paste, and 1 tbsp of the caramelized onions. Season with salt and pepper, and stir until creamy.
- Form & smash the patties:
- Roll the beef into 60 g balls (2 per burger). Heat a cast-iron pan or griddle over high heat. Place a beef ball on the hot surface and smash it flat using a burger press or spatula. Season with salt and pepper. Flip once crispy, add a slice of cheese, and cook until melted.
- Toast the garlic knots:
- Slice the garlic knots in half like buns. Toast the inside on a hot pan with a bit of butter until golden.
- Assemble the burger:
- Spread chipotle sauce on the bottom bun. Add one cheesy patty, a spoon of caramelized onions, the second patty, more sauce, and top with the garlic knot bun.
Recipe from: delicate-kitchen.com, saved in Lucy's cookbook.
Garlic Parm Hot Honey rice paper bites

This is the perfect snack if you’re gluten free and hungry; these are my Garlic Parm Hot Honey rice paper bites 🍕 made with only 4 ingredients an 5 minutes, you have no excuse not to try and love this 🙌
Ingredients
- 1 rice paper
- 1 pepperoni
- 1 cheese
- 1 pizza sauce
- Garlic parm butter:
- 2 tbsp butter, melted
- 1 tbsp grated parm
- ½ tsp garlic powder
- 1 chopped parsley
- pinch of salt
Directions
- Wet rice paper, then layer pepperoni, sauce, and cheese.
- Add another rice paper on top then seal and cut into squares.
- Pan fry in oil until crispy, then Toss in garlic butter and enjoy!
Notes
THANK U SO MUCH. This is my new fav❤️
Recipe from: instagram.com, saved in Lucy's cookbook.
Garlic Parmesan Chicken & Potato Skillet

Garlic Parmesan Chicken & Potato Skillet is an easy weeknight dinner recipe and one of my most viral recipes I’ve made!
Ingredients
- 1 lb chicken breasts, cut into cubes
- 5 small/medium sized potatoes, 4-5
- 1 olive oil + salt, pepper, garlic powder, paprika, for potatoes
- 2 tbsp of butter
- ½ tsp each of salt and pepper
- 1 tsp each of paprika, onion powder, and Italian seasoning
- 2 tbsp minced garlic
- 1 Buffalo Wild Wings Parmesan Garlic Sauce
- 1 cup of shredded mozzarella cheese
- 1 Dried parsley
Directions
- Wash the potatoes, peel them, and cut them up into small cubes. Toss the potatoes with olive oil, salt, pepper, garlic powder, and paprika (I don’t use exact measurements for this part).
- Cook the potatoes in the air fryer at 400 degrees F for about 20 minutes shaking them around at least a couple times while they cook.
- Once the potatoes are about half way through cooking, cut chicken into cubes. Cook the chicken in a skillet on medium high heat with a little butter. Season the chicken with 1/2 tsp each of salt and pepper, 1 tsp each of paprika, onion powder, and Italian seasoning.
- Once the chicken is finished cooking add minced garlic and the Buffalo Wild Wings Parmesan Garlic Sauce. I use just enough sauce to coat the chicken. Next, add the cooked potatoes to the skillet. Stir everything together well and top with some shredded mozzarella cheese.
- Broil in the oven for just a few minutes to melt the cheese (you could also cover with a lid and let this sit on the stove until cheese melts). Top with dried parsley and more Parmesan Garlic sauce if needed. Enjoy!
Notes
Made this today, absolutely fire, my parents loved it
Recipe from: instagram.com, saved in Lucy's cookbook.
GARLIC PARMESAN CHICKEN SKEWERS
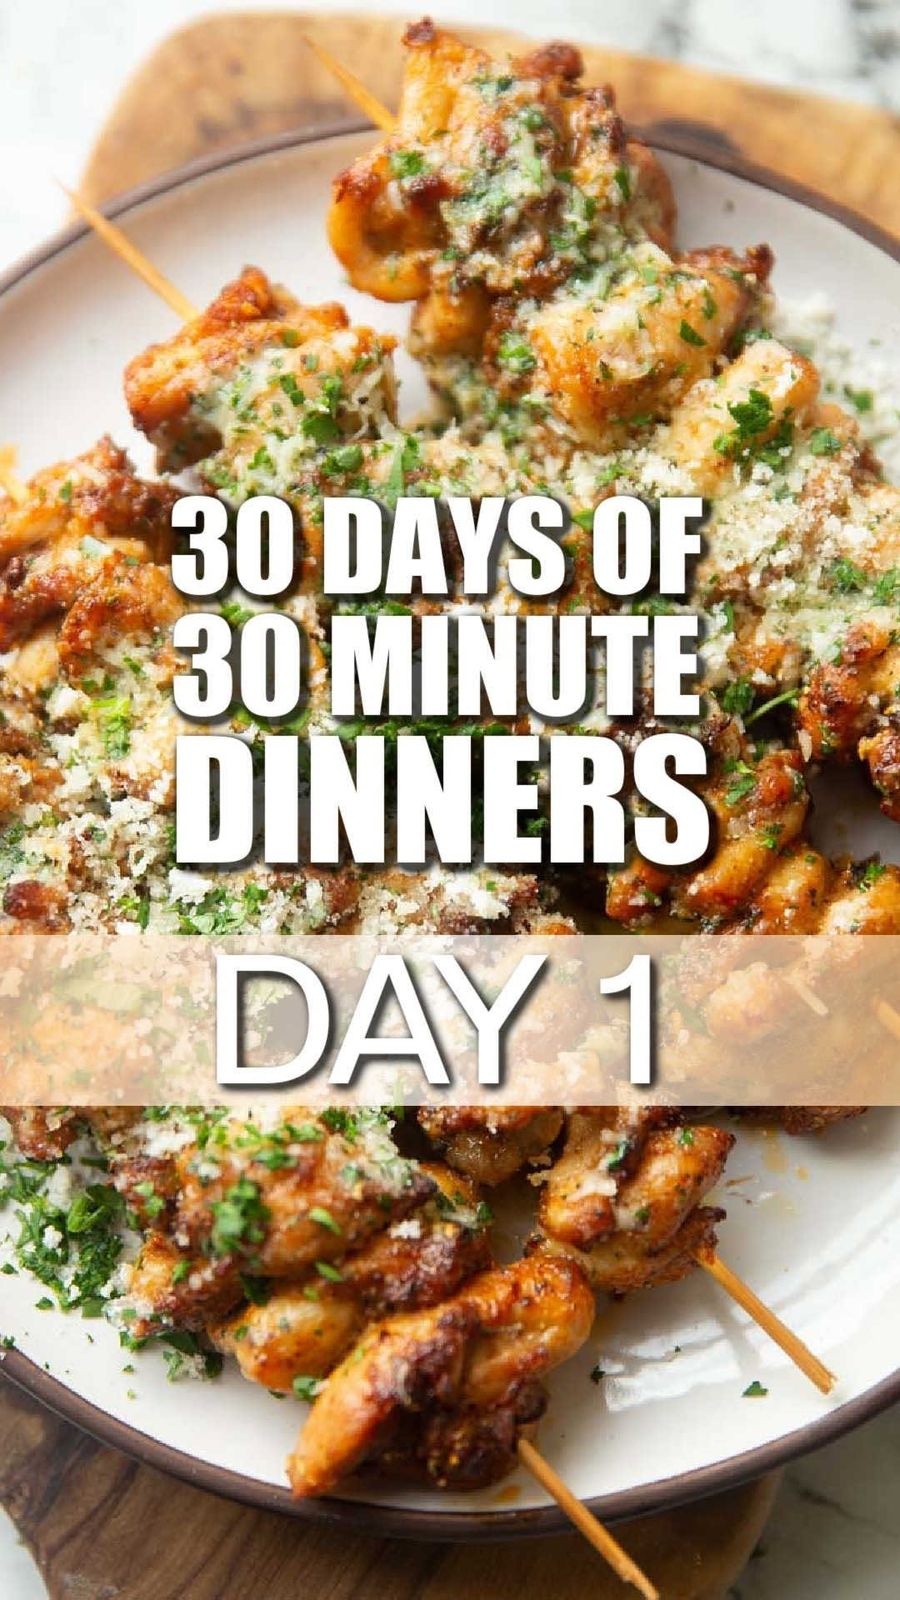
Day 1 | 30 days of 30 minute dinners 😋 Welcome to my new series! I can’t wait to start sharing some easy, quick and DELICIOUS dinners you’ll make time and time again. We’re starting off strong with these heavenly skewers 🤤 Enjoy! Chris x
Ingredients
- ¡ï¸chicken:
- 640 g boneless skinless Chicken Thighs, 1.4lb
- 1 tbsp Olive Oil
- 1 tsp Paprika
- ¾ tsp EACH: Garlic Powder, Salt
- ½ tsp Black Pepper
- ¼ tsp EACH: Onion Powder, Cayenne Pepper, reduce if you really don’t like spice - it’s very subtle though
- ¡ï¸butter:
- 75 g Unsalted Butter, softened, 5 tbsp
- 20 g / 1/4 cup freshly grated Parmesan
- 3 cloves of Garlic, finely grated/minced
- 1 tbsp very finely diced Fresh Parsley
- ¼ tsp EACH Salt, Black Pepper, or to taste
Directions
- Slice the chicken thighs into bite-sized pieces then combine in a bowl with the oil and seasoning. Thread onto 4x 20cm/8” skewers, ensuring you leave a gap at both ends. Make sure the pieces are nice and compact so they stay nice and juicy. Place in the air fryer and cook at 200C/400F for 10 minutes.
- Meanwhile, combine the butter with parmesan, garlic, parsley, salt and pepper. You want the butter to be soft enough to brush, but not completely melted. A little creamy if you will. Pop in the microwave for 5 second blasts until you reach this consistency.
- After 10 minutes, flip the skewers (I find this easiest with a pair of tongs) and brush with 1/3 of the butter. Air fry for 2 minutes and 30 seconds, then flip them and brush with another 1/3 of the butter. Air fry again for another 2 minutes and 30 seconds, or until lightly charred on the outside and piping hot right through the centre (timings may depend on size of chicken pieces - safe internal temp for chicken is 165F/74C).
- Remove the skewers and brush with the remainder of the butter. Sprinkle over more parmesan & parsley whilst they’re still hot if desired.
Notes
*The chicken isn’t far off being cooked after 10 minutes and the outside is piping hot, so I just use the same brush/butter throughout. If you’re at all wary just save 1/3 of the butter for the end baste and use a different brush (or clean the first one).
Recipe from: instagram.com, saved in Lucy's cookbook.
GOLD DROP CAKE (THE ONE THAT CRIES)
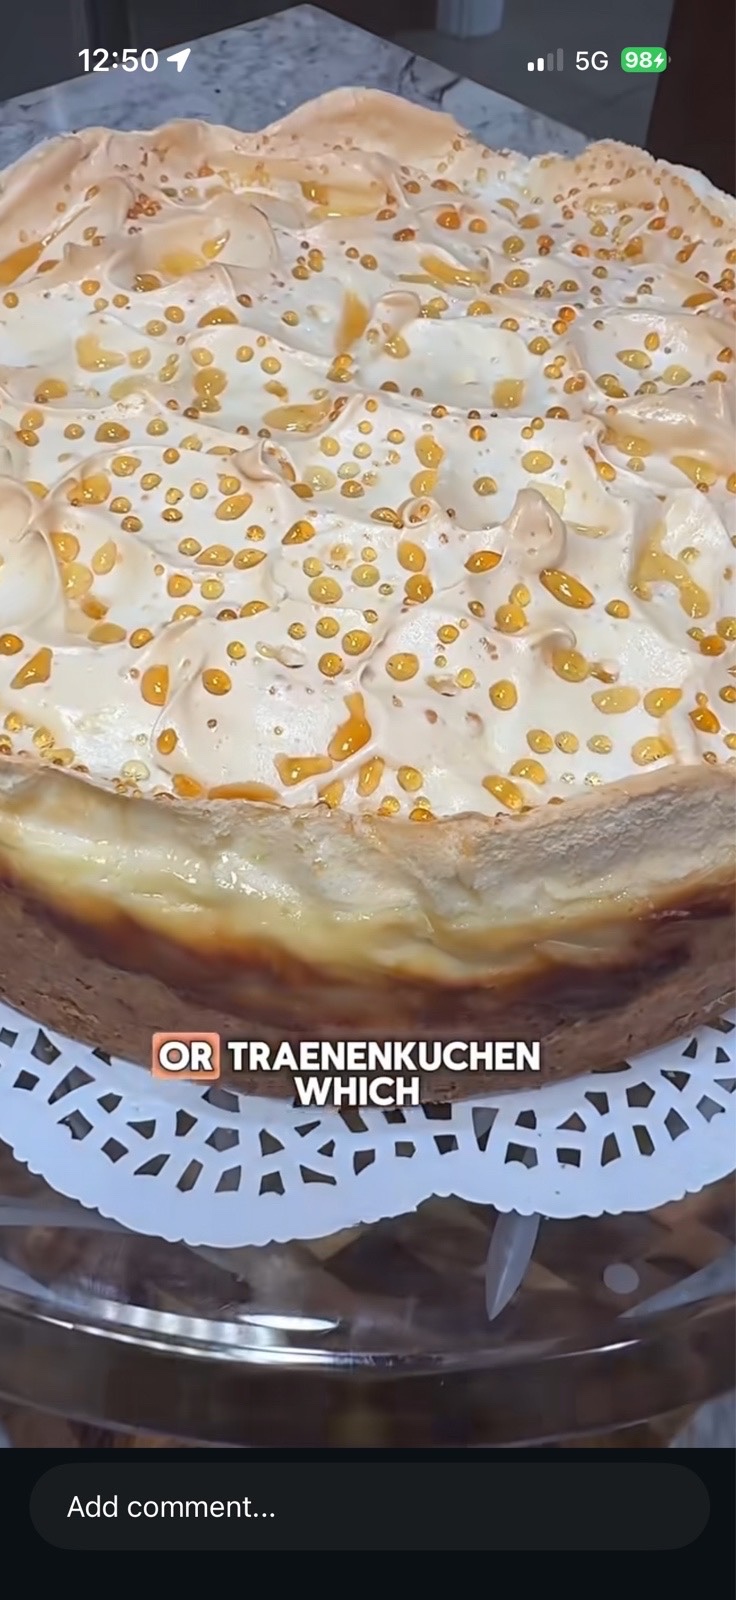
As it cools overnight, moisture rises through the meringue and pulls the sugar to the surface… creating those golden tears.
Ingredients
- 1 CRUST
- 200 g flour
- 75 g sugar
- 75 g cold butter
- 1 egg
- 1 tsp baking powder
- pinch of salt
- 1 FILLING
- 750 g Greek yogurt, 5% fat
- 150 g sugar
- 3 eggs, separated
- 2 packs vanilla pudding powder
- 1 pack vanilla sugar
- 1 juice of 1/2 lemon
- 150 ml avocado oil
- 500 ml milk
- 1 MERINGUE
- 3 egg whites
- 100 g sugar
Directions
- Start with the crust — mix everything, press it into a 26 cm (10-inch) springform pan lined with parchment paper on the bottom and sides, and let it chill in the fridge.
- In the meantime, prepare the filling until smooth and pour it over the crust. Bake at 180°C (356°F) on the middle rack with top and bottom heat for about 45–50 minutes. It will still be slightly jiggly in the center — that’s exactly how it should be.
- Ten minutes before it finishes baking whip the egg whites, gradually add the sugar, and beat until stiff peaks form.
- Remove from the oven and spread the meringue evenly on top. Return it to the oven and bake for another 15–20 minutes, just until lightly golden.
- Take it out, gently poke holes all over the surface, then place it back into the switched-off oven with the door slightly open and let it rest for about 15 minutes.
- Remove from the oven and let it cool completely at room temperature. Once cooled, cover and refrigerate overnight.
From Lucy's own cookbook collection.
Goldfish Rice Krispies
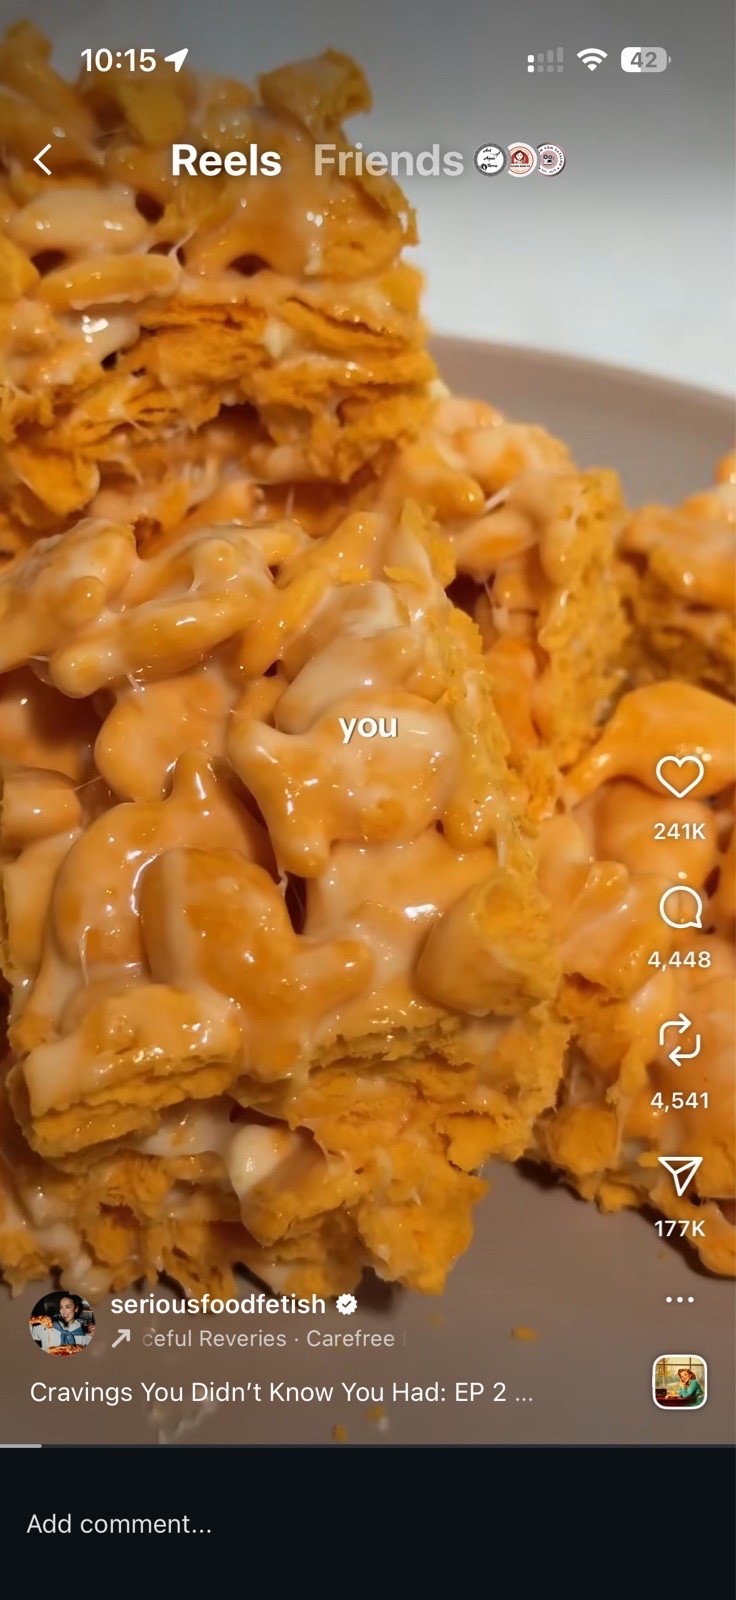
A salty, sweet, and savory treat that will blow your mind.
Ingredients
- ½ cup unsalted butter, 1 stick
- 1 bag marshmallows, 10 ounce
- 1 teaspoon vanilla extract
- 6 cups Rice Krispies cereal
- 2 cups Goldfish crackers
Directions
- Grease a 9x13 inch pan with butter or cooking spray. Set aside.
- In a large pot, melt the butter over low heat.
- Add the marshmallows and stir until completely melted and smooth.
- Remove from heat and stir in the vanilla extract.
- Add the Rice Krispies cereal and Goldfish crackers. Stir until evenly coated.
- Press the mixture evenly into the prepared pan. You can use a buttered spatula or your hands (lightly buttered) to prevent sticking.
- Let cool completely before cutting into squares and serving.
Recipe from: open.substack.com, saved in Lucy's cookbook.
Grandma's Green Bean Casserole
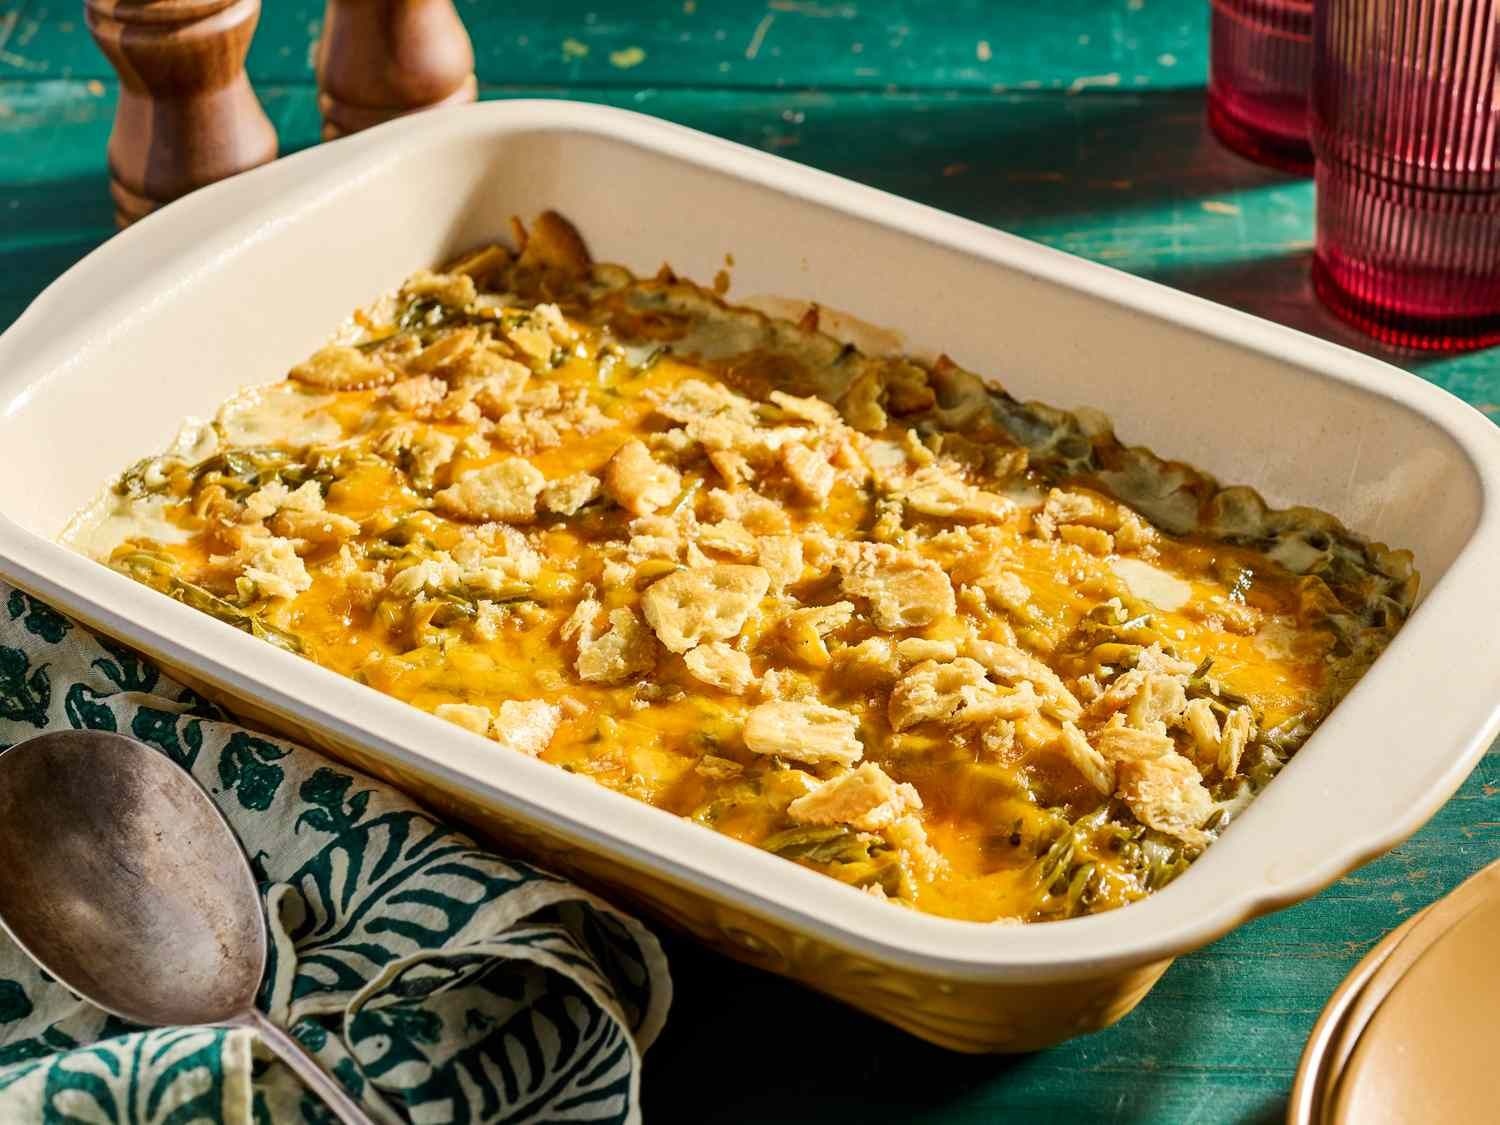
This green bean casserole without mushroom soup is my grandmother's recipe that she made every Thanksgiving. Instead of traditional French-fried onions, this from-scratch casserole is loaded with lots of melty Cheddar and a buttery cracker crumb topping. A homemade sour cream-based sauce adds just the right amount of tang to every bite.
Ingredients
- Green beans:
- 2 tablespoons butter
- 2 tablespoons all-purpose flour
- 1 cup sour cream
- ¼ cup diced onion
- 1 teaspoon salt
- 1 teaspoon white sugar
- 3 cans French-style green beans, drained, 14.5 ounce
- Topping:
- 2 cups shredded Cheddar cheese
- ½ cup crumbled buttery round crackers
- 1 tablespoon butter, melted
Directions
- Gather all ingredients. Preheat the oven to 350 degrees F (175 degrees C).
- To make the green beans:
- Melt butter in a large skillet over medium heat. Stir in flour until smooth, and cook for 1 minute. Stir in sour cream, onion, salt, and sugar.
- Add green beans, and stir to coat. Transfer green bean mixture to a 2 ½-quart casserole dish.
- Spread Cheddar cheese over green bean mixture. Toss cracker crumbs and melted butter together in a small bowl; sprinkle over bean mixture.
- Bake in the preheated oven until topping is golden and cheese is bubbly, about 30 minutes.
- Serve and enjoy.
Nutrition (per serving)
Serving Size: 1 · Calories: 234 · Fat: 16 · Saturated fat: 9 · Carbs: 15 · Sugar: 6 · Fiber: 4 · Protein: 9 · Sodium: 414 · Cholesterol: 45
Recipe from: allrecipes.com, saved in Lucy's cookbook.
Grandma’s Lime Green Jello Salad Recipe (with Cottage Cheese & Pineapple)
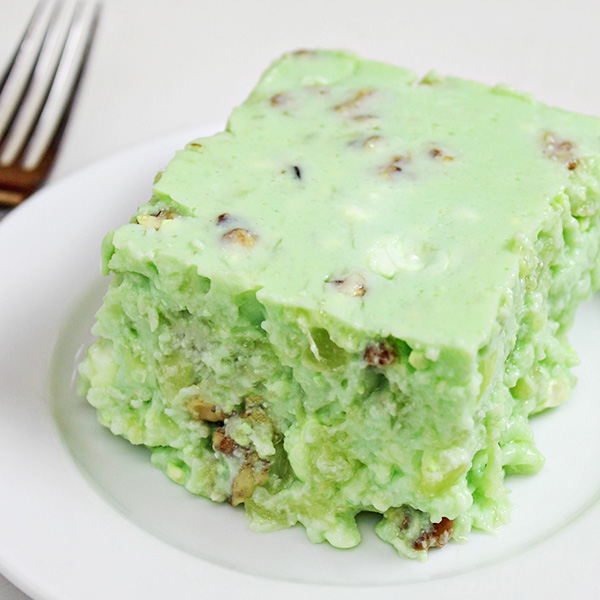
Grandma’s Lime Green Jello Salad Recipe (with Cottage Cheese & Pineapple) is a retro lime jello salad that my husband’s grandma made for many holiday meals. To continue with the tradition, I make this every Thanksgiving.
Ingredients
- 1 cup crushed pineapple, drained with juice reserved
- 1 cup water, more or less depending on what’s needed, see instructions below
- 2 packages lime jello, 3 oz each
- 1 cup mayo
- 1 cup evaporated milk, canned
- 1 cup small curd cottage cheese
- ½ cup walnuts, chopped
Directions
- In a large multi-cup measuring cup (I use my 4 cup Pyrex), add all of the reserved pineapple juice and then add enough water to the juice to make a total of 2 cups. Pour into pot and bring just to a boil.
- Add the lime Jell-o mixes to the boiling pineapple juice/water and stir until dissolved. Remove from heat, allow to cool just slightly.
- In a mixing bowl, stir together the mayo and evaporated milk. Combine until very smooth. Slowly stir in the Jell-o mixture until all is incorporated with the mayo/milk mixture. Stir in the crushed pineapple, cottage cheese, and walnuts.
- Pour mixture into an 8x8″ glass casserole pan. Cover and refrigerate for at least 4 hours or overnight (preferred).
Notes
–To avoid waste, I often add all of the drained crushed pineapple from the can into this recipe, even if it’s more than a cup, and if I don’t need the leftovers for anything else. –For serving, this Lime Jello Salad can be cut into squares or spooned from the dish. –This recipe can be made 1-3 days in advance.
Recipe from: homecookingmemories.com, saved in Lucy's cookbook.
Ground Beef Stroganoff (No Cream Soups)
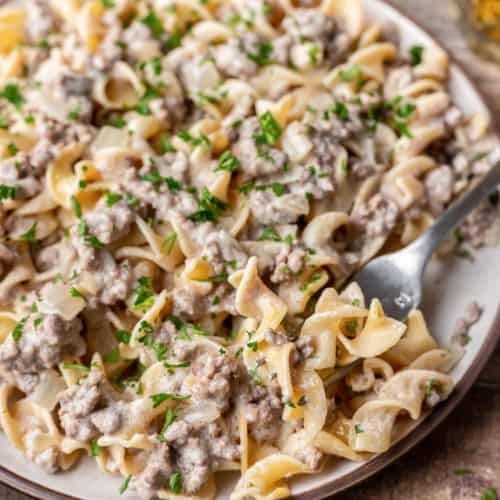
This recipe for homemade beef stroganoff recipe is made without any cream soups and made from scratch but still easy! Creamy and delicious!
Ingredients
- 1 small yellow onion, diced
- 6 ounces fresh sliced mushrooms, optional
- 2 tablespoons salted butter
- 2 pounds lean ground beef
- 3 tablespoons all-purpose flour
- 2 cups beef broth
- 1 cup sour cream
- salt and freshly ground pepper, to taste
Directions
- In a large nonstick skillet melt butter over medium-high heat.
- Add diced onion (and sliced mushrooms, if using) and cook until mushrooms are soft and onion is translucent.
- Remove from skillet and set aside on a plate.
- Add ground beef to skillet. Cook and crumble until brown. Drain any grease.
- Sprinkle flour over beef, then pour in beef broth.
- Stir and continue to cook until mixture thickens.
- Add the onions and mushrooms back into skillet then gently stir in sour cream.
- Season with salt and pepper to taste. Let simmer over low heat for another 5 minutes until heated through.
Notes
Feel free to add some red chili flakes or cayenne pepper for a spicy kick. Heavy cream can be substituted for the sour cream.
Nutrition (per serving)
Calories: 315 · Fat: 15 · Carbs: 15 · Sugar: 2 · Fiber: 1 · Protein: 28 · Sodium: 349
Recipe from: thecountrycook.net, saved in Lucy's cookbook.
Halal
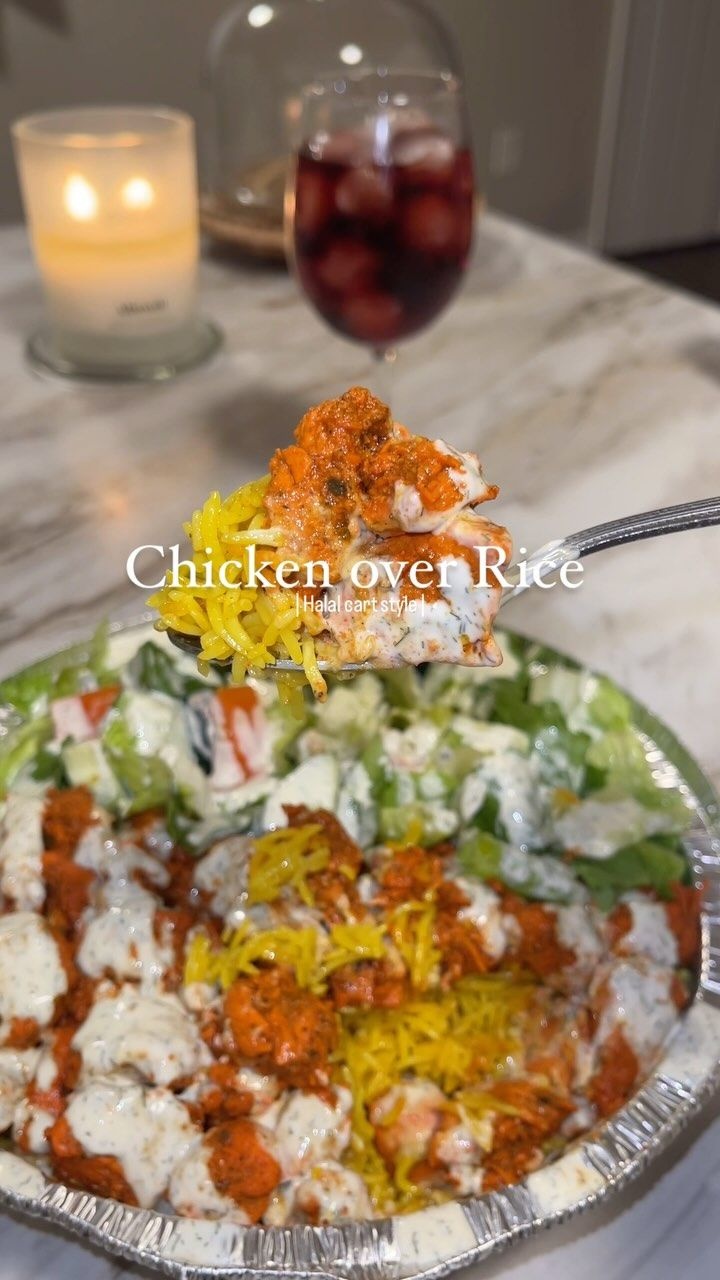
Honeyyyyy we have chicken over rice at homeee 🤭
Ingredients
- Rice:
- 3 cups, 6 servings
- 2 tsp of turmeric powder
- 2 tsp of cumin powder
- 5 cardamom seeds, 4-5
- 2 cinnamon sticks
- 1 tbs better than bouillon chicken paste
- 1 Bay leaf
- Chicken:
- 2 lbs
- 2 tsp of shawarma seasonings
- 2 tsp of cumin powder
- 1 tsp black pepper
- 2 tsp onion powder
- 1 tsp Oregano
- ½ a lemon
- 7 packets of Sazon, 6-7
- Salad:
- 1 Romaine lettuce, tomatoes and cucumbers.
- White sauce:
- 1 Mayo
- 1 Sour cream or greek yogurt
- ½ a lemon
- 1 Honey
- 1 Dill
- Dash of salt
- 1 Splash of water
Directions
- Rice:
- Make sure you rice is washed and try to soak it for at least an hour this will allow the rice to need less water and cook time.
- I honestly only needed to steam it with a small amount of water.
- Simplified version of rice:
- Turmeric
- Cumin
- Bouillon
- Chicken:
- Add all your spices to your chicken, juice the lemon then mix.
- You will pan fry the chicken until cooked to nice and tender.
- White sauce:
- Adjust sauce to your liking of consistency.
Recipe from: instagram.com, saved in Lucy's cookbook.
High Protein Halal Cart Chicken Rice Bowls!
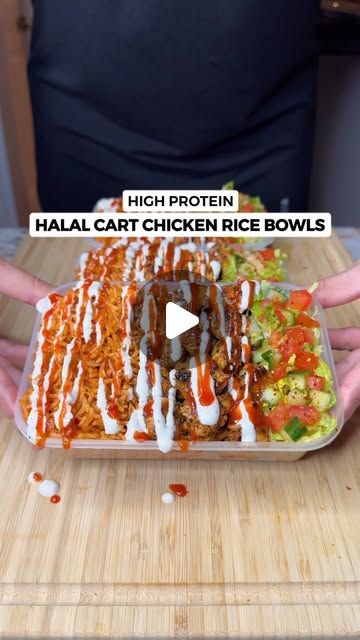
There’s no reason to be eating boring and plain chicken & rice!
Ingredients
- Chicken marinade:
- 800 g Chicken Breast cut into small cubes
- 1 Tbsp Garlic Paste
- 1 ½ Tsp Salt
- 1 ½ Tsp Oregano
- 1 ½ Tsp Smoked Paprika
- 1 Tsp Chilli Flakes
- 1 Tsp Cumin
- 2 Tsp Olive Oil
- 1 Lemon Juice
- 20 g Light Butter, for cooking + extra
- Handful Fresh Chopped Coriander/Cilantro
- White sauce:
- 100 g Low Fat Yogurt
- 80 g Light Mayo
- ½ Tsp Salt
- ½ Tsp Pepper
- 1 Tsp Garlic Powder
- ½ Lemon Juice
- Drizzle of sriracha when serving, Optional
- Spicy red rice:
- 5 Garlic Cloves Chopped, 4-5
- 50 g Harissa or Tomato Paste
- 1 Tsp Salt
- 1 Tsp Oregano
- 1 Tsp Paprika
- 1 Tsp Chilli Flakes
- 1 Tsp Cumin
- 25 ml Water, 20-25
- 560 g Cooked Basmati Rice
- Side salad:
- 200 g Shredded Lettuce
- 250 g Chopped Tomatoes
- 200 g Chopped Cucumbers
- Dash of Chilli Flakes, Optional
Directions
Notes
Marinate the chicken for at least 30mins or you can do overnight for best flavour Cook the chicken in light butter on medium high heat for 3-4 mins each side. You want a nice golden brown colour Lower the heat completely when adding the extra butter and coriander. Give it a good mix till coated You can store the sauce in a bottle and put in the fridge to use for other meals! Can make a bigger amount too Store the salad separately too or you can freshly cut the lettuce and tomatoes when serving
Nutrition (per serving)
Calories: 511 · Fat: 15 · Carbs: 43 · Protein: 46
Recipe from: instagram.com, saved in Lucy's cookbook.
Homemade Creamed Corn
Ingredients
- 2 tablespoons butter
- 2 packages frozen whole kernel sweet corn thawed, 10-ounces each
- 1 tablespoon granulated sugar
- 1 teaspoon salt or to taste
- ¼ teaspoon black pepper
- 2 tablespoons all-purpose flour
- 2 cups cream, or half-and-half
Directions
- Melt butter in a large skillet over medium heat.
- Add corn, sugar, salt, and pepper, and saute for about 2 minutes.
- Stir in flour, and allow to heat through, about 1 minute.
- Slowly pour in cream or half-and-half until fully incorporated.
- Cook stirring constantly over medium heat until the mixture is thickened, and corn is cooked through.
- Remove from heat.
- **Optional** Use a stick blender to lightly blend some of the corn and create more corn-taste in the sauce.
- Season with more salt and pepper to taste. Serve hot.
From Lucy's own cookbook collection.
Homemade lemon curd
Ingredients
- 5 Egg yolks
- ⅓ cup Lemon juice, fresh squeezed
- 1 cup Granulated sugar
- 1 2 cup of butter, 1 stick
Directions
Recipe from: cooked.wiki, saved in Lucy's cookbook.
Homemade Lemonade
Refreshing and sharp, perfect for summer!
Ingredients
- 5 lemons, unwaxed
- 1 litre water
- 1 large handful ice cubes
- 180 grams caster sugar, or brown sugar
Directions
- Put the lemons in a blender and blitz along with half of the sugar, half the ice cubes and 500ml water.
- Strain the juice into a jug to get rid of any bits.
- Put the lemon pulp (from the straining) back into the food processor. Add the rest of the sugar, ice cubes and 500ml water and blitz again.
- Strain it into the jug with the first lot of juice and discard the pulp.
- Serve with slices of lemon and lots of ice.
Notes
Keep in mind that using brown sugar will result in a slightly different taste and colour compared to using caster sugar. Brown sugar has a deeper, more caramel-like flavour, while caster sugar has a cleaner, more neutral sweetness.
Nutrition (per serving)
Servings: 1.00 · Calories: 197.71 kcal · Carbs: 52.57 g · Protein: 0.90 g · Total fat: 0.24 g · Saturated fat: 0.03 g · Unsaturated fat: 0.21 g · Trans fat: 0.00 g · Sugars: 47.03 g · Fiber: 2.27 g · Cholesterol: 0.00 mg · Sodium: 1.26 mg
Saved from Lucy's CookBook app, no website source listed for this one.
Homemade Panera Broccoli Cheese Soup
Comfort in a bowl! Wanna round it out into a full meal? Serve this Homemade Panera Broccoli Cheese Soup in a breadbowl!
Ingredients
- 2 cups broccoli florets
- 2 cups chicken broth
- ½ cup of sharp cheddar cheese plus extra for topping [freshly grated]
- 1 heaping cup of regular gouda cheese [freshly grated]
- 1 cup fresh carrots
- 2 small white onion
- 2 large cloves of garlic
- 1 cup half and half
- 3 Tbsp all purpose flour
- 3 Tbsp butter
- 1 bay leaf
- ¼ tsp garlic powder
- ⅛ tsp ground nutmeg
- ⅛ tsp dried basil
- ⅛ tsp cayenne pepper
- ⅛ tsp salt
- dash of ground black pepper to taste
- 1 adapted from peas & crayons
Directions
- Dice the onions, mince the garlic and shred the carrot.
- For the broccoli:
- Chop 2/3 of it into tiny florets and then take the remaining 1/3 and give it a rough chop so you have a few large pieces to add to the soup.
- Place chicken broth, broccoli, onion, garlic, carrots, and bay leaf to a pot and cook over medium-high heat 8-10 minutes or until mixture comes to a boil.
- Cook 4-6 minutes more or until broccoli is tender.
- Once the broth is done, start your roux:
- In a large pot, melt 3 tablespoons of butter on medium heat, whisking constantly.
- Once melted, slowly add 3 tablespoons of flour as you continue to whisk.
- Remove from heat and pour in the broth-veggie mixture and slowly stir in 1 cup of room temperature half and half.
- Place on very low heat, uncovered.
- Remove bay leaves from the pot and season with the above herbs and spices.
- Add the cheddar and gouda cheese a handful at a time, stirring to melt the cheese after each addition.
- Serve immediately in bowls or bread bowls.
- Steam reserved broccoli in your microwave.
- Garnish the soup with the reserved broccoli florets and a little extra grated cheddar.
- Bon appétit!
Notes
To make this soup gluten-free you can use pureed potato to thicken the soup without using a flour-based roux or use sweet rice flour in place of all purpose flour.
Nutrition (per serving)
Calories: 300 · Fat: 19 · Carbs: 21 · Sugar: 0 · Fiber: 7 · Protein: 12 · Sodium: 1250 · Cholesterol: 65
Recipe from: sugarapron.com, saved in Lucy's cookbook.
Homemade Samoas (a.k.a. Caramel de-Lites)
Samoas, also known as Caramel de-Lites, have always been my favorite girl scout cookie (although I do enjoy Do-Si-Dos, Tagalongs and Thin Mints). I’m not sure how they rank in the overall scheme of GS cookie popularity, but I will go so far as to say that I have never met someone who didn’t care for them at all – even people who say that they usually don’t like coconut. I think that the cookie is just a good and rather unique combination of flavors.
Ingredients
- 1 Cookies
- 1 cup butter, soft
- ½ cup sugar
- 2 cups all purpose flour
- ¼ tsp baking powder
- ½ tsp salt
- ½ tsp vanilla extract
- 1 up to 2 tbsp milk
- 1 Topping
- 3 cups shredded coconut, sweetened or unsweetened
- 12 oz good-quality chewy caramels
- ¼ tsp salt
- 3 tbsp milk
- 8 oz dark or semisweet chocolate, chocolate chips are ok
Directions
- Preheat oven to 350F.
- In a large mixing bowl, cream together butter and sugar. Mix in flour, baking powder and salt at a low speed, followed by the vanilla and milk, adding in the milk as needed to make the dough come together without being sticky (it’s possible you might not need to add milk at all). The dough should come together into a soft, not-too-sticky ball. Add in a bit of extra flour if your dough is very sticky.
- Roll the dough (working in two or three batches) out between pieces of wax paper to about 1/4-inch thickness (or slightly less) and use a 1 1/2-inch cookie cutter to make rounds. Place on a parchment lined baking sheet and use a knife, or the end of a wide straw, to cut a smaller center hole. Repeat with remaining dough. Alternatively, use scant tablespoons of dough and press into an even layer in a mini donut pan to form the rounds.
- Bake cookies for 10-12 minutes, until bottoms are lightly browned and cookies are set. If using a mini donut pan, bake for only about 10 minutes, until edges are light gold.
- Cool for a few minutes on the baking sheet then transfer to a wire rack to cool completely.
- Preheat oven to 300. Spread coconut evenly on a parchment-lined baking sheet (preferably one with sides) and toast 20 minutes, stirring every 5 minutes, until coconut is golden. Cool on baking sheet, stirring occasionally. Set aside.
- Unwrap the caramels and place in a large microwave-safe bowl with milk and salt. Cook on high for 3-4 minutes, stopping to stir a few times to help the caramel melt. When smooth, fold in toasted coconut with a spatula.
- Using the spatula or a small offset spatula, spread topping on cooled cookies, using about 2-3 tsp per cookie. Reheat caramel for a few seconds in the microwave if it gets too firm to work with.
- While topping sets up, melt chocolate in a small bowl. Heat on high in the microwave in 445 second intervals, stirring thoroughly to prevent scorching. Dip the base of each cookie into the chocolate and place on a clean piece of parchment paper. Transfer all remaining chocolate (or melt a bit of additional chocolate, if necessary) into a piping bag or a ziplock bag with the corner snipped off and drizzle finished cookies with chocolate.
- Let chocolate set completely before storing in an airtight container.
Notes
These cookies are fairly time consuming to make, but if you take your time and have fun with them, the results will be worth it. That said, if you want something a little bit quicker, try baking a batch of Samoas Bars instead, which require no rolling and cutting of the dough!
Recipe from: bakingbites.com, saved in Lucy's cookbook.
Honey Bbq Mac N Cheese

Honey Bbq Mac N Cheese 😩
Ingredients
- 24 oz pasta, large elbow macaroni
- Cheese sauce:
- 4 oz unsalted butter
- 1 tsp chili powder
- 1 tsp paprika
- 1 tsp garlic powder
- 12 oz can evaporated milk
- 8 oz heavy cream
- 8 oz milk, non shown in video
- 8 oz pepper colby jack
- 8 oz gouda
- 12 oz sharp cheddar, 8-12, adjust based off thickness
- Salt to taste
- For layering:
- 8 oz pepper colby jack
- 8 oz sharp cheddar
- Chicken:
- 2 lbs chicken thighs, cubed
- 2 cups buttermilk
- 2 tbsp hot sauce
- 1 tsp garlic, chili, paprika powder
- 1 ½ cup flour
- 1 cup panko
- 1 tsp garlic, chili, paprika powder
- Honey bbq sauce:
- ½ cup ketchup
- ¼ cup brown sugar
- 1 Tbsp apple cider vinegar
- 1 Tbsp worcestershire sauce
- 2 Tbsp hot sauce of choice
- ¼ Tbsp honey
- 3 Tbsp cold butter, cut into small cubes
Directions
Recipe from: instagram.com, saved in Lucy's cookbook.
Honey Butter Toast
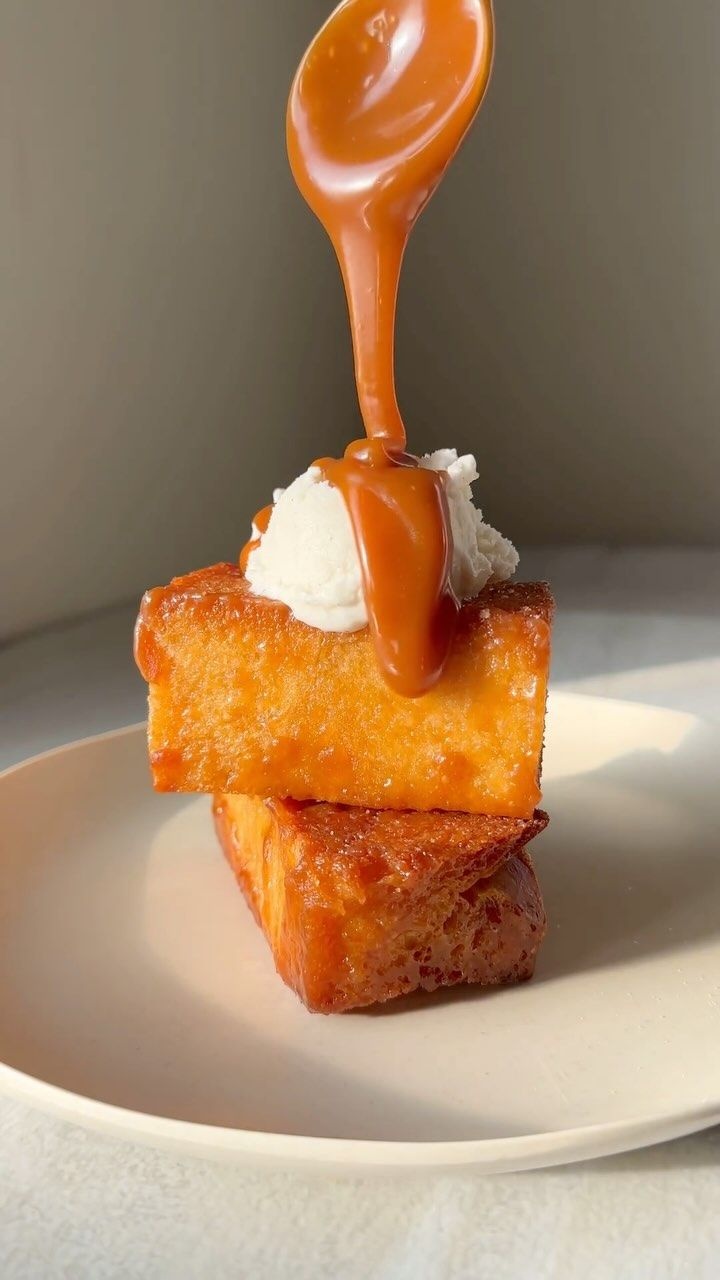
This honey butter toast is like French Toast’s more sophisticated cousin, no shade to French Toast, of course. 😌 You can go to Arome bakery in London if you want some - or make it at home with the recipe below! 👇🏽 I used @taylorpasshoneyusa Manuka honey and it added a really nice depth of flavor. Get your hands on some on their website (www.taylorpasshoney.com) or order it from instacart. 🫶🏽
Ingredients
- 1 loaf of challah bread
- 8 tablespoons softened butter
- 3 tablespoons @taylorpasshoneyusa
- 4 tablespoons light brown sugar
- 1 Splash of vanilla extract
- To serve:
- 1 Vanilla ice cream
- 1 Salted Carmel or more honey
- Recipe / instructions / method:
- Step 1: Cut the challah bread into thick slices- I got 6 slices out of one loaf. Then trim off the excess ., no need to waste this, you can turn it into French toast or bread pudding
- Step 2: Mix the butter, brown sugar and honey together to make a smooth compound, then slather it on all sides of the sliced challah bread.
- Step 3: Arrange the slices on a parchment lined baking sheet, then bake at 360 F for about 8-10 minutes. Flip, then bake for another 8-10 minutes. Let the color be your guide. You want a nice deep brown, but not burnt.
- Step 4: Remove from the oven and place the slices on a cooling rack for about 15 minutes. The coating will harden as it sits. Serve with ice cream and warm salted caramel or an extra drizzle of honey. 🍯
- 1 #honeybutter #honeybuttertoast #manuka #manukahoney #paidpartnership
- Image Url: https://media.cookbook.company/0/fe
Directions
- Cut the challah bread into thick slices- I got 6 slices out of one loaf. Then trim off the excess (no need to waste this, you can turn it into French toast or bread pudding).
- Mix the butter, brown sugar and honey together to make a smooth compound, then slather it on all sides of the sliced challah bread.
- Arrange the slices on a parchment lined baking sheet, then bake at 360 F for about 8-10 minutes. Flip, then bake for another 8-10 minutes. Let the color be your guide. You want a nice deep brown, but not burnt.
- Remove from the oven and place the slices on a cooling rack for about 15 minutes. The coating will harden as it sits. Serve with ice cream and warm salted caramel or an extra drizzle of honey. 🍯
Notes
That close up 😍
Recipe from: instagram.com, saved in Lucy's cookbook.
Honey Garlic Butter Roasted Carrots
These Honey Garlic Butter Roasted Carrots are super tasty and very easy to make! Just roast the carrots with the amazing garlic butter and sweet honey sauce, and you’ve got one of the best ways to enjoy glazed carrots!
Ingredients
- 2 pounds carrots, diagonally cut into about 2 to 3-inch pieces
- 5 tablespoons butter
- 4 cloves garlic, minced
- 2 tablespoons honey
- ¼ teaspoon salt, or to taste
- ¼ teaspoon fresh ground black pepper
- chopped fresh parsley, for garnish
Directions
- Preheat oven to 425˚F.
- Grease a rimmed baking sheet with cooking spray and set aside.
- Cut up the carrots and set aside.
- Melt butter over medium-heat in a large nonstick skillet. Stir in the garlic and cook for 3 minutes or until lightly browned, stirring very frequently. Do not burn the garlic.
- Remove from heat and stir in the honey; stir until thoroughly combined.
- Toss the carrots with the prepared sauce either in the skillet, or pour the sauce over the carrots in a mixing bowl. Season with salt and pepper, and mix until well combined.
- Transfer the carrots to the baking sheet. Arrange in one layer and bake for 22 to 25 minutes or until the carrots are browned and tender.
- Remove from oven and transfer to a serving plate.
- Taste for seasonings and adjust accordingly.
- Garnish with fresh chopped parsley and serve.
Notes
Even Cuts: Cut the carrots into uniform sizes so they cook evenly. If they’re different sizes, some may be overcooked while others are still crunchy. Baby Carrots: You can use baby carrots, but check on them a bit earlier when roasting. Garlic Watch: Be careful when cooking the garlic in butter, as it can burn quickly. Keep the heat medium to low and stir frequently to prevent burning. Adjust Sweetness: Feel free to adjust the amount of honey to your taste. Balsamic Glaze: Add a splash of balsamic vinegar to the glaze for a richer and tangier flavor. Make Ahead: Cook the carrots a day in advance and reheat them on the stove before you are ready to serve them. Just toss them in a pan with butter and warm them over medium-low heat until they’re heated through and start to brown.
Nutrition (per serving)
Serving Size: 1 · Calories: 170 · Fat: 10 · Saturated fat: 6 · Trans fat: 0.4 · Unsaturated fat: 3 · Carbs: 21 · Sugar: 13 · Fiber: 4 · Protein: 2 · Sodium: 277 · Cholesterol: 25
Recipe from: diethood.com, saved in Lucy's cookbook.
Honey Mustard Glazed Christmas Spiral Ham
Sticky and glazed on the outside. While still being tender and juicy on the inside. This recipe is incredibly easy, straightforward but still delicious 🤤
Ingredients
- 1 4 lb Spiral Ham, fully Cooked
- 1 cup Honey
- ½ cup Butter
- 3 tablespoons Dijon Mustard
- 1 Glaze
- 2 cups Pineapple juice
- 2 tablespoons Grainy mustard
- ¼ cup Brown Sugar
- 2 tablespoons honey
- 1 tablespoon Dry Jerk spice
Directions
- Brush ham throughly making sure to get inside all the layers. Place ham in a roast tray and place in oven for 2 hours at 325f.
- Bring this to a simmer and reduce by half or until it starts to thicken.
- Once Ham has cooked for 2 hours remove from oven. Apply the glaze and put it back in for another 10 minutes.
- Allow to rest for 10 minutes and serve. Mix pan drippings along with any leftover glaze to make a delicious finishing sauce.
Recipe from: instagram.com, saved in Lucy's cookbook.
Honey Parmesan Rigatoni
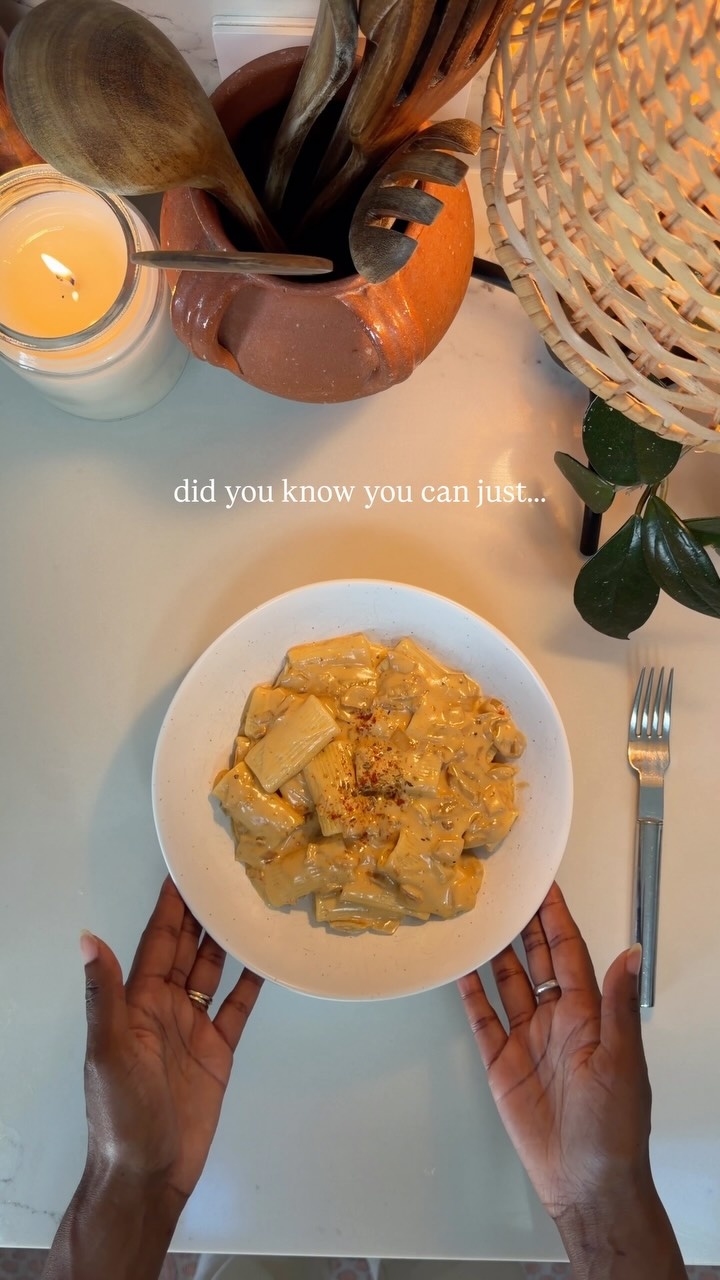
Ingredients
- Olive oil
- 0.5 onion, diced
- 2 cloves garlic
- 1 tbsp dark soy sauce
- 1 tbsp honey, to taste
- 1 tbsp flour
- 500 ml heavy cream
- 0.75 cup parmesan
- Dash of sweet paprika
- Black pepper
- 1 Cooked pasta
Directions
- Sauté onion and garlic in olive oil until soft.
- Add dark soy sauce and honey.
- Stir in flour.
- Add heavy cream and cook until the sauce thickens.
- Stir in parmesan, sweet paprika, and black pepper.
- Mix in the cooked pasta.
Recipe from: instagram.com, saved in Lucy's cookbook.
Honeybaked Ham
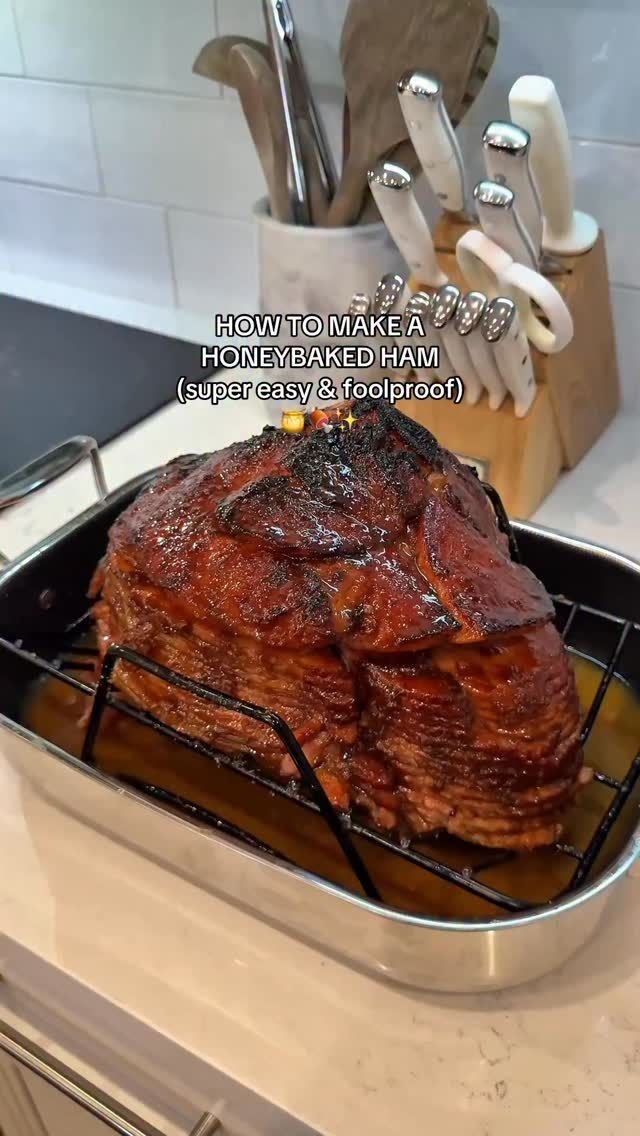
This honeybaked ham takes barely any time to make, so if you’re in a rush, this recipe is for you! I made it for Friendsgiving super quickly after I got off of work, & it was a crowd pleaser!!🤗
Ingredients
- 1 spiral sliced ham
- 1 cup orange juice
- 4 tbsps melted butter
- 4 tbsps hot honey
- ½ cup granulated sugar
- 1 cup dark brown sugar
- ½ tsp lawry’s seasoned salt
- ½ tsp onion powder
- 1 tsp cinnamon
- ½ tsp nutmeg
- ½ tsp cloves
- ½ tsp ground ginger
- ½ tsp sweet paprika
- ¼ tsp all spice
- 1 tbsp apple cider vinegar
- 1 tbsp Dijon mustard
Directions
- Place your ham flat side down on a roasting rack, and pour 1 cup of orange juice into the bottom of the pan.
- Bake the ham at 275 F for 12 minutes per pound of ham (mine was 11 lbs, so I baked it for about 90 minutes).
- Once the ham is finished baking, reserve 3 tbsps of the ham drippings.
- Combine the sugars, seasoned salt, onion powder, cinnamon, nutmeg, cloves, ground ginger, sweet paprika, and all spice. Pat half of the sugar mixture over the ham. Save the other half for the glaze.
- Broil the ham on high uncovered for 5 minutes.
- For the glaze, in a sauce pan, combine the other half of the sugar mixture, apple cider vinegar, and Dijon mustard. Bring it to a boil, and remove it from the heat.
- Brush the glaze over the ham, and broil it again for 2-3 minutes.
- Let the ham rest for 10 minutes before enjoying!
Notes
I have never spent $200 on a ham that is just diabolical
Recipe from: instagram.com, saved in Lucy's cookbook.
Hot Cheetos / Cream Cheese / Cucumber
Ingredients
Directions
From Lucy's own cookbook collection.
Hwachae
This Korean watermelon punch is a refreshing and fruity drink and dessert!
Ingredients
- 4 cups chopped fresh watermelon
- 1 ½ cups fresh fruit berries, melon, etc
- 1 can fruit cocktail drained, 14 ounces
- 12 ounces carbonated beverage Sprite, 7Up, etc
- 14 ounces strawberry milk
- 1 cup ice cubes
Directions
- Place the chopped watermelon, additional fruit, and drained fruit cocktail in a large bowl. Stir to combine.
- Pour the strawberry milk over the fruit. Add the ice and stir to combine. Finally, pour in the carbonated drink and stir gently to combine.
- Serve immediately.
Notes
Ingredient Tips - Keep everything chilled before using it - everything should be cold when added together. Recommended Tools - Use a large, sharp knife to cut the watermelon and a small knife to chop strawberries or other fruit. Storage - This recipe is best served fresh because of the carbonation, but it can be stored in the refrigerator for one day if necessary. Add an additional fizzy drink if you'd like it to be bubbly again!
Nutrition (per serving)
Serving Size: 1 · Calories: 244 · Fat: 4 · Saturated fat: 2 · Carbs: 52 · Sugar: 46 · Fiber: 3 · Protein: 5 · Sodium: 56 · Cholesterol: 12
Recipe from: thishealthytable.com, saved in Lucy's cookbook.
Icebox Cookies (Refrigerator Cookies)
A simple recipe for old-fashioned Icebox Cookies (AKA Refrigerator Cookies). This recipe uses only a few basic ingredients but must be chilled for at least 4 hours before baking.
Ingredients
- 1 cup unsalted butter softened, 226 g
- 1 ½ cups granulated sugar, 300 g
- 1 large egg room temperature preferred
- 1 teaspoon vanilla extract
- 2 ½ cups all purpose flour, 315 g
- 1 teaspoon baking powder
- ¾ teaspoon salt
- Optional add-ins sprinkles, non pareils, chopped nuts, chopped chocolate
Directions
- Cream together butter, sugar, egg and vanilla. Scrape down the sides and bottom of the bowl with a spatula to make sure all ingredients are well-combined.
- In a separate, medium-sized bowl, whisk together flour, baking powder, and salt. With mixer on low speed, gradually add to butter mixture until completely combined. Be sure to pause and scrape the sides and bottom of the bowl as needed.
- If stirring in any add-ins, mix them in here.
- Divide dough into two halves and lightly flour your hands. Form each half into a log about 1 ½" - 2” in diameter. To roll in sprinkles (as seen in the photos), pour several tablespoons of non pareils into a pie plate and roll the dough through the sprinkles until the outside is completely covered.
- Wrap dough logs in plastic wrap and refrigerate. To prevent the dough from getting a severely flat edge I like to place it on a plush folded hand towel while it chills. Chill dough for at least 4 hours, preferably overnight and up to one week.
- When you are ready to bake, preheat oven to 350F (175C). Remove dough from the refrigerator and slice into ¼” slices.
- Transfer to a parchment-lined baking sheet, spacing cookies at least 2 inches apart.
- Bake on 350F for 10-12 minutes or until edges are just beginning to turn a light golden brown.
- Enjoy!
Notes
Make sure to measure your flour properly using a scale or the spoon and level method (see my guide on how to measure flour). Too much flour and the cookie dough will be dry and crumbly, not enough and the dough will be too soft and your icebox cookies will spread in the oven. Don’t over-mix. Over-mixing will warm up the butter, making it melty and therefore making the dough too soft and sticky to form into logs. If you accidentally do this, pop the dough in the refrigerator (covered) for 15 minutes or so and then try to form the dough again. Use a towel. Set your cookie dough on a plush, twice-folded kitchen towel. This will keep the bottom of the dough from flattening and keep your cookies rounder when you slice them. Have patience! This dough really does need to chill for hours to keep the cookies from spreading too much. The cookies will spread nicely in the oven if you chill them, but if you don’t wait they’ll melt onto your cookie sheet and be much too flat and crispy. Store to slice & bake later. Keep icebox cookie dough in the fridge, wrapped in plastic wrap, for up to a week.
Nutrition (per serving)
Serving Size: 1 · Calories: 133 · Fat: 6 · Saturated fat: 4 · Trans fat: 1 · Carbs: 18 · Sugar: 10 · Fiber: 1 · Protein: 1 · Sodium: 61 · Cholesterol: 22
Recipe from: sugarspunrun.com, saved in Lucy's cookbook.
Impossible Coconut Custard Pie
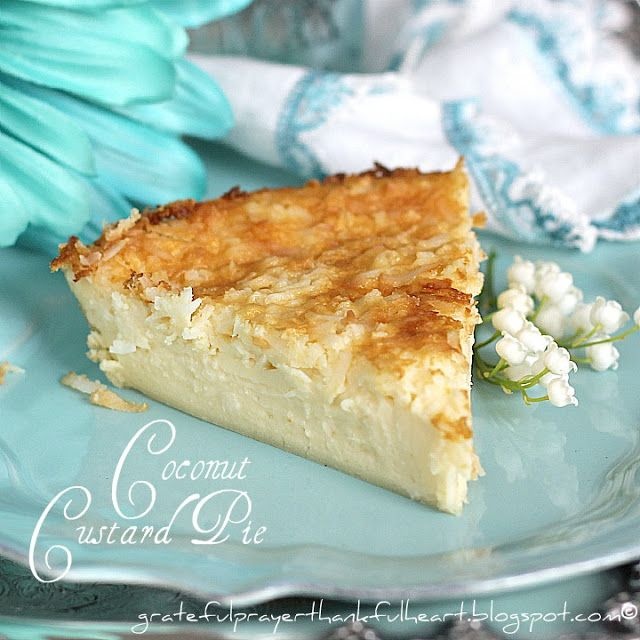
Need a dessert and not much time for baking? When I am asked to bring a dessert or have friends coming to my house, I can count on this recipe for its ease in preparation and its popularity when served. This is one of the most popular posts on my blog and for good reason. Impossible Coconut Custard Pie is a breeze to make and it is so delicious.
Ingredients
- 1 14-ounce can Eagle Brand Sweetened Condensed Milk, NOT evaporated milk
- 1 ½ cups water
- ⅓ cup biscuit baking mix see Bisquick substitute recipe below
- 3 eggs
- ¼ cup butter softened
- 1 ½ tsp vanilla extract
- 1 cup flaked coconut more if desired
- EXTRA TOPPINGS:
- Maybe make creamy sweet cream drizzled over top when done to make it more moist.
Directions
- Preheat oven to 350 degrees.
- In blender container, combine all ingredients except coconut.
- Blend on high speed 3 minutes.
- Pour into greased 10-inch pie plate; let stand 5 minutes.
- Sprinkle with coconut.
- Carefully place in oven; bake 35 to 40 minutes or until knife inserted near edge comes out clean.
- Cool slightly; serve warm or cooled. Refrigerate leftovers.
- TIPS:
- Maybe make creamy sweet cream drizzled over top when done to make it more moist.
Notes
*Recipe Note: Some readers do not have Bisquick Baking Mix available where they live. I have not tried it myself, but searched and found a baking mix substitute that I am sharing if you want to give it a try. Please drop me a note or send a comment if you try it and how it worked out. Bisquick Substitute: (use same amount of substitute as Bisquick in recipe) Yield: 1 cup INGREDIENTS: 1 cup flour 1 1/2 teaspoons baking powder 1/4 teaspoon salt 1 tablespoon shortening DIRECTIONS: Mix dry ingredients together in a small bowl. Cut in shortening using a pastry blender.
Nutrition (per serving)
Servings: 1.00 · Calories: 2650.75 kcal · Carbs: 266.08 g · Protein: 59.36 g · Total fat: 155.34 g · Saturated fat: 105.86 g · Unsaturated fat: 34.82 g · Trans fat: 3.29 g · Sugars: 227.70 g · Fiber: 14.65 g · Cholesterol: 812.52 mg · Sodium: 1132.02 mg
Recipe from: gratefulprayerthankfulheart.com, saved in Lucy's cookbook.
Impossibly Easy Mini Breakfast Sausage Pies

Here’s our impossibly easy pies packed with pork and mushrooms; made using Original Bisquick® mix – perfect for breakfast.
Ingredients
- 1 Sausage Mixture
- ¾ lb ground pork breakfast sausage
- 1 medium onion, chopped, 1/2 cup
- 1 can mushroom pieces and stems, drained, 4 oz
- ½ teaspoon salt
- 3 tablespoons chopped fresh sage
- 1 cup shredded Cheddar cheese, 4 oz
- 1 Baking Mixture
- ½ cup Bisquick™ Original Pancake & Baking Mix
- ½ cup milk
- 2 eggs
Directions
- Heat oven to 375°F. Spray 12 regular-size muffin cups with cooking spray.
- In 10-inch skillet, cook sausage and onion over medium-high heat 5 to 7 minutes, stirring frequently, until sausage is no longer pink; drain. Cool 5 minutes; stir in mushrooms, salt, sage and cheese.
- In medium bowl, stir baking mixture ingredients with whisk or fork until blended. Spoon 1 scant tablespoon baking mixture into each muffin cup. Top with about 1/4 cup sausage mixture. Spoon 1 tablespoon baking mixture onto sausage mixture in each muffin cup.
- Bake about 30 minutes or until toothpick inserted in center comes out clean, and tops of muffins are golden brown. Cool 5 minutes. With thin knife, loosen sides of pies from pan; remove from pan and place top sides up on cooling rack. Cool 10 minutes longer, and serve.
Nutrition (per serving)
Serving Size: 1 · Calories: 250 · Fat: 17 · Saturated fat: 8 · Trans fat: 0.5 · Carbs: 10 · Sugar: 3 · Fiber: 1 · Protein: 14 · Sodium: 920 · Cholesterol: 105
Recipe from: bettycrocker.com, saved in Lucy's cookbook.
In n out smash burger tacos 🌮
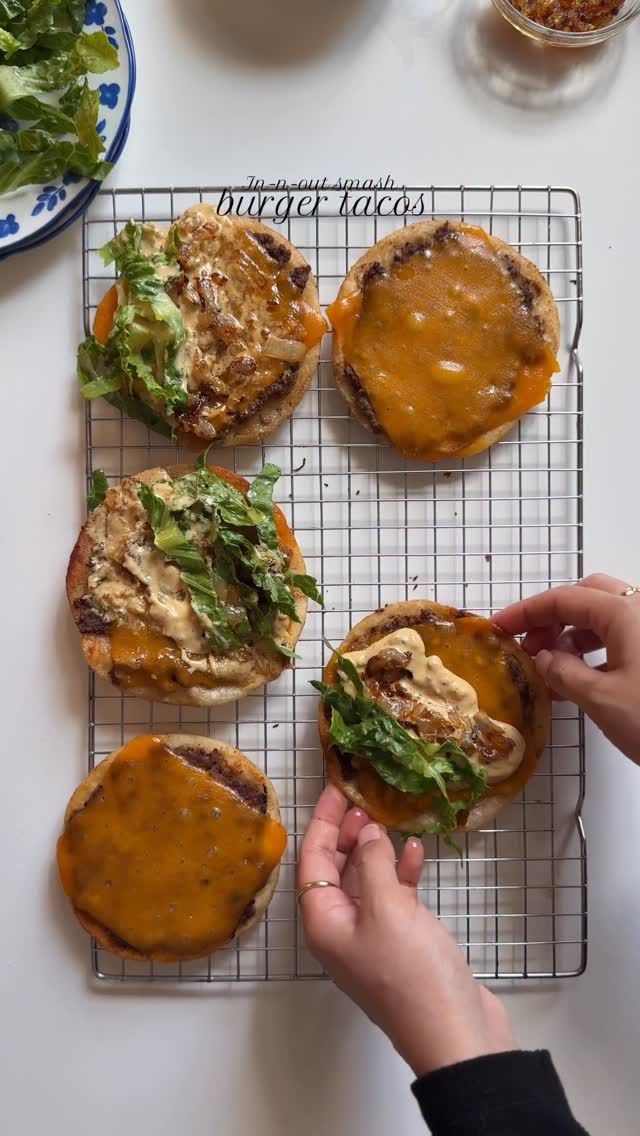
In n out smash burger tacos 🌮
Ingredients
- 1 lb ground beef, 80% lean, 20% fat
- 10 mini flour tortillas
- 10 slices cheddar cheese
- 1 cup lettuce, chopped
- Salt to taste
- In-n-out sauce:
- 1 cup mayonnaise
- 4 tbsp ketchup
- 1 tbsp Dijon mustard
- 1 tbsp Worcestershire sauce
- 1 tsp vinegar
- 3 tbsp sweet relish
- 3 tbsp caramelized onions
- Salt, to taste
- 1 tsp black pepper
- 1 tsp garlic powder
Directions
- Prepare the Sauce by combining mayonnaise, ketchup, Worcestershire sauce, Dijon mustard, caramelized onions, sweet relish, vinegar, salt, and black pepper in a bowl. Mix well and refrigerate until ready to use.
- Prepare the ground beef:
- Heat a skillet over high heat with a small amount of oil. Place 2 tbsp of ground beef in the center of each tortilla, pressing down gently to create an even layer. Sprinkle with flaky salt. Cook in the skillet (meat side down) over medium-low heat for 4-5 minutes or until cooked through. Flip and cook the other side until crispy and golden.
- Assemble the tacos:
- Top each taco with a slice of cheddar cheese, chopped lettuce, and caramelized onions. Drizzle with In-N-Out Sauce.
Notes
Here goes my waistline! Because I’m making this!
Recipe from: instagram.com, saved in Lucy's cookbook.
Jalapeño Cheese Twists

These jalapeño cheese twists are spicy, cheesy, crispy perfection 🧀🥓🔥 the perfect little snackie for this weekend 😍
Ingredients
- 6 oz cream cheese, softened
- 1 cup shredded cheddar cheese
- ½ cup bacon bits
- 3 jalapeños, finely chopped
- 1 sheet puff pastry
- 1 egg, beaten
Directions
- Mix cream cheese, cheddar, bacon bits, and jalapeños until smooth.
- Spread over half of the puff pastry and fold the other half over.
- Slice into strips, twist each one, place on a lined baking sheet, brush with egg wash, and sprinkle a little extra cheese on top.
- Bake at 400° for 15–20 minutes until golden and crispy. Enjoy! 😋
Notes
Its the same 3 main ingredients + you just need your preferred pizza dough, making one from scratch with yeast is best imo. I think there are kits for it where u just have to mix the dry products with a certain amount of water if you want making it simpler This would be delicious but imagine rolled like a cinnamon roll and topped with a garlic butter or cowboy butter like you would with icing
Recipe from: instagram.com, saved in Lucy's cookbook.
Jalapeño Popper Corn Salad
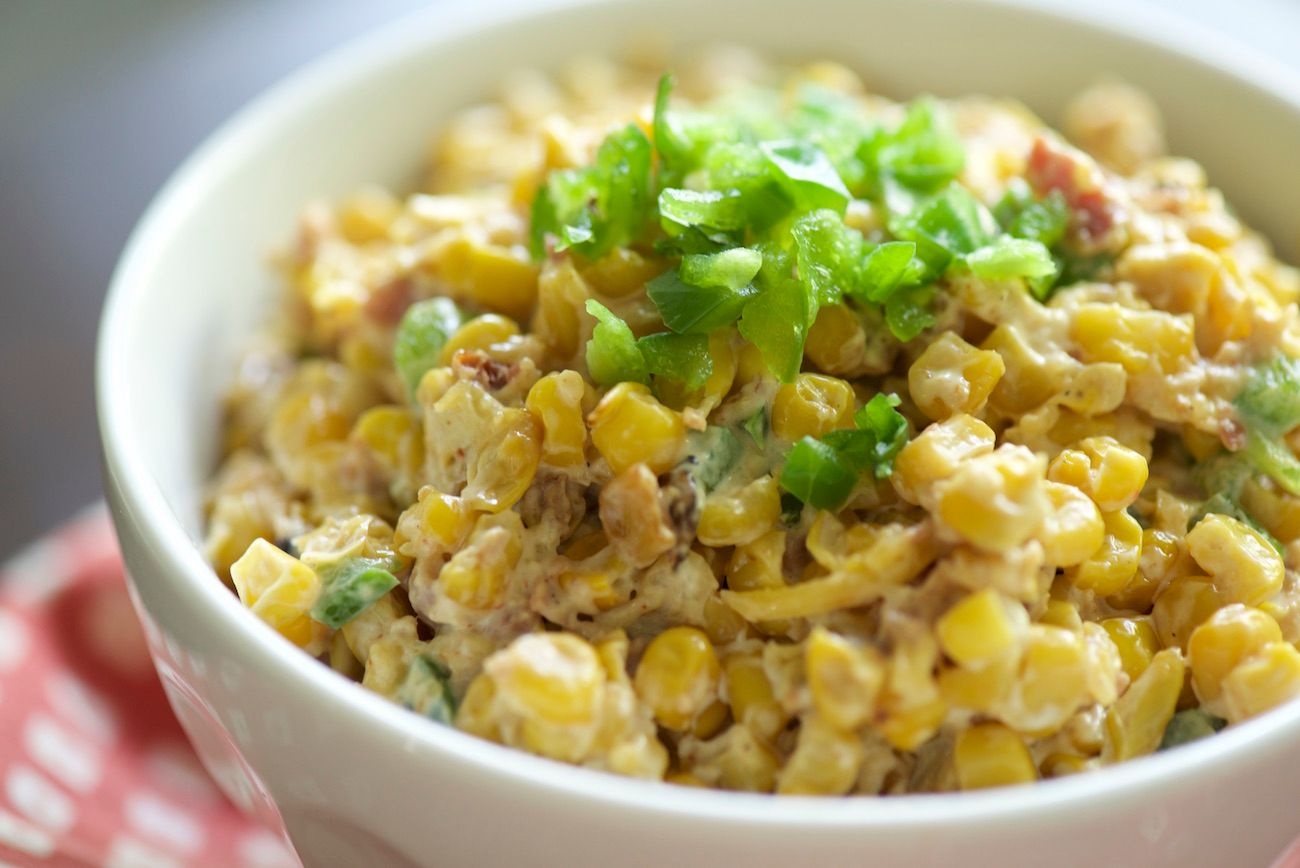
There's no point trying to practice self-restraint...this stuff is just too good!
Ingredients
- 5 cans corn kernels, rinsed and drained, or 8 cooked ears of corn
- 1 cup bacon, cooked and crumbled
- 1 cup cheddar cheese, grated
- ½ cup cream cheese, room temperature
- ¼ cup sour cream
- 2 jalapeños, seeds and ribs removed, minced
- 2 tablespoons olive oil
- ¼ teaspoon chili powder
- kosher salt and freshly ground pepper, to taste
- green onions, garnish
Directions
- Heat olive oil in a large skillet over medium-high heat and sauté corn kernels until lightly browned.
- In a large bowl, combine corn, bacon and jalapeños, then stir in cheddar cheese, cream cheese and sour cream.
- Season with chili powder, and salt and pepper. Taste and adjust seasoning, if necessary.
- Serve immediately, or refrigerate until chilled.
- Enjoy!
Recipe from: 12tomatoes.com, saved in Lucy's cookbook.
Japanese Souffle Pancakes
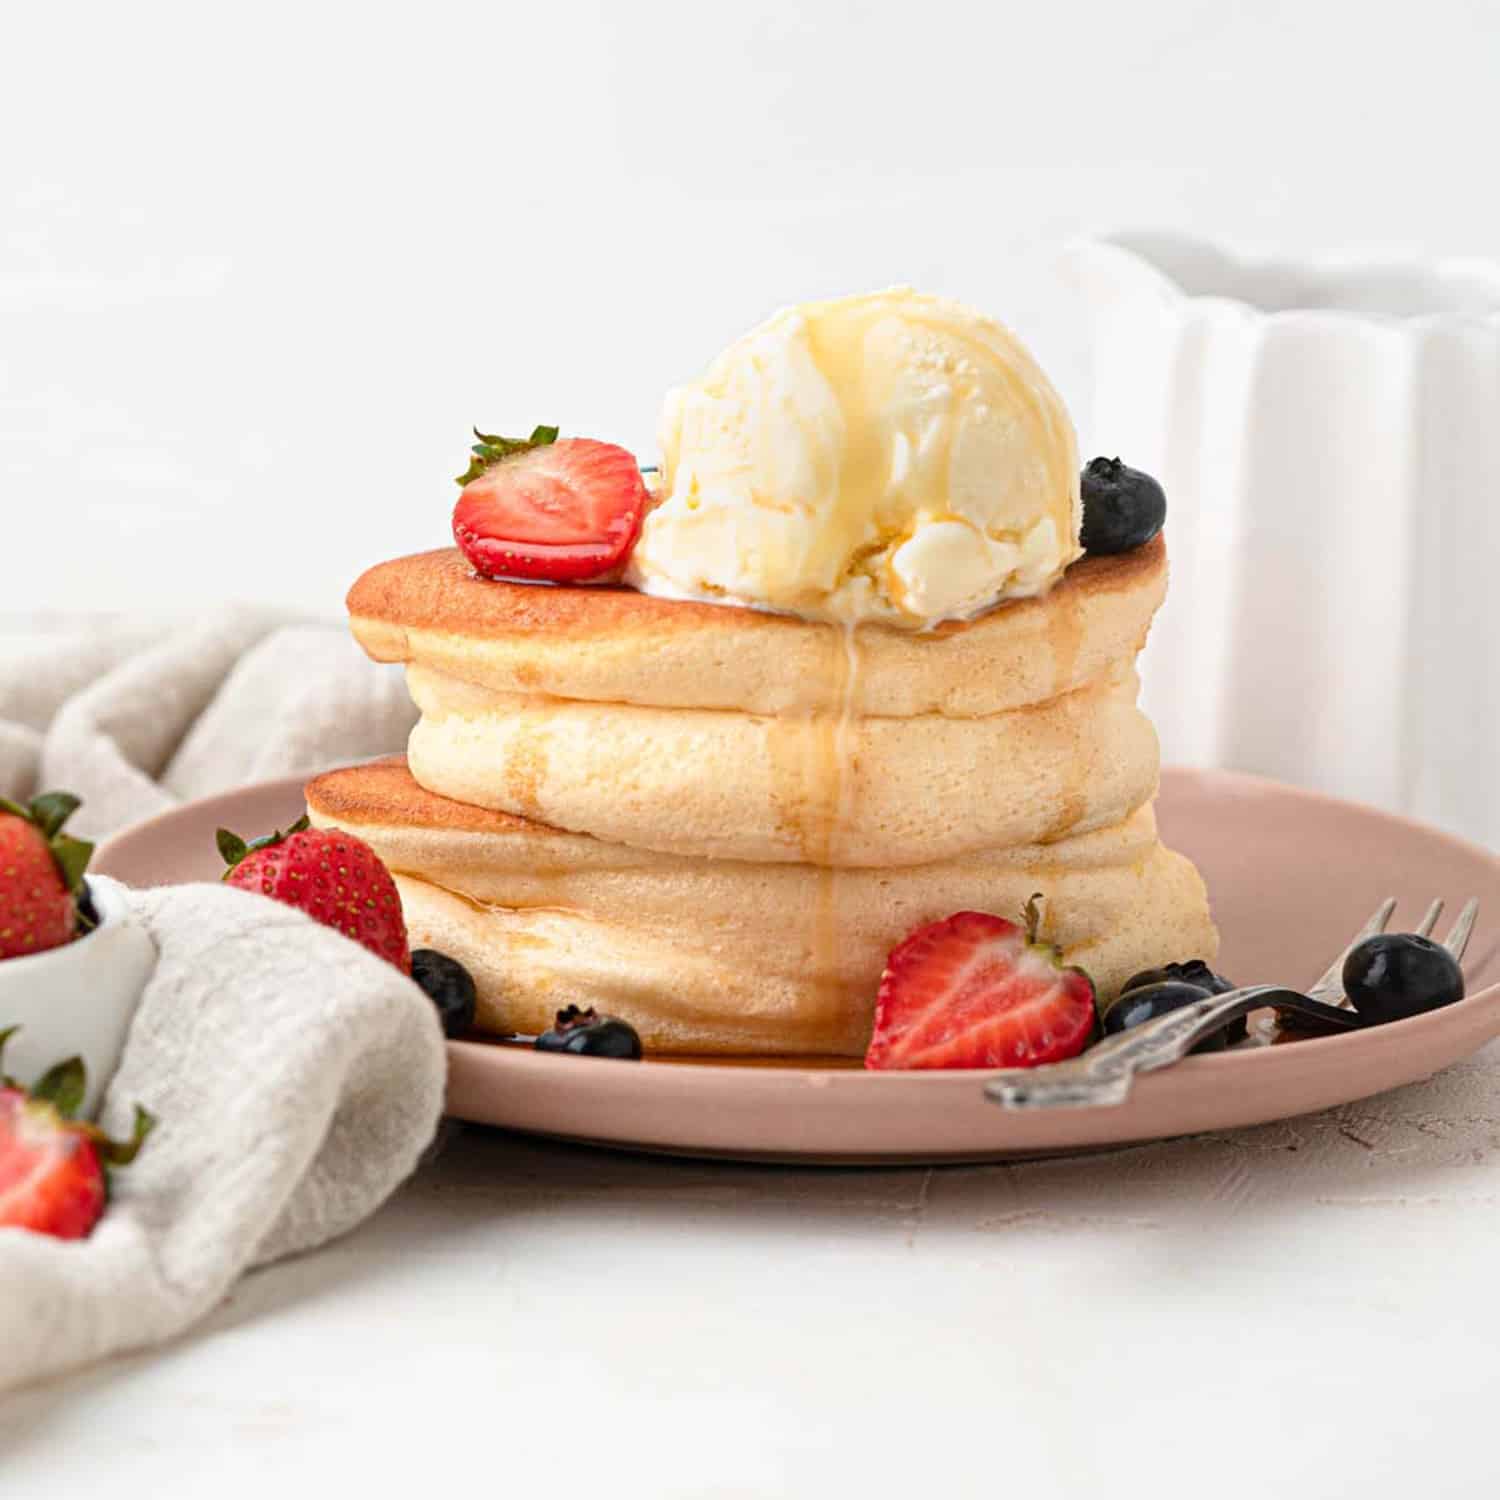
Tall, light and fluffy Japanese Style Souffle Pancakes with a cloud-like, melt-in-your-mouth texture. These thick pancakes will be the breakfast of your dreams.
Ingredients
- 30 g Plain flour, 1/4 cup
- ¼ tsp Cream of tartar
- 25 g Sugar, 2 tbsp
- 15 g Milk, 1 tbsp
- 2 Eggs, separated
Directions
- In a medium sized bowl combine the egg yolks, milk and flour, whisk until smooth
- In a large bowl whip the egg whites with a hand mixer or stand mixer fitted with the whisk attachment until foamy
- Add the cream of tartar and sugar, and whip until stiff peaks
- Gently fold 1/3rd of the meringue into the egg yolk mixture
- Then add the remaining merinuge and fold until no streaks of egg white remain
- Heat a frying pan on low heat and scoop two-thirds of the batter into two large mounds in the pan
- Close the lid and cook for 5 minutes
- Uncover and top each mound with the remaining batter
- Close the lid and cook for another 5 minutes
- Open the lid, flip the pancakes, close the lid and cook for a further 5 minutes
- Repeat with the remaining batter
- Carefully transfer pancakes to a plate, top with ice-cream, fruits and maple syrup
Nutrition (per serving)
Serving Size: 1 · Calories: 356 · Fat: 9.8 · Saturated fat: 3.2 · Trans fat: 0 · Carbs: 49.8 · Sugar: 26.2 · Fiber: 0.8 · Protein: 16.2 · Sodium: 149.5 · Cholesterol: 372.3
Recipe from: zhangcatherine.com, saved in Lucy's cookbook.
Korean Corn Dogs

Episode 3 of food on sticks : Korean Corn Dogs 🌭 What should I make next? These taste identical to the Korean chain Chung Chun rice dog 👀👀 Steps are in my bio!
Ingredients
- 200 g flour
- 150 g glutinous rice flour
- Pinch of salt
- 60 g sugar
- 8 g yeast
- 300 ml warm water
- 6 skewers
- 3 hotdogs
- 6 sticks of low moisture Mozzarella
- 1 Frying oil
- 1 Coatings
- 1 cup panko breadcrumbs
- 1 large potato, finely cubed
- 1 cup cornflakes
- 1 Toppings
- 1 cup granulated sugar
- 1 Sauces, ketchup, mayo, mustard, etc.
Directions
Recipe from: instagram.com, saved in Lucy's cookbook.
Käse Kartoffel ( Cheese Potato ) Sandwich - German
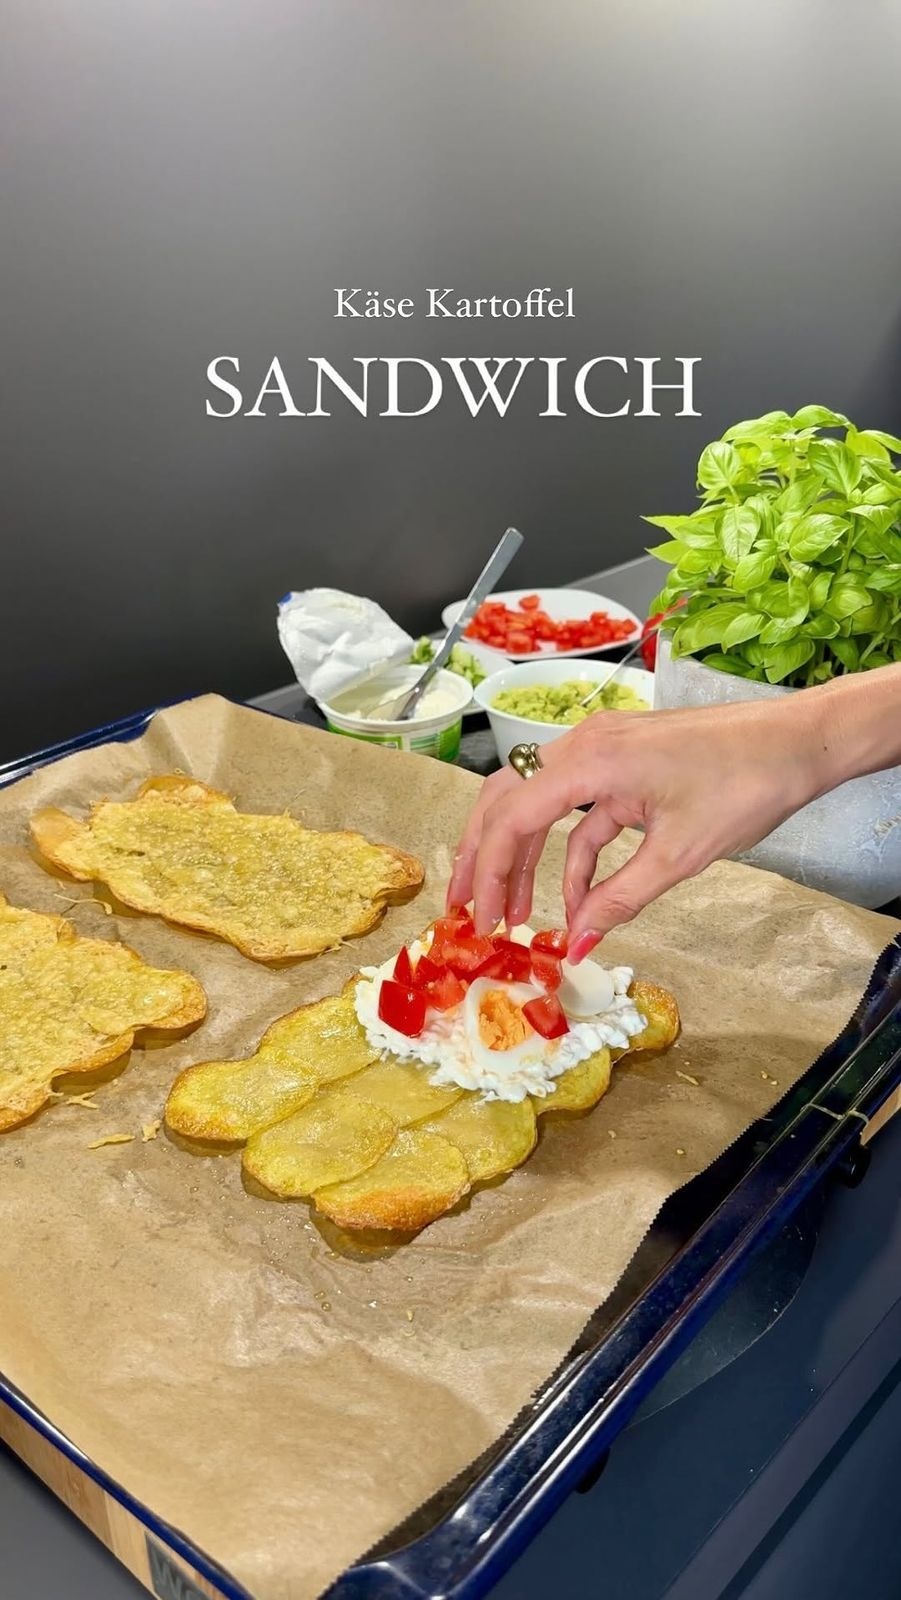
Ingredients
- 2 medium-sized waxy potatoes
- 1 Some oil for brushing
- 100 g grated cheese
- 1 Avocado
- 2 tbsp lemon juice
- 1 salt and pepper
- 1 grainy cream cheese
- 1 large beefsteak tomato
- ½ cucumber
- 2 hard-boiled eggs
Directions
- Wash the potatoes and cut them into 2 mm thick slices. I recommend the Fackelmann thick/thin slicer. You can adjust it to any desired thickness. ❤️
- Place the potato slices on a baking sheet lined with baking paper, overlapping by about 1/3. Brush with oil and sprinkle with cheese to cover all the joints. Bake in a preheated oven at 160°C (fan oven) for the first 10 minutes, then reduce the temperature to 180°C (fan oven) and bake until the potatoes are golden brown. Let cool briefly. Then turn so the cheese is facing down and pat dry with a paper towel. Top with your choice of ingredients.
Recipe from: instagram.com, saved in Lucy's cookbook.
Lasagna Mozzarella Sticks
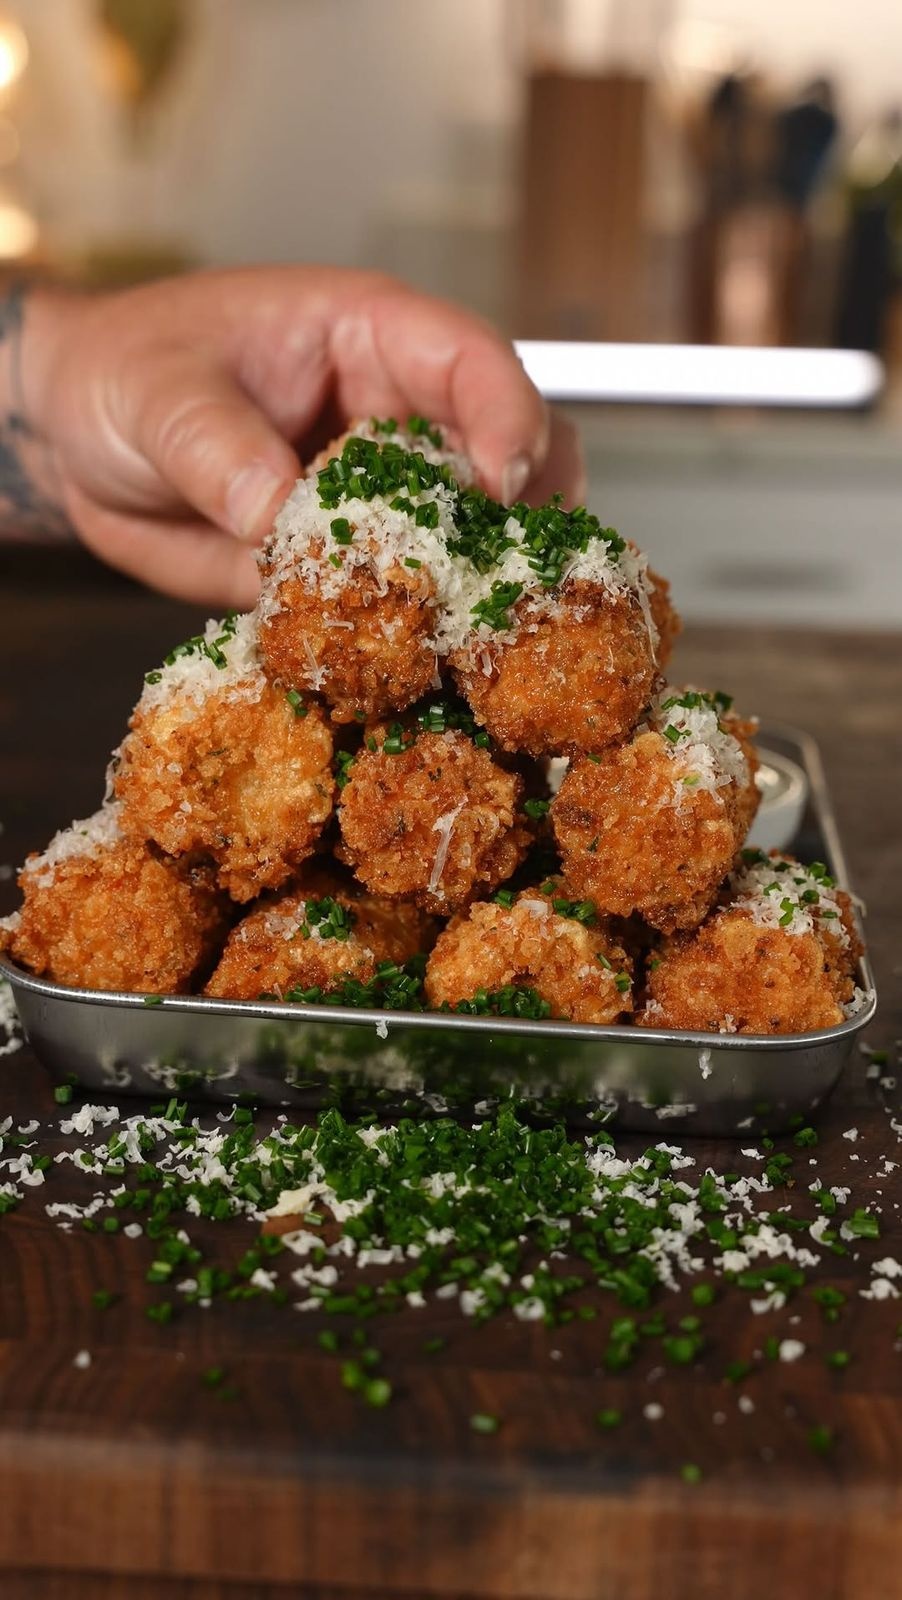
Had an absolute blast with @nikoapue making this epic creation! Thank you @bakewithzoha for the inspiration!
Ingredients
- 12 Lasagna Sheets
- 12 Mozzarella Sticks
- 16 oz of ANY DIP FILLING
- 2 cups Flour
- 4 Eggs
- 2 cups Panko Crumbs
- 1 Spray Avocado Oil
- 1 Frying Oil, Tallow
Directions
- Boil Lasagna and separate so they don’t stick and spray with oil to make them easy to work with
- Cut Lasagna noodles in half
- Add a thin layer of your filling
- Cut Mozzarella Sticks in half and roll inside the Lasagna as tight as you can
- In the Freezer for 1 hour
- Then dredge in Flour, then egg, then Panko and fry at 350 degrees for about 6-8 minutes or until 160-170 degrees F inside the Mozzarella Stick
- Top with Parmesan Cheese and Chives and dip with Ranch or Marinara
Notes
@williamjgpaul No need to be so harsh! No matter, they look delicious!😋
Recipe from: instagram.com, saved in Lucy's cookbook.
Lasagna Rolls
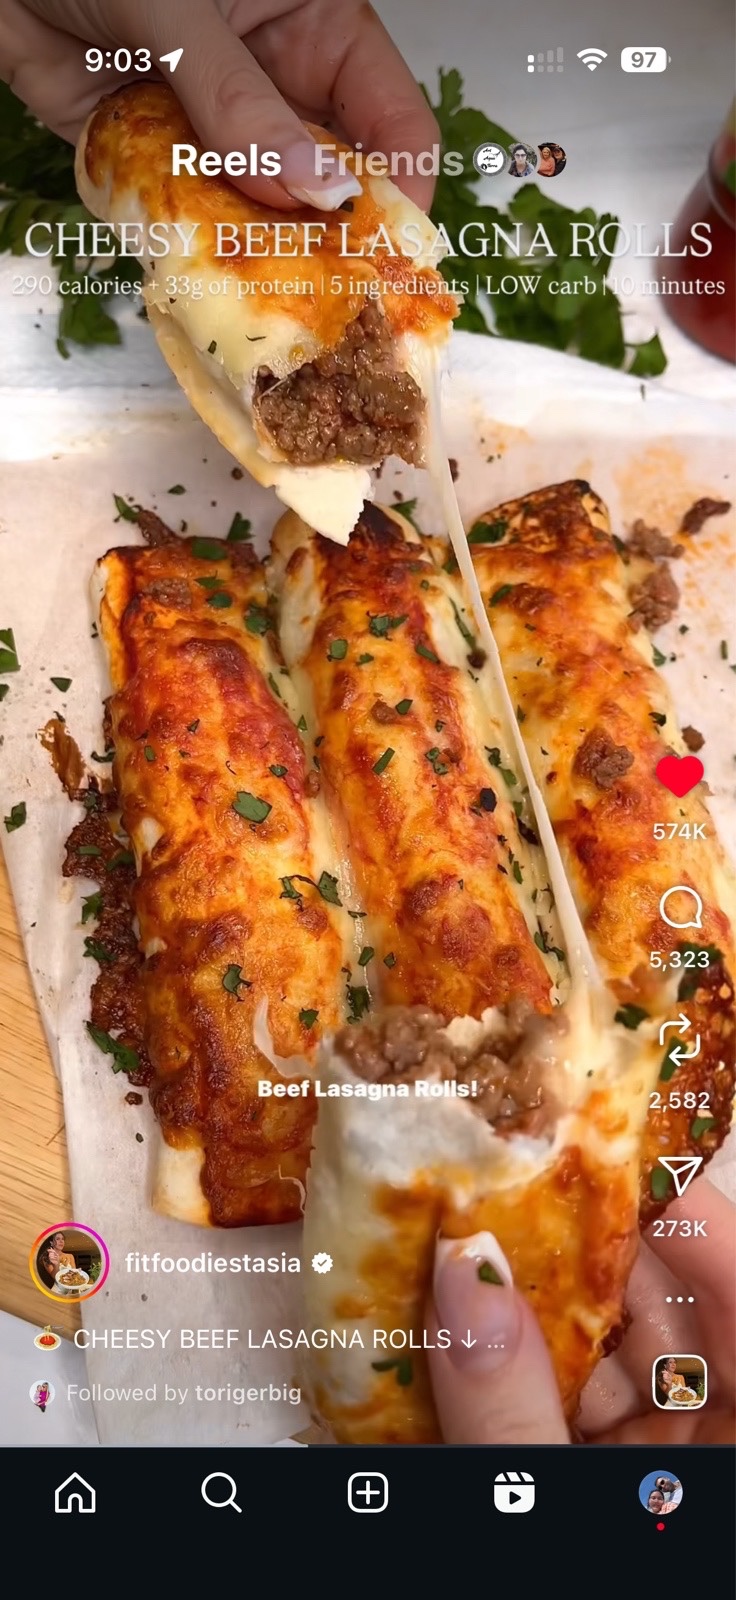
Ingredients
- Lasagna filling:
- 330 g extra lean ground beef
- 2 tbsp tomato paste
- ⅛ cup tomato sauce, 30 mL, or tomato passata
- ¼ cup 1% cottage cheese, 60 g
- 1 tsp: salt, garlic powder, oregano flakes
- To assemble:
- 5 low carb tortillas
- ½ cup tomato passata, divided, 60 mL
- 150 g low fat shredded mozzarella, divided, 15 g inside & 15 g on top of each roll
Directions
- Season and cook ground beef on a nonstick pan over medium heat for ~6 minutes.
- Assemble lasagna rolls:
- low carb tortilla, sauce, lasagna filling, cheese. Spray generously with no calorie spray and place seam-side down on an air fryer rack. Top with more sauce and cheese.
- Air fry for ~10 minutes at 400° F. Enjoy!
Nutrition (per serving)
Serving Size: 1 · Calories: 293 · Fat: 11.3 · Carbs: 3.8 · Protein: 33.2
From Lucy's own cookbook collection.
Lemon Curd Crème Brûlée Cookies – Tangy & Sweet Treat
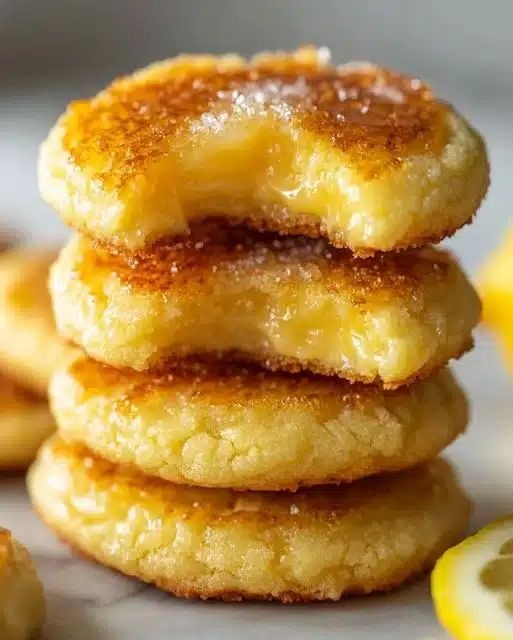
Hello, lovely readers! If you’re a fan of desserts that strike the perfect balance between sweet and tangy, you’re in for a treat. Today, I’m excited to share a recipe that’s bound to become one of your favorites: Luscious Lemon Curd Crème Brûlée Cookies. These delightful cookies are not just a feast for the taste buds but also an eye-catching addition to any dessert table.
Ingredients
- 1 ½ cups all-purpose flour
- ½ cup unsalted butter, softened
- ¾ cup granulated sugar
- 1 large egg
- 1 tablespoon lemon zest
- 2 tablespoons lemon juice
- 1 teaspoon vanilla extract
- ½ teaspoon baking powder
- Pinch of salt
- ½ cup lemon curd
- 2 tablespoons granulated sugar, for topping
- Optional substitutions:
- 1 If you have dietary restrictions, consider using gluten-free flour as a substitute for all-purpose flour. Keep in mind this may slightly alter the texture of your cookies.
- 1 For a vegan version, replace the egg with a flaxseed egg . The butter can be substituted with a plant-based alternative., 1 tablespoon of flaxseed meal mixed with 3 tablespoons of water
Directions
- Preheat the oven to 350°F (175°C) and line a baking sheet with parchment paper.
- In a mixing bowl, cream together the softened butter and ¾ cup of granulated sugar until light and fluffy. This step is crucial as it determines the texture of your cookies.
- Add the egg, lemon zest, lemon juice, and vanilla extract to the butter mixture, mixing until well combined.
- In a separate bowl, whisk together the flour, baking powder, and salt. Gradually add the dry ingredients to the wet ingredients, mixing just until combined. Over-mixing can result in tough cookies.
- Scoop tablespoon-sized balls of dough onto the prepared baking sheet, flattening them slightly with your fingers.
- Create a small indentation in the center of each cookie using your thumb or the back of a spoon. Fill each indentation with about ½ teaspoon of lemon curd.
- Bake the cookies for 12-15 minutes, or until the edges are lightly golden. Be careful not to overbake; you want them to remain soft and chewy in the center.
- Remove the cookies from the oven and immediately sprinkle the tops with the remaining 2 tablespoons of granulated sugar.
- Using a kitchen torch, carefully caramelize the sugar on top of each cookie until golden brown and crisp. Allow the cookies to cool slightly before enjoying.
Notes
Room Temperature Ingredients: Ensure that your butter and egg are at room temperature before starting. This helps in achieving a smooth, creamy mixture that is easy to work with. Lemon Zest: Use fresh lemon zest for the best flavor. The oils in the zest provide a fragrant, intense lemon flavor that bottled lemon juice just can’t match. Caramelization: If you don’t have a kitchen torch, you can briefly place the cookies under the broiler. Just watch them closely to prevent burning!
Nutrition (per serving)
Calories: 120 · Fat: 5 · Saturated fat: 3 · Trans fat: 0 · Unsaturated fat: 1.5 · Carbs: 17 · Sugar: 10 · Fiber: 0.5 · Protein: 1 · Sodium: 50 · Cholesterol: 20
Recipe from: optimalrecipes.com, saved in Lucy's cookbook.
Lemon Drop Cookies
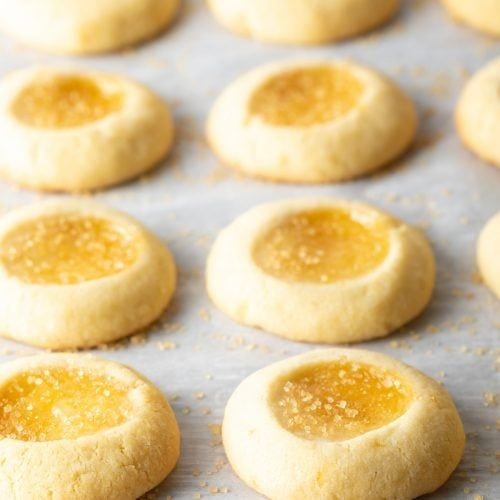
Lemon Drop Thumbprint Cookies Recipe – Tender buttery shortbread thumbprints with sparkling lemon centers. These little gems are a wonderful addition to holiday parties!
Ingredients
- 1 ½ cups unsalted butter at room temperature
- 1 cup granulated sugar
- 1 teaspoon vanilla extract
- 1 lemon, Zest
- 3 ¼ cups all-purpose flour
- ½ teaspoon kosher salt
- ¼ cup lemon curd
- 2 tablespoons turbinado sugar
Directions
- Preheat the oven to 350 degrees F. With an electric mixer, cream the butter, sugar, vanilla, and lemon zest together until smooth. Scrape the bowl with a spatula. Turn the mixer on low and add the salt. Add the flour a little at a time, until it is just combined.
- Line your cookie sheets with parchment paper. Roll the dough into 1-ounce balls, about 1 1/2 tablespoons. Place them on the cookie sheets and press with your thumb to create a cavity in the center. It helps them to keep their shape if you hold the sides of the cookie with the other index finger and thumb. Press any cracks back into place.
- Fill each indentation with a scant 1/4 teaspoon of lemon curd. (Use just a little more if filling with jam.) Bake for 15-20 minutes. Remove them from the oven and immediately sprinkle the tops with turbinado sugar.
Notes
You can keep these lemon thumbprint cookies in an airtight container at room temperature for up to 2 weeks. Yes, you can keep them in the freezer for up to 6 months. Wrap well to avoid freezer burn. When you are ready to serve them, thaw at room temperature for 1-2 hours. Nope. Butter cookies generally do not contain eggs. This creates a buttery slightly crumbly texture. The turbinado sugar is primarily for looks. It gives the cookies a bit of sparkle! You can omit it, or substitute any other sugar on top.
Nutrition (per serving)
Serving Size: 1 · Calories: 138 · Fat: 8 · Saturated fat: 5 · Carbs: 16 · Sugar: 7 · Fiber: 1 · Protein: 1 · Sodium: 38 · Cholesterol: 20
Recipe from: aspicyperspective.com, saved in Lucy's cookbook.
Lemon Pepper Wet Chicken Tenders
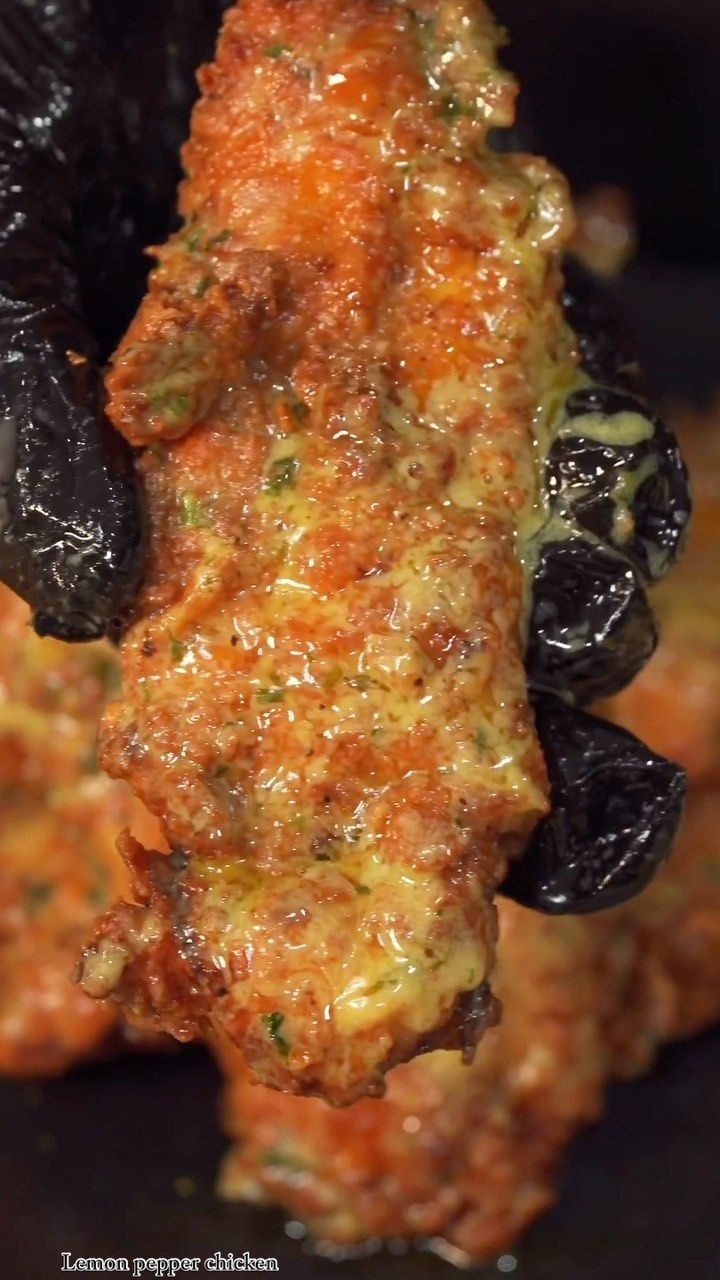
Lemon Pepper Wet Chicken Tenders: Get saucy with the perfect mix of zest and spice!🍗🍋🔥
Ingredients
- 1 ½ Lb Chicken Tenders
- 1 Wet Batter
- 1 ½ Cup Buttermilk
- 1 Tbsp Onion Powder
- 1 Tbsp Garlic Powder
- 1 Tsp Paprika
- 1 Tsp Cajun Seasoning
- 1 Tsp Cayenne Pepper
- 1 Tbsp Lemon Pepper
- 3 cloves Garlic
- 1 Tsp Salt
- 1 Egg
- ¼ Cup Hot Sauce
- 1 Dry flour
- 1 ½ Cup Flour
- ½ Cup Corn Starch
- 2 Tsp Onion Powder
- 2 Tsp Garlic Powder
- 1 Tsp Paprika
- 1 Tsp Cajun Seasoning
- 1 Sauce -
- 1 Stick Unsalted Butter
- 1 ½ Tsp Lemon Pepper
- ¼ Cup Heavy Cream
- 1 Small Lemon Squeezed
- 1 Parsley
Directions
Recipe from: instagram.com, saved in Lucy's cookbook.
Macaroni and Hamburger Soup
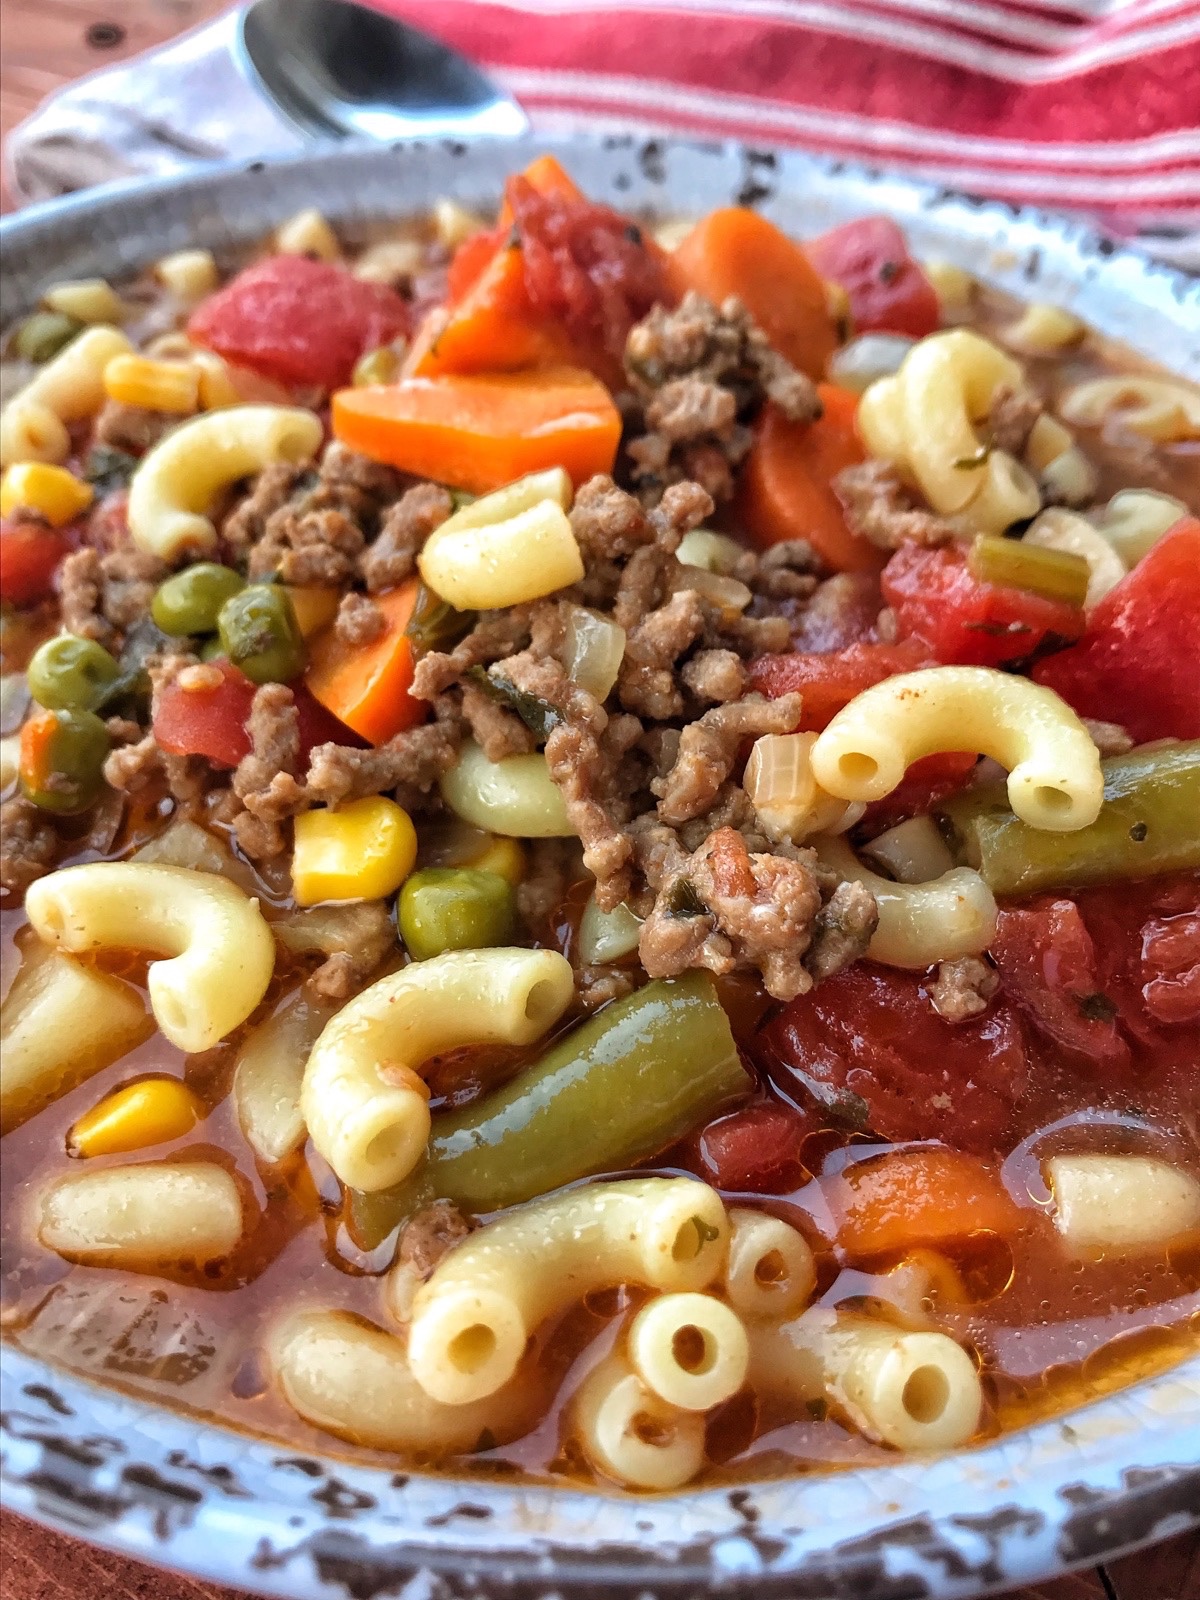
This Macaroni and Hamburger soup is chock full of delicious veggies and beef. The broth is tomatoey and delcious. Kids and grown up love this soup equally. Serve with some crusty French bread an delicious butter. Perfect to make on a weekend and use for lunches during the week.
Ingredients
- 2 lbs of Ground Beef, I use the leaner variety, you can buy a higher fat one and drain.
- 1 Medium Yellow Onion, Diced
- 2 Medium Sized Carrots, Diced
- 3 Stalks of Celery with Leaves Intact, Diced
- 3 T of Butter
- 2 Regular Sized Cans of Tomato Soup
- 2 Regular Sized Cans of Diced Tomatoes
- 1 Carton of Beef Stock
- 2 C of Water
- Salt & Pepper To Taste
- 1 T of Garlic Powder
- 1 T of Onion Powder
- 2 T of Dried Parsley
- 1 Bag, About 2 C Worth of Frozen Mixed Veggies
- 1 Large Russet Potatoes, Peeled and Diced
- 3 C of Cooked Macaroni Noodles, 2-3
Directions
- In a stockpot add the butter and add your celery, carrots and onions. If you want to add another layer of flavor to this soup, roast the celery carrots and onions in the oven at 350 degrees for 30 minutes in some olive oil BEFORE dicing them. This step is not necessary, but it DOES add some flavor. Cook the veggies until they are soft and slightly brow, then add your ground beef and cook completely until no longer pink. I did not drain my beef, but you can if you wish.
- The next step is simple, add ALL of the other ingredients except the cooked macaroni noodles. Make sure you also add the juice from the canned tomatoes. Give everything a really good stir, bring to a boil, reduce heat to low and let the soup simmer on the stove 2 to 3 hours. If you make this in the crock you can cook it on low for up to 8 hours.
- When the soup is finished you can add the cooked macaroni, but it will soak up the broth as it sits and become more stew like. If you prefer this soup to be more liquid, keep the soup and noodles separate and add the macaroni to the bowl when you serve.
Recipe from: thetipsyhousewife.org, saved in Lucy's cookbook.
Mac’n’cheese lasagna
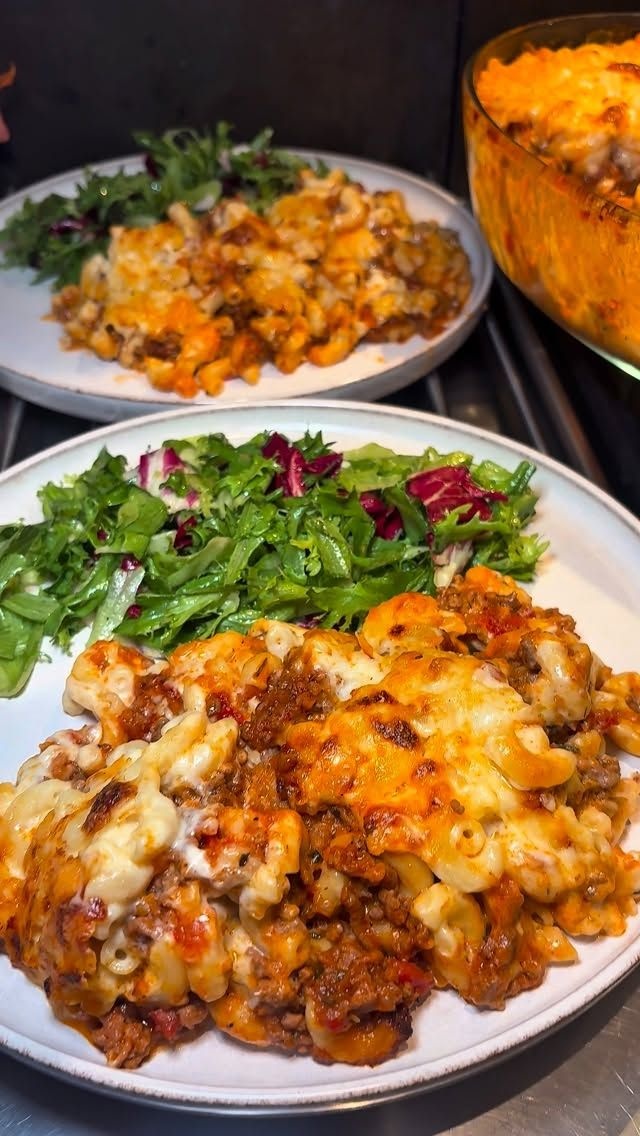
My popular Mac’n’cheese lasagna. Perfect for a cozy weekend dinner.
Ingredients
- For the meat sauce:
- 1 olive oil or avocado oil
- 1 medium onion, finely diced
- 2 garlic cloves, minced
- 1 carrot, finely chopped, optional, use any veg you like, such as zucchini, bell pepper, or mushrooms
- 450 g ground beef, 16 oz / 1 lb
- 2 tbsp tomato paste
- 1 150–200 ml beef broth, ⅔–¾ cup
- 1 can chopped tomatoes
- 3 tbsp red wine optional
- 1 tsp smoked paprika
- 1 tsp barbecue spice blend
- 1 tsp dried oregano
- 1 1.5–1 tsp chili flakes, adjust
- 1 Salt & freshly cracked black pepper
- For the mac & cheese:
- 350 g macaroni, 12 oz / about 3½ cups dry
- 3 tbsp butter
- 3 tbsp flour
- 500 ml whole milk, 2 cups
- 200 ml cream, ¾ cup
- 250 g mature cheddar, grated, 9 oz / about 2½ cups
- 250 g havarti or monterey jack cheese, grated, 9 oz / about 2½ cups
- 100 g mozzarella, grated, 3½ oz / about 1 cup
- 1 tsp Dijon mustard
- Pinch of nutmeg
- 1–2 tsp hot sauce, to taste
- 1 tsp chicken bouillon powder, optional, for extra savory depth
- 1 Salt & pepper
Directions
- Heat oil in a skillet. Fry onion and garlic for a minute, then add carrot (or any veg you like).
- Add ground beef and cook until browned. Stir in tomato paste.
- Pour in red wine, let it reduce, then add beef broth and canned tomatoes. Season with oregano, smoked paprika, barbecue spice, chili flakes, salt, and pepper. Cover and simmer until rich.
- Boil macaroni until just tender. Drain and stir with a little butter.
- For cheese sauce:
- melt butter, whisk in flour, then add milk and cream. Stir until thickened.
- Add about half the cheese mix into the sauce. Stir until smooth. Season with nutmeg, mustard, hot sauce, chicken bouillon, salt, and pepper. Mix in macaroni.
- In a baking dish, layer mac and cheese with meat sauce, sprinkling in some of the reserved cheese between layers. Finish with plenty of cheese on top.
- Bake at 190 °C / 375 °F for 25–30 minutes, until golden and bubbling.
- Rest 10 minutes before serving. Great with a simple green salad.
Notes
SMH 🤣I knw hamburger helper went I see it
Recipe from: instagram.com, saved in Lucy's cookbook.
Mango chia pudding with coconut
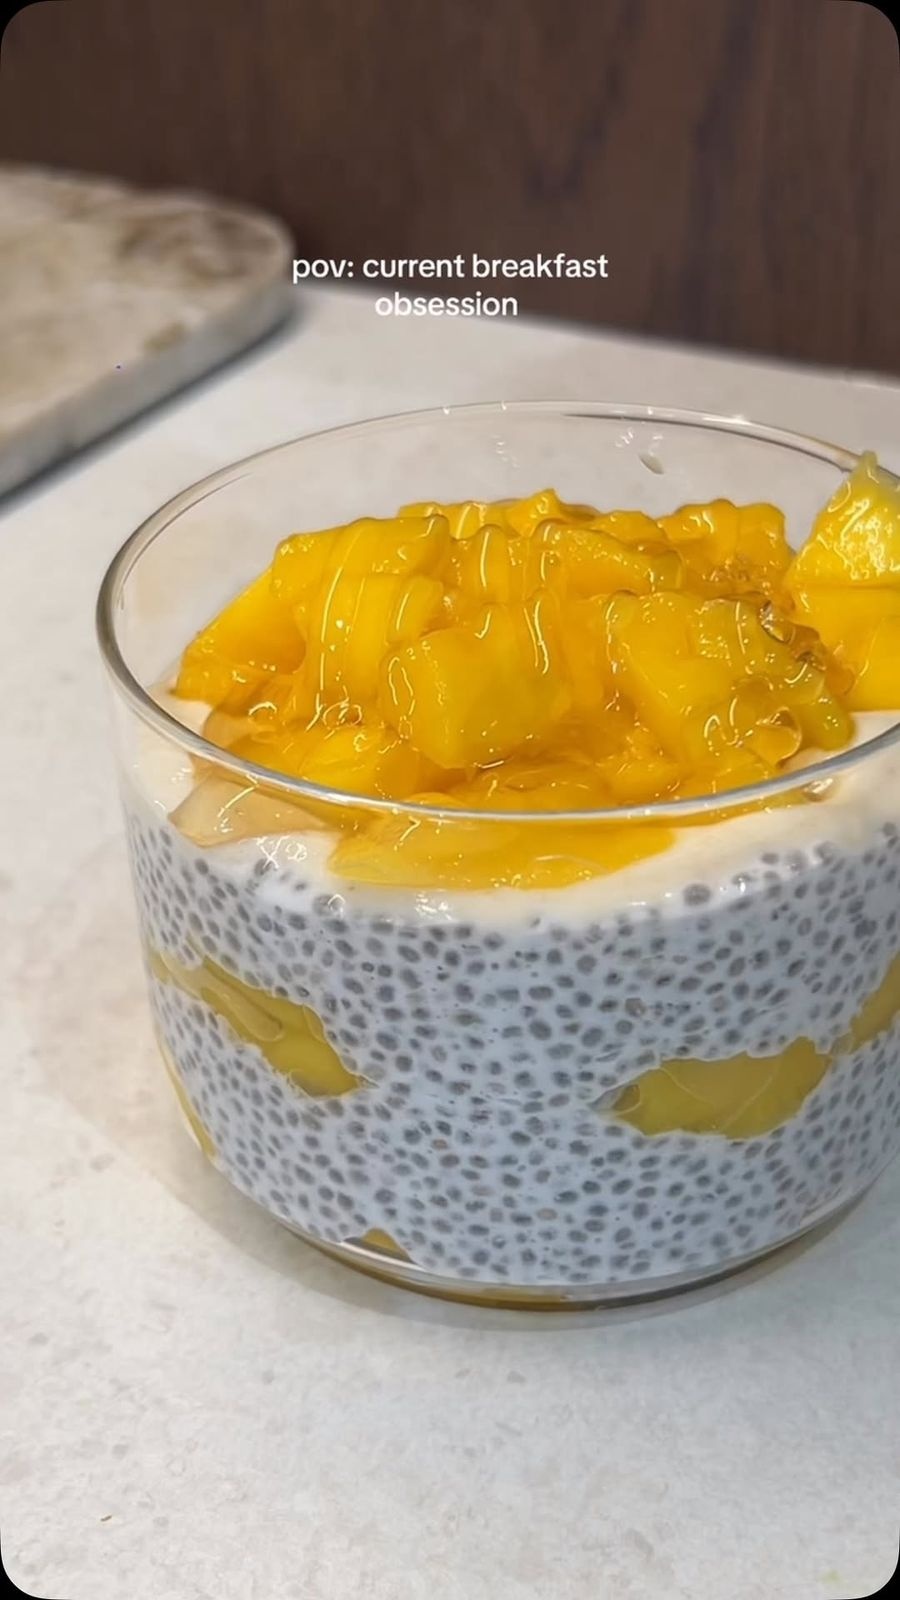
Mango chia pudding with coconut 🥥💛
Ingredients
- 2 cups of coconut cream
- 1 cup of water
- 3 tsp of chia seeds
- ½ mango
- 2 tbsp yoghurt & honey
Directions
Recipe from: instagram.com, saved in Lucy's cookbook.
Marry Me Chicken Pasta

Which #HighProtein recipe do you prefer?👇 1️⃣ Marry Me Chicken Pasta 😍😍
Ingredients
- 4 small chicken breasts.
- 1 Tablespoon onion powder.
- 1 Tablespoon garlic granules.
- 1 Tablespoon dried oregano.
- 1 Tablespoon smoked paprika.
- 1 Teaspoon mild chilli powder.
- Salt and black pepper, to taste.
- 1 Tablespoon extra virgin olive oil.
- 2 tablespoon light butter, I used Lurpack.
- 2 shallots, finely chopped.
- 3 cloves of garlic - crushed.
- 1 Tablespoon tomato puree.
- 300 ml boiling chicken stock.
- 100 ml of single cream.
- 75 g sun-dried tomatoes.
- 1 big handful of fresh basil, chopped.
- 300 g casaracce pasta.
Directions
Recipe from: instagram.com, saved in Lucy's cookbook.
Matcha Marshmallows with Marshmallow Root
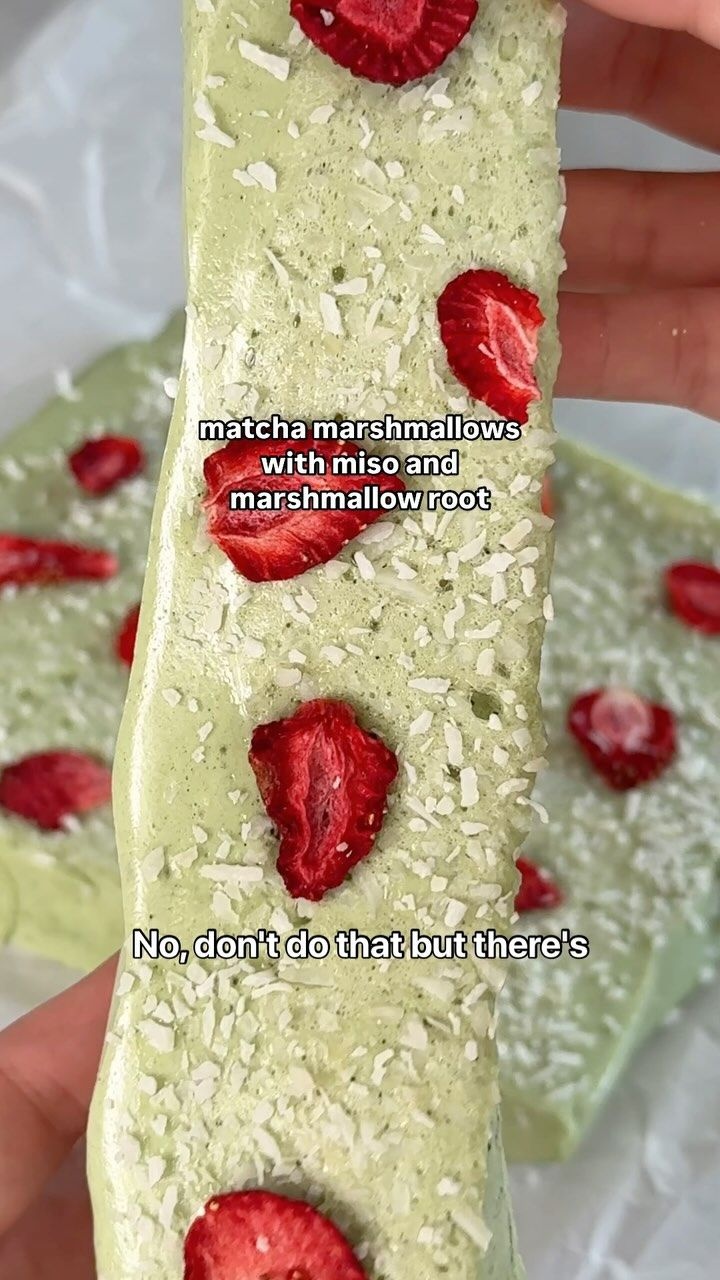
🍵matcha marshmallows with marshmallow root recipe @katlieu 🍓👇⬇️
Ingredients
- 2 ½ tbsps gelatin powder bloomed with 1/2 cup water, add to stand mixer bowl and optionally add in some marshmallow root extract
- 1 cup sugar + 1/2 cup maple syrup or honey + 1/3 cup water
- ½ teaspoon pandan extract
- 1 teaspoon matcha
- 1 teaspoon to tablespoon red miso
- 1 freeze-dried strawbs
- 1 coconut shreds
- 1 powdered sugar
Directions
- Heat 1 cup sugar + 1/2 cup maple syrup or honey + 1/3 cup water in a medium saucepan until 241-245 F (ball stage).
- Whisk the bloomed gelatin in a stand mixer fit with a whisk attachment, then slowly drizzle in the hot syrup, be careful, and whip until thickened and lighter.
- Then add 1/2 teaspoon pandan extract and 1 teaspoon matcha and 1 teaspoon to tablespoon red miso and whip again until thickened and ribbons can form in the batter.
- Transfer to a parchment lined small baking dish and let it set for at least 1 hour.
- Before it sets, add freeze-dried strawbs and dust with coconut shreds if desired.
- Before cutting, dust with powdered sugar.
Notes
I’m a doctor of physical therapy and have taken a course with Harvard University (health and nutrition) and gelatin is what I’m referring to as edible skin care. Also, marshmallow root is apparently gut friendly and healing 🥰
Recipe from: instagram.com, saved in Lucy's cookbook.
Mbakbaka (مبكبكه)
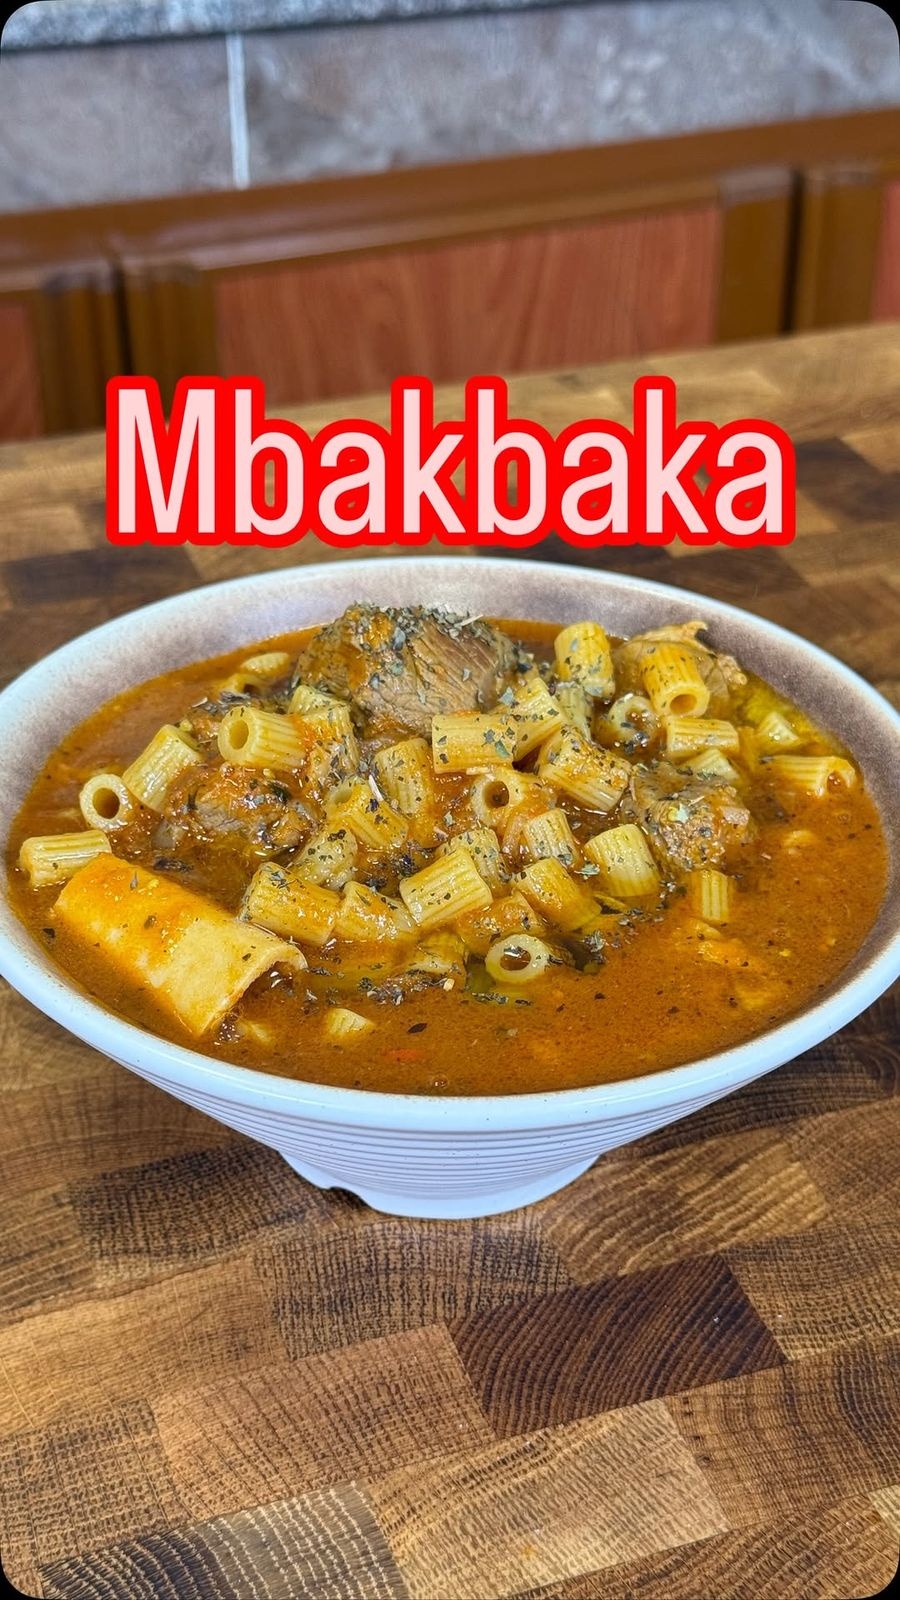
Mbakbaka (مبكبكه) @ndcmuscat
Ingredients
- 1 onion
- 4 cloves of garlic
- 4 chilies, optional
- 1 kg meat, of your choice
- 4 tomatoes, blended
- 2 tbsps tomato paste
- 1 salt & pepper
- 1 tsp turmeric
- 1 tbsp dried basil
- 5 tbsps olive oil
- 3 cups ditalini pasta, 2-3
Directions
- start by frying the onion in the olive oil then add the meat with all the spices and tomato paste.
- once aromatic add the 4 blended tomatoes with a cup of water and let it simmer on medium heat till the meat is tender. For about 40 minutes.
- add the pasta with 2 cups of water and let the pasta cook if you find it too thick you can adjust it with water till you reach the consistency you prefer.
Recipe from: instagram.com, saved in Lucy's cookbook.
Meatloaf Muffins
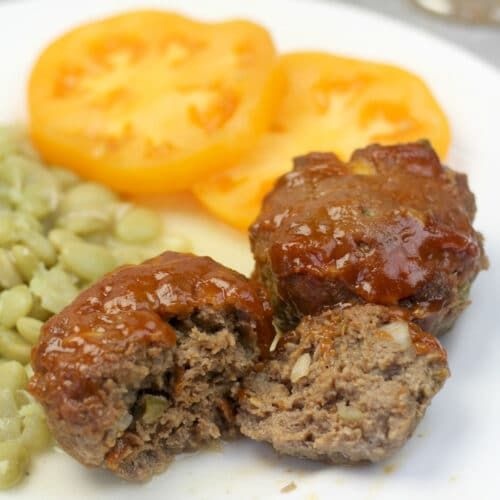
Our incredible meatloaf muffins are the answer to your dinnertime dilemma! This recipe is packed with tips to ensure your mini-meatloaves are moist and delicious every single time. Plus, we’ve got a secret weapon: a zesty brown sugar glaze that adds a burst of flavor you won’t find in other recipes. Skip the mess, not the flavor!
Ingredients
- 1 lb ground chuck
- 1 lb lean ground beef
- 1 cup finely chopped onion
- ½ cup finely chopped green pepper
- 2 eggs
- 1 cup bread crumbs
- 1 tbsp Worcestershire sauce
- ½ cup ketchup
- 1 tsp salt
- 1 tsp pepper
- Sauce:
- ½ cup ketchup
- 3 tbsp brown sugar
- 2 tsp yellow mustard
Directions
- Preheat oven to 350°. Lightly spray two 12-cup muffin pans with cooking oil.
- Mix meats and other ingredients (except for the sauce ingredients) gently in a large bowl. You can saute the onions and green pepper in a little olive oil first if you want them to be completely tender. Place meatloaf mixture in muffin cups, mounding slightly above each cup. This recipe should fill about 18 muffin cups.
- Place meatloaf in oven and bake for 25 minutes. While meatloaf is cooking, mix the sauce ingredients. After 25 minutes, remove muffin pans from oven and spread sauce on the top of each meatloaf muffin.
- Bake for another 10 minutes and then remove from oven and let rest for fifteen minutes.
Notes
Tips for Making the Best Meatloaf Muffins: Don’t mix too much or the meatloaf will be tough, but do mix well enough to blend everything. Use an ice-cream scoop and put a heaping scoop in each muffin cup. Tips for Freezing Muffin Tin Meatloaf Place the meatloaf muffins on a baking sheet overnight in the freezer. The next day, put the frozen muffins in a bag and store in the freezer. This method keeps most of the sauce on the meatloaf. You’ll lose a little bit to the bag but not much. And it’s easy to make a little more sauce when you thaw out your meatloaf muffins anyway!
Nutrition (per serving)
Serving Size: 9 · Calories: 315 · Saturated fat: 5 · Carbs: 22 · Sugar: 11 · Fiber: 1 · Protein: 22 · Sodium: 702 · Cholesterol: 103
Recipe from: southernfoodandfun.com, saved in Lucy's cookbook.
Mexican Pizza {Taco Bell Copycat}

So I decided to give one of my family’s favorite menu items from the Taco Bell menu a try at home – Mexican Pizza {Taco Bell Copycat}. The result – my 3 guys were thrilled and my tummy was happy! Everyone enjoyed them!
Ingredients
- 1 lb ground beef
- 1 pkg taco seasoning
- 2 tbsp water
- 8 small fajita sized flour tortillas
- 1 cooking oil
- 1 16 oz can refried beans, warmed
- 1 cup shredded cheese I used a Mexican blend
- ¼ cup chopped tomato
- ¼ cup chopped green onion
- 1 sour cream
Directions
- Preheat oven to 400 degrees.
- Brown beef in a skillet until fully cooked. Drain off any grease.
- Add taco seasoning and water to beef and cook for a few minutes. Set aside.
- Brush both sides of the tortillas with oil and place on a baking sheet.
- Bake tortillas for 2 minutes at 400 degrees. Turn tortillas and bake for 2 more minutes.
- Spread beans over 4 of the baked tortillas followed by the prepared ground beef. Top each with one of the remaining tortillas. Then top each with 1/4 cup of the shredded cheese followed by tomatoes and green onions.
- Place under the broiler until the cheese is melted.
- Slice each pizza into 4 slices and top with a spoonful of sour cream to serve. Serves 4.
Recipe from: realmomkitchen.com, saved in Lucy's cookbook.
Mexican Shepherd’s Pie
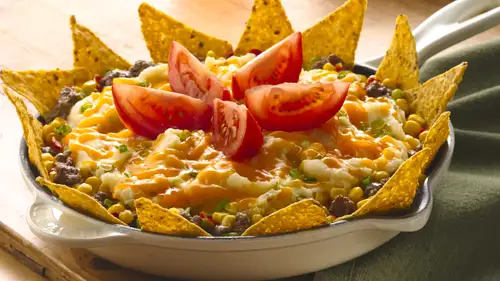
You're only 30 minutes away from a fiesta of flavors in an easy ground beef, skillet dinner!
Ingredients
- 1 lb extra lean ground beef, at least 93%
- ½ cup sliced green onions
- 1 cup thick & chunky salsa
- 1 ½ teaspoons chili powder
- ¾ teaspoon cumin
- 1 can corn, drained, 11 oz
- 1 pouch Betty Crocker™ loaded mashed potatoes, 4.7 oz
- 1 Water, milk and butter called for on potatoes pouch
- ½ cup shredded Cheddar cheese, 2 oz
- 1 medium tomato, sliced into thin wedges
- 1 Tortilla chips, if desired
Directions
- In 10-inch skillet, cook ground beef and 1/4 cup of the green onions over medium-high heat 5 to 7 minutes, stirring occasionally until beef is thoroughly cooked; drain. Stir in salsa, chili powder and cumin. Spoon corn evenly over beef mixture in skillet. Cover and cook over low heat until mixture is thoroughly heated.
- Meanwhile, make potatoes as directed on pouch, using water, milk and butter.
- Spoon potatoes over corn in skillet; spread evenly. Sprinkle with cheese and remaining 1/4 cup green onions. Cover; cook over low heat about 5 minutes or until cheese is melted. Arrange tomato wedges in spoke fashion over potatoes. Garnish with tortilla chips around outside edge of skillet.
Nutrition (per serving)
Serving Size: 1 · Calories: 610 · Fat: 23 · Saturated fat: 11 · Trans fat: 0.5 · Unsaturated fat: 8 · Carbs: 68 · Sugar: 4 · Fiber: 4 · Protein: 33 · Sodium: 1620 · Cholesterol: 100
Recipe from: bettycrocker.com, saved in Lucy's cookbook.
Mexican Street Corn Dip
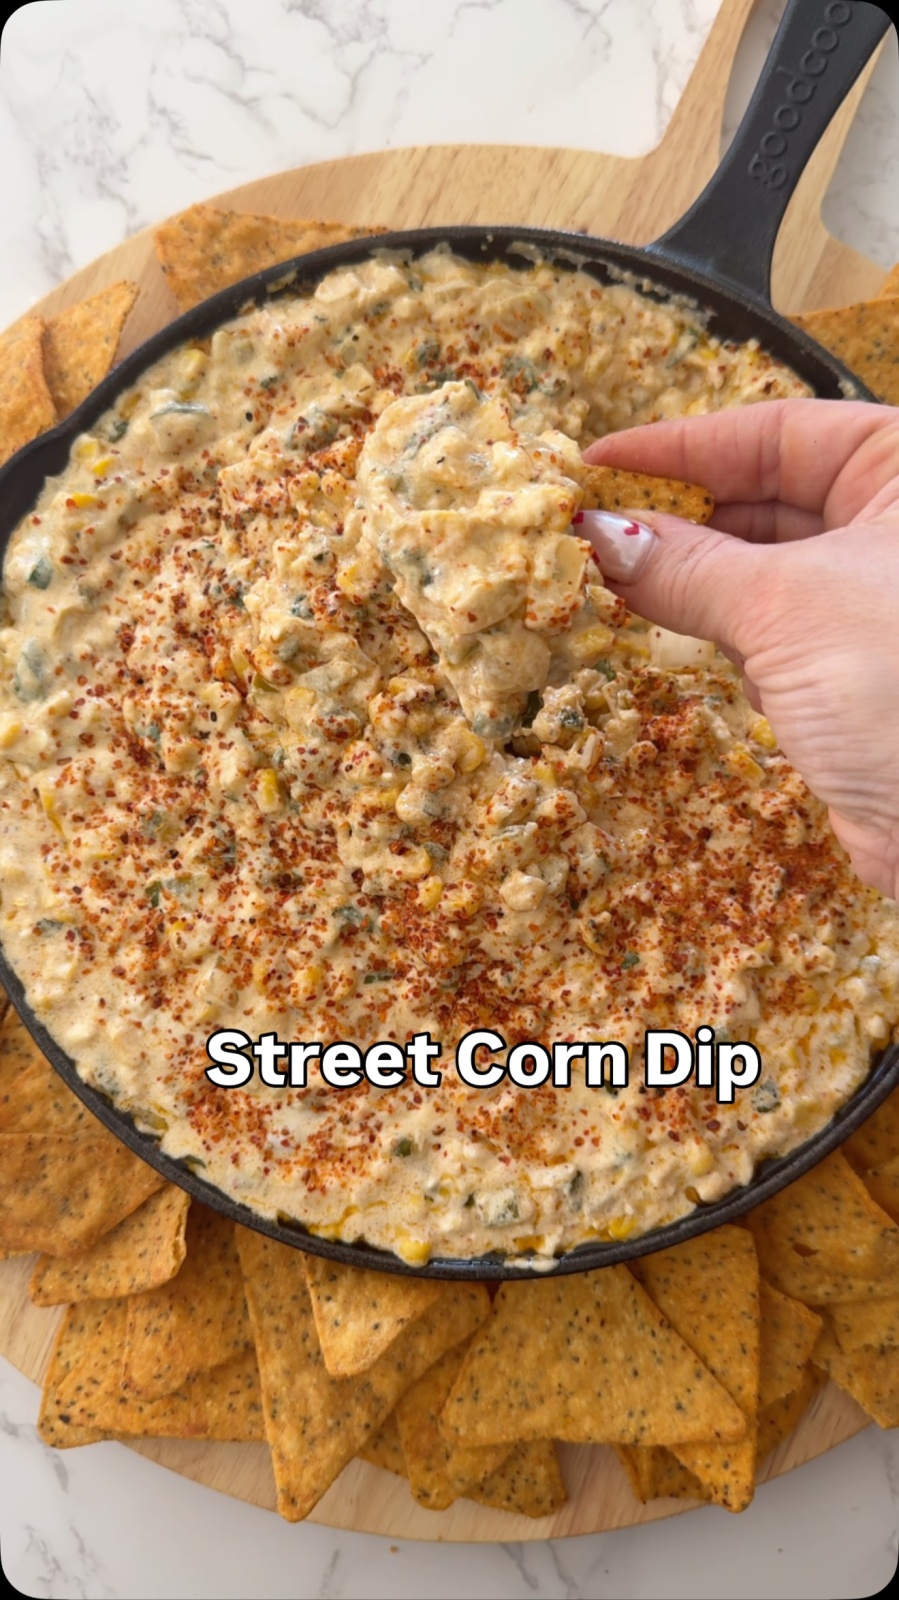
A creamy, cheesy, and slightly spicy Mexican Street Corn Dip, perfect for game day appetizers.
Ingredients
- 2 tbsp oil
- ½ onion, diced
- 1 2–3 jalapeños, diced
- 2 cups corn, canned or frozen
- ⅓ cup diced green chiles
- 2 tbsp taco seasoning
- 8 oz cream cheese, room temperature
- 1 cup sour cream
- ½ cup mayonnaise
- 1 ½ cups shredded Mexican cheese
- ½ cup cotija cheese
- 4 tbsp chopped cilantro
- 1 cup diced green onions
- Tajín, to taste
- 1 Juice of 1/2 lime
- Tortilla chips, for serving
Directions
- Heat the oil in a pan and sauté the onion until softened.
- Add the jalapeños and cook for another few minutes.
- Stir in the taco seasoning, then add the corn and green chiles.
- Add the cream cheese, sour cream, and mayonnaise and stir until everything is melted and creamy.
- Mix in the shredded Mexican cheese until smooth, then season with Tajín.
- Stir in the cotija, cilantro, and green onions.
- Finish with fresh lime juice and a little extra Tajín on top.
- Serve warm with tortilla chips.
Recipe from: instagram.com, saved in Lucy's cookbook.
Microwave Garlic Butter Mac
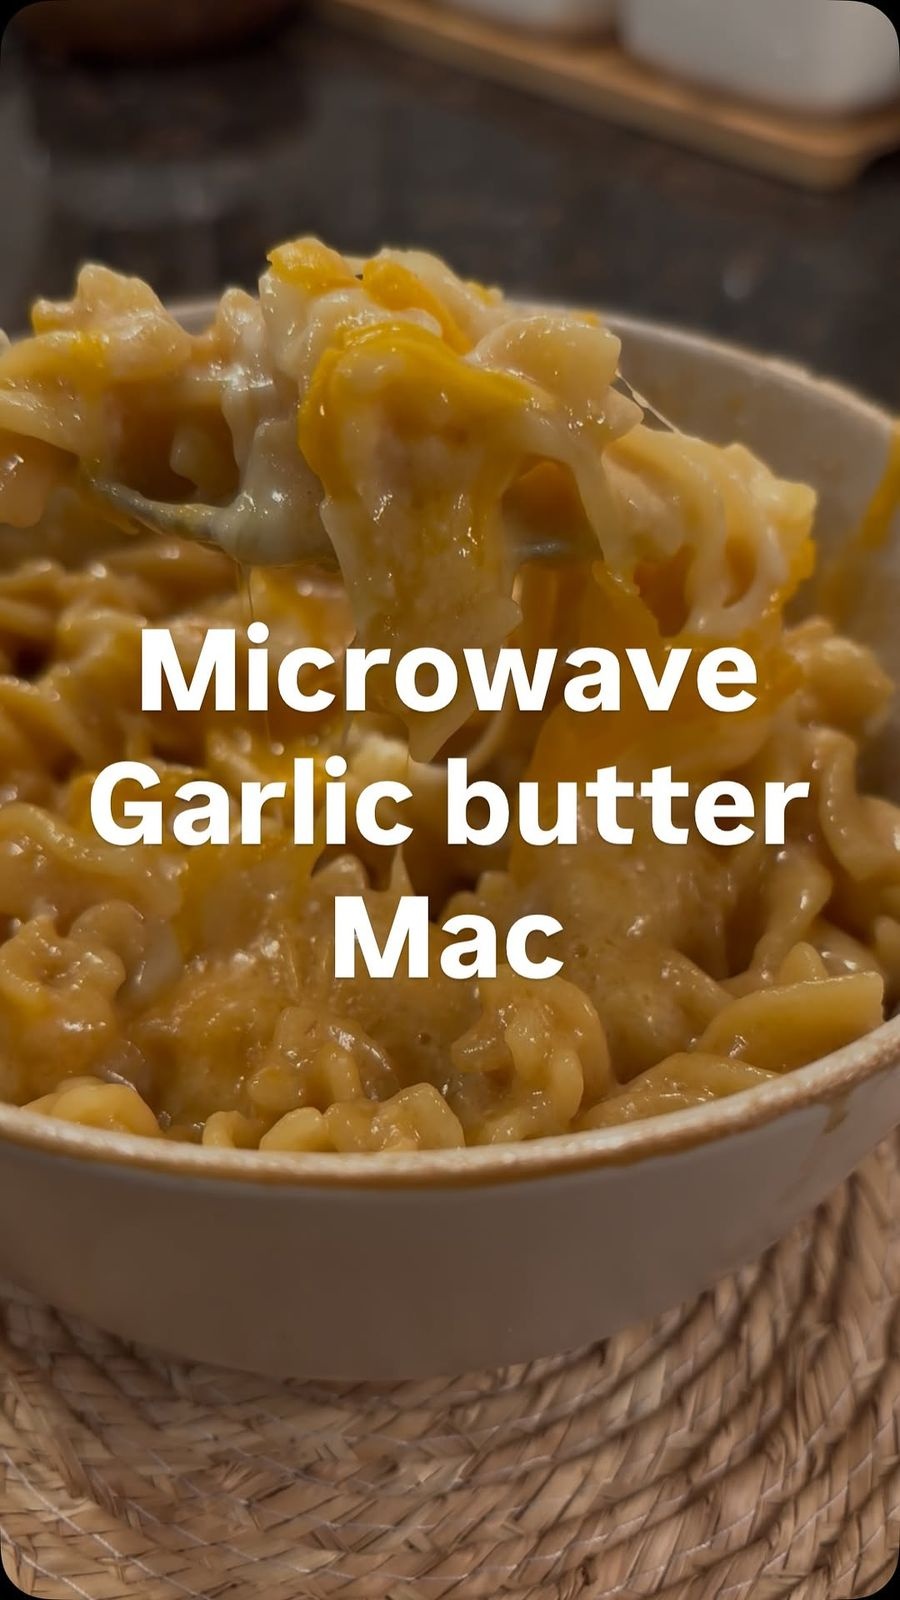
Microwave Mac & Cheese but… upgraded ✨ The garlic + butter + bone broth combo = an actual flavor bomb, and you still get it done in minutes. 🧄 Garlic for big flavor 🧈 Butter for richness 🧀 Cream cheese for ultra creaminess 🍖 Bone broth for protein + minerals 🔥 Microwave-friendly for busy days
Ingredients
- 1 pasta
- 1 bone broth
- 1 minced garlic, I use a frozen cube
- 1 tsp butter
- 2 tbsp cream cheese
- 2 tbsp milk
- 1 Loads of cheese
Directions
- Cover pasta with bone broth (protein + minerals)
- Microwave per box instructions
- Drain extra broth
- Mix in:
- minced garlic (I use a frozen cube)
- tsp butter
- tbsp cream cheese
- tbsp milk
- Loads of cheese
- Microwave 1 more minute or until melty.
- Stir → creamy, garlicky heaven 💛
Recipe from: instagram.com, saved in Lucy's cookbook.
Milk Tea
Ingredients
- ½ Milk / Half Sweet Tea
Directions
From Lucy's own cookbook collection.
MINI GRILLED CHEESE BITES!
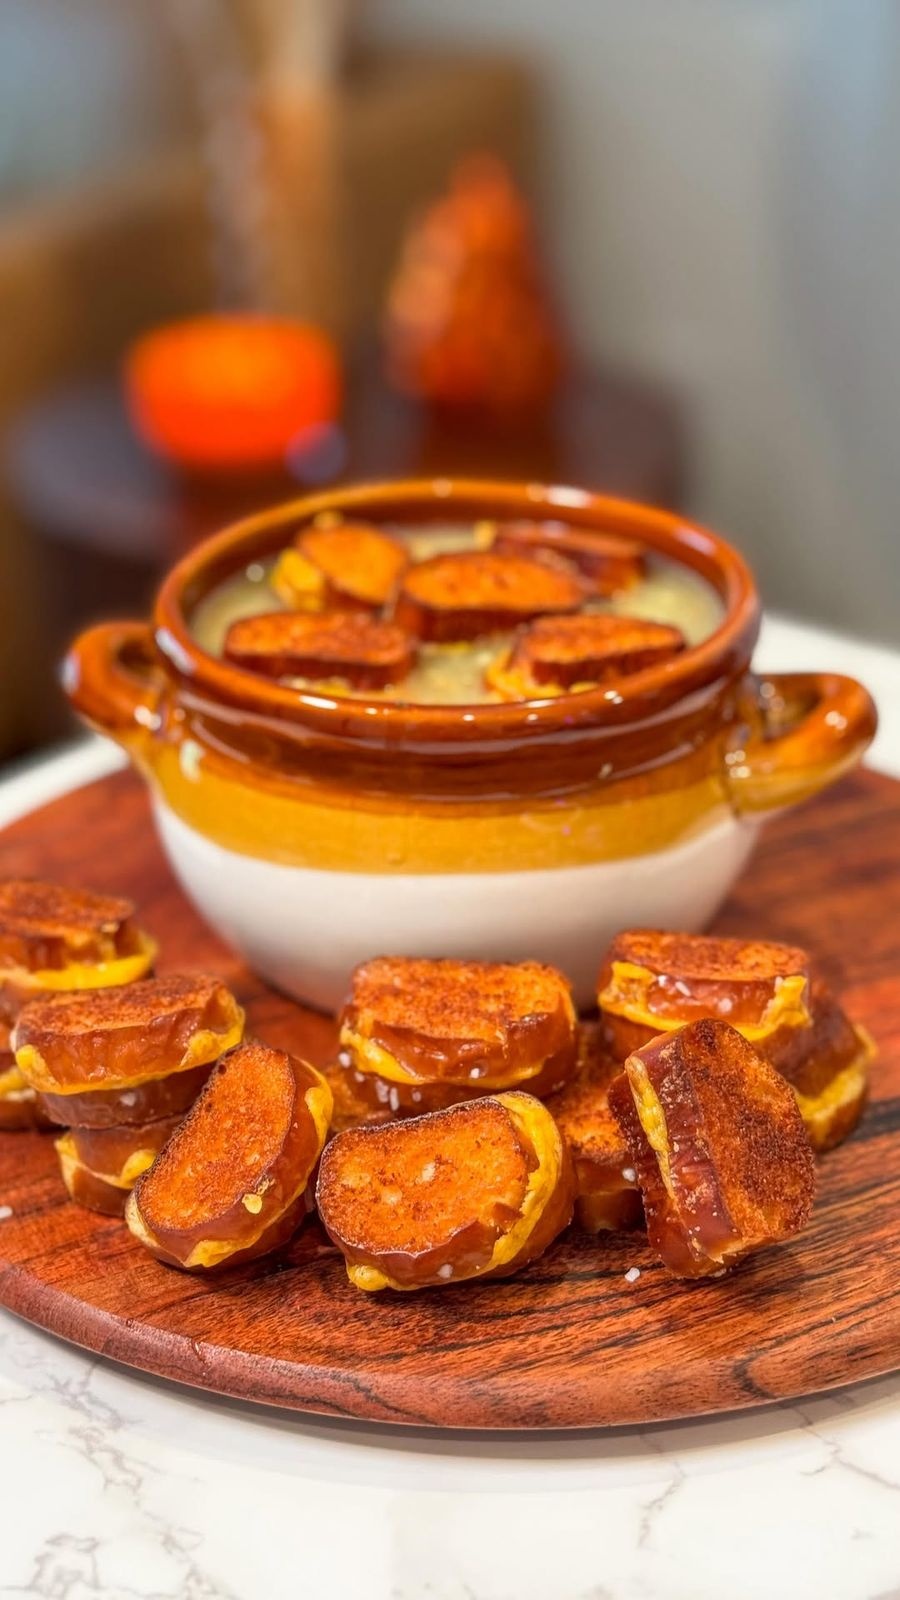
🧀 MINI GRILLED CHEESE BITES!
Ingredients
- 1 King’s Hawaiian Soft Pretzel Bites
- 2 tbsp melted butter
- 1 tsp garlic powder
- 1 Sliced cheddar cheese
Directions
- Cut King’s Hawaiian Soft Pretzel Bites into 3-4 slices (each)
- Assemble mini grilled cheese bites on a baking sheet (brush garlic butter on the sliced pretzel bites)
- Bake at 350 for 10minutes, then flip and bake an additional 5 minutes (or until cheese is melted)
- Enjoy with soup
Notes
this is so much safer than baby fever
Recipe from: instagram.com, saved in Lucy's cookbook.
Mini Tuna Rice Cups
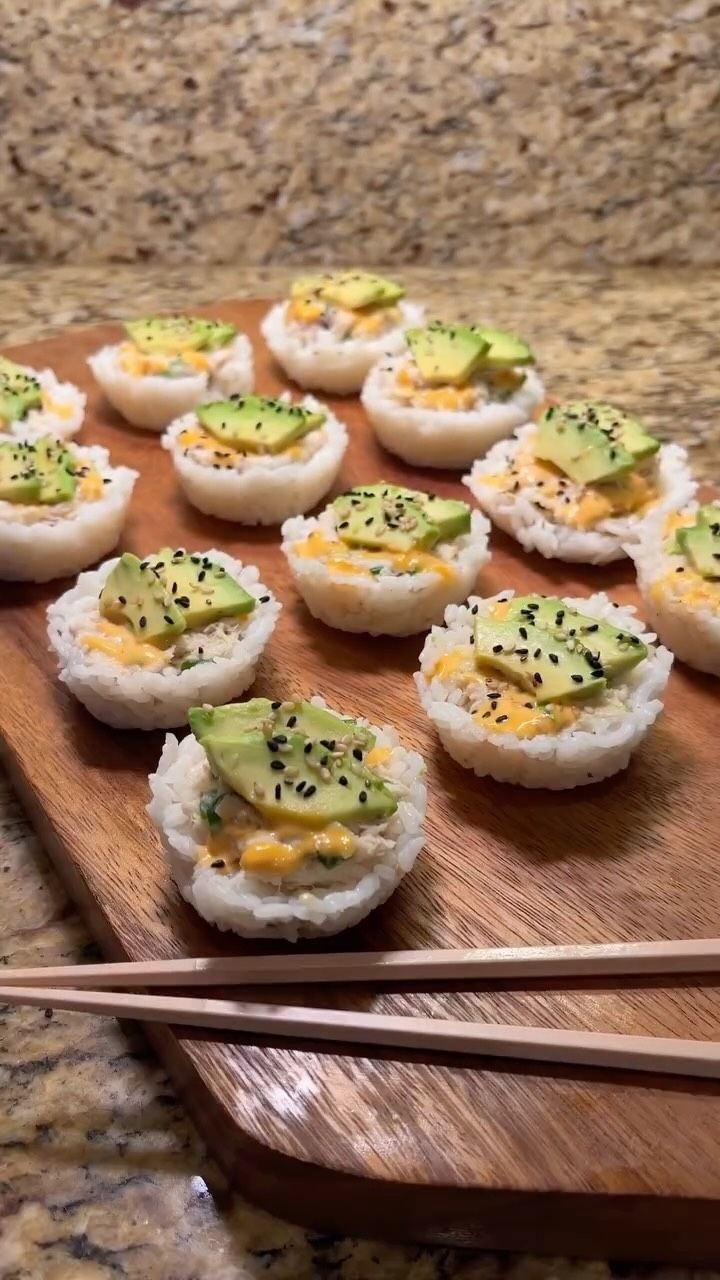
Mini Tuna Rice Cups 🍣🥢
Ingredients
- 1 Cooked sushi rice, enough to fill a cupcake pan
- 1 Small avocado slices
- 1 Sriracha sauce
- 1 Black and/or white sesame seeds
- Tuna salad (classic):
- 1 can tuna, drained
- 2 tbsp mayo
- 1 tsp lemon juice
- 1 tbsp finely chopped celery or onion, optional
- Salt & pepper to taste
Directions
Notes
@nouhaalkhatib11 🫶🫶
Recipe from: instagram.com, saved in Lucy's cookbook.
My Favorite Skillet Corn
Southern Skillet Corn – my all-time favorite corn! I could eat the whole pan myself – SOOO good!!! Corn, salt, pepper, sugar, butter, water, flour and milk. Ready in 20 minutes. Great for all the yummy sweet summer corn!
Ingredients
- 3 cups corn kernels, cut fresh from cob, can use frozen
- ½ tsp salt
- ¼ tsp pepper
- 1 Tbsp sugar
- ¼ cup butter
- ½ cup water
- 1 Tbsp all-purpose flour
- ¼ cup milk
Directions
- Combine corn, salt, pepper, sugar, butter and water in a 10-inch skillet. Cover and simmer 15 minutes on medium heat, stirring occasionally.
- Combine flour with milk, blending until smooth. Stir into corn.
- Cook five more minutes, stirring constantly.
Recipe from: plainchicken.com, saved in Lucy's cookbook.
my mexican restaurant queso dip… at home
it’s dangerously easy and tastes like the good kind of bad decision
Ingredients
- 1 lb white american cheese, from the deli
- 2 cans diced green chilies
- 1 cup milk
- 1 stick butter
Directions
- add everything to a pot and heat on low, stirring until smooth and creamy
- serve with chips… or honestly just grab a spoon and don’t overthink it
Recipe from: instagram.com, saved in Lucy's cookbook.
Navajo Tacos
It's fair time and that means time to enjoy your favorite fried foods! One of my all time favorite fair foods is Navajo tacos, also called Indian tacos. I realize many people have probably never heard of Navajo tacos. It's a unique dish to my area and a local favorite. Usually when you order one of these tacos, the fry bread is as big as the plate and its almost impossible to eat the whole thing. It also comes with a healthy serving of red or green chili. The secret to these tacos is the fry bread. It's basically fried dough. And its good. You can eat the fry bread plain or add honey much like a sopapilla or enjoy it with a dusting of powdered sugar, but I like my fry bread served with the taco toppings. Do you have a favorite fair food such as candy apples, cotton candy, or funnel cake? I like them all! If you'd like to try Navajo tacos, just use the recipe below.
Ingredients
- 1 Fry Bread
- 1 ¼ cup flour
- 1 ½ teaspoon baking powder
- ½ teaspoon salt
- ½ cup milk
- 2 cups vegetable oil for frying
- 1 Chili
- 1 pund ground beef
- 1 can kidney beans, rinsed, 15 oz.
- 1 packet low salt taco seasoning mix, 1.5 oz, or make your own with this homemade taco seasoning mix
- ¾ cup water
- 4 tablespoons tomato paste
- Toppings:
- 1 cheddar cheese, shredded
- 1 lettuce, chopped
- 1 onions, diced
- 1 tomatoes, diced
Directions
- Mix flour, baking powder, and salt in a mixing bowl. Add milk. Mix together to form dough. Kneed on lightly floured surface for five minutes or until smooth ball forms. Let dough rest.
- Brown beef in skillet. Drain. Add taco seasoning and water to skillet and stir into the beef. Cover and simmer on low heat about 10 minutes. Add drained kidney beans and tomato paste. Stir well. Keep covered on low heat stirring occasionally
- Cut ball of dough in half. With hands or rolling pin, flatten the dough. It should look like pizza dough and be about 1/2 inch thick.
- In separate skillet, heat vegetable oil. Gently place flattened dough one at a time into the hot oil. Cook dough for about one minute or until it just begins to turn golden brown. Using tongs, turn the dough over and cook the other side 30 seconds to a minute. Place on paper towels to drain excess oil.
- While fry bread is hot, top with warm chili, cheese, lettuce, onions, and tomatoes.
Recipe from: thepinjunkie.com, saved in Lucy's cookbook.
No. 175 Lizzie’s Bean and Cheese Burritos
Ingredients
- 1 tablespoon olive oil
- 1 small yellow onion, diced
- 1 jalapeño, seeded and minced
- 2 cloves garlic, minced
- 1 teaspoon ground cumin
- 1 teaspoon chili powder
- 1 can pinto beans, drained and rinsed, 15-ounce
- 1 cup vegetable broth
- 1 teaspoon kosher salt
- ½ teaspoon black pepper
- 4 large flour tortillas
- 1 cup shredded Monterey Jack cheese
- Optional toppings: sour cream, hot sauce, cilantro, avocado
Directions
- Heat the olive oil in a large skillet or pot over medium heat. Add the onion and jalapeño and cook until softened, about 5-7 minutes.
- Add the garlic, cumin, and chili powder and cook for 1 minute more, until fragrant.
- Add the pinto beans and vegetable broth. Bring the mixture to a simmer and cook for 5 minutes, until the liquid has reduced slightly. Use a potato masher or the back of a fork to mash the beans until mostly smooth. Season with salt and pepper.
- Lay the tortillas on a clean surface. Divide the bean mixture evenly among the tortillas, spreading it in a line down the center of each. Top with the shredded cheese.
- Fold in the sides of each tortilla, then roll them up tightly from the bottom. If desired, you can pan-fry the burritos for a few minutes per side until golden brown and crispy.
- Serve immediately with your favorite toppings.
Recipe from: open.substack.com, saved in Lucy's cookbook.
One pot Honey Mustard Chicken and Rice
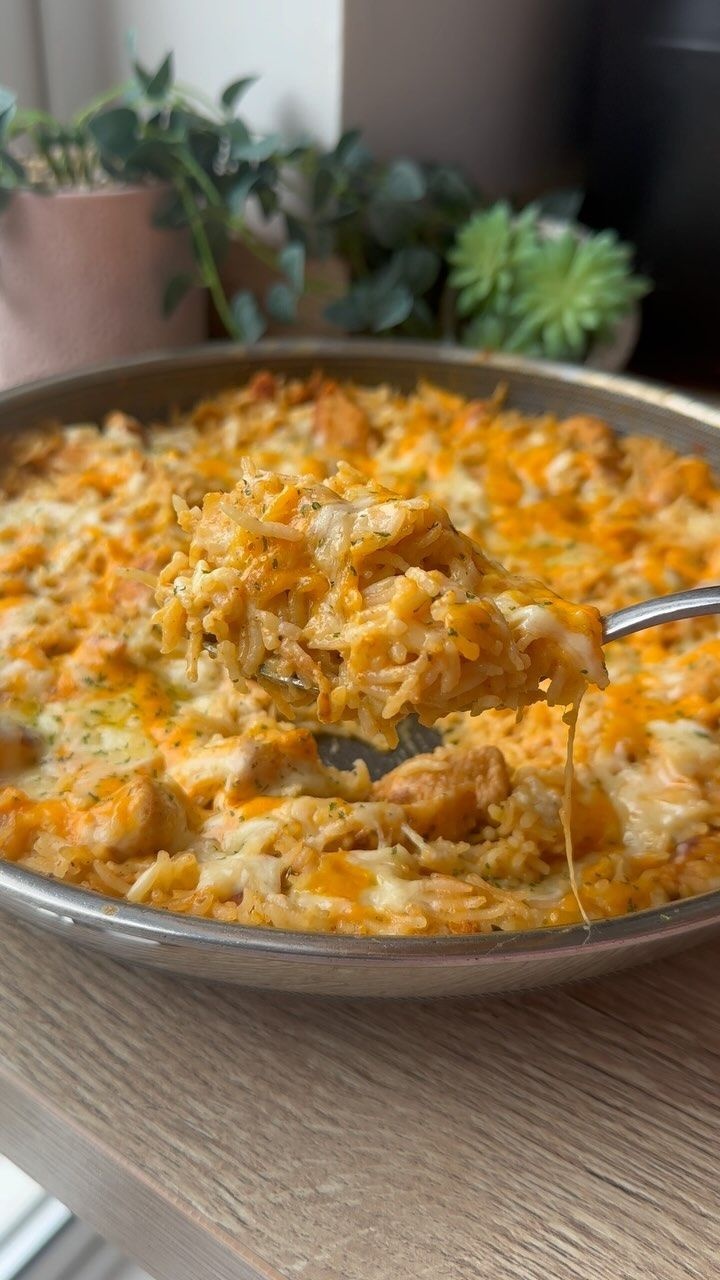
15 days of quick and easy comfort food Episode 1. One pot Honey Mustard Chicken and Rice
Ingredients
- 500 g chicken, diced
- 1 tbs chicken seasoning
- Salt and pepper - to taste
- 1 onion, finely diced
- 2 cloves garlic, finely grated
- 2 tbs mustard - either dijon or English
- 1 tbs Honey
- 300 ml chicken stock
- 120 ml @elmlea_ukie light single cream
- 500 g of cooked rice- I used microwave rice
- 120 g cheese- I use a mix of cheddar, Red Leicester and mozzarella.
- Parsley to garnish
Directions
- Fry off the chicken and the seasoning and cook for around 5 minutes or until browned.
- Add your onions into the same pan and cook until they’re soft, then add the garlic.
- Cook that for around 30 seconds before adding the mustard, honey, stock and cream.
- Cook for a couple of minutes and then add in the cooked rice.
- Season to taste and sprinkle on the cheese, pop it under the grill until bubbling and golden.
- Garnish, Serve and enjoy.
Notes
You could make it less calories/syns by swapping the cream for stock or another alternative but I love the creaminess of it.
Nutrition (per serving)
Calories: 557 · Protein: 51.5
Recipe from: instagram.com, saved in Lucy's cookbook.
One-Pot Recipe: Hearty Chicken and Biscuit Casserole
This dish is the epitome of comfort food for us. There’s nothing better than a hearty chicken dish where your biscuits are built in and you get some with every bite! We initially assumed a meal like this would be complicated and messy, but not with this recipe: it’s basically a one-pot wonder, using only your Dutch oven (or casserole dish) and the assistance of your trusty food processor or mixer to create a full dinner with meat, veggies and a side. We’re looking out for you (as always) in trying to find ways to cut down the prep time and effort, that’s why we use rotisserie chicken here that deliver on flavor and don’t take away from the other ingredients. This dish is a crowd-pleaser and you won’t be disappointed; it comes together easily, and then you can kick back and relax while the oven works its magic!
Ingredients
- Chicken:
- 3 cups rotisserie chicken, cubed
- 1 large carrot, chopped
- 1 cup frozen baby peas, thawed and drained
- 2 ½ cups low-sodium chicken broth
- 2 tablespoons unsalted butter
- 2 tablespoons Parmesan cheese, grated
- 1 tablespoon all-purpose flour
- salt and pepper, to taste
- Biscuits:
- 4 tablespoons unsalted butter
- 1 ¼ cups all-purpose flour
- ¼ teaspoon salt
- 1 ½ teaspoon baking powder
- ½ cup whole milk
Directions
- Preheat oven to 375º F.
- In a large Dutch oven over medium(-high) heat, melt butter and saute carrots until soft. About 8 minutes.
- Add 1/2 cup of chicken broth and stir until it’s almost evaporated. Then add flour and the rest of broth. Stir mixture and bring to a boil.
- Season with salt and pepper, and reduce heat to low, simmering until thickened. 3 minutes. Add chicken, peas and Parmesan, and stir to coat thoroughly with sauce.
- In a food processor, pulse together flour, butter, salt and baking powder.
- Slowly pour milk into mixture and pulse until a soft dough forms.
- Using a spoon, scoop dough balls and evenly cover the top of chicken with biscuit mixture.
- Bake uncovered for 30-40 minutes, or until biscuits are golden brown.
- Remove from oven and let cool for 10 minutes before serving.
Recipe from: 12tomatoes.com, saved in Lucy's cookbook.
One-Pot Skillet Pasta (Lazy Lasagna / Lasagna Soup)
This is a quick and simple makeshift lasagna without the noodles, perfect for busy parents. It's a one-pot skillet pasta that's toddler approved and can be made gluten-free with brown rice noodles.
Ingredients
- 1 diced onion
- 1 olive oil
- 4 cloves of minced garlic
- 1 pound of ground beef
- Italian seasoning
- 1 salt
- 1 pepper
- 28 oz jar of pasta sauce
- 3 cups of chicken broth, 2-3
- 1 pasta, brown rice noodles for GF
- ½ a tub of ricotta
- 1 shredded mozzarella
- 1 fresh basil
Directions
- Sauté diced onion in olive oil over medium heat until it turns soft and translucent, 5-7 minutes.
- Add 4 cloves of minced garlic and cook just until fragrant, about 1 minute.
- Stir in a pound of ground beef + cook until browned and no longer pink, breaking it apart as it cooks.
- Season generously with Italian seasoning, salt, and pepper.
- Pour in your favorite 28oz jar of pasta sauce along with 2-3 cups of chicken broth, then add your favorite pasta straight into the pot.
- Stir, bring to a boil, then cover and reduce the heat to low. Let it simmer until the pasta is cooked through and the sauce thickens…add more chicken stock if needed.
- Once everything’s cooked through, stir in half a tub of ricotta.
- Top with a shredded mozzarella and finish with fresh basil.
Notes
Some of this I eyeball, but you get the gist of it. It’s so simple that you really can’t go wrong 🥰
Recipe from: instagram.com, saved in Lucy's cookbook.
One-Pot Spinach Tomato Pasta
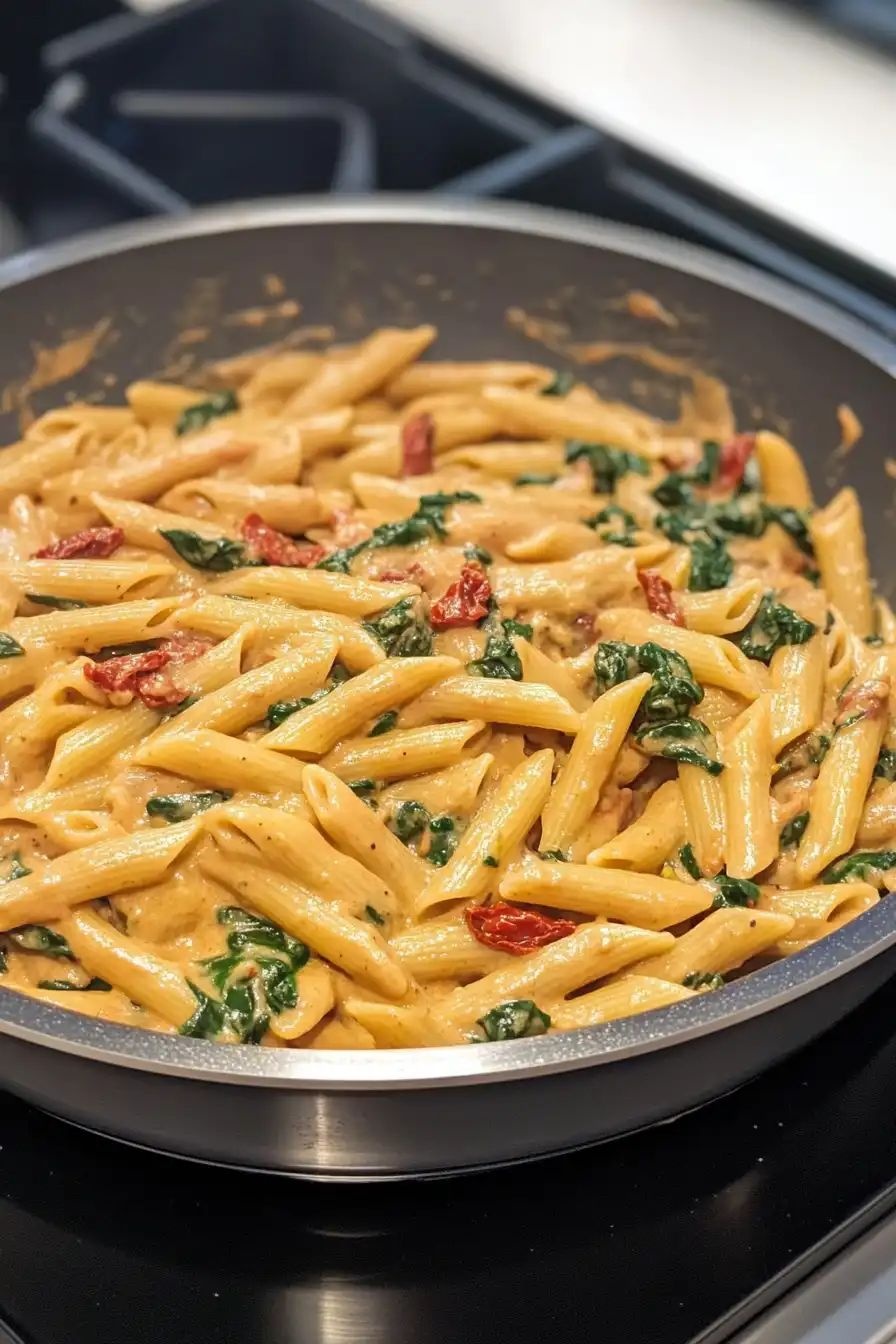
If you ask me, pasta dinners don’t get much better than this. This simple spinach tomato pasta is the kind of meal that just makes sense on busy weeknights. Fresh tomatoes and wilted spinach mix with perfectly cooked pasta, creating a dish that’s both comforting and light. It’s tossed with garlic and olive oil, then finished with a sprinkle of parmesan cheese that melts right into the warm noodles. A handful of fresh basil adds that little something extra that makes it feel special. It’s a no-fuss recipe that works just as well for family dinners as it does for casual get-togethers with friends.
Ingredients
- 14 ounces penne pasta
- 4 cups chicken stock
- 1 medium onion, chopped
- 1 cup heavy whipping cream
- 5 ounces fresh spinach, 4-5
- 1 cup sun-dried tomatoes in olive oil, chopped
- ½ cup freshly shredded parmesan cheese
- 1 tablespoon sun-dried tomato oil
- ⅓ cup tomato paste
- 1 teaspoon red chili flakes
- 5 garlic cloves, minced
- ¼ cup fresh basil
- 1 teaspoon kosher salt
- 1 teaspoon black pepper
Directions
- Sauté the vegetables:
- Heat a pot over medium-high heat and add 1 tablespoon of sun-dried tomato oil.
- Once the oil is warm, add the chopped onion and cook until slightly brown.
- Then, add the minced garlic and sun-dried tomatoes to the pot and cook for 2-3 minutes, stirring frequently to prevent the garlic from burning.
- Stir in the tomato paste and cook for an additional couple of minutes, continuing to stir.
- Build the sauce:
- Slowly add the chicken stock to the pot, mixing it in to deglaze the pan and blend with the tomato paste.
- Once well combined, pour in the heavy whipping cream and mix well.
- Add the black pepper, kosher salt, and red chili flakes, stirring to fully incorporate the seasonings into the sauce.
- Cook the pasta:
- Add the penne pasta to the pot and stir to incorporate it into the sauce.
- Reduce the heat to low-medium and cook uncovered for about 10 minutes, stirring frequently.
- Keep an eye on the pasta to ensure it cooks to about 75% done, checking for the desired texture.
- Add vegetables and complete cooking:
- Add the fresh spinach and basil to the pot, allowing the spinach to wilt down.
- If it seems like the spinach absorbs too much liquid, feel free to add a little more water or chicken stock for consistency.
- Once the spinach has wilted nicely, stir in the freshly shredded parmesan cheese until it is melted and well distributed throughout the dish.
- Finalize and serve:
- Turn off the heat and mix everything together until well combined and creamy.
- Serve the creamy tomato spinach pasta in bowls.
- Optionally, you can add grilled chicken on top for a more substantial meal.
- Enjoy your delicious, creamy pasta dish!
Nutrition (per serving)
Calories: 2100 · Fat: 150 · Carbs: 130 · Protein: 85
Recipe from: mollyshomeguide.com, saved in Lucy's cookbook.
One-Skillet Spicy Honey BBQ Sausage & Pasta
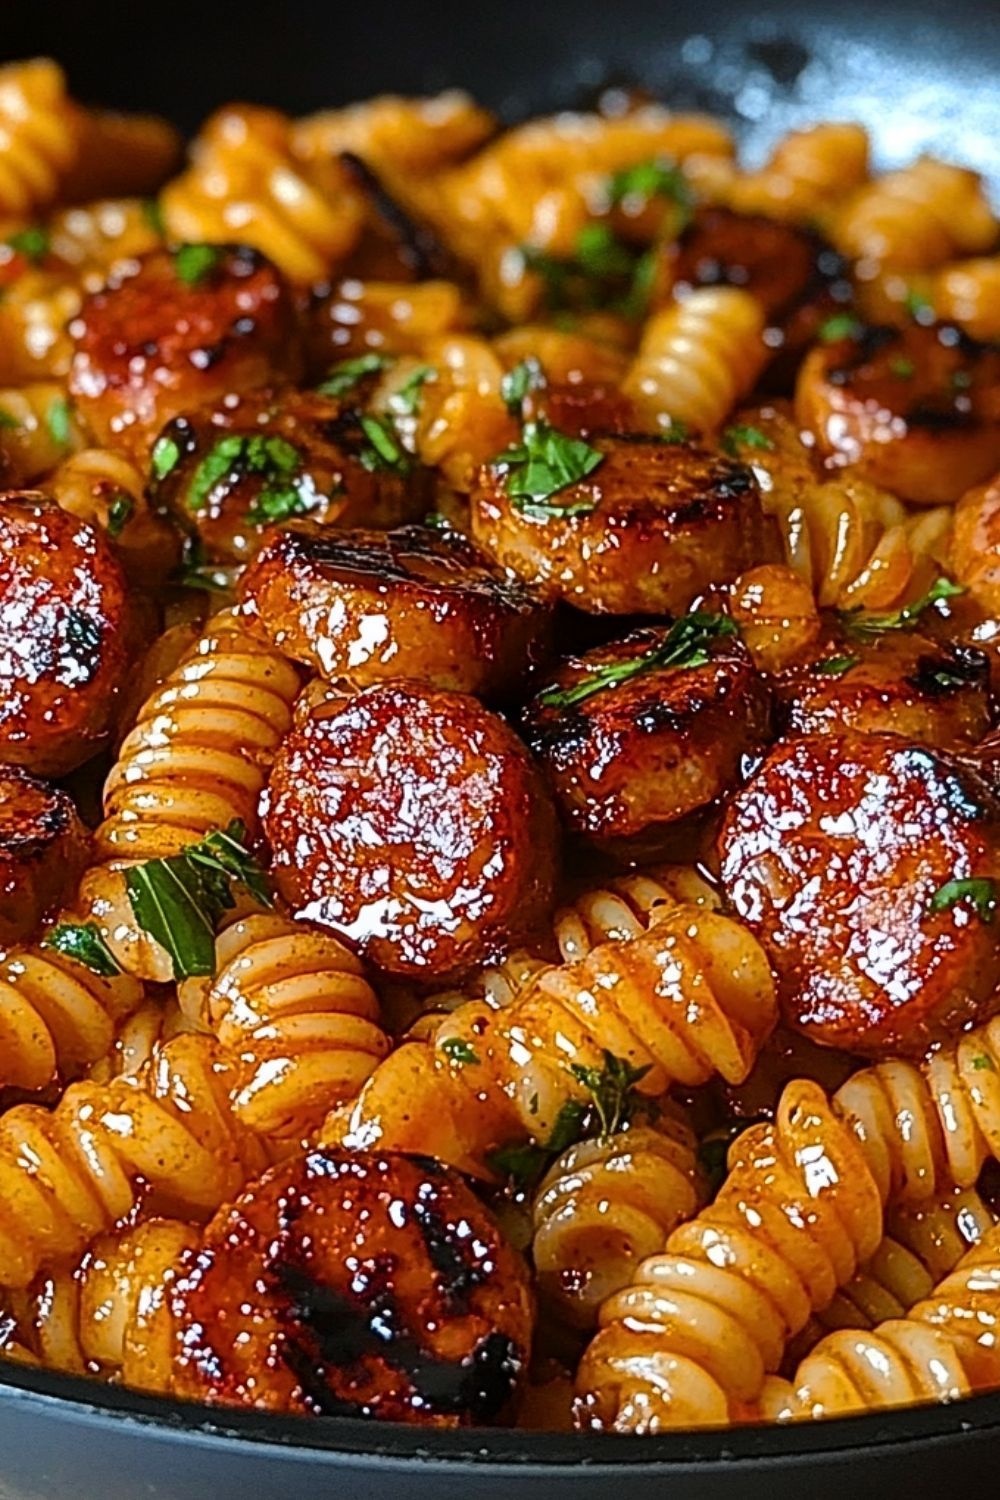
Craving something bold, comforting, and super easy to make? This One-Skillet Spicy Honey BBQ Sausage & Pasta has got you covered. It’s a smoky, sweet, and spicy dish that combines caramelized sausage, tender pasta, and a luscious honey BBQ sauce—all cooked in just one skillet. Perfect for a quick dinner, satisfying lunch, or even meal prep. Whether you love a bit of heat or prefer a milder kick, this recipe is customizable and always delicious. Try this irresistible pasta dish that’s sure to become a family favorite!
Ingredients
- 12 oz Rotini Pasta
- 12 oz Spicy Sausage, sliced, Andouille or Italian
- 1 tbsp Olive Oil
- 3 cloves Garlic, minced
- 1 cup BBQ Sauce, smoky or honey-based
- 2 tbsp Honey
- 1 tsp Paprika
- ½ tsp Chili Powder or Cayenne Pepper, adjust to taste
- Salt & Pepper, to taste
- Fresh Parsley, chopped, for garnish
Directions
- Cook the pasta:
- Bring a large pot of salted water to a boil. Cook the rotini pasta according to package instructions until al dente. Drain and set aside.
- Cook the sausage:
- Heat olive oil in a large skillet over medium-high heat. Add sliced sausage and cook until browned and caramelized, about 5–7 minutes. Remove sausage from skillet and set aside.
- Sauté Garlic: In the same skillet, add a bit more olive oil if needed. Add minced garlic and sauté for about 1 minute, until fragrant and golden.
- Make the sauce:
- Add BBQ sauce, honey, paprika, chili powder, salt, and pepper to the skillet. Stir well and simmer for 2–3 minutes until slightly thickened.
- Combine and toss:
- Return the cooked sausage to the skillet along with the drained pasta. Toss everything until the pasta and sausage are evenly coated.
- Garnish and serve:
- Sprinkle fresh parsley over the top and serve hot. Enjoy!
Notes
Don’t Overcook the Pasta: Slightly undercook it before tossing it in the skillet. It’ll finish cooking in the sauce, absorbing more flavor. Use Smoky BBQ Sauce: Opt for a smoky or honey-based BBQ sauce for the best flavor. Slice Sausage Evenly: Keeping the sausage pieces uniform ensures they cook at the same rate. Adjust Spice Level to Taste: Add or reduce chili powder or cayenne pepper depending on your heat tolerance. Use Fresh Garlic: It makes a noticeable difference in the depth of flavor compared to garlic powder. Finish with Fresh Herbs: A sprinkle of fresh parsley or even chopped chives brightens up the dish. Cook Over Medium-High Heat: It helps caramelize the sausage and thicken the sauce nicely. Serve Immediately: This dish is best enjoyed hot and fresh.
Nutrition (per serving)
Calories: 520 · Fat: 18 · Saturated fat: 6 · Carbs: 65 · Sugar: 18 · Fiber: 4 · Protein: 22 · Sodium: 1280 · Cholesterol: 55
Recipe from: cookcraze.com, saved in Lucy's cookbook.
One-Tray Caramelized Onion & Garlic Pasta 🔥
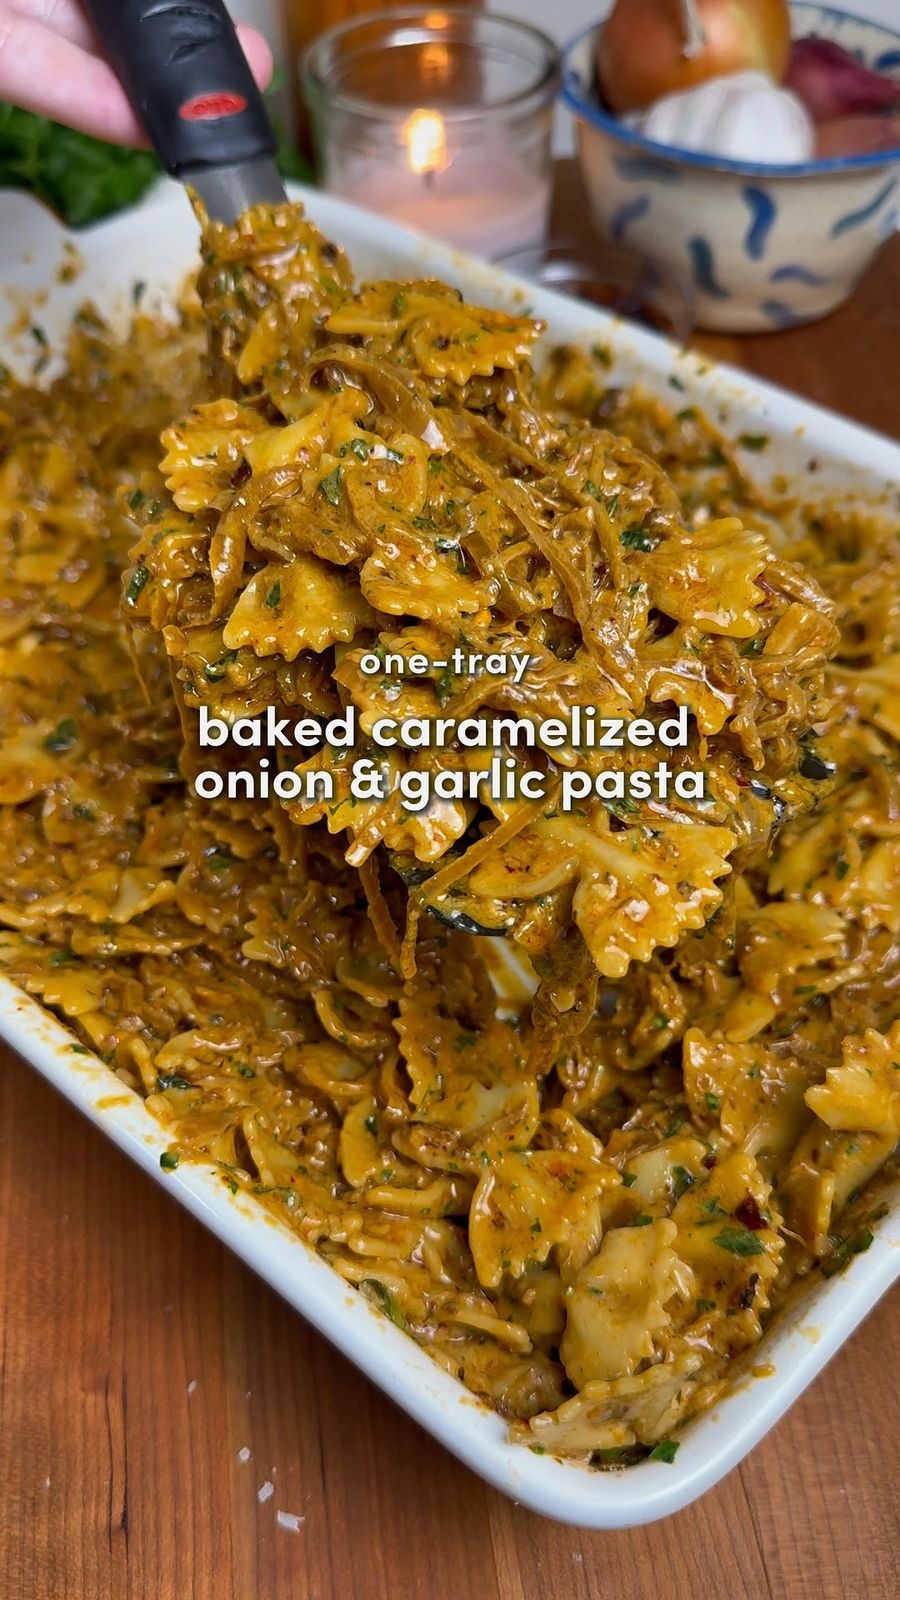
Minimal effort, max comfort. Sweet, savory, a little spicy... this one has all the flavor.
Ingredients
- 2 large onions, thinly sliced
- 1 whole garlic head
- 2 tbsp chili crisp @momofukugoods
- 1 ½ cups of cream or coconut milk, room temp
- 1 tbsp soy sauce, optional
- ½ cup fresh Parmesan cheese, grated
- ½ lemon, juiced
- 12 oz pasta of choice, 340 g
- 5 tbsp olive oil
- 1 Pasta water, as needed
- Seasonings:
- 1 tbsp paprika
- 2 tsp garlic powder
- 2 tsp salt
- 2 tsp pepper
- 2 tsp italian seasoning
Directions
- Preheat oven to 400°F (200°C). Add sliced onions to a baking dish. Toss with paprika, garlic powder, salt, pepper, Italian seasoning, and 4 tbsp olive oil until well coated.
- Slice the top off the garlic head (about ¼ inch), drizzle with 1 tbsp olive oil, sprinkle with salt, and place it cut-side up on top of the onions.
- Cover with foil and bake for 1 hour, tossing the onions every 20 minutes (twice total). Each time, add a splash of water to prevent burning. You’re looking for deep golden, jammy onions.
- While that magic is happening, cook pasta according to package instructions. Reserve up to 1 cup of pasta water before draining.
- Remove garlic from the dish and let cool slightly (freezer hack = elite move). Squeeze the roasted garlic into the onions.
- Add chili crisp, cream (or coconut milk), soy sauce (if using), lemon juice, Parmesan, and cooked pasta. Toss everything together, adding some pasta water as needed until glossy and saucy. Taste and adjust salt if needed.
- Finish with extra Parmesan, chili crisp, and fresh parsley if you’re feeling fancy.
Notes
Best served with with chicken, shrimp, or tofu 🫡
Recipe from: instagram.com, saved in Lucy's cookbook.
Oreo Tres Leches Cake

Ingredients
- 1 Cake
- 1 box Betty Crocker Super Moist white or vanilla cake mix
- 1 Ingredients listed on the box, usually eggs, oil, and water
- 1 cup mini Oreos, crushed, mix into the batter
- Tres leches soak:
- 1 can sweetened condensed milk, 14 oz
- 1 can evaporated milk, 12 oz
- ½ cup heavy cream, or whole milk if you prefer lighter
- Optional:
- 1 tsp vanilla extract
- Topping:
- 1 tub Cool Whip, thawed, 8 oz
- ½ cup crushed Oreos, mix into Cool Whip
- 1 Mini Oreos + extra crushed Oreos for decoration
Directions
- Preheat oven to 350°F (325°F for dark/nonstick pans).
- Prepare cake mix according to the box directions.
- Fold in 1 cup crushed mini Oreos.
- Pour batter into a greased 9×13 inch pan.
- Bake as directed on the box (usually ~30 minutes) or until a toothpick inserted in the center comes out clean.
- Let the cake cool completely.
- Prepare the Tres Leches Mixture. In a medium bowl, whisk together sweetened condensed milk, evaporated milk, heavy cream, and vanilla extract until fully combined.
- Once the cake is cooled, use a fork or skewer to poke holes all over the surface.
- Slowly pour the milk mixture evenly over the entire cake, letting it soak in.
- Cover and refrigerate for at least 4 hours, or overnight for the best texture.
- In a medium bowl, fold ½ cup crushed Oreos into the Cool Whip.
- Spread evenly over the chilled, soaked cake.
- Sprinkle with more crushed Oreos. Add mini Oreos on top for garnish. Keep refrigerated until ready to serve , it’s best served cold!
Notes
Callate mmg
Recipe from: instagram.com, saved in Lucy's cookbook.
Peach Cobbler Dump Cake
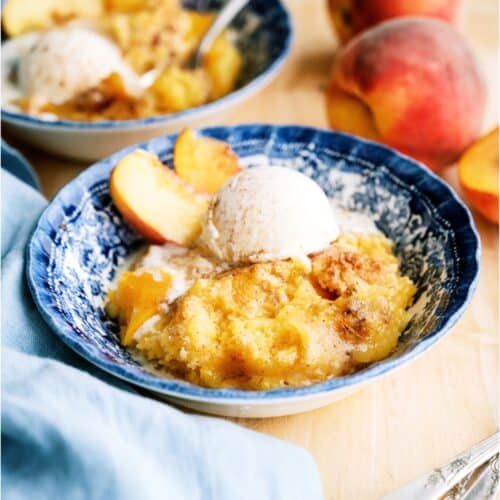
Dump this recipe into a pan and have a warm Peach Cobbler Dump Cake in no time at all, you only need 4 ingredients!
Ingredients
- 32 ounces peaches in heavy syrup, 2 cans, undrained, 16 ounce, you can use fresh peaches, but you'll want to add heavy syrup if you do
- 15 ¼ ounces yellow cake mix, 1 package
- ½ cup butter
- ½ teaspoon ground cinnamon
- 1 quart vanilla ice cream, optional topping
Directions
- Preheat oven to 375℉.
- Empty peaches into the bottom of a 9 x 13 inch baking pan.
- Cover with the dry cake mix and press down firmly.
- Cut butter into small pieces and place on top of cake mix.
- Sprinkle top with cinnamon.
- Bake for 45 minutes.
- Serve with vanilla ice cream, if desired.
Notes
Ice cream is not included in Nutritional information
Nutrition (per serving)
Calories: 339 · Fat: 19 · Saturated fat: 11 · Trans fat: 1 · Carbs: 36 · Sugar: 23 · Fiber: 2 · Protein: 6 · Sodium: 313 · Cholesterol: 81
Recipe from: sixsistersstuff.com, saved in Lucy's cookbook.
Peanut Butter and Jelly Cookie Recipe! (5 Ingredients)
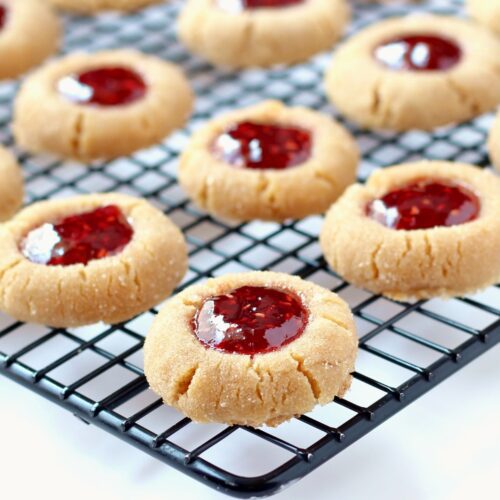
This easy Peanut Butter and Jelly Cookie Recipe serves up your favorite nostalgic flavors… in the form of a cookie! Plus, with just 5 ingredients, they’re SO easy to make!
Ingredients
- 1 cup Jif Creamy Peanut Butter OR this Homemade Peanut Butter Recipe
- ⅓ cup Smucker's Raspberry Preserves
- 1 cup Sugar + 1/4 cup Sugar
- 1 Egg
- 1 tsp Vanilla Extract
Directions
- Mix Peanut Butter, 1 cup Sugar, Egg and Vanilla together in medium sized mixing bowl with large spoon. Stir well.
- Place dough in fridge, and refrigerate dough for 45 minutes – 1 hour.
- While waiting for dough to chill, line cookie sheets with Parchment Paper, and pour 1/4 cup sugar into small bowl and set aside.
- After dough has been chilled, roll into small tablespoon sized balls, then roll around in small sugar bowl.
- Place on parchment lined cookie sheets, approx. 2 inches apart. (Do not flatten dough balls.)
- Bake at 350 degrees for 8 – 10 minutes, or until done.
- Immediately after removing from oven, gently push down in the center of the cookie making an indent with your thumb.
- Allow to cool slightly, then transfer to cooling rack to finish cooling.
- Once cookies have cooled, microwave jam for 30 seconds in a microwave safe dish and stir until consistency softens up a bit.
- Carefully spoon a dollop of jam into the center of each cookie. Once jam sets it's time to ENJOY!
Notes
When storing cookies make sure to store in a single layer. For answers to Frequently Asked Questions or tips for common substitutions and variations, please refer to the detailed information above this recipe card.
Recipe from: thefrugalgirls.com, saved in Lucy's cookbook.
Peanut Butter Blossoms

Peanut Butter Blossoms – sometimes known as Hershey Kiss Cookies or Peanut Butter Kiss Cookies – are the perfect classic holiday cookie to make with kids or bring to a cookie exchange.
Ingredients
- 1 cup shortening
- 1 cup peanut butter
- 1 cup packed brown sugar
- 1 cup granulated sugar plus 1/2 cup for rolling
- 2 eggs
- ¼ cup milk
- 2 teaspoons pure vanilla extract
- 3 ½ cups all-purpose flour
- 2 teaspoons baking soda
- 1 teaspoon fine sea salt
- 18 ounces milk chocolate candy kisses, unwrapped
Directions
- Preheat oven to 375 degrees F. Line two baking sheets with parchment paper.
- In a large bowl, cream together shortening, peanut butter, brown sugar, and 1 cup granulated sugar until smooth. Add in the eggs one at a time, beating until fully incorporated. Mix in milk and vanilla.
- In a large bowl, combine flour, baking soda, and salt. Gradually add to the peanut butter mixture until well blended.
- Shape tablespoonfuls of dough into balls, and roll in remaining granulated sugar. Place cookies 2 inches apart on the prepared baking sheets.
- Bake in preheated oven for 10 to 12 minutes. Remove from oven, and immediately press a chocolate kiss into each cookie. Allow to cool completely; the kiss will harden as it cools.
Notes
This makes a lot of cookies, but it’s perfect for cookie exchange prep or holiday parties. I have not attempted this recipe using butter instead of shortening. Store cookies in an airtight container at room temperature for up to 3 days.
Nutrition (per serving)
Serving Size: 1 · Calories: 83 · Fat: 4 · Saturated fat: 1 · Unsaturated fat: 3 · Carbs: 10 · Sugar: 5 · Protein: 1 · Sodium: 76 · Cholesterol: 6
Recipe from: mybakingaddiction.com, saved in Lucy's cookbook.
Peanut Butter Blossoms (Pampered Chef)
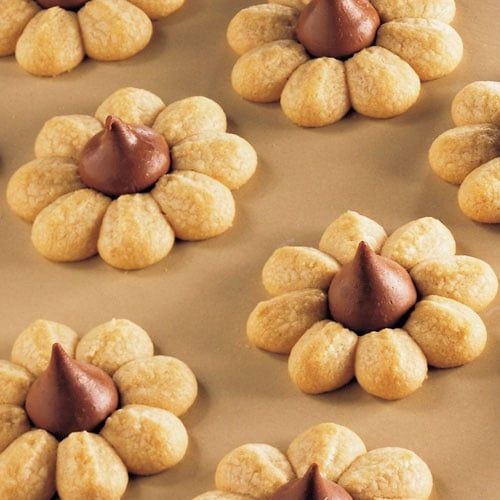
With our Cookie Press and convenient refrigerated dough, cookie making can't get any easier, or more fun!
Ingredients
- 1 package refrigerated sugar cookie dough, 18 ounces/540 g
- ½ cup creamy peanut butter, 125 mL
- 42 milk chocolate candy kisses, unwrapped
Directions
- Preheat oven to 350°F (176°C). Crumble cookie dough into Classic Batter Bowl. Stir in peanut butter until completely blended.
- Fill Cookie Press with dough. Fit press with disk #2 or #6, making sure the number on the disk is facing outward, away from the dough. Press dough onto flat Stoneware Cookie Sheet, 1 inch (2.5cm) apart.
- Bake 10-12 minutes or until light golden brown. Remove from oven and immediately place a candy kiss in the center of each cookie, pressing down firmly. Cool 1–2 minutes on Baking Stone or until chocolate softens but does not melt. Remove cookies to Stackable Cooling Rack. Cool completely. Repeat with remaining dough. Store cookies in tightly covered container.
Notes
Chocolate kisses should be completely set before storing cookies. If you’re in a hurry, once the cookies have cooled, place them in the refrigerator for a few minutes to set the chocolates. Use the Medium Scoop to fill the barrel of the Cookie Press with cookie dough. To begin pressing cookie dough, squeeze lower trigger twice; there will be two clicks. If dough does not begin extruding through the disk, then squeeze twice again. Pull Cookie Press straight up. Re-position cookie press and squeeze trigger once; pull cookie press straight up. Repeat the one squeeze method until Stoneware Cookie Sheet is full.
Nutrition (per serving)
Serving Size: 1 · Calories: 90 · Fat: 4.5 · Saturated fat: 1.5 · Carbs: 10 · Fiber: 0 · Protein: 1 · Sodium: 60 · Cholesterol: 0
Recipe from: pamperedchef.com, saved in Lucy's cookbook.
Peanut Noodles
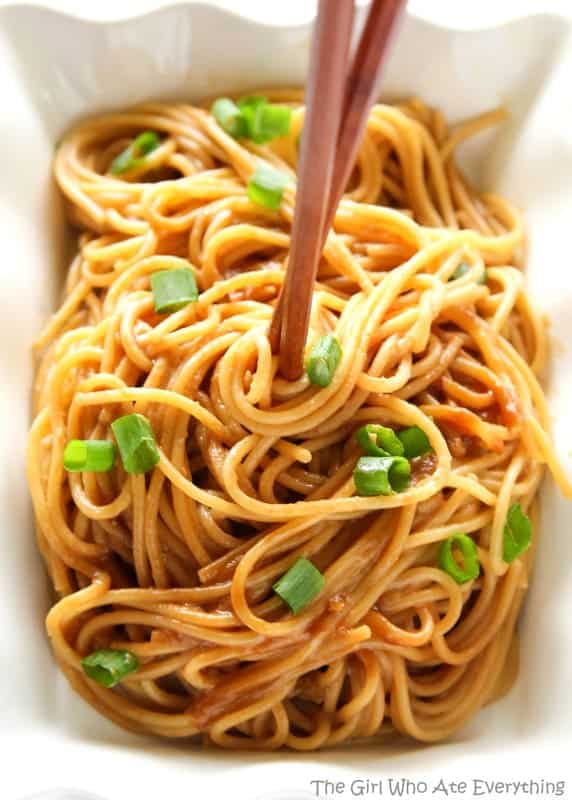
These Peanut Noodles are covered in a creamy peanut sauce for a unique Asian inspired Thai dish that will have your family begging for more. Sometimes these peanut butter noodles are called beggar’s noodles because of its simple ingredients like spaghetti and peanut butter.
Ingredients
- 8 ounces spaghetti
- 2 tablespoons toasted sesame oil
- 1 bunch green onions, sliced, white parts only - reserve green parts for garnish
- 1 teaspoon minced fresh ginger, see Note
- ⅓ cup creamy peanut butter, use crunchy peanut butter if you want nuts in it
- ¼ cup low-sodium soy sauce
- ¼ cup hot water
- 1 Tablespoon cider vinegar
- 1 teaspoon sugar
- ¼ teaspoon crushed red pepper flakes
Directions
- Cook spaghetti in a large pot of salted water until al dente according to package directions. Drain.
- While noodles are cooking, prepare the creamy sauce. In a small skillet, heat sesame oil over low heat Add the onions (white parts only) and cook until tender. Add the ginger and cook for about 1 minute.
- Increase the heat to medium and stir in the stir in remaining sauce ingredients: peanut butter, soy sauce, water, vinegar, sugar, and pepper. Stir until combined. Remove from heat.
- Toss the hot noodles with sauce and garnish with sliced green onions and crunchy peanuts if desired. Store leftovers in an airtight container.
Notes
*Fresh ginger can be frozen until ready to use. I don't use a lot of ginger so this is a trick I use often.
Recipe from: the-girl-who-ate-everything.com, saved in Lucy's cookbook.
Pecan Shortbread Christmas Tree Cookies

Butter, flour and sugar come together to create rich, delicate cookies.
Ingredients
- 1 cup butter, softened
- ⅔ cup powdered sugar
- ½ teaspoon vanilla
- 5 drops green food color
- 1 ¾ cups Gold Medal™ all-purpose flour
- ½ cup coarsely chopped pecans
- 32 pecan halves
- ¾ cup white vanilla baking chips
- 1 Granulated sugar, if desired
- 32 yellow decorating stars, if desired
Directions
- Heat oven to 325°F. Spray or lightly grease 2 large cookie sheets. In large bowl, beat butter and powdered sugar with electric mixer on medium speed until light and fluffy. Beat in vanilla and food color. On low speed, beat in flour just until mixed. Stir in chopped pecans.
- Divide dough into 4 equal parts; shape each into ball. Place 2 balls of dough on each cookie sheet, on opposite ends. With rolling pin or floured fingers, gently flatten and shape each ball into 6-inch circle. With large knife, divide and cut each round into 8 wedges, slightly separating each cut with knife. Poke tops of wedges with fork, and place 1 pecan half in middle of each outer edge to make tree trunk.
- Bake 15 to 18 minutes or until firm but not brown. While still warm, cut into wedges again. Cool completely on cookie sheets, about 30 minutes.
- Place cooled tree wedges on cooling racks or waxed paper. Place baking chips in small resealable freezer plastic bag. Microwave on High 40 to 60 seconds, turning bag over after 30 seconds. Squeeze bag gently until chips are melted and smooth. Cut small tip off one corner of bag, and drizzle side to side over wedges to make tree garland. Sprinkle with sugar Top each tree with star.
Nutrition (per serving)
Serving Size: 1 · Calories: 160 · Fat: 11 · Saturated fat: 6 · Trans fat: 0 · Carbs: 15 · Sugar: 9 · Fiber: 0 · Protein: 1 · Sodium: 65 · Cholesterol: 15
Recipe from: bettycrocker.com, saved in Lucy's cookbook.
Penne alla Carbonara
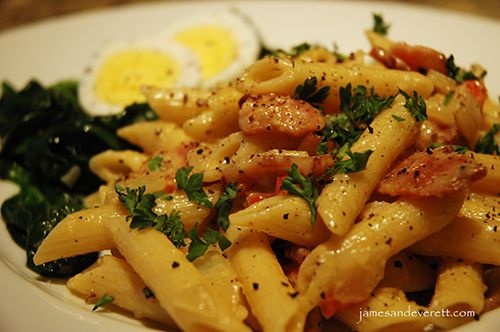
Bacon, eggs, and cream, tossed with pasta and finished with cracked black pepper. A Classic dish!
Ingredients
- ½ pound bacon, cut in to 1” pieces
- ½ cup onion, finely chopped
- ¼ cup roasted red pepper, diced
- 4 garlic cloves, finely chopped
- 3 large egg yolks
- 1 cup freshly grated Parmigiano-Reggiano
- 1 Freshly ground black pepper
- 2 tablespoons finely chopped fresh parsley
Directions
- Cooks note:
- Cook the pasta while you prepare the sauce. It is important that the pasta be hot when the raw eggs are added in order to finish the sauce.
- Preparation:
- Ladle about 1 cup of pasta water into a bowl and reserve.
- Separate the eggs. Place the yolks in a small bowl with the grated cheese and mix well. (Hold to the side to be added to the hot pasta).
- In a large sauté pan, over medium heat, cook the bacon until crispy. Remove the bacon and drain on paper towels. Pour off all of the oil except for about 3 tablespoons. Add the onion and red pepper. Sauté until onions become translucent. Add garlic and cook another 30 seconds. Add the crispy bacon, drained pasta (do not rinse), and fresh ground black pepper. Mix well, turning pasta to coat with oil. Cook for about 1 minute. Remove pan from heat.
- Off of the heat, add one half of the parsley and the egg / cheese mixture. Stir well to allow hot the hot pasta to cook the egg and create the sauce. Add reserved pasta water as needed to create a creamy consistency. Top with the remaining chopped parsley, grated cheese and ground black pepper.
Notes
Cook the pasta while you prepare the sauce. It is important that the pasta be hot when the raw eggs are added in order to finish the sauce.
Recipe from: keyingredient.com, saved in Lucy's cookbook.
Pesto Caprese Grilled Cheese
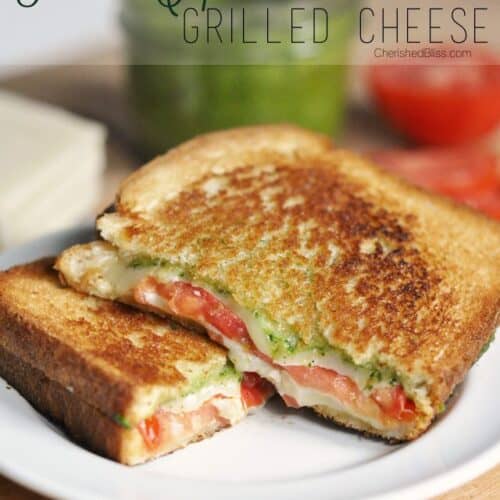
This is my all time favorite grilled cheese sandwich in the summer. With fresh garden basil pesto, delicious vine ripened tomatoes, and natural grated mozzarella cheese, you cannot go wrong. This is definitely not yo Mama's grilled cheese!
Ingredients
- 1 bread
- 1 butter softened
- 1 classic basil pesto
- 1 grated mozzarella cheese
- 1 sliced garden tomatoes
Directions
- Completely butter one side of each slice of bread.
- Then spread pesto on the opposite side of each slice.
- Next heat pan or griddle over medium heat.
- Place one slice of bread on the griddle buttered side down.
- Next layer with fresh grated mozzarella, garden sliced tomatoes, and top with a little more cheese.
- Now add the remaining slice of bread, butter side up! Adjust heat as needed, and cook until golden brown, about 2-4 minutes.
- Then flip and cook until golden brown on the other side, about 2-4 minutes.
- Enjoy!
Recipe from: thecraftyblogstalker.com, saved in Lucy's cookbook.
Pigs in a Blanket

Pigs in a blanket are one of the easiest appetizers that are both kid-approved and adult-approved. Great for parties of all kinds or as a quick snack or weeknight dinner!
Ingredients
- 8 ounces refrigerated crescent rolls 1 can of 8 rolls
- 14 ounces cocktail sausages
- 1 Tablespoon butter melted
- 1 teaspoon flaked sea salt optional
Directions
- Preheat oven to 375°F and line a baking sheet with parchment paper.
- Remove crescent rolls from packaging and gently unroll, taking care to keep the perforated sheet intact.
- Press over the seams gently to form a single sheet of crescent roll dough.
- Use a pizza wheel to slice the crescent sheet into four sections and then slice each section into 7 triangles. (The triangles don’t have to be perfect or sized exactly the same – approximate triangles are just fine.)
- Place one cocktail sausage aligned with the wide end of each triangle. Roll up the sausage to form a small crescent roll surrounding the sausage.
- Place prepared “pigs in a blanket” on the prepared baking sheet.
- Brush the tops of each roll with melted butter and top with a sprinkle of flaked/coarse salt, if desired.
- Bake for 15 minutes or until the crescent rolls are puffed and golden brown.
- Serve hot with ketchup, mustard, and any of your favorite dipping sauces.
Notes
The salt is optional, but it really adds a nice salty contrast to the sweetness in the crescent roll dough. Brushing the pigs in a blanket with melted butter helps them to achieve a nice golden brown color and it also helps the salt stick to the top of the roll. Salted or unsalted butter will work find to brush over the crescent dough. You could also use an egg wash. One can of crescent dough is enough to cover about 1 full 14 oz. package of sausages. Double, triple, or quadruple the recipe as needed – these little snacks go fast! Leave a little room between sausages on the baking sheet as the dough does puff up around the sausage and you don’t want them bumping into one another. Some stores sell crescent roll SHEETS – if you can find one of these, you can eliminate the step of pressing the perforated seams together. Simply slice the sheet into 28 small triangles. You can even just cut small strips of the dough, though I like the more traditional crescent roll appearance.
Nutrition (per serving)
Serving Size: 1 · Calories: 75 · Fat: 6 · Saturated fat: 2 · Trans fat: 0.02 · Carbs: 3 · Sugar: 1 · Protein: 2 · Sodium: 212 · Cholesterol: 10
Recipe from: amandascookin.com, saved in Lucy's cookbook.
Pineapple Cream Cheesecake
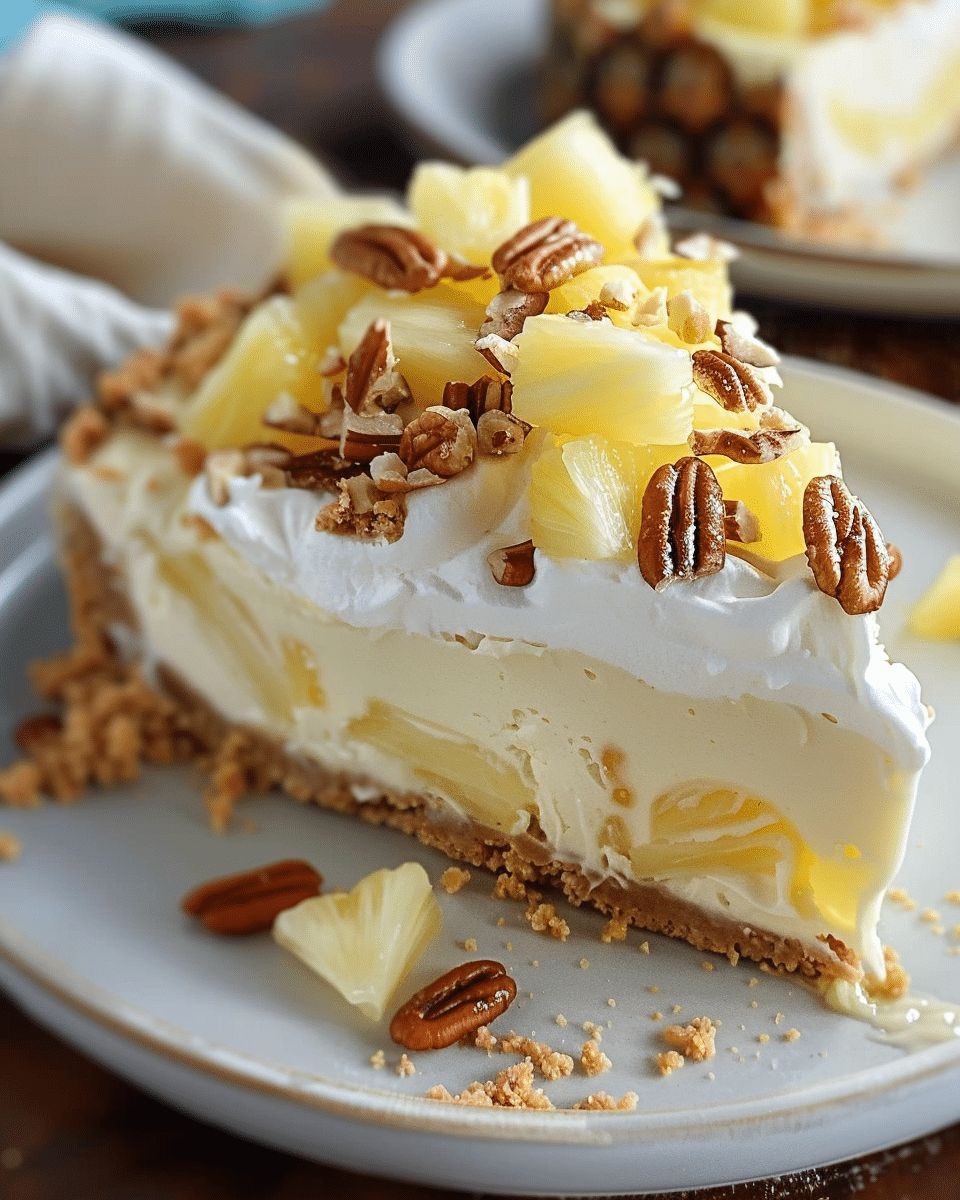
This Pineapple Cream Cheesecake is a tropical twist on the classic cheesecake, featuring a creamy, smooth filling with the sweetness of pineapple, crunchy pecans, and toasted coconut. Perfect for any occasion, this dessert will impress your guests with its delicious layers and tropical flair. Whether it’s for a holiday or a weeknight treat, this pineapple-infused cheesecake will become a favorite in your dessert repertoire.
Ingredients
- For the crust:
- 1 ½ cups graham cracker crumbs
- ¼ cup sugar
- ½ cup melted butter
- For the cheesecake filling:
- 24 oz cream cheese, softened
- 1 cup sugar
- 1 teaspoon vanilla extract
- 3 eggs
- 1 cup crushed pineapple, drained
- For the topping:
- ½ cup sour cream
- ½ cup heavy cream
- ¼ cup toasted coconut flakes
- ¼ cup chopped pecans
- 1 Pineapple chunks for topping
Directions
- Prepare the crust:
- Preheat your oven to 325°F (165°C).
- In a medium bowl, combine graham cracker crumbs, sugar, and melted butter. Mix until well combined.
- Press the mixture firmly into the bottom of a 9-inch springform pan to form the crust.
- Make the cheesecake filling:
- In a large bowl, beat the softened cream cheese until smooth.
- Add the sugar and vanilla extract, and continue beating until combined.
- Add the eggs one at a time, beating well after each addition.
- Gently fold in the crushed pineapple, making sure it’s evenly incorporated.
- Assemble and bake:
- Pour the cream cheese mixture over the prepared crust, spreading it evenly with a spatula.
- Bake in the preheated oven for 60-70 minutes, or until the center is set with a slight jiggle.
- Once baked, remove from the oven and allow the cheesecake to cool on a wire rack.
- Refrigerate for at least 4 hours, or overnight for best results.
- Prepare the topping:
- In a small bowl, mix the sour cream and heavy cream until smooth.
- Spread the cream mixture over the chilled cheesecake layer.
- Garnish and serve:
- Sprinkle the top with toasted coconut flakes and chopped pecans for added crunch.
- Add pineapple chunks for a tropical finishing touch.
- Slice and serve chilled.
Notes
Make sure to drain the pineapple well to prevent the cheesecake from becoming watery. This cheesecake is best when chilled for at least 4 hours or overnight. If you prefer a nut-free version, you can skip the pecans and toasted coconut, or substitute with another nut of your choice.
Nutrition (per serving)
Serving Size: 8 · Calories: 450
Recipe from: recipessmile.com, saved in Lucy's cookbook.
Pink Sauce Mac & Cheese
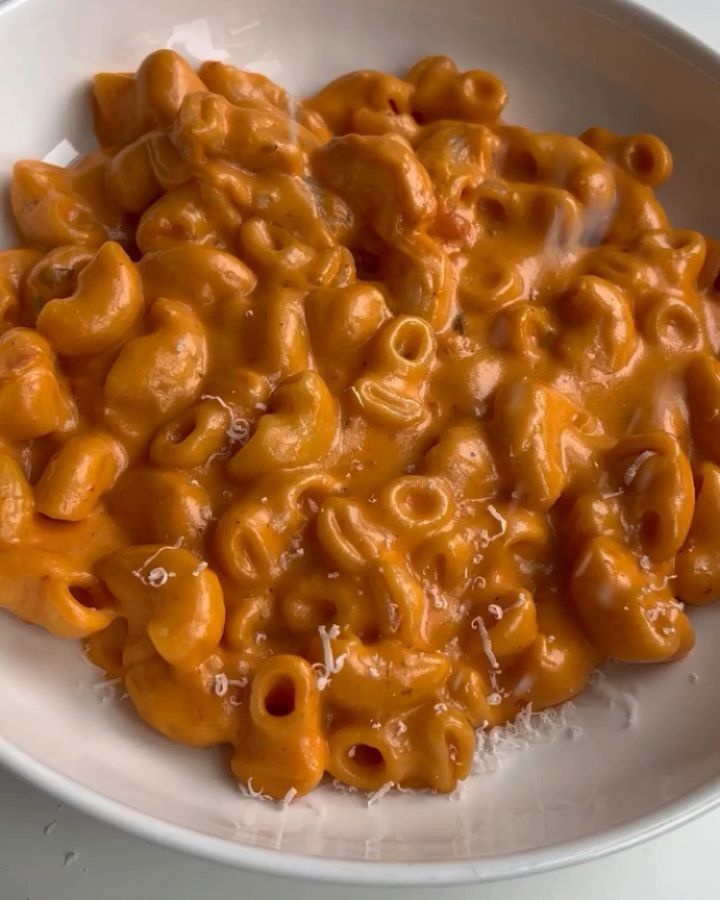
Ingredients
- ½ lb pasta
- 4 tbsp of butter
- dash of olive oil
- 3 cloves of minced garlic
- 3 tbsp of tomato paste
- 1 cup of your favorite tomato sauce
- 1 ½ cups of heavy cream
- 1 salt
- 1 pepper
- 1 onion/ garlic powder
- 1 cup cheddar
- ¾ cup mozzarella
- ½ cup parmesan
- handful of fresh basil
Directions
- Cook 1/2 lb pasta in salted water until al dente. Reserve 1/2 cup pasta water before straining.
- Add 4 tbsp of butter and a dash of olive oil to a pan on medium heat. When melted, add 3 cloves of minced garlic and cook until fragrant.
- Next, add 3 tbsp of tomato paste & mix. Cook until it turns a dark red then add 1 cup of your favorite tomato sauce.
- Once simmering, add 1.5 cups of heavy cream. Mix and bring to a simmer.Season with salt, pepper, onion/ garlic powder.
- Add 1 cup cheddar, 3/4 cup mozzarella and 1/2 cup parmesan with a handful of fresh basil.
- Mix then add your cooked pasta and a dash of pasta water. Let it all cook together for a few mins then top with more parm and enjoy :)
Recipe from: instagram.com, saved in Lucy's cookbook.
PIZZA BURRITO

I just solved your dinner tonight! All you need is:
Ingredients
- 1 Fajita bread, also called rapiditas
- 500 g minced meat
- 1 The spices that you like the most, in this case I used salt, garlic powder, onion powder and sweet paprika
- 1 Fried tomato
- 1 mozzarella cheese
Directions
- We cook the minced meat with a splash of oil in the pan until it is golden brown.
- We cut the fajita bread in half and add a little tomato, meat and cheese and form triangles as I show you in the video.
- We return it to the pan, filling up all the space, and add more tomato and cheese. We cook it over low heat with the lid on so that all the cheese melts, and enjoy!!!
Recipe from: instagram.com, saved in Lucy's cookbook.
Postre de queso y frutas frescas extra delicioso 😋
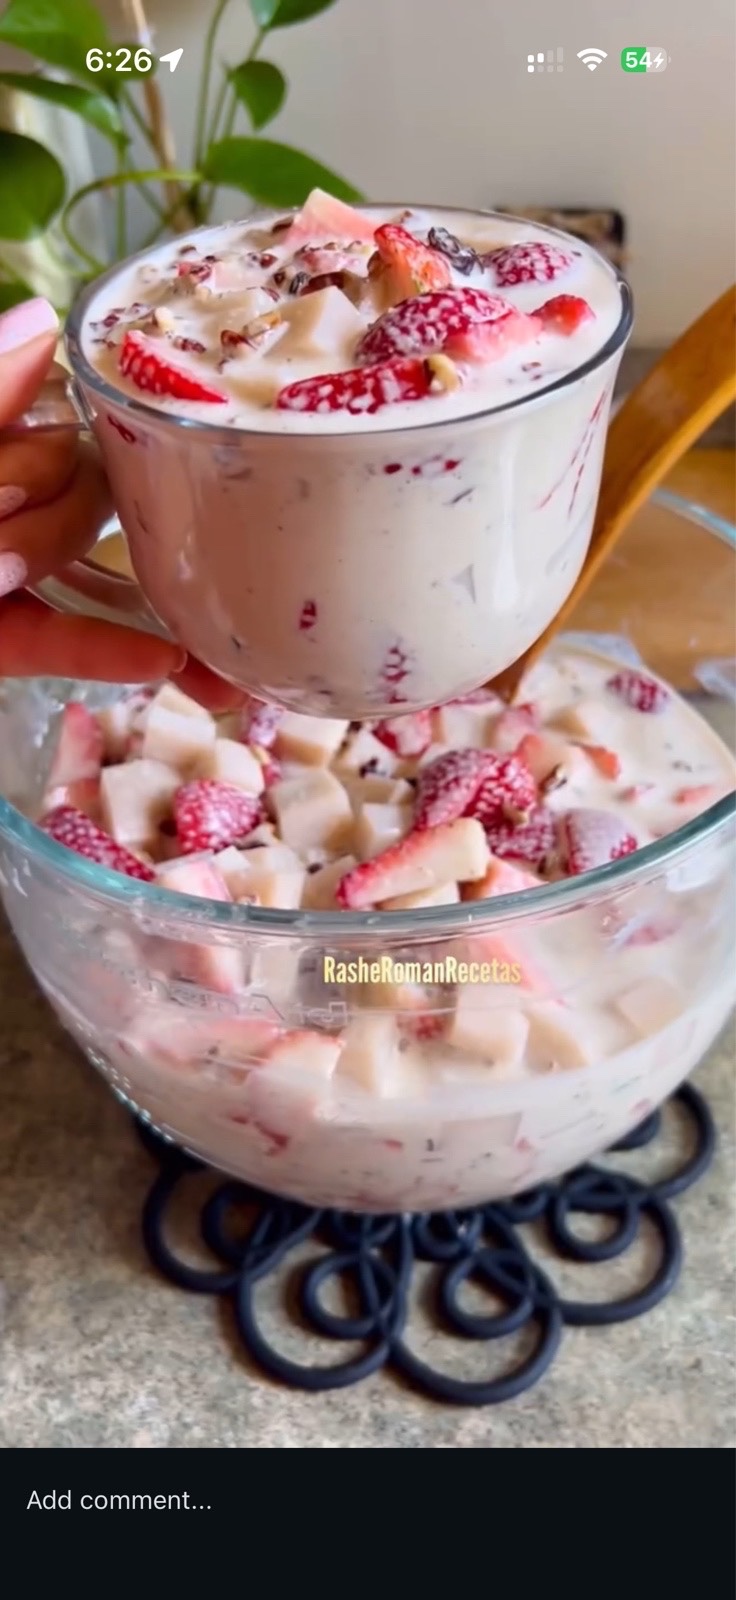
Postre fácil con frutas 🍇
Ingredients
- 1 12-ounce can of evaporated milk
- 1 8-ounce stick of cream cheese, chilled
- 1 14-ounce can sweetened condensed milk, or to taste
- 1 Vanilla to taste, approximately 1 teaspoon
- 1 Yellow food coloring, optional, lemon yellow gel
- 2 cans of peaches in syrup, 425 grams each, total 850 grams
- 3 apples, 2 red, 1 yellow
- 250 grams of fresh strawberries
- 200 grams of green seedless grapes
- 1 cup of raisins, to taste
- 1 cup of chopped walnuts
Directions
- In a blender, add the evaporated milk, the cold cream cheese stick, and the sweetened condensed milk. You can adjust the amount of condensed milk to your liking. Add about a teaspoon of vanilla.
- Optionally, add yellow food coloring (lemon yellow gel) for a more vibrant hue. Blend for approximately 2 minutes or until the cream cheese is well combined with the milk.
- Pour the mixture into a large container.
- One can of peaches in syrup will be added along with the syrup. The other can of peaches will be drained and added last.
- Wash and disinfect the apples, strawberries, and grapes. Cut large grapes in half. If the strawberries are large, cut them into quarters. Cut the apples into chunks; you can leave the skin on for a more attractive appearance.
- Immediately after cutting the fruit, add it to the milk and cream cheese smoothie to prevent it from browning. Mix well to coat the fruit.
- Add one cup of raisins and one cup of chopped walnuts. Mix well.
- Finally, add the can of peaches in syrup from which you drained all the syrup. Mix everything well.
- Refrigerate the dessert for a few hours before serving for a creamier consistency and better flavor.
Recipe from: youtu.be, saved in Lucy's cookbook.
POST‑PARTUM POWER TEA
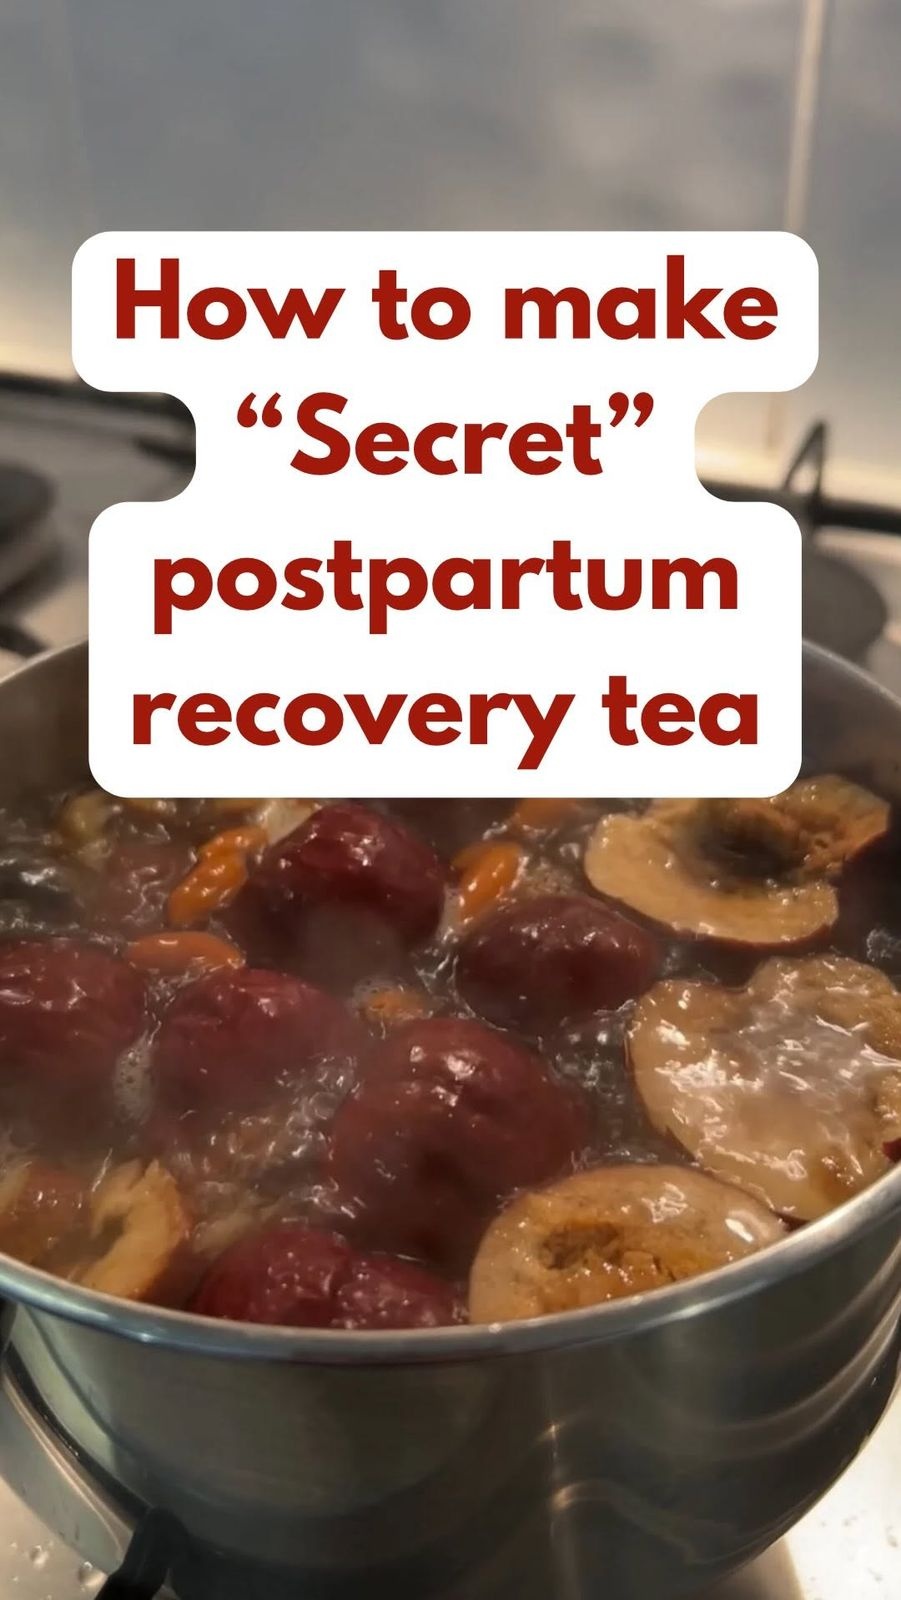
15‑min fix
Ingredients
- 1 Tbsp goji berries
- 5 jujube dates
- 1 3–4 sliced Shan Zha, hawthorn
- 300 mL water
Directions
- Rinse 1 Tbsp goji + 5 jujubes + 3–4 sliced Shan Zha.
- Quick‑soak 5 min (wakes up the goodies).
- Drop into 300 mL water, bring to a simmer.
- Low‑boil 10–15 min, lid on.
- Strain, sip warm. 🌸
Notes
Second steep = lighter, naturally sweet “refill.” No added sugar needed! Tag a new mum who deserves this easy daily recharge. 💪👶
Recipe from: instagram.com, saved in Lucy's cookbook.
Powdered Cranberries: The TikTok Viral Holiday Treat You Need to Try
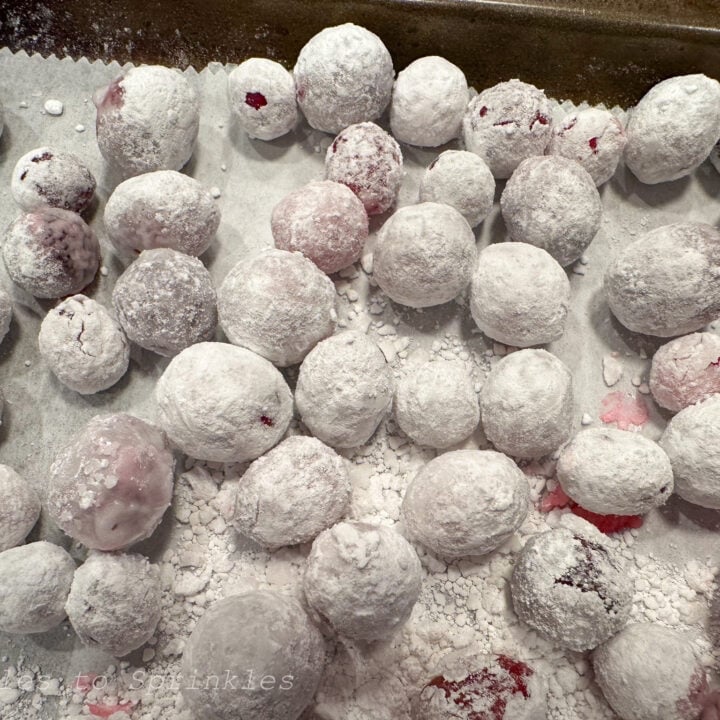
Move over classic holiday snacks—TikTok Viral Candied Cranberries are the treat everyone is raving about this season! These candied cranberries strike the perfect balance between tart and sweet, thanks to a flavorful soak in Sprite and pineapple juice that softens their natural tartness. Coated in snowy powdered sugar, they’re a festive and irresistible addition to any holiday celebration.
Ingredients
- 12 oz bag of fresh cranberries
- 1 small bottle or a can of Sprite, 8 oz
- 1 small can of pineapple juice, 6 oz
- 1 Approximately 2 cups of powdered sugar, adjust as needed for full coating
Directions
- Place the cranberries in a large bowl and pour in the Sprite and pineapple juice. Cover the bowl, gently shake to mix, and refrigerate overnight to let the flavors infuse.
- Drain the cranberries, reserving the juice for a cocktail or mocktail. Transfer the cranberries to a large zip-top bag and add powdered sugar, shaking gently until the cranberries are fully coated. Add as much powdered sugar as needed to fully coat them.
- Preheat the oven to 200°F. Line a baking sheet with parchment paper and spread the coated cranberries in a single layer on the sheet.
- Place the baking sheet in the oven for 5–7 minutes to dry the cranberries. Allow them to cool completely, then store them in an airtight container in the fridge or a cool, dark pantry for up to one week.
Notes
Plan Ahead: Let the cranberries soak overnight for the best flavor. This step is key to creating that juicy, flavor-packed center. Work in Batches: When coating with powdered sugar, work in smaller batches to ensure every cranberry is evenly covered. Watch the Oven: Drying the cranberries in the oven is a quick step—keep an eye on them to avoid melting the sugar. Experiment with Juices: If you don’t have pineapple juice, try orange juice for a different citrus twist.
Recipe from: sparklestosprinkles.com, saved in Lucy's cookbook.
pumpkin cinnamon pull-apart bread

pumpkin cinnamon pull-apart bread 🎃
Ingredients
- 1 Can of biscuits
- 1 cup sugar
- 1 tbsp cinnamon
- 1 tsp pumpkin pie spice
- ½ cup pumpkin puree
- 1 stick of butter melted.
Directions
- Open the biscuits, and split in half so there are now 16 biscuit portions.
- mix the sugar, cinnamon, & pumpkin spice in a shallow bowl, and melt the butter into another bowl.
- Add pumpkin puree to separate bowl and add in 1-2 tbsp of the cinnamon sugar mixture to combine.
- Dip each piece of biscuit in the butter, and then the cinnamon sugar until full coated.
- Stack the biscuits on top of each other with about 1/2-1tsp of pumpkin puree between each biscuit and place sideways into a loaf pan.
- Bake at 350 for 35-40 mins until baked through.
Notes
I’m soooo gonna make this!!!!!!
Recipe from: instagram.com, saved in Lucy's cookbook.
Pumpkin Pie
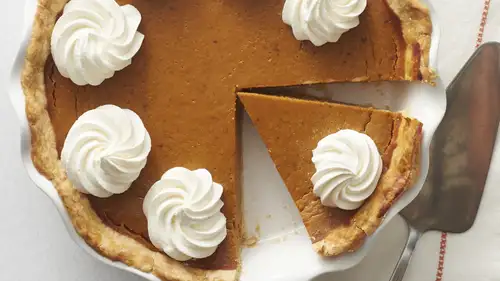
Our best Pumpkin Pie recipe is the one to make, regardless of your baking skills. The easy, no-roll crust and spiced pumpkin filling are irresistible.
Ingredients
- 1 Pat-in-the-Pan Pastry
- 1 ⅓ cups Gold Medal™ All Purpose Flour
- ½ teaspoon salt
- ⅓ cup vegetable oil
- 2 tablespoons cold water
- 1 Filling
- 2 large eggs
- ½ cup sugar
- 1 teaspoon ground cinnamon
- ½ teaspoon salt
- ½ teaspoon ground ginger
- ⅛ teaspoon ground cloves
- 1 can pumpkin, 15 oz, not pumpkin pie mix
- 1 can evaporated milk, 12 oz
- 1 Sweetened Whipped Cream
- ¾ cup whipping cream
- 2 tablespoons sugar
Directions
- Heat oven to 425°F.
- In medium bowl, mix flour, 1/2 teaspoon salt, and the oil with fork until all flour is moistened. Sprinkle with cold water, 1 tablespoon at a time, tossing with fork until all water is absorbed.
- Shape pastry into a ball. Press in bottom and up side of 9-inch glass pie plate.
- In large bowl, beat eggs slightly with wire whisk or electric mixer. Beat in 1/2 cup sugar, the cinnamon, 1/2 teaspoon salt, ginger, cloves, pumpkin, and milk.
- To prevent spilling, place pastry-lined pie plate on oven rack before adding filling. Carefully pour pumpkin filling into pie plate. Bake 15 minutes.
- Reduce oven temperature to 350°F. Bake about 45 minutes longer or until knife inserted in center comes out clean. Place pie on cooling rack. Cool completely, about 2 hours.
- In chilled medium bowl, beat whipping cream and 2 tablespoons sugar with electric mixer on high speed until stiff peaks form. Serve pie with whipped cream. Store in refrigerator.
Notes
For this Pumpkin Pie recipe, work quickly as you mix up and press the crust into the pie plate. Be sure your pie plate is a regular 9-inch pie plate versus a larger deep pie plate, as you want the crust to press up high enough on the sides to hold the filling. Read the canned pumpkin label carefully to ensure you’re not buying canned pumpkin pie mix, which already contains seasonings and sweeteners. Stir up your own Pumpkin Pie spice to keep in your pantry—it’s not only delicious in a pie but it’s wonderful sprinkled over root vegetables before roasting them or to season caramelized nuts during the holidays. Mix 3 tablespoons ground cinnamon, 2 teaspoons ground gin... Think ahead and freeze spoonfuls of whipped cream to use later. Just drop whipped cream by 8 spoonfuls onto waxed paper-lined cookie sheet. Freeze uncovered at least 2 hours. Then, place frozen mounds of whipped cream in a freezer container. Cover tightly and freeze no longer than 2 months. Create your own whipped cream like a barista: beat heavy cream with a splash of flavored coffee syrup instead of sugar. Caramel, hazelnut, or French vanilla are great flavor partners with Pumpkin Pie. With a few simple substitutions, you can create a lighter pumpkin pie filling that still has all the delicious flavor you’re craving. First, swap the 2 eggs for 3 egg whites or 1/2 cup of fat-free egg product. Next, opt for 1 can (12 oz) of fat-free evaporated milk inst...
Nutrition (per serving)
Serving Size: 1 · Calories: 185 · Fat: 2 · Saturated fat: 1 · Carbs: 37 · Fiber: 2 · Protein: 7 · Sodium: 170 · Cholesterol: 5
Recipe from: bettycrocker.com, saved in Lucy's cookbook.
Pumpkin Soup
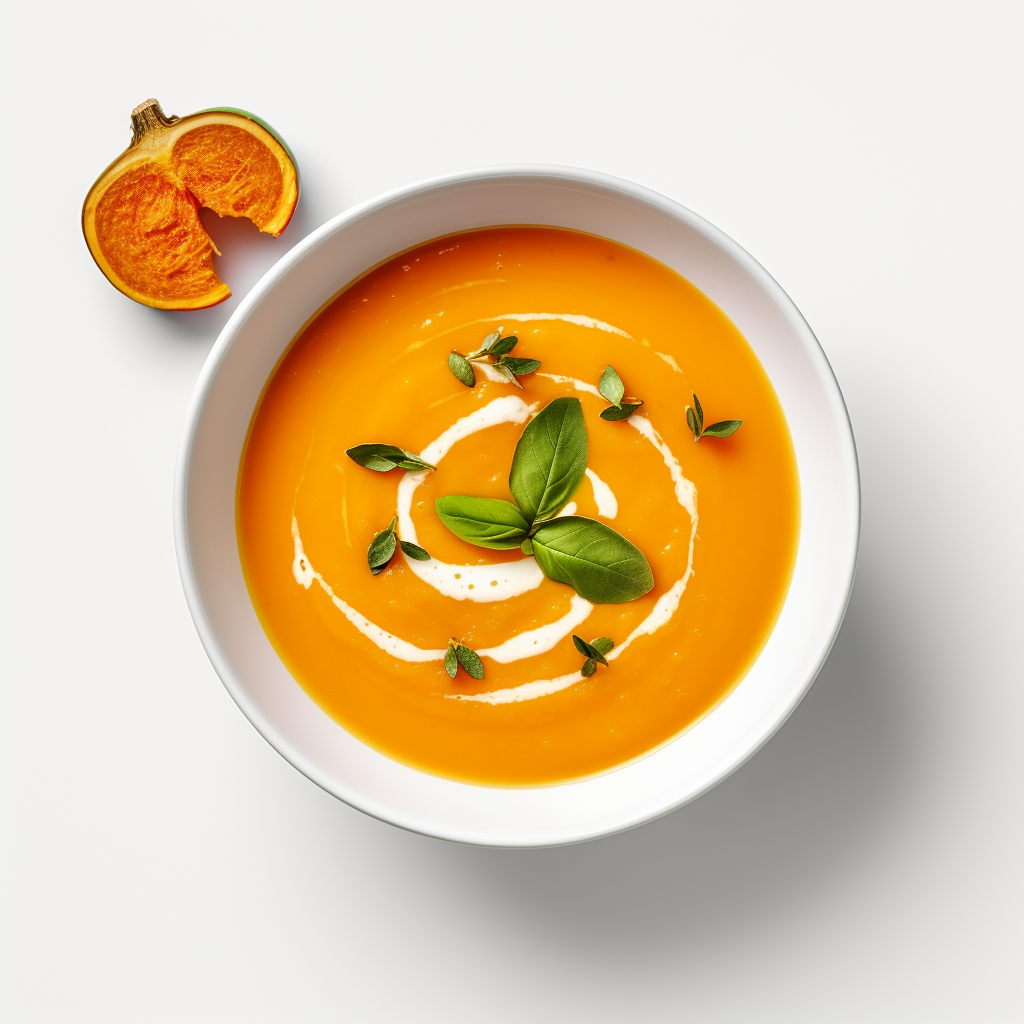
The perfect winter warmer
Ingredients
- 1.5 tbsp olive oil
- 0.5 tsp ground cumin
- 1 medium onion, diced
- 4 tbsp light cream, to top
- 0.5 tsp nutmeg
- 1 vegtable stock cube
- 1 medium potato, peeled and diced
- 0.5 tsp ground coriander
- 500 ml water
- 1 pinch salt and pepper, to taste
- 750 g pumpkin, peeled and diced
- 1 clove garlic, crushed
Directions
- Dice the onion, peel the potato and dice. If using a whole pumpkin use a potato peeler to remove the skin. Cut the pumpkin in half then using a metal spoon remove the pumpkin seeds. Cut the pumpkin into 2 inch pieces.
- In a large saucepan heat up the oil on medium-low heat, add the onion and cook until soft. Add the crushed garlic and spices, cook for a further 30 seconds ensuring to continue stirring the mix
- Add the chicken stock cube and water to the pan, along with the potato and pumpkin. Bring to the boil then simmer for 25 minutes (around 90ºC) or until the pumpkin and potatoes are cooked through.
- Once cooked through allow the mix to cool. Put it all into a blender along with the cream, blend until smooth.
- Reheat and serve
Nutrition (per serving)
Servings: 1.00 · Calories: 172.32 kcal · Carbs: 23.41 g · Protein: 3.67 g · Total fat: 8.52 g · Saturated fat: 2.75 g · Unsaturated fat: 5.68 g · Trans fat: 0.09 g · Sugars: 7.50 g · Fiber: 2.46 g · Cholesterol: 9.60 mg · Sodium: 472.32 mg
Saved from Lucy's CookBook app, no website source listed for this one.
Pupusas with Curtido and Salsa
Ingredients
- Curtido:
- ½ cabbage
- ½ red onion
- 1 carrots, shredded
- 1 Water
- ½ tsp Oregano
- 1 Salt
- ½ cup Vinegar
- Salsa:
- 1 Tomatoes
- 1 Green pepper
- 1 Onion
- 4 Garlic
- Salt and pepper
- 1 Oregano
- 1 Cumin
- 1 Garlic powder
Directions
Recipe from: instagram.com, saved in Lucy's cookbook.
Ramen Omelette

The ramen omelette cart in Malaysia is a popular street food vendor known for its unique fusion of Japanese and Malaysian flavors. It serves delicious ramen noodles wrapped in a fluffy omelette, creating a savory and satisfying meal that’s loved by locals and tourists! The cart often attracts long lines, so instead of waiting in that, come try this delicious twist at home! Find the recipe below @groovyfoodiess
Ingredients
- 1 serving:
- 1 ramen packet
Directions
- Cook ramen per packet instructions. Set aside.
- In a medium bow, whisk together the egg, cream, and black pepper.
- In a hot pan over medium heat, spray on oil to cover the pan and add cooked ramen, spreading the noodles out evenly.
- Pour the egg mixture all over the noodles, then place the cheese and hot dog on top.
- Cover for two minutes or until eggs are set. Fold the omelette.
- Drizzle with kewpie mayo, Sriracha, and furikake.
- Enjoy!
Notes
Is that a Ramlette
Recipe from: instagram.com, saved in Lucy's cookbook.
REAL FOOD LEMON FROZEN CUSTARD
REAL FOOD LEMON FROZEN CUSTARD and not a fake sweetener or pudding mix packet in sight! This is one of my favorite recipes in ICE CREAM ESOTERICA, our protein rich Ninja Creami recipe book - comment “book” if you’d like the 🔗 to this and 25 more recipes!
Ingredients
- 1 cup milk of choice
- 1 cup non fat greek yogurt
- 3 tablespoons sugar
- 2 egg yolks
- 1 Zest from 1.5 Meyer lemons
- 1 Juice from 2 Meyer lemons
- Pinch of salt
- ⅛ th teaspoon xanthan gum, optional but recommended
- 1 Scoop of whey protein
Directions
- Add milk and sugar to a saucepan and bring to heat, stirring constantly
- Whisk egg yolks in a small bowl and add a few tablespoons of hot milk at a time, whisking constantly
- Slowly whisk the tempered yolks into the milk, whisking until thick
- Allow the custard to cool
- Add the cooled custard base and all other ingredients to a blender and blend well
- Pour the mixture into your creami container and freeze for 24 hours
- When ready to eat, run the edges of the frozen creami container under hot water for 30 seconds
- Spin on “lite ice cream” 2-3x
- Enjoy!
Recipe from: instagram.com, saved in Lucy's cookbook.
Recheio Bombom Ferrero Rocher
Ingredients
- 250 ml de chantilly bem gelado, 12 horas na geladeira + 30 minutos no freezer antes de usar
- 200 g de doce de leite, pode ser o doce de leite cozido por 50 min ou doce de leite pronto
- 150 g de chocolate em pó 50%
- 70 g de Nutella, opcional — pode aumentar a quantidade para sabor mais intenso
- 50 g de amendoim triturado
- 2 bombons Ferrero Rocher picados, opcional
Directions
- Na batedeira, coloque o chantilly gelado, o doce de leite, o chocolate em pó e a Nutella.
- Bata primeiro devagar para incorporar e depois aumente a velocidade, batendo por cerca de 2 minutos, até o creme dobrar de volume e ficar firme.
- Acrescente o amendoim triturado e os bombons Ferrero Rocher picados.
- Misture rapidamente apenas para incorporar.
- Pronto! Um recheio cremoso, estruturado e perfeito para bolos e sobremesas.
Recipe from: instagram.com, saved in Lucy's cookbook.
Recipeeee
Ingredients
- 3 cans corn, drained
- ½ cup sour cream
- ⅓ cup mayo
- 1 lime, Juice, 2–3 tbsp
- 1 1.5–3/4 cup cotija, plus extra for topping
- 1 tsp chili powder
- ½ tsp paprika
- ½ tsp garlic powder
- ½ tsp onion powder
- Salt + pepper to taste
- 1 Tajín for topping
Directions
- Preheat oven to 350 °F
- Mix together:
- sour cream
- mayo
- lime juice
- chili powder
- paprika
- garlic powder
- onion powder
- salt & pepper
- Fold in:
- corn
- cotija
- Spread in baking dish
- Top with:
- extra cotija
- Bake 20–25 min until hot and slightly golden
- Sprinkle Tajín on top right before serving
Notes
Elote nasty
Recipe from: instagram.com, saved in Lucy's cookbook.
Rib Biriyani
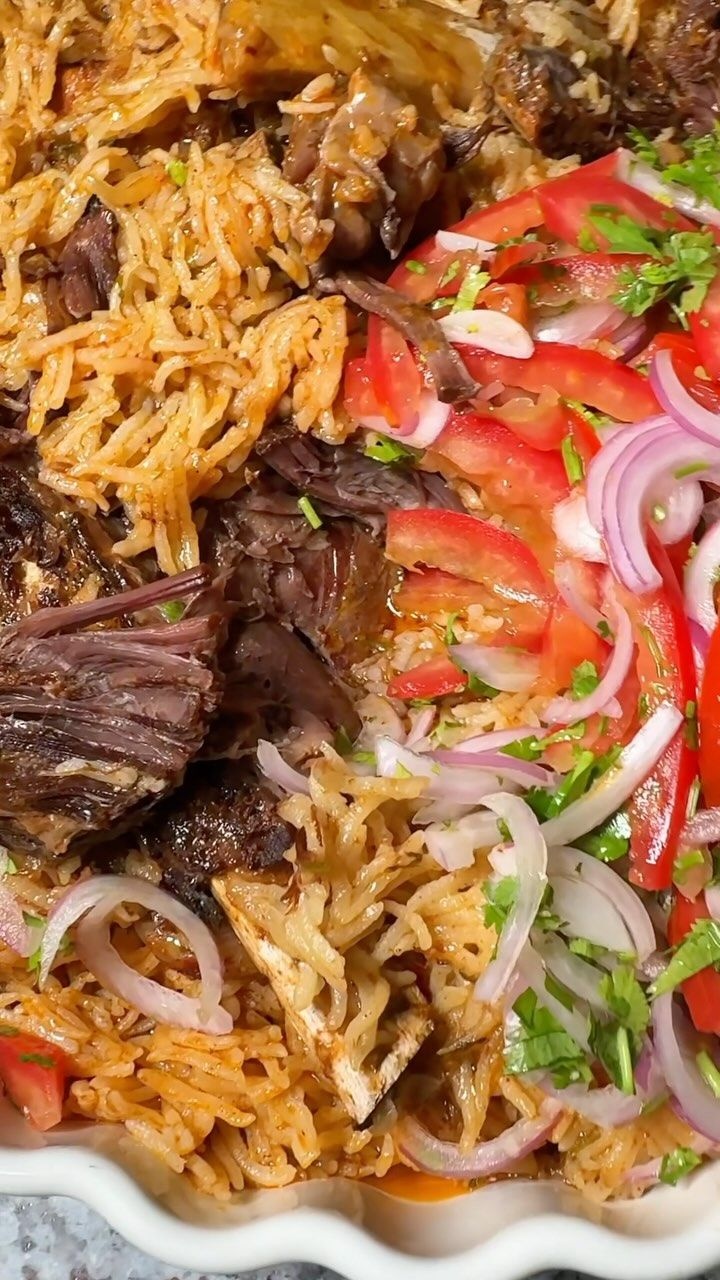
You’re still making rib biriyani in two pans? This one pot version saved me 3 dishes, 2 hours and my last bit of sanity 😅
Ingredients
- For the ribs:
- 1 ½ kg beef or lamb ribs
- 1 bulb garlic, peeled and smashed
- 2 tsp whole cumin seeds
- 1 tbsp coriander powder
- 1 tsp cinnamon powder
- 1 4–5 whole cardamom pods
- ½ tsp chili flakes, adjust to taste
- ½ tsp whole black peppercorns
- Salt to taste, preferably Himalayan salt by Al Wali brand
- 1 4–5 whole cloves
- 1 2–3 tbsp olive oil, Al Wali
- 2 medium onions, sliced
- 1 small bunch fresh coriander, chopped, stems and leaves
- 2 tbsp tomato paste
- 2 tbsp vinegar, white or apple cider
- 1 Water, enough to cover the meat
- For the rice:
- 2 cups basmati rice, washed and soaked for 20 minutes
- للرز:
- Image Url: https://media.cookbook.company/0/c
Directions
Notes
I will definitely try this. Anything that reduces my effort in the kitchen is very welcome.
Recipe from: instagram.com, saved in Lucy's cookbook.
Rice Krispie Chocolate Chip Cookies
Mix butter, sugars, eggs, vanilla; add dry ingredients. Fold in oats, Rice Krispies, chips; bake at 350°F for 9-10 mins.
Ingredients
- 1 cup butter, softened
- 1 cup brown sugar
- 1 cup granulated sugar
- 2 teaspoons vanilla extract
- 2 large eggs
- 2 cups all-purpose flour
- 1 teaspoon baking powder
- 1 teaspoon baking soda
- 2 cups rolled oats
- 2 cups Rice Krispies
- 2 cups chocolate chips, 1-2
Directions
- Preheat oven to 350°F. Line baking sheet with parchment paper
- Mix flour, baking powder, and baking soda in a bowl
- Cream butter, brown sugar, and granulated sugar until fluffy
- Mix in eggs and vanilla extract
- Gradually add dry ingredients to wet ingredients
- Fold in oats, Rice Krispies, and chocolate chips
- Scoop dough onto baking sheet, spacing 2 inches apart
- Bake 9-10 minutes until edges are golden.
- Cool on sheet briefly, then transfer to wire rack
Saved from Lucy's CookBook app, no website source listed for this one.
Roasted Butternut Squash and Bacon Soup

THE BEST and easiest butternut squash soup ever! Silky smooth and so so creamy. Perfect for Fall!
Ingredients
- 4 slices bacon, diced
- ½ teaspoon dried thyme
- 2 ½ cups chicken stock, or more, to taste
- ¼ cup crumbled goat cheese
- 2 tablespoons chopped fresh chives
- Roasted butternut squash:
- 1 butternut squash, about 3 pounds, peeled, seeded and cut in 1-inch chunks
- 1 onion, diced
- 1 red bell pepper, chopped
- 4 slices bacon, diced
- 2 tablespoons olive oil
- 3 cloves garlic, minced
- Kosher salt and freshly ground black pepper, to taste
- 1 Nutmeg/Pumpkin Spice
- Can add other spices to make it more spicy for the season.
Directions
- Heat a large stockpot or Dutch oven over medium heat. Add bacon and cook until brown and crispy, about 6-8 minutes. Transfer to a paper towel-lined plate.
- Add the roasted butternut squash and thyme, and cook, stirring occasionally, until fragrant, about 1-2 minutes; season with salt and pepper, to taste. Stir in chicken stock and puree with an immersion blender.
- Bring to a boil; reduce heat and simmer until slightly thickened, about 5-10 minutes. If the soup is too thick, add more chicken stock as needed until desired consistency is reached.
- Serve immediately, garnished with bacon, goat cheese and chives, if desired.
- Roasted butternut squash:
- Preheat oven to 400 degrees F. Lightly oil a baking sheet or coat with nonstick spray.
- Place butternut squash, onion, bell pepper and bacon in a single layer onto the prepared baking sheet. Add olive oil and garlic; season with salt and pepper, to taste. Gently toss to combine.
- Place into oven and bake for 25-30 minutes, or until butternut squash is tender, stirring at halftime.*
Notes
*Baking time may need to be adjusted depending on the size of the squash.
Recipe from: damndelicious.net, saved in Lucy's cookbook.
Roasted Tomato Burrata Dip
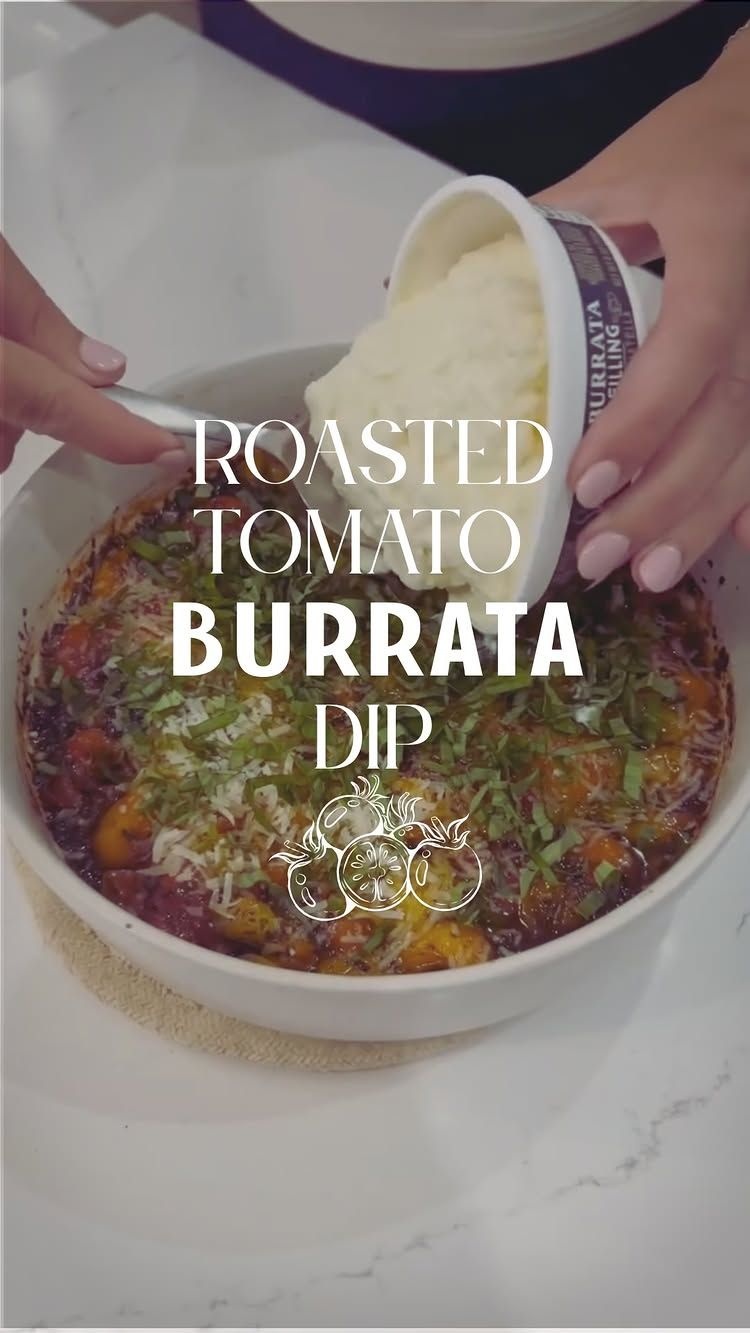
Tomatoes bursting… creamy burrata… garlicky crostinis? Yeah, this one’s dangerous. One dip and it’s gone. Perfect for holidays, game nights, or when you just feel like showing out 😌
Ingredients
- 1 cherry tomatoes
- 1 Olive oil
- 1 Salt, pepper, red pepper flakes
- 1 Garlic, parsley, oregano
- 1 Burrata or stracciatella, burrata filling
- 1 Fresh basil
- 1 Parmesan
- 1 French baguette
- 1 Butter, garlic, salt, parm, parsley, for garlic butter
Directions
- Add grape tomatoes to a baking dish and drizzle generously with olive oil (enough to coat the bottom of your dish).
- Season with salt, pepper, red pepper flakes, garlic, parsley, and oregano.
- Bake at 425°F for 20-30 mins until tomatoes burst (you can gently smash them halfway if they need some assistance in the ‘bursting’ process).
- While that bakes, slice a French bread baguette, spread with garlic butter (butter, garlic, salt, parsley, parm), and toast 5-7 mins until golden.
- Once you’re ready to serve, top with parm, fresh basil, and burrata. Stir it all together and serve HOT.
Recipe from: instagram.com, saved in Lucy's cookbook.
Roasted Vegetable Mac n' Cheese
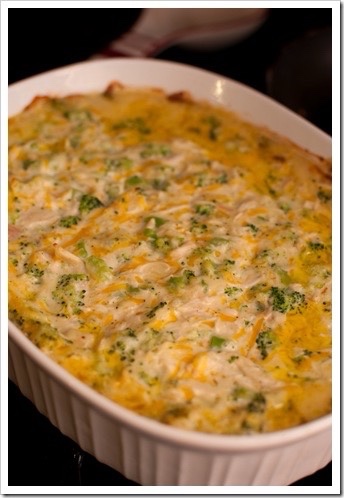
Ingredients
- 1 1- frozen, microwavable bag of broccoli florets, 8-10 oz
- 1 red pepper, diced
- 1 yellow squash, sliced into medallions
- 10 baby carrots, sliced
- 2 c of elbow macaroni
- ¼ c olive oil
- 1 tbsp garlic, minced
- 1 tsp crushed red pepper flakes
- 3 tbsp + 1 tsp. flour
- 1 ½ c heavy cream, milk
- 2 c shredded yellow cheese
- salt and pepper to taste
- ¾ c panko bread crumbs, 0.5-0.75
Directions
- In a large pot of salted boiling water-- cook pasta according to package directions. Drain excess water and run cold water through pasta to prevent sticking. Keep pasta in colander. Do not return to pot.
- While pasta is cooking, microwave broccoli according to package directions minus 1 minute. Allow to cool. Line a baking sheet with aluminum foil or a baking mat. Spray baking sheet with cooking spray and brush red pepper, squash and carrots with olive oil. Bake for 10 minutes Then add broccoli (drained if there is moisture) to the baking sheet. Continue baking for 5-10 minutes, or until vegetables have softened slightly. Remove from oven and set aside.
- After pasta is cooked, use the large pot to heat olive oil over medium heat. Once hot, saute garlic and red pepper flakes until garlic is browned and fragrant. Do not over cook, as this will burn the garlic. Whisk in flour and cook for 1 minute. Gradually whisk in heavy cream, stirring constantly until mixture is slightly thickened. This can take some time, approximately 10-15 minutes-- but it will thicken. Remove from heat. Stir in shredded cheese until melted and smooth. Add salt and pepper to taste. Gently fold in macaroni and vegetables.
- Turn oven to broiler setting. Grease a large (9x11 or 9x13 inch) casserole dish. Spread mac n' cheese in casserole dish and sprinkle panko breadcrumbs on top to completely cover. Place under the broiler in oven for 1-2 minutes, until the top is slightly browned.
Recipe from: fortheloveofdessert.blogspot.com, saved in Lucy's cookbook.
Ruths Chris Sweet Potato Casserole
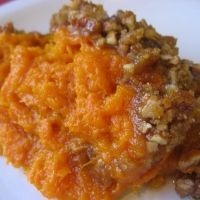
While I was there, I noticed most of the tables had ordered small dishes of the restaurant's famous sweet potatoes and people were going batty over it. My favorite way to eat sweet potatoes is simply baked, with butter in the middle. But casseroles are the thing on the holidays and this recipe is quite popular, judging by the Internet requests for it. I used the orange fleshed garnet yam, which is actually a sweet potato. source: (Ruth's Chris Steakhouse)
Ingredients
- Crust:
- 1 cup brown sugar
- ⅓ cup flour
- 1 cup chopped nuts, pecans preferred
- ⅓ stick butter -- melted, Do not omit or reduce this amount
- Sweet potato mixture:
- 3 cups mashed sweet potatoes, Garnets looks best and I bake mine first
- 1 cup sugar
- ½ teaspoon salt
- 1 teaspoon vanilla
- 2 eggs -- well beaten
- 1 stick butter -- melted, 1/2 cup, You can leave it out or reduce it, if you wish
Directions
- Combine brown sugar, flour, nuts and butter in mixing bowl. Set aside.
- Preheat oven to 350 degrees.
- Combine sweet potatoes, sugar, salt, vanilla, eggs and butter in a mixing bowl in the order listed. Mix thoroughly.
- Pour mixture into buttered baking dish.
- Sprinkle the surface of the sweet potato mixture evenly with the crust mixture.
- Bake for 30 minutes. Allow to set at least 30 minutes before serving.
Notes
Hint: Double the recipe. People will love the leftovers, which also freeze beautifully. / more crust and used 2 cans of cut yams. Add some oatmeal too to make crispy
Recipe from: grouprecipes.com, saved in Lucy's cookbook.
Sacolé de Manga Cremoso

Se você gosta de sacolé cremoso, para tudo e olha isso aqui! Esse Sacolé de Manga Cremoso fica suave, refrescante e com gosto de quero mais 🤤
Ingredients
- 3 mangas grandes e bem maduras, palmer ou tommy
- 500 ml de leite integral
- 1 caixa de leite condensado, 395 g
- 1 caixinha de creme de leite, 200 g
- 1 Suco de 1 limão, opcional – realça o sabor
Directions
- Modo de preparo no vídeo
Notes
Usei o saco número 6 ✅
Recipe from: instagram.com, saved in Lucy's cookbook.
SALTY VANILLA BEAN HONEY MARSHMALLOW FLUFF
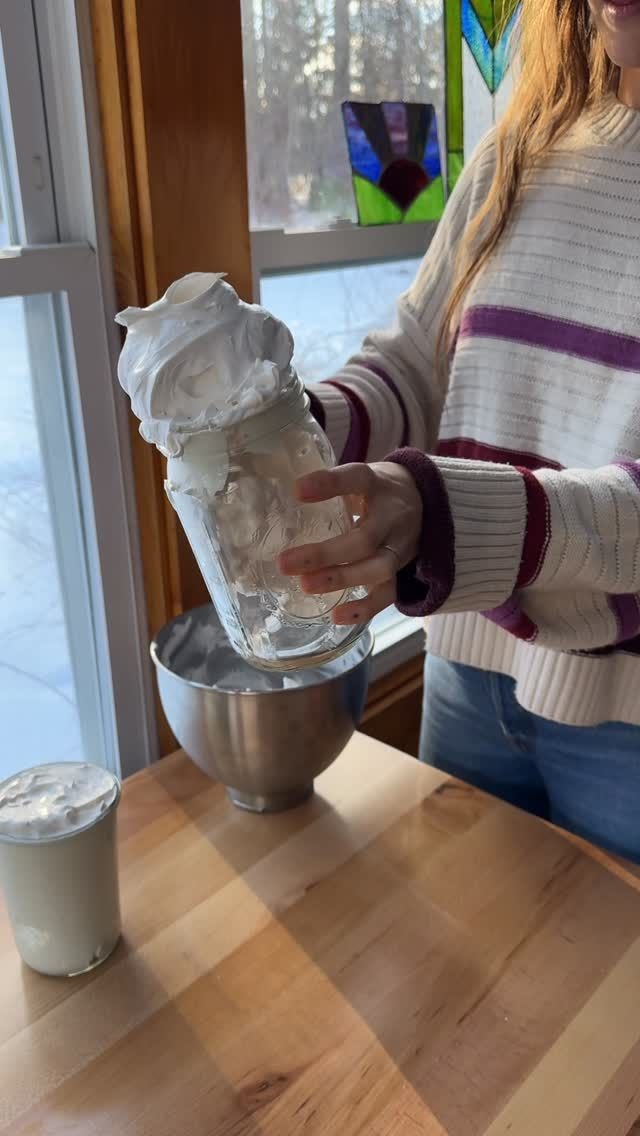
I’ve been riffing on this recipe I found on @momables website and I am IN LOVEEE! I adjust by adding 1 extra egg white which makes it a little bit less sweet (and more voluminous), I add vanilla bean paste, and I add a teaspoon of salt because I love salty sweet!
Ingredients
- 3 eggwhites
- ⅔ c cane sugar
- ¾ c honey
- 1 Vanilla
- ¼ tsp cream of tartar
Directions
- whip egg whites and cream of tartar to stiff peaks
- bring honey, sugar, and water to 246f on the stove and then slowly stream it into the mixer while beating on low
- add vanilla and salt and crank it to high for about 8-10min until stable and fluffy
- jar it up and enjoy within a week! No need to refrigerate!
Recipe from: instagram.com, saved in Lucy's cookbook.
Sausage and Gravy Breakfast Casserole🎄
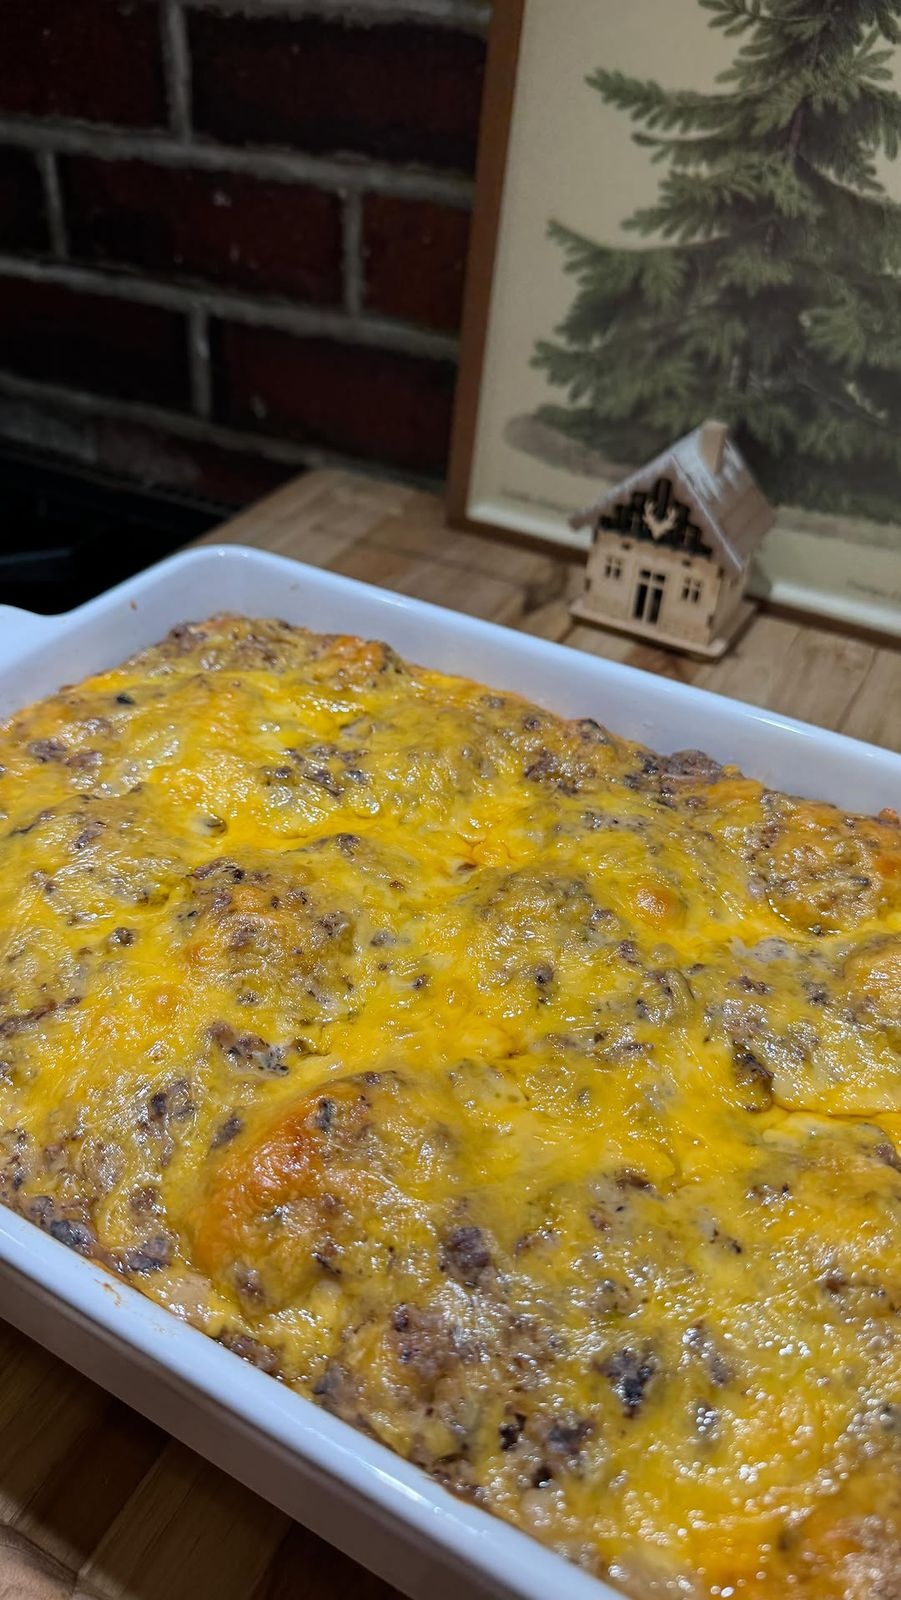
This is the perfect Christmas morning breakfast!! I’m telling you… it’s sooo good and easy!! Make it the night before if you’d like!
Ingredients
- Sausage and gravy:
- 1 lb hot breakfast sausage
- ½ tsp salt
- 1 tsp pepper
- ½ tsp onion powder
- ½ tsp garlic powder
- ⅓ cup flour
- 3 ½ cups whole milk
- Eggs:
- 7 eggs
- ⅓ cup whole milk
- ½ tsp salt
- ½ tsp pepper
- 4 cups frozen shredded hashbrowns, 3-4
- 8 pack biscuits
- 3 cups shredded cheddar, 2-3
- 1 hot sauce
Directions
- Preheat oven to 350°F.
- Heat up a dash of oil or butter in a pan and cook your breakfast sausage. When it’s almost fully cooked, add your salt, pepper, garlic powder, and onion powder. After a few minutes, add in your flour. Stir until it’s fully incorporated and let that cook for 3 to 5 minutes.
- Add in the milk roughly one cup at a time, stirring in between. Scrape the bottom for flavor that’s stuck to the pan. Let it come to a simmer and thicken for a few minutes. Turn off the heat when it’s your desired consistency.
- Whisk the eggs, milk, salt, and pepper together in a bowl.
- Cut up your biscuits into fourths.
- Grease your 9 x 13. The deeper the dish the better. If it’s super shallow, it may overflow a little bit.
- Add in your frozen hashbrowns first, then the biscuits, then the eggs, then half of the cheese, then your sausage and gravy mixture, then the rest of the cheese!
- If you’re making it the night before, stop there and put it in the fridge.
- Bake at 350°F for 45-50 minutes.
Notes
Myyyyyyy goodness 🤤
Recipe from: instagram.com, saved in Lucy's cookbook.
Shepherd’s Pie (Cottage Pie)
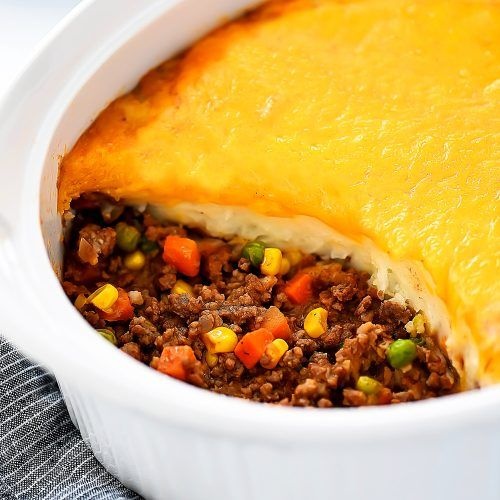
This classic Shepherd’s Pie recipe will have everyone asking for seconds. It’s full of flavor and the creamy mashed potatoes make it extra delicious!
Ingredients
- Potato layer:
- 3 large russet potatoes
- 2 tablespoons butter
- ½ cup milk
- 1 teaspoon garlic powder
- Meat layer:
- 2 pounds ground beef or lamb, turkey
- 1 small onion chopped
- 2 cloves garlic minced
- ½ teaspoon each salt and pepper
- 2 tablespoons flour
- 2 tablespoons tomato paste
- 1 cup beef broth
- ½ Tablespoon Worcestershire sauce
- ½ teaspoon dried oregano
- 1 ½ cups frozen peas and carrots
- ½ cup frozen corn
- 1 cup shredded cheddar cheese
Directions
- Potato layer:
- Peel potatoes and chop into small pieces. Place chopped potatoes in a large pot of water. Bring to a boil and cook until potatoes are tender. (About 15 – 20 minutes)
- Drain water from pot. Mash the potatoes. Add butter, milk and garlic powder. Continue to mash until no lumps remain. Cover potatoes and set aside.
- Preheat oven to 375° F. Grease a 9×13 inch baking dish with non-stick spray.
- Meat layer:
- In a large 12-inch skillet, over medium-high heat, add ground beef,onion, garlic, salt and pepper. Cook and crumble meat until browned. Drain grease.
- Sprinkle flour evenly over meat mixture. Stir and cook 1 minute. Stir in tomato paste, broth, Worcestershire sauce and oregano. Bring to a boil, then reduce heat to medium-low. Stir in frozen peas, carrots and corn. Cook another 5 to 10 minutes or until heated through.
- Pour meat mixture into the prepared baking dish. Spread mashed potatoes evenly over the top. Top potatoes evenly with cheddar cheese.
- Bake, uncovered, for 35 minutes until casserole is hot and bubbly. Remove from oven and let stand 10 minutes before serving.
Notes
Serves 6 to 8
Recipe from: life-in-the-lofthouse.com, saved in Lucy's cookbook.
Simple Pasta Salad
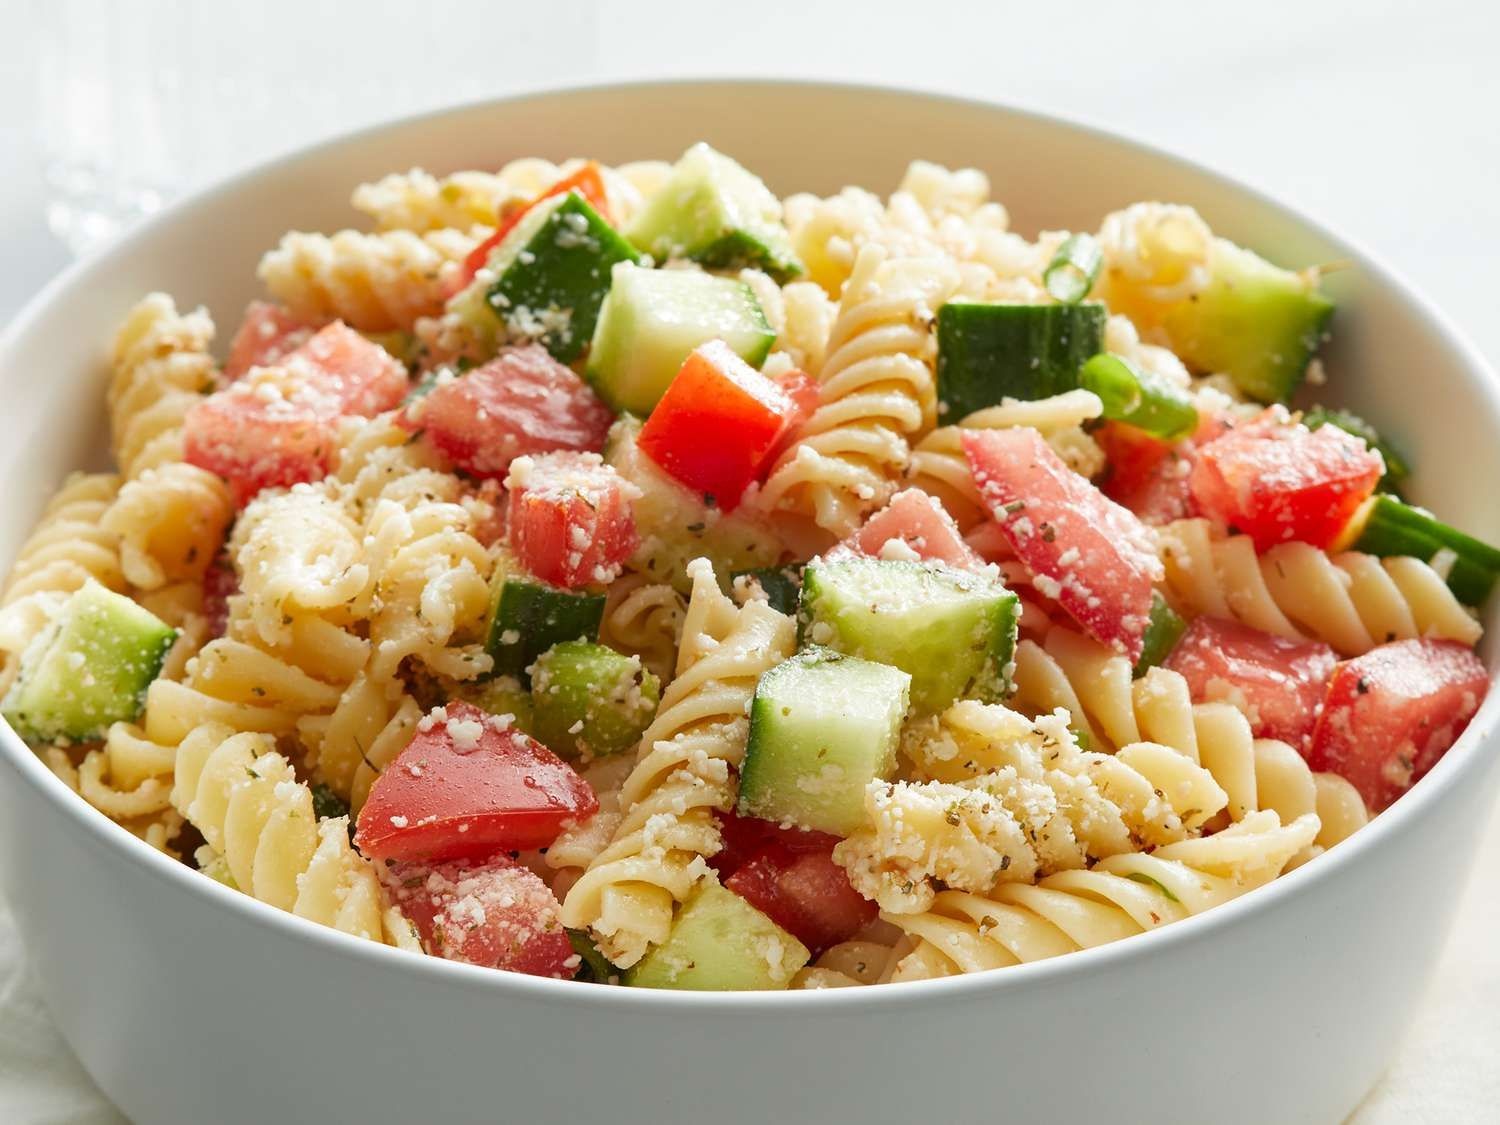
An easy pasta salad with Italian dressing, simple yet very yummy. Almost any type of pasta may be used. Best if left to sit overnight.
Ingredients
- 1 package uncooked rotini pasta, 16 ounce
- 1 bottle Italian salad dressing, 16 ounce
- 2 medium cucumbers, chopped
- 6 medium tomatoes, chopped
- 1 bunch green onions, chopped
- 4 ounces grated Parmesan cheese
- 1 tablespoon Italian seasoning
Directions
- Gather all ingredients.
- Bring a large pot of lightly salted water to a boil. Place pasta in the pot, cook for 8 to 12 minutes, until al dente, and drain.
- Toss cooked pasta with Italian dressing, cucumbers, tomatoes, and green onions in a large bowl.
- Mix Parmesan cheese and Italian seasoning in a small bowl, and gently mix into the salad.
- Refrigerate pasta salad until chilled for best results, at least 30 minutes before serving. Enjoy!
Nutrition (per serving)
Calories: 289 · Saturated fat: 3 · Carbs: 35 · Sugar: 7 · Fiber: 4 · Protein: 10 · Sodium: 764 · Cholesterol: 8
Recipe from: allrecipes.com, saved in Lucy's cookbook.
Simply Delicious Creamy Lima Beans
These lima beans are so easy to make . . . but oh so big on taste!
Ingredients
- 3 cups boiling water
- 4 cups fresh or frozen Fordhook lima beans
- ¾ cup low-fat sour cream
- ½ stick butter or low-fat margerine
- ½ teaspoon red pepper flakes, optional
- Salt and pepper, to taste
Directions
- Add the lima beans to boiling water; then reduce heat to medium. Cover and simmer for 20 minutes (fresh beans may take a bit longer). Cook until beans are fork-tender.
- Add sour cream and butter (or margarine) in a saucepan over low-to-medium heat. Stir frequently until completely melted and blended.
- Drain beans well in a colander. When completely drained, place the beans in a serving bowl.
- Pour the sour cream and butter mixture over the beans and mix well. Add salt and pepper (and optional red pepper flakes). Stir until well blended.
- Serve warm, and enjoy!
Notes
This recipe for creamy lima beans has been adapted with the use of low-fat sour cream and low-fat butter or margarine. If you aren’t concerned about your weight or fat intake, it can be made with regular sour cream and butter. Using the low-fat version is certainly healthier and does not compromise taste. Limas are packed full of protein and are a great source of fiber, too.
Recipe from: delishably.com, saved in Lucy's cookbook.
Skillet Baked Ziti
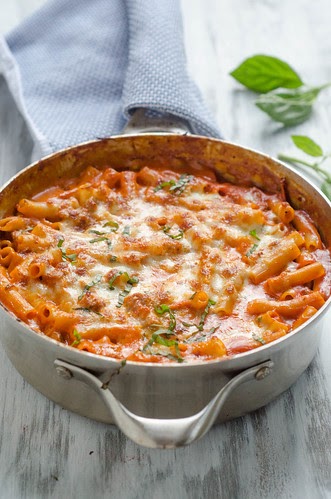
boil the pasta, make the sauce, cook the sausage, shred the cheese, assemble it all... then bake it for a cruelly long time. Enter my genius friends at America's Test Kitchen. Just as they did with lasagna, they've created a way to have a bowl full of pasta goodness on your table in just over thirty minutes. For real. This couldn't be any easier. First, you cook the sausage in a big skillet; throw in plenty of garlic, just enough red pepper flakes to give it a little kick, and crushed tomatoes. Then comes the best part: stir in uncooked noodles and some water, and the pasta cooks directly in the pan, simultaneously absorbing that delicious tomato sauce. Finish it off with some cream, basil, and cheese, and after a brief stint in the oven, it emerges as a perfectly cheesy, creamy, and oh-so comforting pasta dish. I have made baked ziti countless times, and this is just as good as the best version we've had in the past. And the fact that it's made completely in ONE dish, and in under an hour? Definite win.
Ingredients
- 1 lb sweet or hot Italian sausage, casings removed
- 6 cloves garlic, minced
- ¼ tsp red pepper flakes, or more or less to your taste
- 1 kosher salt and freshly ground black pepper
- 1 can crushed tomatoes, 28-oz
- 3 cups water
- 12 oz ziti
- ½ cup heavy cream
- ¾ cup Parmesan cheese
- ¼ cup chopped fresh basil
- 4 oz freshly grated mozzarella cheese, about 1 cup
Directions
- Heat the oven to 475 degrees Fahrenheit.
- In a 12-inch oven-safe skillet set over medium-high heat, brown the sausage until no longer pink, about 4 minutes, breaking up any large pieces with a wooden spoon. Stir in the garlic and red pepper flakes and cook until fragrant, about 1 minute. Stir in the crushed tomatoes and 1/2 teaspoon of salt. Reduce the heat to medium-low and simmer gently for 8 to 10 minutes.
- Add the water and ziti and stir to combine. Cover, increase the heat to medium, and cook at a vigorous simmer, stirring often, 15 to 18 minutes, until the pasta is just tender.
- Remove from heat and stir in the cream, 1/2 cup of the Parmesan, and 3 tablespoons of the basil. Taste and season with salt and pepper as needed. Sprinkle the mozzarella and remaining 1/4 cup of parmesan over the top, and transfer to the oven. Bake until the cheese has melted and browned, and the sauce is bubbling, 10 to 15 minutes. Sprinkle with the remaining tablespoon of basil and serve.
Recipe from: pink-parsley.com, saved in Lucy's cookbook.
Skillet Chili Mac
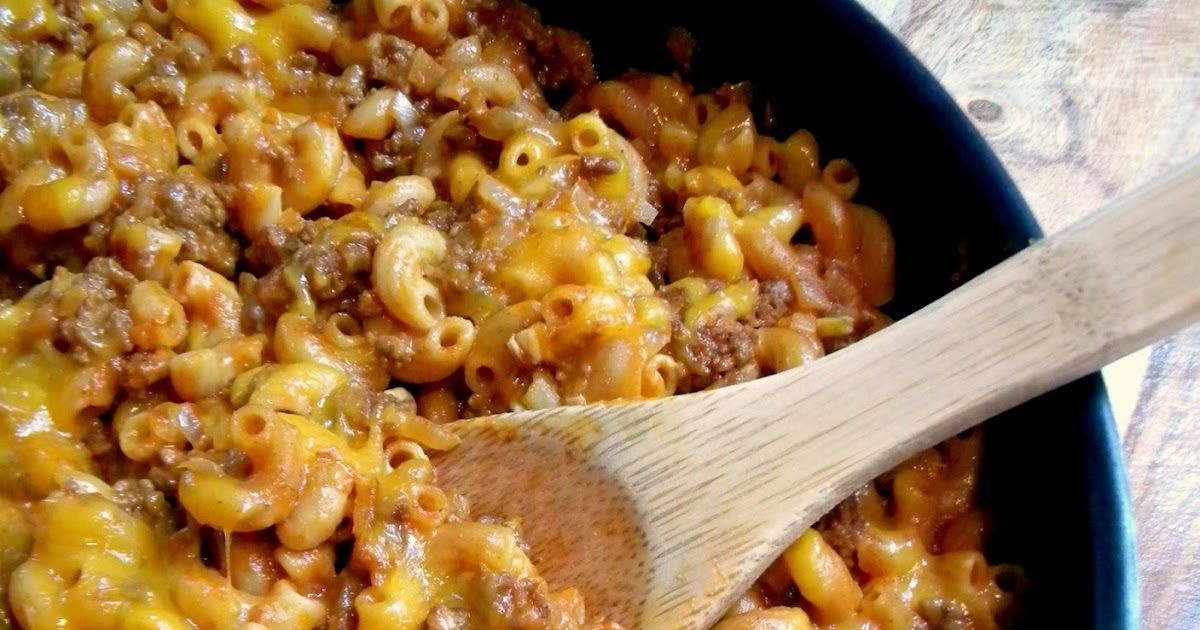
I love the fact that this recipe is made start-to-finish in one pan. The original recipe comes from one of my all-time favorite cookbooks, The Best 30-Minute Recipe. Although, admittedly, I am such a slow poke when it comes to cooking, any recipe that says "30 minutes" usually takes me at least 45. But this is a dish that has made few appearances in the dinner rotation. It's easy and very family friendly. I made a couple of changes to the original recipe. I just played with the spices a little bit, used whole-grain macaroni instead of regular and used a different cheese. Nothing major. Also, the recipe says it serves 4, but I think you could easily serve 6. The skillet is pretty much full.
Ingredients
- 1 ½ t. canola oil
- 1 lb lean ground beef
- 1 onion, chopped fine
- 1 T. chili powder
- 2 t. ground cumin
- ¼ t. cayenne pepper, 0.125-0.25, to taste, I used 0.125 t.
- 1 salt & pepper
- 3 garlic cloves, minced
- 1 T. brown sugar
- 2 c water
- 8 oz whole grain macaroni
- 2 c shredded cheddar cheese
Directions
- Heat the oil in a large (12 inch) nonstick skillet over medium-high heat. Add the ground beef, onion, chili powder, cumin, cayenne and 1/2 t. salt. Cook, breaking up meat into small pieces, until it looses all the pink color, about 5 minutes. Add garlic and cook until fragrant, about 30 seconds or so.
- Add brown sugar, tomato sauce, water and macaroni. Bring to a boil. Cover and cook, stirring often and adjusting the heat so that it maintains a lively simmer (somewhere between medium/medium-high heat), until the macaroni is tender, about 10 minutes or so. Season with salt & pepper if needed.
- Off heat, stir in half the cheese. Sprinkle the remaining cheese on top.
Recipe from: alovinforkful.blogspot.com, saved in Lucy's cookbook.
Sloppy Grilled Cheese Sandwiches
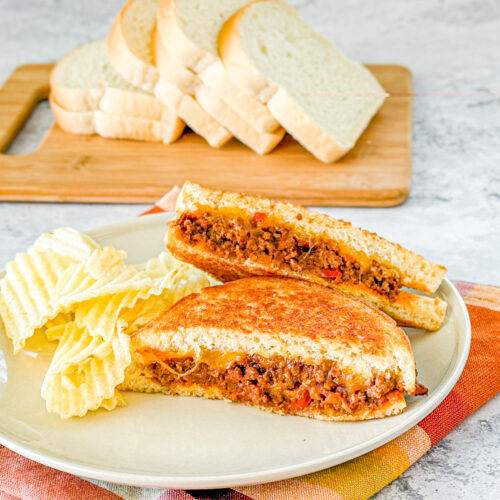
This recipe combines the savory flavors of traditional Sloppy Joe with the comforting crispness of grilled cheese. It features a hearty filling of seasoned ground beef, sandwiched between layers of melted cheddar cheese and toasted bread. Ideal for a quick dinner or a satisfying lunch, this sandwich merges two classic favorites into one delicious meal.
Ingredients
- 1 lb ground beef
- ¼ cup chopped onion
- 2 Tbsp prepared mustard
- ½ cup ketchup
- ¼ cup brown sugar
- 12 slices white bread, 10-12
- 6 tbsp butter softened
- 3 cups shredded cheddar cheese
Directions
- In a skillet, brown beef with onion until full cooked. Drain off any grease.
- Add mustard, ketchup, and brown sugar to the beef. Simmer for 5 minutes.
- Spread butter over one side of each slice of bread.
- For each sandwich, place one slice of bread, butter side down into a skillet.
- Top with a little cheddar cheese, some of the beef mixture, and additional cheddar cheese.
- Place an additional slice of bread on top, butter side up, creating the sandwich.
- Cook the sandwich over medium heat until it is toasted golden brown on both sides. Be careful when you flip it so the cheese and sloppy joe filling don’t fall out.
- Repeat until all 5-6 sandwiches are made.
Nutrition (per serving)
Serving Size: 1 · Calories: 696 · Fat: 47 · Saturated fat: 24 · Trans fat: 1 · Carbs: 37 · Sugar: 16 · Fiber: 1 · Protein: 31 · Sodium: 947 · Cholesterol: 140
Recipe from: realmomkitchen.com, saved in Lucy's cookbook.
Sloppy Joe Casserole
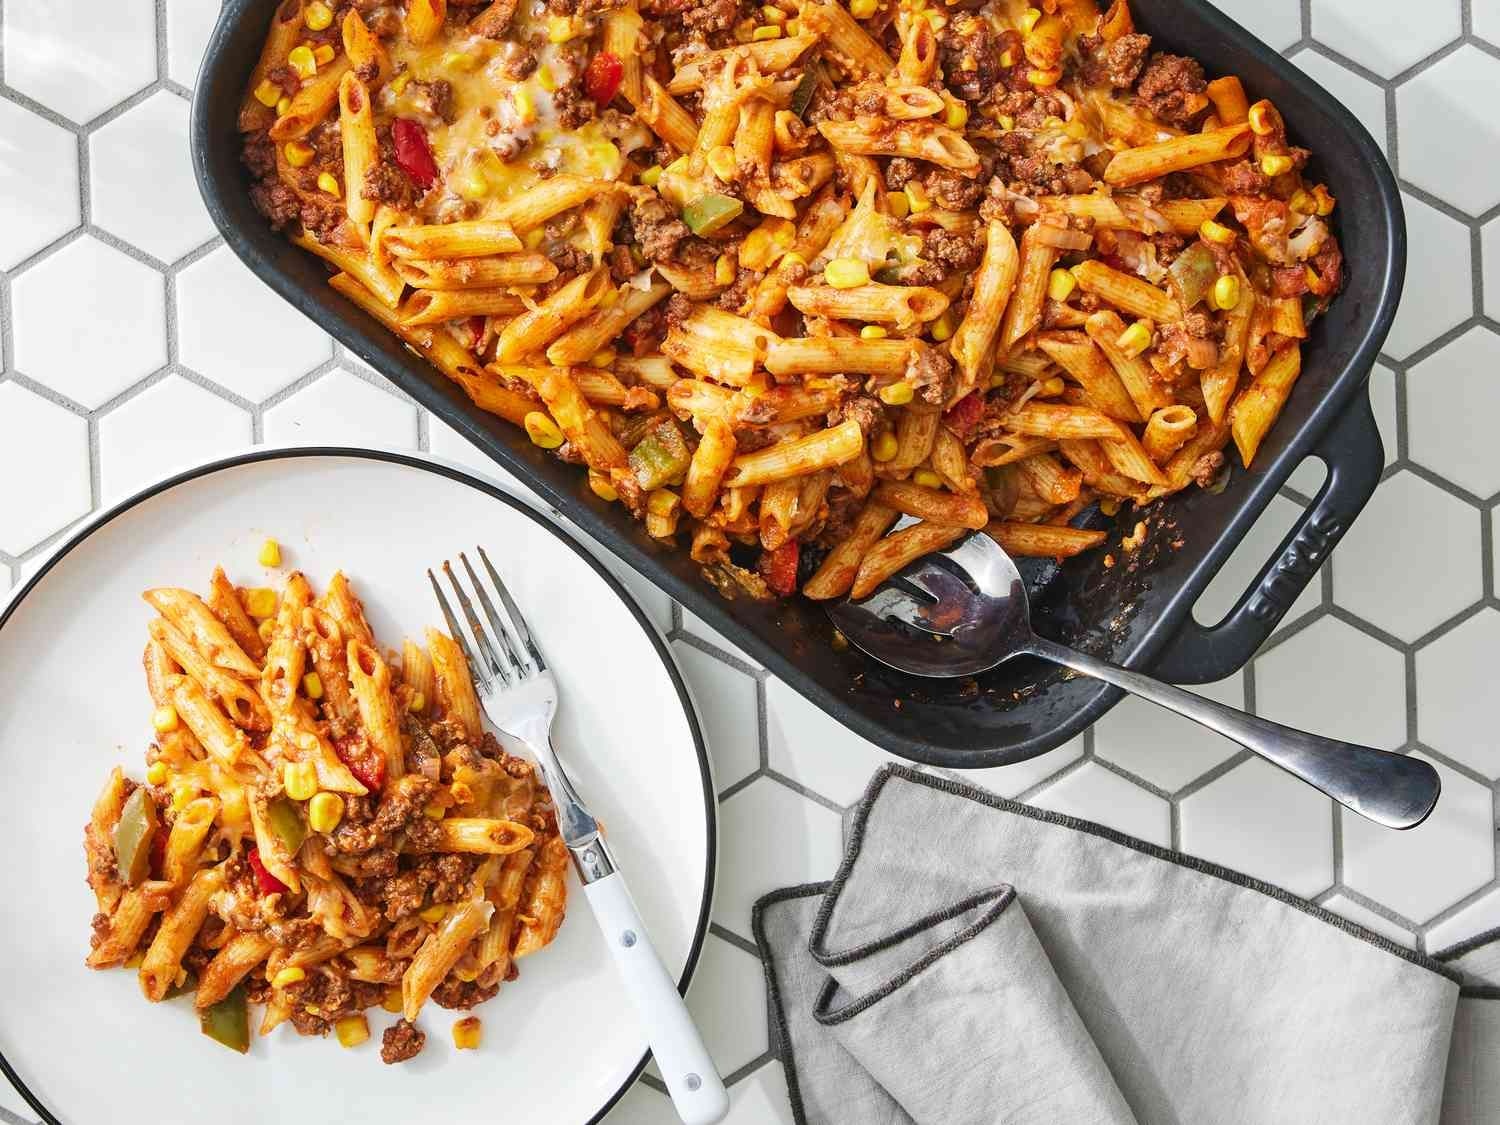
This Sloppy Joe casserole is a great comfort food recipe that I love to make on a cold winter day. It's always a hit at potluck dinners.
Ingredients
- 1 package penne pasta, 16 ounce
- 1 tablespoon olive oil
- 1 ½ pounds ground beef
- 1 medium yellow onion, chopped
- 1 small red bell pepper, chopped
- 1 small green bell pepper, chopped
- 1 tablespoon paprika
- 2 teaspoons garlic powder
- 2 teaspoons kosher salt
- 2 cans tomato sauce, 15-ounce
- ½ cup ketchup
- 2 tablespoons yellow mustard
- 2 tablespoons worcestershire sauce
- 2 tablespoons light brown sugar
- 2 cups frozen yellow corn kernels
- 1 ½ cups shredded Colby-Jack cheese, divided
- 1 cooking spray
Directions
- Gather ingredients and preheat the oven to 350 degrees F (175 degrees C).
- Bring a large pot of salted water to a boil over high heat. Add pasta and cook according to package directions for al dente. Drain.
- While pasta cooks, heat oil in a large Dutch oven over medium-high. Add beef and cook, stirring often to crumble, until no longer pink, about 5 minutes.
- Stir in onion, bell peppers, paprika, garlic powder, and salt; cook, stirring occasionally, until vegetables are softened, about 4 minutes.
- Stir in tomato sauce, ketchup, mustard, Worcestershire, and brown sugar; bring to a boil over medium-high. Reduce heat to medium and cook, stirring occasionally, until slightly thickened, about 5 minutes.
- Remove from heat, stir in cooked pasta, corn, and 3/4 cup of the cheese.
- Coat a 9x13-inch baking dish with cooking spray; transfer beef and pasta mixture into the dish. Sprinkle evenly with remaining 3/4 cup cheese.
- Bake in preheated oven until heated through and cheese is melted, about 20 minutes.
- Serve warm and enjoy!
Notes
Bake casserole on a rimmed baking sheet to prevent overflow, just in case. The pasta can be cooked and refrigerated with a splash of oil up to three days ahead. The filling can be made ahead up to four days and refrigerated in an airtight container. Just let come to room temperature for about 30 minutes and transfer to a greased baking dish, then continue with the recipe. You can use a red bell pepper instead of green and ground sirloin or ground turkey instead of lean ground beef.
Nutrition (per serving)
Serving Size: 1 · Calories: 711 · Fat: 33 · Saturated fat: 14 · Carbs: 59 · Sugar: 19 · Fiber: 7 · Protein: 47 · Sodium: 1768 · Cholesterol: 127
Recipe from: allrecipes.com, saved in Lucy's cookbook.
Smashed Brussels Sprouts
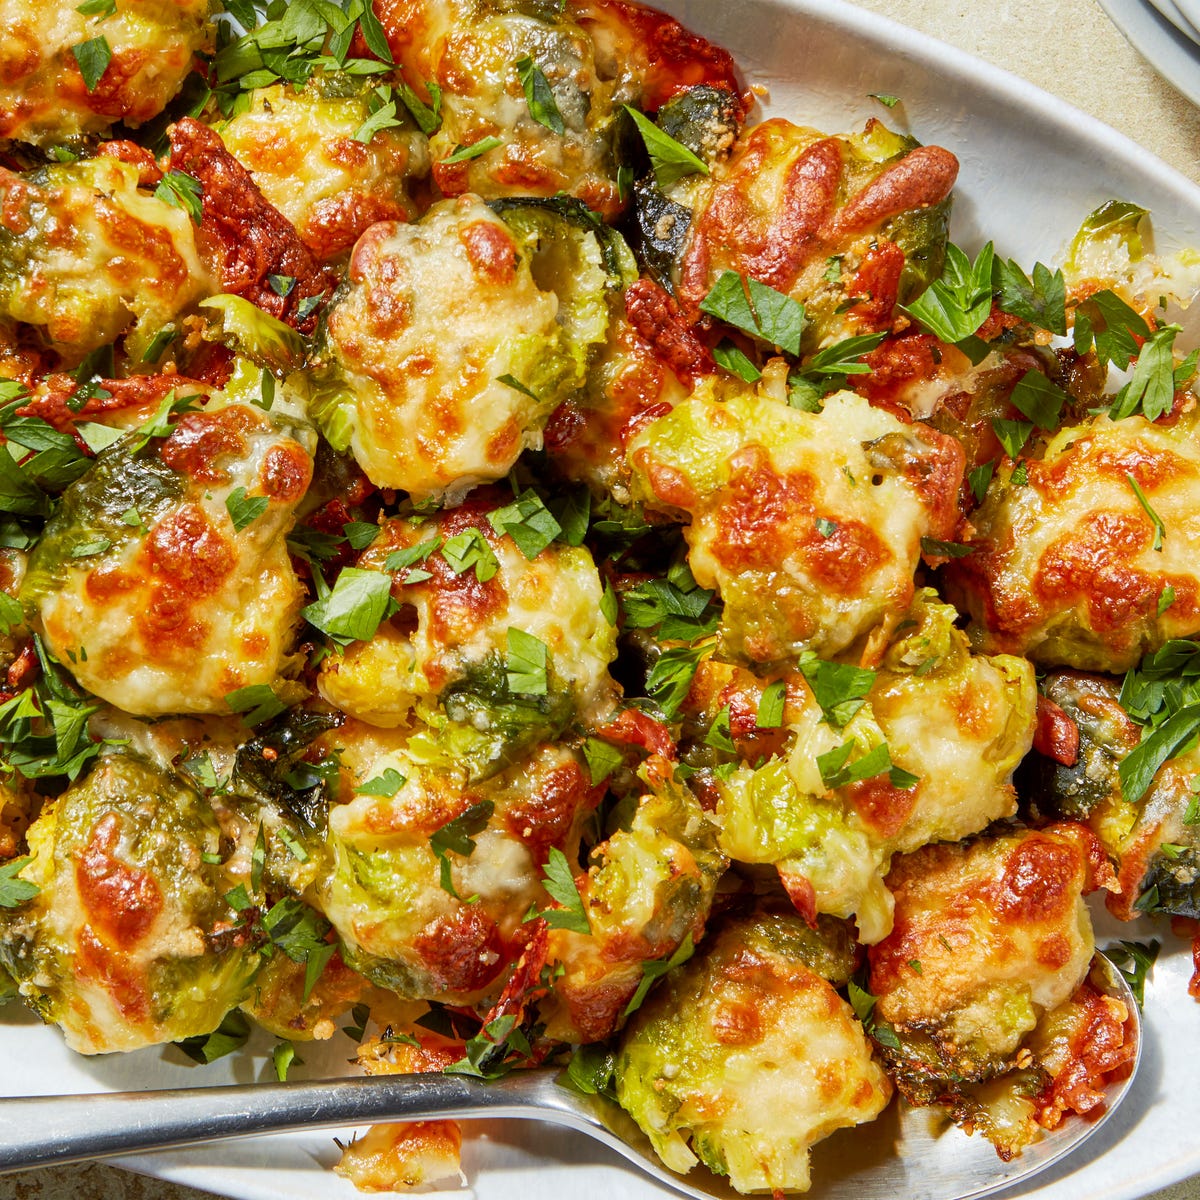
Versatile and oh so crispy, Brussels sprouts are easily one of my favorite roasted vegetables to serve with practically any weeknight meal or holiday dinner . While I love classic roasted Brussels sprouts , I thought I’d take things up a notch in this recipe by adding two things: smashing, and plenty of cheese. Just like smashed potatoes , smashing these Brussels sprouts turns them deliciously crispy and golden in the oven—plus, plenty of cheese always helps.
Ingredients
- 2 lb Brussels sprouts
- 2 Tbsp extra-virgin olive oil
- 2 cloves garlic, minced
- 1 tsp freshly chopped thyme
- 1 Kosher salt
- 1 Freshly ground black pepper
- 1 cup shredded mozzarella
- ¼ cup freshly grated Parmesan
- Freshly chopped parsley, for garnish
Directions
- Preheat oven to 425° and line a large baking sheet with parchment paper. Prepare an ice bath in a large bowl.
- Blanch brussels sprouts:
- Bring a large pot of salted water to a boil. Add Brussels sprouts and cook until bright green and very tender, 8 to 10 minutes. Add Brussels sprouts to ice bath to cool then drain.
- On a large baking sheet, toss blanched Brussels sprouts with oil, garlic, and thyme. Using the end of a small glass or mason jar, press down on Brussels sprouts to smash them into a flat patty. Season each smashed Brussels sprout with salt and pepper, then sprinkle mozzarella and Parmesan on top.
- Bake until bottoms of sprouts are crispy and cheese is melty and golden, 20 to 25 minutes.
- Garnish with parsley and serve warm.
Nutrition (per serving)
Calories: 189
Recipe from: delish.com, saved in Lucy's cookbook.
Snowflake Spritz Cookies
These buttery snowflake spritz cookies are enriched with an egg yolk and flavored with orange zest and cinnamon for a wonderful festive treat. They freeze very well.
Ingredients
- 2 ¼ cups all-purpose flour
- ¼ teaspoon salt
- ¼ teaspoon ground cinnamon
- 1 cup butter
- 1 package cream cheese, softened, 3 ounce
- 1 cup white sugar
- 1 egg yolk
- 1 teaspoon vanilla extract
- 1 teaspoon orange zest
Directions
- Preheat the oven to 350 degrees F (175 degrees C). Sift together flour, salt, and cinnamon; set aside.
- Cream together butter and cream cheese in a medium bowl. Add sugar and egg yolk; beat until light and fluffy. Stir in vanilla and orange zest. Gradually blend in the dry ingredients. Fill a Spritz snowflake cookie press or pastry bag with dough and form cookies on an ungreased cookie sheet.
- Bake in the preheated oven until the cookies are golden brown on the peaks and on the bottoms, 12 to 15 minutes. Remove from cookie sheets at once to cool on wire racks.
Nutrition (per serving)
Serving Size: 1 · Calories: 105 · Fat: 6 · Saturated fat: 4 · Carbs: 12 · Sugar: 6 · Fiber: 0 · Protein: 1 · Sodium: 60 · Cholesterol: 22
Recipe from: allrecipes.com, saved in Lucy's cookbook.
Southwestern Eggrolls Copycat
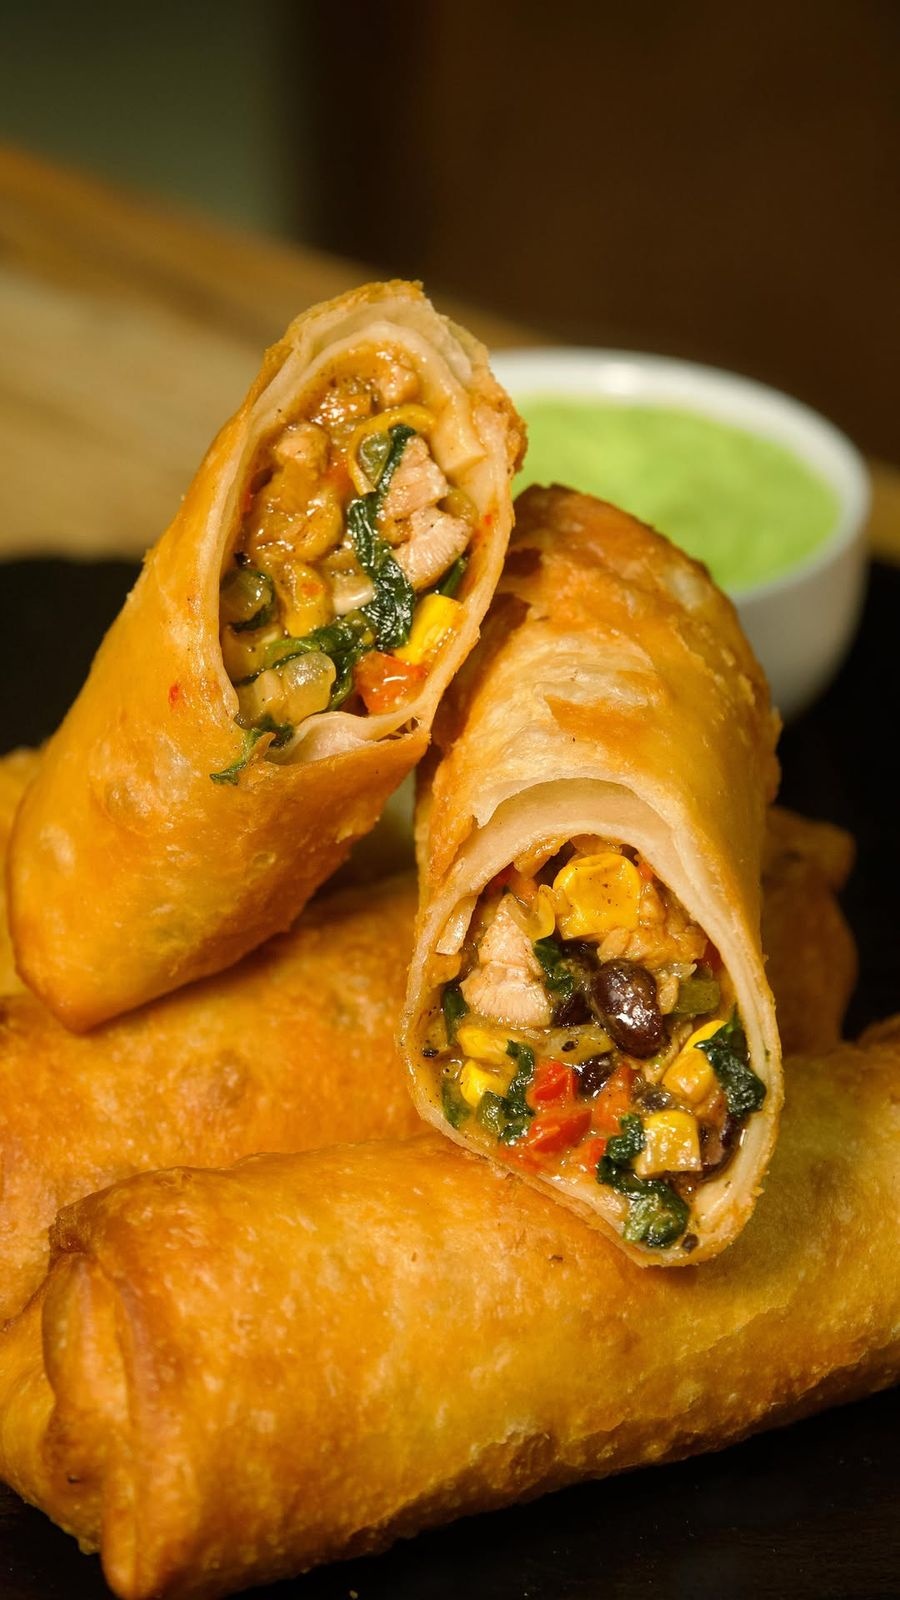
Ingredients
- 2 ½ Chicken thighs or 1 Chicken Breast
- 1 Cup Yellow Onions
- ½ Cup Black beans
- ⅔ Cup Corn
- 8 Oz Jalapeño jack cheese
- 1 Red Bell Pepper
- 2 Jalapeños
- 3 Garlic Clove
- 3 cups Spinach
- Season The Mixture with -
- 1 Tsp Cumin
- 1 Tsp Cayenne Pepper
- Chicken seasoning
- 1 ½ Tsp Onion Powder
- 1 Tsp Garlic Powder
- ½ Tsp Paprika
- ¼ Tsp Chili Powder
- ½ Tsp Black Pepper
- Pinch of Salt
- Drizzle of Olive Oil
- 1 Uncooked flour tortillas or Eggrolls wrappers
- 1 Avocado Ranch - Put everything into a Blender
- 1 Jalapeño
- 1 Large Avocado
- 1 Lime, Squeezed
- ½ Cup Ranch
- 1 Cornstarch Slurry to help seal the wrappers
- 1 Tbsp Cornstarch
- 1 Tbsp Water
Directions
Recipe from: instagram.com, saved in Lucy's cookbook.
Spicy sweet chili chicken
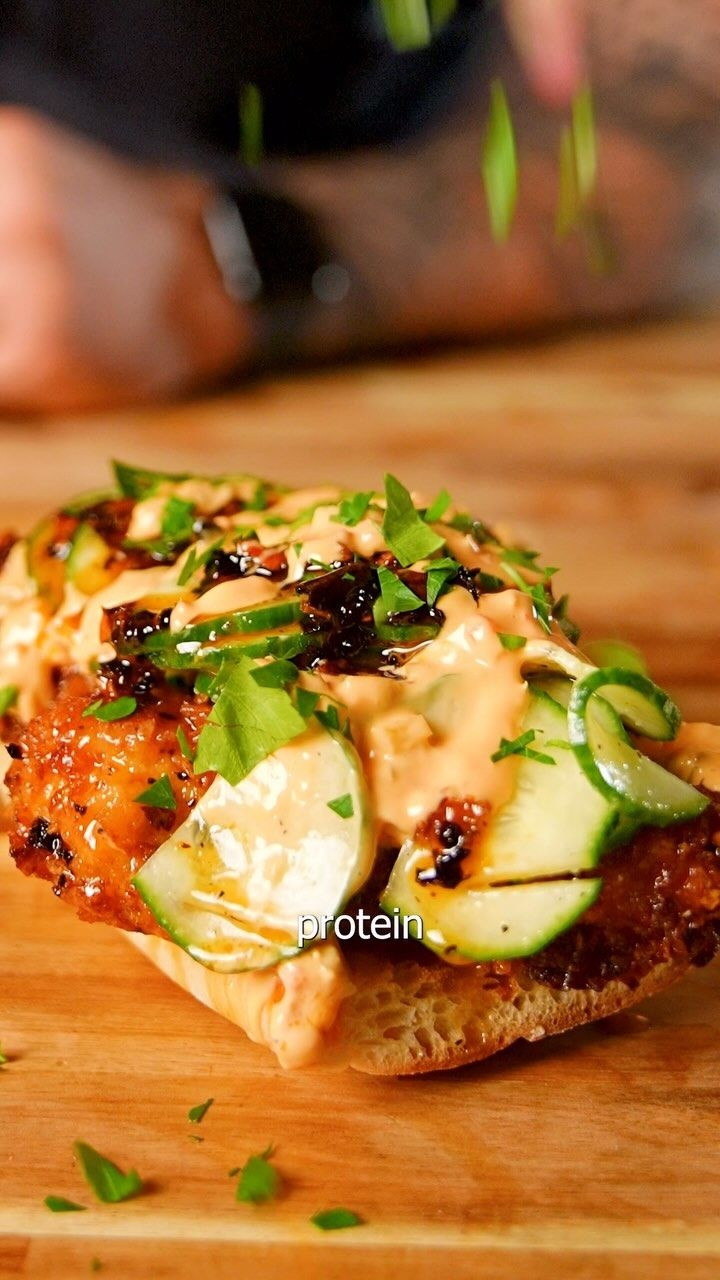
This is the best sweet chili chicken I’ve ever made 💯 if you do nothing else make the chili oil and jar it up for all your meals through the week! And if you@want it sweet just add honey to it later.
Ingredients
- 6 oz of chicken
- 1 corn flakes
- 1 dried peppers of your choice
- 6 tbsp of a neutral oil, 4-6
- chopped garlic, Optional
- lemongrass, Optional
- 1 honey
- paprika, Optional
- 1 whole cucumbers
- 1 avocado oil
- 1 salt
- 1 pepper
- 1 garlic powder
- 1 parsley
- 1 red pepper flakes
- 1 Red wine vinegar
- 1 Ciabatta bread
Directions
- Air fryer chicken:
- Dredge in flour egg then crushed corn flakes, air fry at 385F for 16 minutes flipping half way through. Cook till an internal of 165F is reached
- Sweet chili oil:
- Chop up dried peppers of your choice in a food processor or the hard way in a motor and pesil add chilies to a pan with 4 to 6 tbsp of a neutral oil, reduce temperature and let flavored develop. (Optional add chopped garlic and lemongrass) ones flavored is there remove from heat and add honey mix well (if you want that red chili oil look add paprika will cooking.
- Cucumber salad:
- whole cucumbers, add avocado oil, salt and pepper, garlic powder parsley, red pepper flakes. Red wine vinegar Shake and enjoy
Nutrition (per serving)
Calories: 700 · Protein: 30
Recipe from: instagram.com, saved in Lucy's cookbook.
Spinach and Cheese Christmas Tree Appetizer
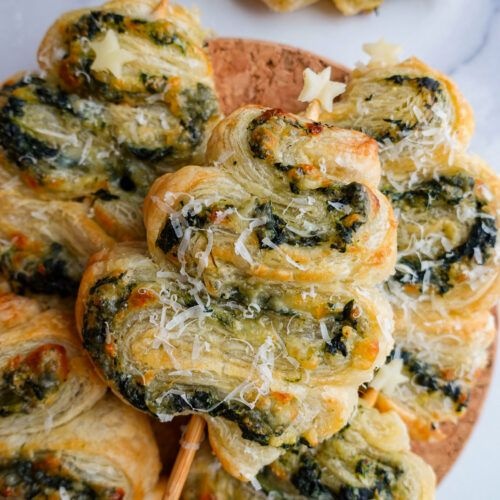
A quick and easy homemade Christmas tree appetizer for parties. A creamy spinach dip filling is encased in flaky puff pastry, cut and shaped like a Christmas tree then baked until golden and crispy.
Ingredients
- 2 sheets puff pastry thawed
- 1 cup frozen spinach thawed and drained
- 4 oz cream cheese softened
- 1 cup mozzarella cheese shredded
- ¼ cup Parmesan cheese grated
- 1 tsp Italian seasoning
- 1 tsp onion powder
- 2 cloves garlic minced
- ½ tsp salt
- ¼ tsp pepper
- 1 egg for egg wash
Directions
- Preheat your oven according to the instructions on the puff pastry package. Usually around 400°F. Line a baking sheet with parchment paper and set aside.
- Prepare the filling:
- In a mixing bowl, combine thawed and drained frozen spinach, cream cheese, shredded mozzarella, grated Parmesan, minced garlic, Italian seasoning, onion powder, salt, and pepper. Mix well until all ingredients are thoroughly combined.
- Roll out puff pastry and add filling:
- Roll out the puff pastry sheets on a lightly floured surface. You’ll need 2 puff pastry sheets. One for the top and one for the bottom.
- Generously spread the spinach and cheese mixture evenly onto one of the puff pastry trees, ensuring it reaches the edges.
- Sprinkle an additional layer of mozzarella cheese, then carefully place the second sheet on top, aligning the edges and corners.
- Using a rolling pin, gently roll the pastry to achieve an even thickness.
- Cut into strips:
- Use a sharp knife or pizza cutter to cut the dough into 1-inch wide strips.
- Create the christmas tree shape:
- Take each strip and roll them starting wider at the base and gradually tapering to a smaller width at the top to create the shape of a Christmas Tree (See Images below for reference). Insert a skewer through the center to hold the shape together.
- Bake:
- Place the assembled puff pastry Christmas trees on a baking sheet lined with parchment paper. Whisk together an egg wash and lightly brush it over tip of each Christmas tree. Bake for 15-20 minutes at 400°F or until golden and crispy.
Recipe from: eatwellwithlex.com, saved in Lucy's cookbook.
Split Pea Soup with Ham
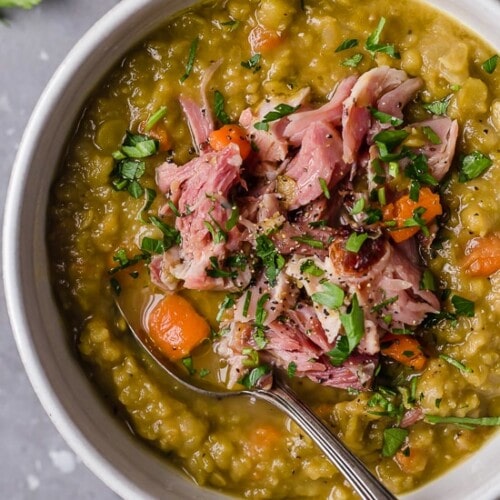
Classic Split Pea Soup with Ham is the soup I crave on cold nights! This easy recipe makes a comforting soup with just 6 ingredients not counting salt and pepper.
Ingredients
- 16 ounce bag of dried split peas
- 2 teaspoons extra virgin olive oil
- 1 medium onion, chopped
- 2 cloves garlic, chopped
- 2 large carrots, chopped
- 8 cups low sodium chicken broth
- kosher salt and black pepper, to taste
- 1 large or 2 small smoked ham hocks*, or 8 ounces cooked ham
Directions
- Wash the peas and drain.
- In a large pot or Dutch oven, saute onions and garlic in 2 teaspoons of oil over medium heat until soft, about 4 to 5 minutes.
- Add the peas, carrots, ham hock and chicken broth, then cover the pot and let it come to a boil. Add salt and pepper to taste.
- Once it boils, reduce heat and cook for about 2 hours, or until the peas are soft and thickened.
- Make sure to check the liquid and consistency. You may need to add hot water if it becomes too thick.
- Remove ham hock, discard the skin and boned and serve with ham.
Notes
*(assuming 8 ounces meat removing bone and skin) based on 8 ounces ham calculated in nutritional information. See variations and notes above.
Nutrition (per serving)
Serving Size: 1 · Calories: 394 · Fat: 8.5 · Saturated fat: 1.5 · Carbs: 54.5 · Sugar: 7.5 · Fiber: 18 · Protein: 27 · Sodium: 606 · Cholesterol: 33.5
Recipe from: skinnytaste.com, saved in Lucy's cookbook.
Split-Pea Soup with Spinach and Barley
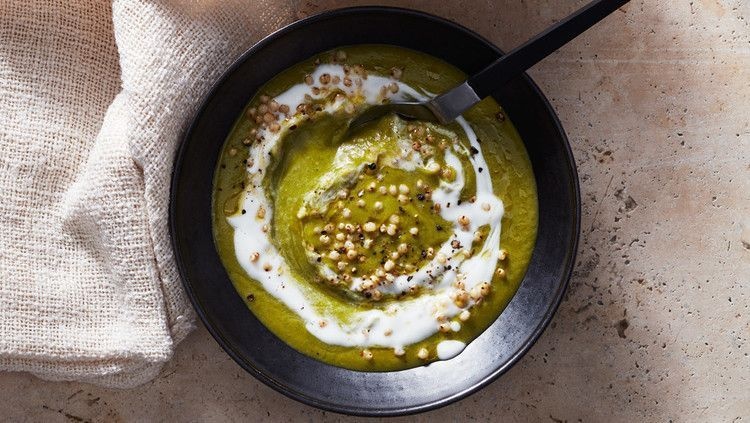
A split-pea puree is extra nutritious (and extra green) thanks to baby spinach. The swirl of plain yogurt brings brightness, and a sprinkle of barley gives the make-ahead soup another healthy boost—it contains the soluble fiber beta-glucan, which has been found to do wonders to lower bad cholesterol.
Ingredients
- 2 tablespoons extra-virgin olive oil, plus more for drizzling
- 3 leeks, white and light-green parts only, chopped and well washed
- 2 carrots, peeled and chopped
- 2 celery stalks, chopped
- 8 cups low-sodium chicken broth or water, or a combination
- 1 pound dried split peas, picked over
- 5 ounces baby spinach
- 1 Kosher salt and freshly ground pepper
- ½ cup full-fat plain yogurt, whisked, for serving, not Greek
- 2 cups cooked barley, for serving
Directions
- Heat oil in a large pot over medium. Add leeks, carrots, and celery; cook, stirring, until tender, 6 to 8 minutes. Add broth and peas; bring to a boil, then reduce to a simmer and cook, partially covered, until peas are creamy, 50 to 55 minutes. Stir in spinach; cook until just wilted, about 5 minutes. Let cool slightly.
- Working in batches, puree soup in a blender until smooth. Return to pot; season with salt and pepper. (If too thick, add water, 1 tablespoon at a time.) Ladle soup into bowls, drizzle with yogurt and oil, top with barley, and serve.
Notes
When buying barley, look for hulled or hull-less varieties over pearl. The former take longer to cook, but they pack more fiber because their outer layers are intact.
Recipe from: marthastewart.com, saved in Lucy's cookbook.
Spritz Cookies

You only need 7 ingredients to make these buttery Spritz Cookies. My recipe has a classic flavor and texture and requires NO chilling! Recipe includes a how-to video!
Ingredients
- 1 cup unsalted butter softened to room temperature, 226 g
- ¾ cup sugar, 150 g
- 1 ½ teaspoons vanilla extract
- ½ teaspoon almond extract optional
- 1 large egg yolk
- ½ teaspoon salt
- 2 ¼ cups all-purpose plain flour, 295 g
- Glaze (optional):
- 1 cup powdered sugar, 125 g
- 4 tablespoons milk I use whole milk, 3-4, but any milk will work
- ¼ teaspoon vanilla extract
- Sprinkles for decorating, optional
Directions
- Preheat oven to 350°F (175°C).
- Combine butter and sugar in a large bowl and use an electric mixer to beat until creamed.
- Add vanilla extract, almond extract (if using) and salt and stir until well-combined. Be sure to scrape down the sides of the bowl using a spatula to ensure ingredients are well-incorporated.
- Add egg yolk and beat until combined
- With mixer on medium-low speed, gradually add flour until completely combined (you will most likely need to scrape down the sides and the bottom of the bowl several times for this, as the mixture is fairly dry and crumbs tend to settle at the bottom of the bowl).
- Break off about ½ cup of dough and use your hands to form it into a log.
- Insert cookie dough log into the tube of your cookie press and fit with your preferred tip. Place cookie press directly on an ungreased cookie sheet and use press to squeeze out one cookie. Squeeze out cookies in rows, spacing at least 1″ apart.
- Decorate with sprinkles, if desired, and transfer to 350°F (175°C) oven. Bake for 9-10 minutes.
- Allow to cool for at least 5-10 minutes on baking sheet before using a spatula to gently remove from the cookie sheet and transfer to a wire cooling rack to cool completely.
- Vanilla glaze (optional):
- Add (3 Tablespoons of) milk and vanilla extract to powdered sugar and whisk until combined. If mixture is too thick, add additional milk, about a teaspoon at a time, until you have a smooth glaze that ribbons off your whisk and holds its shape for several seconds before dissolving back into the bowl. (Note: if glaze is too thin, add additional powdered sugar until you have the proper thickness).
- Drizzle or dip cookies in glaze. Top with colorful sprinkles, if desired.
- Allow glaze to set before enjoying.
Notes
Storing Store in an airtight container at room temperature for up to a week. Cream Cheese Spritz Cookies To make these cream cheese spritz cookies, simply cream 3 oz of softened cream cheese with the butter and sugar. The dough will be a bit softer as will the resulting cookies, but they still hold their shape perfectly! Because the cookies are a bit softer, it’s harder to dip them with glaze, so I would recommend drizzling them instead.
Nutrition (per serving)
Serving Size: 3 · Calories: 141 · Fat: 8 · Saturated fat: 5 · Carbs: 16 · Sugar: 6 · Protein: 1 · Sodium: 52 · Cholesterol: 29
Recipe from: sugarspunrun.com, saved in Lucy's cookbook.
STEAMED RICE PAPER DUMPLINGS (GF / DF) ✨
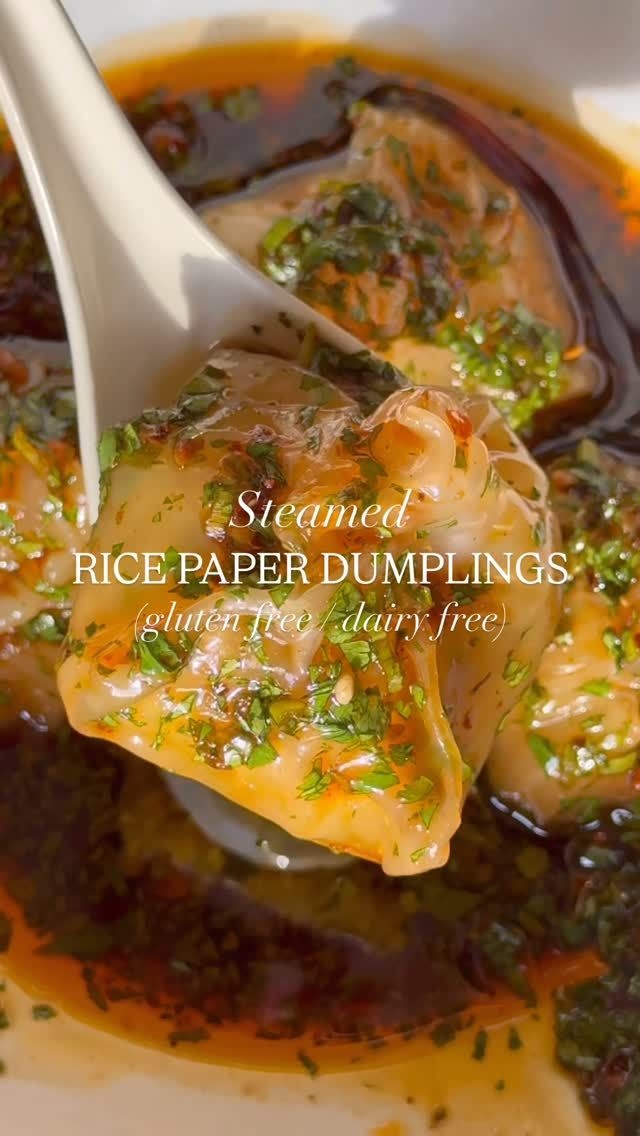
The most flavorful dumplings you will ever try and the perfect gluten free alternative to a traditional dumpling wrapper. I love how the rice paper gets perfectly chewy and stays light from steaming instead of frying. And let’s be honest, pretty much anything would be irresistible if you serve it with this dipping sauce! Save and follow @caitlinjesson for easy gluten free and dairy free recipes.
Ingredients
- 1 lb peeled and deveined shrimp, tails removed and minced
- 3 tbsp fresh ginger, peeled and minced
- 4 cloves garlic, minced
- ¼ cup chives, finely chopped
- 2 tsp low sodium tamari
- 1 tbsp arrowroot or cornstarch
- Pinch of black pepper
- 20 sheets of rice paper, 15-20
- Sauce:
- 2 tbsp chili crisp
- ⅓ cup rice vinegar
- ⅓ cup low sodium tamari
- 2 cloves garlic, grated
- 1 tbsp coconut sugar
- 4 green onions, finely chopped
- ¼ cup cilantro, finely chopped
- ¼ cup avocado oil
Directions
- To make sauce, combine ingredients in a medium sized bowl and whisk until combined.
- To make dumpling filling, add shrimp, ginger, garlic, chives, soy sauce, arrowroot and pepper to a bowl and mix well.
- Fill a large bowl with water then generously wet a cutting board and set it next to your bowl.
- Line a steaming basket or a plate with parchment paper and spray with nonstick spray.
- Dip a piece of rice paper into your water bowl. Allow it to soak for 5-10 seconds until it begins to soften slightly. At the rice paper to your cutting board then fold all four of the edges in to form a square.
- Add 1 heaping tbsp of filling to the center of the rice paper square then fold all of the corners in towards the center and press them together to seal the filling in the dumpling.
- Transfer dumpling to steaming basket and repeat with remaining dumplings. You will need to steam in two batches.
- If using a steaming basket, bring 2 inches of water to a boil in a large pot then place steaming basket on top and steam for 10 minutes.
- If using a plate, bring 2 inches of water to a boil in a large pot. Add a heat safe bowl to the water upside down then set the plate on top of the bowl. Cover and steam for 10 minutes.
- Serve with dipping sauce.
Recipe from: instagram.com, saved in Lucy's cookbook.
STICKY ep. 1 🥭🍚 MANGO STICKY RICE
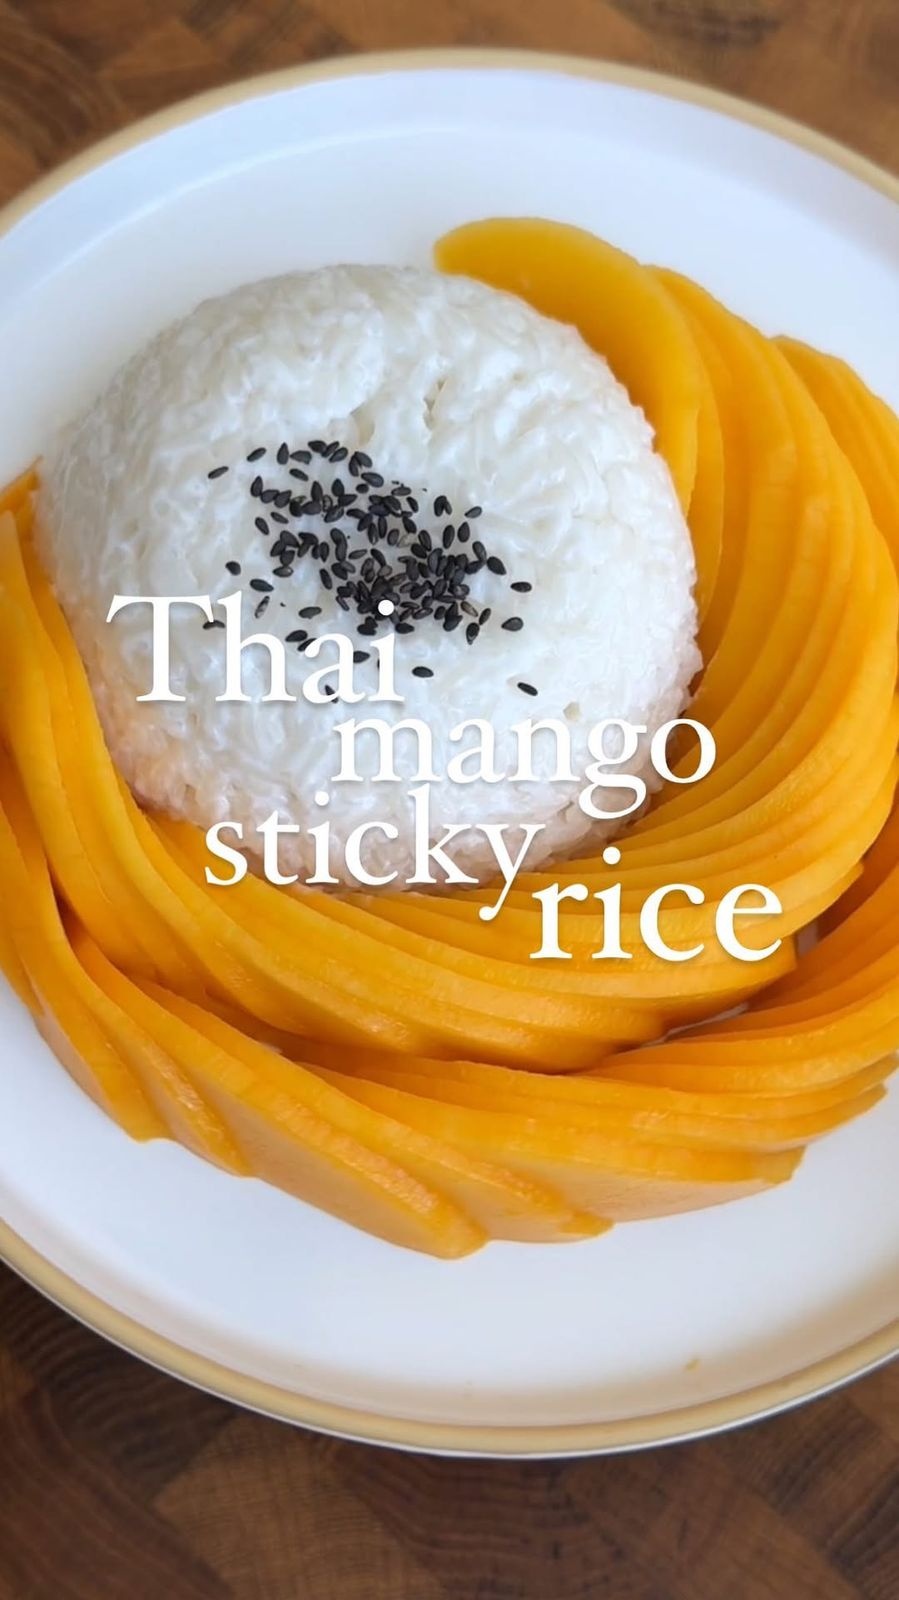
Ingredients
- 1 cup Thai glutinous rice, rinsed then soaked overnight
- 1 SALTED COCONUT SAUCE
- 350 ml Full-Fat Premium Coconut Cream, I use Kara UHT
- 4 tbsp caster sugar, 60g
- ¾ tsp salt, 4.5g
- TO SERVE
- 1 big fat juicy, sweet, RIPE, mango! Or 2 small
- 1 Toasted sesame seeds, black sesame seeds or toasted mung beans, traditional
Directions
- Rinse your glutinous rice 3 times (and yes- it has to be glutinous rice) and soak in water overnight and place your ripe mangoes in the fridge to chill.
- The next day, drain the rice and steam your rice in a sieve or bamboo steamer lined with muslin cloth for 30-40 minutes.
- While the rice is steaming, peel and cut your mangoes and return them to the fridge to keep cold - cut em chunky for a satisfying mouthfeel or slice thin and splay out for nice plating.
- Mix your coconut cream, sugar and salt in a small saucepan and heat on medium heat just until just hot through, about 3-4 minutes, then turn heat off. It will thicken slightly.
- Once the rice is cooked, transfer to a mixing bowl and pour over about 1/3 of the coconut cream and fold in carefully - you don’t want to mush the rice so try folding it in with more of a fluffing action.
- Reserve the rest of the coconut cream as a pouring sauce to serve with the dish.
- To plate, wet a small bowl with cold water (this helps rice not to stick when shaping the rice), then fill the bowl with the sticky rice and pat down to lightly compress rice into the bowl.
- Flip the bowl onto your plate to reveal a perfect dome of rice and serve with the cut mango.
- Sprinkle with toasted sesame seeds or toasted mung beans and serve with the extra sauce.
Notes
How did you cut them at all! Perfection is annoying 🙂 Mango Sticky Rice❤️
Recipe from: instagram.com, saved in Lucy's cookbook.
Straight protein? Chip, chip, hooray 🍗!
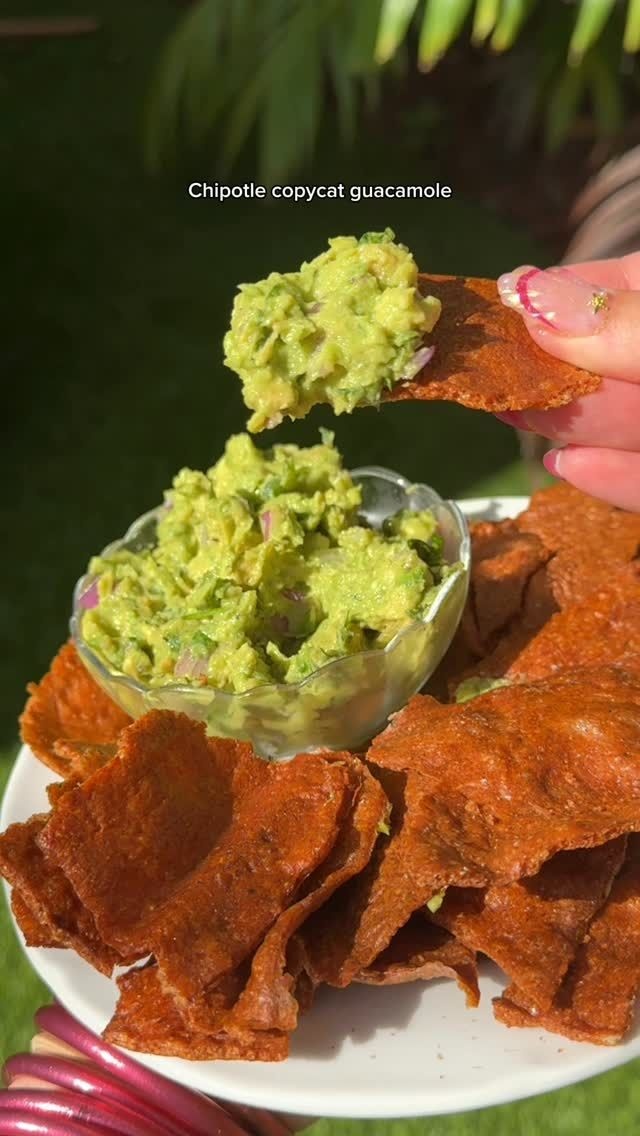
[~140 cals 26g protein]
Ingredients
- 16 oz chicken breast
- your fav seasonings: I did garlic powder, onion powder, paprika, chili powder, salt and pepper
- 2 tsp baking soda
Directions
- Preheat oven to 350F.
- Mix ground chicken with seasonings and baking soda.
- Roll on parchment paper is thin as possible. It’s best if you use Saran Wrap on top and a rolling pin to flatten so it doesn’t stick.
- Bake for about 1 1/2 - 2 hours or until chicken becomes crunchy. (I know - it will take longer than you think. It’ll be a bit flimsy before it crisps up so don’t freak out lol)
- Make a dip or eat it as is and enjoy!
Notes
Where can I find the guacamole recipe 😋
Nutrition (per serving)
Calories: 140 · Fat: 3 · Carbs: 0 · Protein: 26
Recipe from: instagram.com, saved in Lucy's cookbook.
Strawberry Clusters
Ingredients
- To make the same strawberry clusters mix together:
- 160 g Coconut Yogurt +Protein in strawberry flavour (I used @cocobella
- 80 g cocobella Coconut Yogurt in vanilla
- 200 g fresh strawberries cut into small pieces
- 2 tablespoons maple syrup
Directions
- On a baking paper add 2 tablespoons of the mixture to form clusters.
- Place in the freezer for 2 hours
- Dip each frozen cluster in melted white chocolate mixed with 1 tablespoons of green matcha powder and sprinkle strawberry powder on top and return to the freezer for 30 minutes.
- Store in the freezer.
- Enjoy
From Lucy's own cookbook collection.
Sun-dried tomato and mozzarella flatbreads
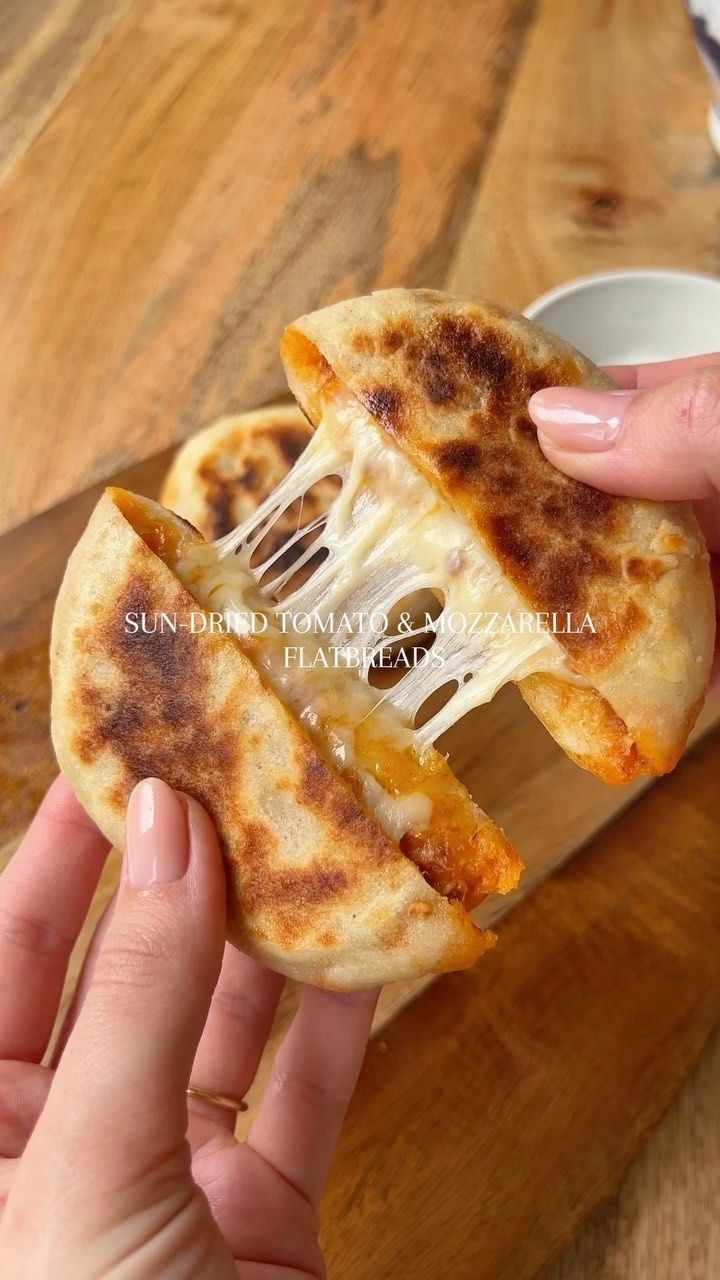
These four ingredient flatbreads are ridiculously good. They essentially taste like pizza but are so easy and quick to make. Defff give these a go
Ingredients
- 175 g/ 3/4 cup thick greek yoghurt
- 180 g/ 1.5 cup self-raising flour
- 6 tsp sun-dried tomato pesto
- 160 g/ 1.25 cup grated mozzarella, add more or less for preference
Directions
- Pre-heat an oven to 140C/ 280F.
- In a bowl, combine your flour and yoghurt. Start with a spoon and then use your fingers to bring the dough together. Knead into a ball for a few minutes. Add more flour if you feel it is too wet.
- Divide into six portions. Then flour or oil a surface and the rolling pin. Place a portion of dough onto the surface and roll out into a thin shape. Add 1 tsp sun-dried tomato pesto and 1/6 mozzarella cheese. Then squeeze the edges together, flip the flatbread over and gently roll the flatbread again. Don’t over roll at this stage just gently roll.
- Heat a non-stick pan on a medium-high heat. Place a flat bread in and leave for around 3-4 minutes, until golden and crispy. Then flip and leave for another 3-4 minutes. Place into the oven to keep warm and ensure the centre is cooked whilst you prepare your other flatbreads. Then enjoy! I dipped into a homemade yoghurt, basil dip but ranch or anything would be yum
Notes
@iljarihoek
Recipe from: instagram.com, saved in Lucy's cookbook.
Super easy scallion pancakes(葱油饼/蔥油餅)
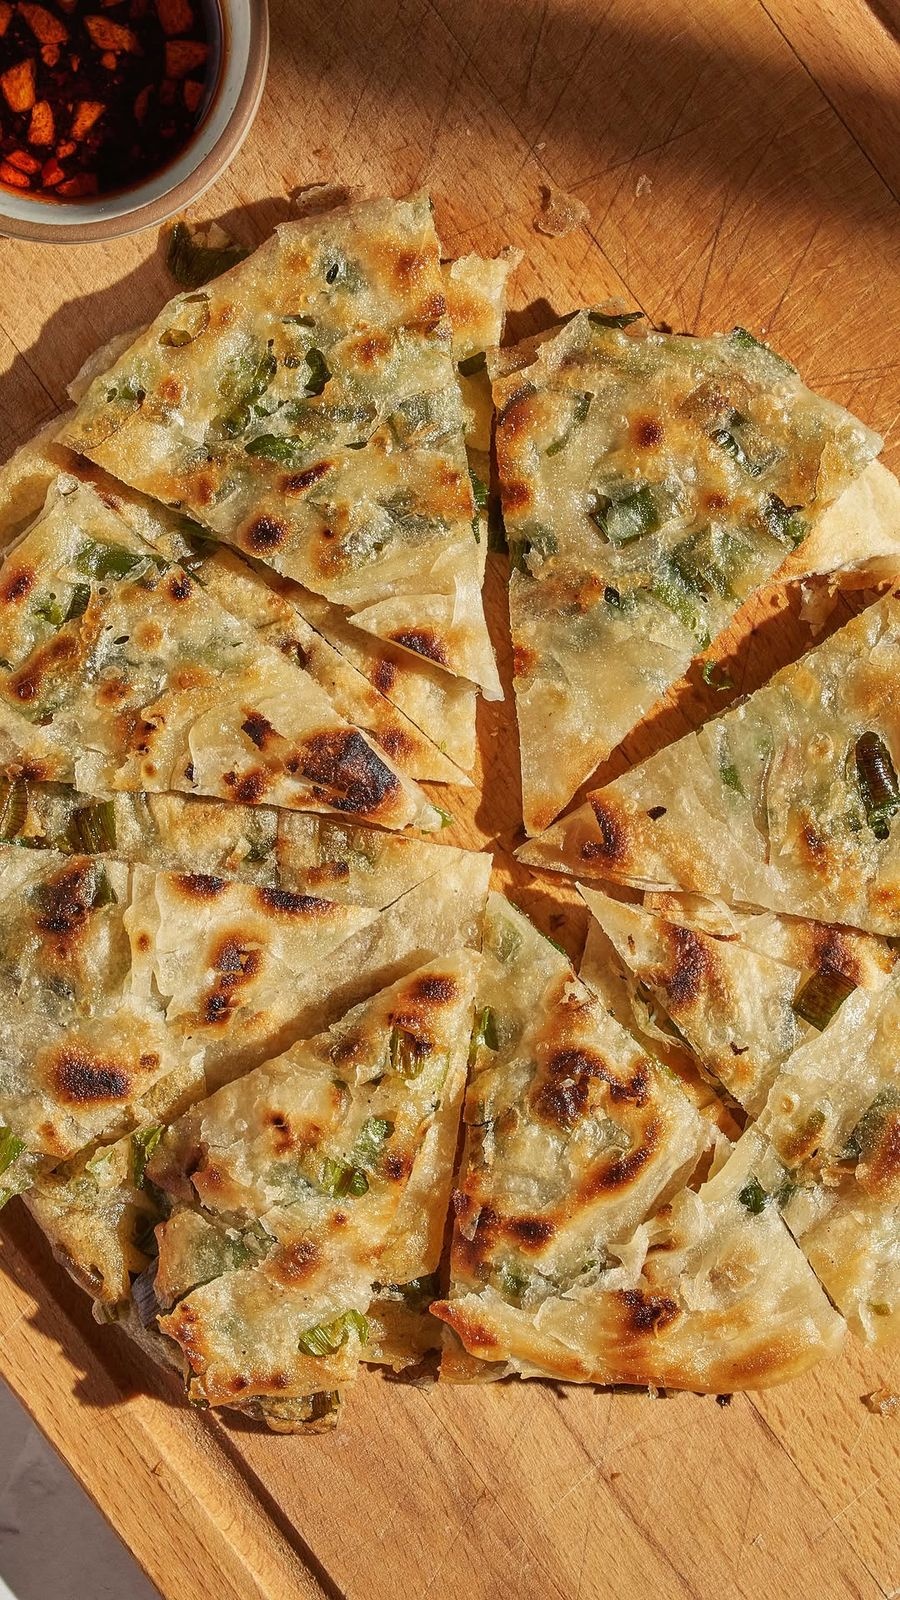
Super easy scallion pancakes(葱油饼/蔥油餅) ft. my new Classic White Chef’s Knife from @wusthof 🔪#MyWUSTHOF #WUSTHOF #ad .I used to eat these so often for lunch or even before school. I loved having it with chili oil and XO sauce. Sometimes my mom fills them with sliced beef and hoison sauce to make Taiwanese beef rolls 😋
Ingredients
- 1 Dough
- 300 g all purpose flour
- Pinch of salt
- ¾ cup water
- 1 Filling
- 1 vegetable oil
- 1 Salt
- 5 spice powder
- 9 stalks of green onion/scallion, thinly sliced
- 1 Oil for frying
- 1 Dipping sauce
- 1 tbsp soy sauce
- ½ tbsp Chinese black vinegar
- 1 tbsp chili crisp
Directions
- In a large bowl, mix together flour, salt, and water. Knead until it forms a ball. It should be soft but not sticky. Adjust with more water or flour as needed. Divide dough into 6 balls, coat each one in oil, and cover with a damp towel. Allow dough to rest for 30-60min.
- Once the dough has rested, on a lightly oiled surface, roll one ball of dough out as thin as you can handle. Brush the surface lightly with oil then sprinkle with a pinch of salt and five spice powder. Roll the dough up like a jelly roll and twist into a coil (resembling a snail shell). With the palm of your hand lightly flatten the coil. Finally, roll it into a flat disk.
- Heat a few tablespoons of oil in a nonstick pan. Fry each pancake on each side until golden brown. Allow oil to drain on paper towel.
- Cut each pancake into wedges and serve with dipping sauce. Enjoy!
Notes
@lamymota every culture has a slightly different version of a food! so they’re similar
Recipe from: instagram.com, saved in Lucy's cookbook.
Sweet and Spicy Oven Beef Jerky
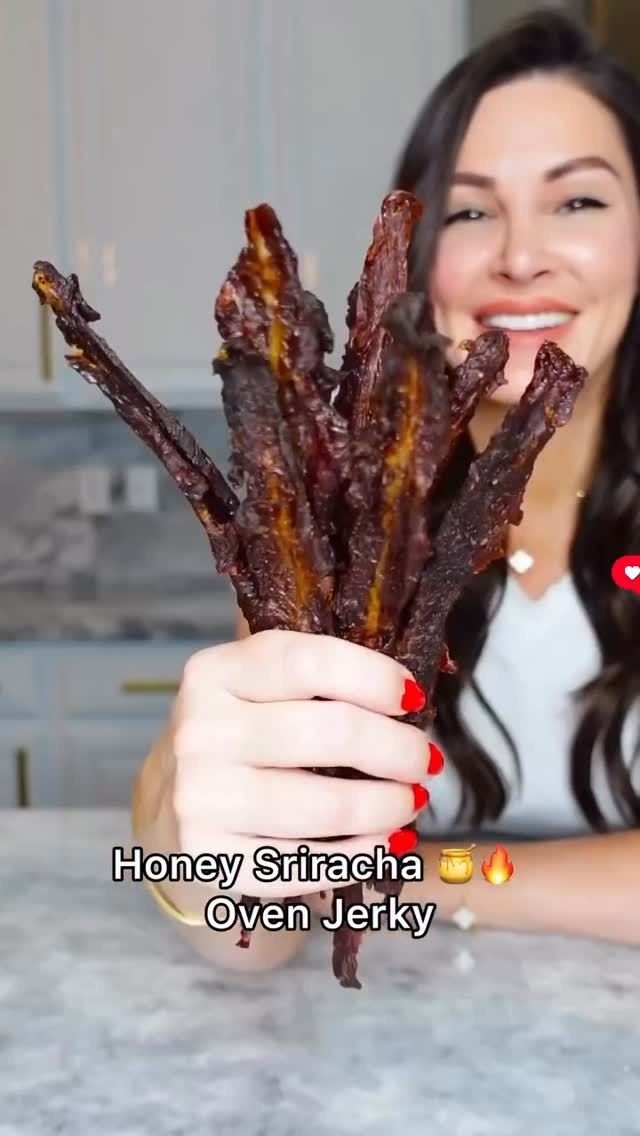
This high protein snack is perfect for on the go and can be stored in an airtight container up to one month. You can substitute regular honey with keto honey if on a low carb diet.
Ingredients
- 2 lbs flank steak, sliced thin, 1/8th inch thick
- ½ cup sriracha
- ½ cup honey, or keto honey
- 2 tsp garlic salt
- 35 wooden toothpicks, 30-35
Directions
- Combine all ingredients and marinade for four hours.
- Place a toothpick through the top of each slice.
- Place a foil line sheet pan on the bottom rack of your oven to catch dripping.
- Place the toothpicks up and over the top rack, leaving space in between each slice of beef.
- Bake in a 170° oven with the door slightly open to allow air to vent.
- Once your jerky is firm, but still slightly pliable, it’s ready.
- Remove toothpicks and store airtight container for up one month in the pantry or in the fridge for up to 3 months.
Notes
Freeze beef for 40 minutes to firm to allow more precise slicing.
Nutrition (per serving)
Serving Size: 1 · Calories: 85 · Fat: 2.8 · Carbs: 5 · Protein: 10
Recipe from: instagram.com, saved in Lucy's cookbook.
Sweet chilli chicken!
Crispy fried chicken and spicy sweet chilli sauce are a perfect combo! You’ll love it. 😋😍
Ingredients
- 400 grams Chicken breast Boneless chicken breast or thigh
- ¼ tsp White pepper
- 1 tbsp Soy sauce All-purpose soy sauce
- 150 grams Cornstarch About 1 cup, add more if needed
- 1 Egg
- 1 Oil for frying
- Spring onions for garnish
- 1 For Sweet Chilli Sauce Mix
- 2 cloves Garlic
- 1 tsp Dried chilli flakes Optional
- 1 tbsp Cooking oil Neutral flavour cooking oil
- 6 tbsp Sweet Chilli sauce Thai or Chinese sweet chilli sauce
- 2 tbsp Soy sauce Regular soy sauce
- 1 tbsp Sugar Brown sugar or regular white sugar
- ½ tsp Cornstarch Mix it with 3 tbsp water to make cornstarch slurry
Directions
Recipe from: instagram.com, saved in Lucy's cookbook.
Taco Crunch Supreme Wrap Recipe 🌮
Taco Crunch Supreme Wrap Recipe 🌮
Ingredients
- For the taco meat:
- 2 lbs ground beef
- Salt, to taste
- 1 tbsp garlic powder
- 1 tbsp onion powder
- 1 tbsp smoked paprika
- 1 tbsp cumin powder
- 1 tsp black pepper powder
- 2 tbsp tomato paste
- 1 white onion, diced
- 1 tbsp freshly minced garlic
- 1 jalapeño, diced
- 2 tbsp oil for cooking
- ½ cup water
- For the assembly:
- 10 large tortillas
- 10 tostadas corn tortillas or 1 cup nacho chips
- 10 mini tortillas
- 1 cup lettuce, sliced
- 1 cup tomato, diced
- 1 cup red onion, diced
- ½ cup sour cream
- 1 cup guacamole, optional
- 1 cup salsa
- 1 cup cheddar cheese, shredded
- 1 cup Monterey Jack cheese, shredded
- 1 Oil for cooking
Directions
- Heat oil in a large skillet over medium-high heat. Add diced onion, minced garlic cook until onion is translucent.
- Add ground beef; cook, breaking it up with a spoon. Once browned, add garlic powder, onion powder, smoked paprika, cumin powder, black pepper powder jalapeños and tomato paste. Add water
- Stir well, cook 8-10 minutes or until flavors combine and cooked through
- Take a large tortilla.Spoon taco meat onto tortilla; add Tostada or nacho chips,Lettuce, Tomato,Red onion, Sour cream,Guacamole (if using) , Salsa, Cheddar cheese,Monterey Jack cheese
- Place smaller flour tortilla on top of the filling.
- Fold the edges of the large tortilla toward the center, creating pleats.
- Invert the Crunchwrap so the pleats are on the bottom, securing the filling.
- Heat oil in a skillet over medium heat.
- Grease a non stick pan with oil, Cook the Crunchwrap seam-side down on medium low heat for 3 minutes or until golden.
- Flip and cook the other side for an additional 3 minutes. Repeat with remaining Crunchwraps.
Notes
Fold gently to avoid tearing the tortilla. Press down lightly for even browning. Serve immediately and enjoy your crispy Crunchwrap!
Recipe from: instagram.com, saved in Lucy's cookbook.
Taco Spaghetti
Taco Spaghetti Recipe – THE BEST! We ate this three days in a row! Ready in 30 minutes!! Taco meat, Velveeta, diced tomatoes with green chilies, spaghetti noodles, cream of chicken soup and cheddar cheese. CRAZY good! Kids and adults gobbled this up – even our picky eaters! This is our favorite Mexican casserole!
Ingredients
- 8 oz spaghetti
- 1 ¼ pounds lean ground beef or ground turkey
- 1 package taco seasoning, 1-oz
- ⅔ cup water
- 1 can Unsalted Cream of Chicken Soup, 10.5-oz
- 1 can Rotel diced tomatoes and green chilies undrained, 10-oz
- 1 package Velveeta cheese, cubed, 8-oz
- 1 ½ cups shredded cheddar cheese
Directions
- Preheat oven to 350ºF. Lightly spray a 9×9-inch pan with cooking spray. Set aside.
- Cook pasta according to package directions. Drain. Set aside.
- In a large skillet cook ground beef over medium-high heat until no longer pink. Drain fat. Return meat to skillet. Add taco seasoning and water. Stir to combine. Cook for 5 minutes.
- Stir in soup, Velveeta and Rotel tomatoes. Reduce heat to low, and cook until the cheese melts, stirring constantly.
- Stir in cooked spaghetti and pour into prepared dish. Top with cheddar cheese.
- Bake for 30 minutes or until heated through.
Notes
Is Taco Spaghetti spicy? If you are worried about the heat, make sure to buy the Mild can of Rotel diced tomatoes and green chilies. Substitutions/Additions onions bell peppers corn green chiles cilantro black beans red pepper flakes I use cheddar cheese in this recipe. You can substitute Mexican cheese blend. I suggest using Unsalted Cream of Chicken Soup in this dish to control the sodium. You can buy it by the case at Amazon: https://amzn.to/49n4uZE Need Gluten-free Cream of Chicken Soup? You can buy it here: https://amzn.to/3MtqQ1s Here is our recipe for Homemade Cream of Chicken Soup: https://www.plainchicken.com/homemade-cream-of-chicken-soup/ Here is our recipe for Homemade Taco Seasoning made with Chili powder, garlic powder, onion powder, red pepper flakes, oregano, paprika, cumin, salt, and black pepper: https://www.plainchicken.com/homemade-taco-seasoning/ Can Taco Spaghetti be made in advance? Yes. This spaghetti casserole can be made ahead of time and refrigerated overnight or even frozen for later. Store leftovers in an airtight container in the refrigerator, Reheat in the microwave.
Recipe from: plainchicken.com, saved in Lucy's cookbook.
Tavuklu üçgen ( Chicken triangle ) wrap - Turkish
Ingredients
- 500 g chicken breast
- 1 medium onion
- 1 clove of garlic
- 1 green pepper
- 1 capia pepper
- 1 Half yellow pepper, optional
- 1 teaspoon red pepper powder, black pepper, salt
- ½ teaspoon curry
- 200 ml liquid cream
- 1 handful of mozzarella and kashar cheese
- 5 tablespoons of oil, 4-5
- 1 To wrap
- 8 large lavash, 6-8
- 1 Cheddar cheese
- 1 To paste
- 2 tablespoons of flour
- 5 tablespoons of water, 4-5
Directions
- Chop the chicken into small pieces, heat a pan, add a little oil, and cook the chicken until its juices are absorbed.
- Add the onion and peppers and fry.
- Let's add the spices and mix.
- Add the cream and once it thickens, add the mozzarella and cheddar cheese. Once the cheeses melt, turn off the heat.
- Split the lavash in half and place cheddar cheese and 1 spoon of the chicken mixture in the middle. Mix the flour and water together to make it stick to the edges. Shape the lavash into a triangle, as shown in the video.
- Let's put it on a tray and add cheddar cheese on it.
- Let's bake it in the oven until it turns golden brown.
- Let's serve it hot.
Recipe from: instagram.com, saved in Lucy's cookbook.
The Best Chicken and Dumplings
This recipe is a classic for a reason. It’s hearty, comforting, and relatively easy to make. The dumplings are light and fluffy, and the chicken and vegetables are cooked in a rich, flavorful broth. It’s the perfect meal for a cold winter night.
Ingredients
- For the chicken and vegetables:
- 2 tablespoons olive oil
- 1 ½ pounds boneless, skinless chicken thighs, cut into 1-inch pieces
- 1 large yellow onion, chopped
- 2 carrots, peeled and chopped
- 2 celery stalks, chopped
- 2 cloves garlic, minced
- 8 cups chicken broth
- 1 teaspoon dried thyme
- ½ teaspoon dried rosemary
- Salt and freshly ground black pepper to taste
- ½ cup frozen peas
- ¼ cup chopped fresh parsley, for garnish
- For the dumplings:
- 1 ½ cups all-purpose flour
- 2 teaspoons baking powder
- ½ teaspoon salt
- ¾ cup milk
- ¼ cup unsalted butter, melted
Directions
- For the chicken and vegetables:
- Heat the olive oil in a large Dutch oven or pot over medium-high heat. Add the chicken pieces and cook until browned on all sides, about 5-7 minutes. Remove the chicken from the pot and set aside.
- Add the onion, carrots, and celery to the pot. Cook, stirring occasionally, until softened, about 8-10 minutes. Add the garlic and cook for another minute until fragrant.
- Return the chicken to the pot. Pour in the chicken broth and add the thyme and rosemary. Bring the mixture to a boil, then reduce the heat to low, cover, and simmer for 15 minutes.
- For the dumplings:
- While the chicken is simmering, prepare the dumplings. In a medium bowl, whisk together the flour, baking powder, and salt.
- In a separate small bowl, whisk together the milk and melted butter. Pour the wet ingredients into the dry ingredients and stir until just combined. Do not overmix.
- Combine and finish:
- Drop the dumpling dough by the tablespoonful directly into the simmering chicken mixture. Cover the pot and cook for 15-20 minutes, or until the dumplings are cooked through and fluffy. (To check for doneness, you can cut one open; it should be cooked all the way through with no raw dough in the center.)
- Stir in the frozen peas and cook for another 2-3 minutes, or until heated through. Season with salt and freshly ground black pepper to taste.
- Ladle the chicken and dumplings into bowls and garnish with fresh parsley before serving.
Recipe from: open.substack.com, saved in Lucy's cookbook.
The Best Chili
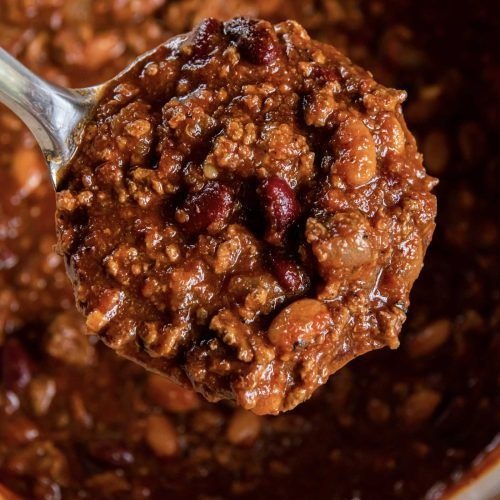
This is the best chili recipe I’ve ever made! Ground beef, beans, and the perfect mix of spices simmer together for a delicious thick and hearty chili.
Ingredients
- 1 tablespoon olive oil
- 1 medium yellow onion, chopped
- 1 pound lean ground beef
- 4 cloves garlic, minced
- 2 tablespoons chili powder*, 1-2, use 1 tablespoon for mild chili, 2 tablespoons for spicier chili
- 1 tablespoon ground cumin
- 1 tablespoon brown sugar
- 1 teaspoon dried oregano
- ½ teaspoon salt
- ¼ teaspoon black pepper
- 3 tablespoons tomato paste
- 1 ¾ cups low sodium beef broth, or one 14.5 ounce can
- 28 ounce can fire roasted crushed tomatoes, or fire roasted diced tomatoes
- 15 ounce can red kidney beans, rinsed and drained
- 15 ounce can pinto beans, or black beans, rinsed and drained
- For topping: shredded cheddar cheese, sour cream, avocado, chopped red or green onions, cilantro, etc., as desired
Directions
- Heat the olive oil in a large Dutch oven or other heavy pot over medium-high heat. Add the onion and cook 2 minutes, until onion starts to soften.
- Add the ground beef and cook, crumbling, until browned, about 5 minutes. Drain off excess grease. Add the garlic and cook, stirring, for 30 seconds.
- Add the chili powder, cumin, brown sugar, oregano, salt, pepper and tomato paste. Stir to combine.
- Add the broth and stir, scraping up any bits from the bottom of the pot.
- Stir in the crushed or diced tomatoes and beans.
- Bring to a boil, then reduce heat to low and cook at a low simmer for 1-2 hours, stirring occasionally. Cover the chili during the first part of the cook time and then uncover during the last 30 minutes as needed to thicken the chili.
- Serve chili with toppings, as desired.
Notes
Chili powder: Some chili powders are more spicy than others. Adjust the amount accordingly. To make chili without beans: Omit the beans and use 2 pounds of ground beef. To freeze: Freeze chili in an airtight container for up to 3 months. Thaw overnight in the refrigerator before reheating. Reheat in a covered pot on the stove or in the microwave. I like to freeze chili in individual portion sizes to thaw and reheat for quick lunches or dinners. To store: Store leftover chili in an airtight container in the refrigerator for up to 3-4 days.
Nutrition (per serving)
Calories: 320 · Fat: 8 · Saturated fat: 2 · Unsaturated fat: 4 · Carbs: 38 · Sugar: 12 · Fiber: 11 · Protein: 28 · Sodium: 1007 · Cholesterol: 47
Recipe from: kristineskitchenblog.com, saved in Lucy's cookbook.
The Best Egg Salad
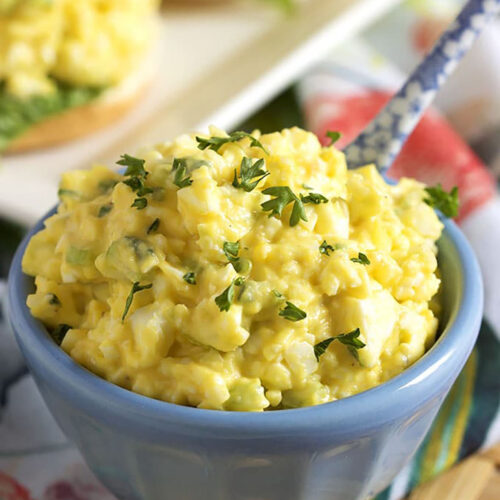
Light and creamy, this is the very Best Egg Salad recipe ever. Eggs, mayonnaise, mustard, scallions and celery are blended together to create a flavorful egg salad that’s perfect for lunch, brunch or a light dinner.
Ingredients
- 7 hard boiled eggs, peeled and finely chopped
- ½ cup mayonnaise
- 1 teaspoon ground mustard
- 3 scallions, chopped
- 1 celery stalk, finely chopped
- salt and fresh ground pepper, to taste
Directions
- In a medium bowl, stir together the eggs, mayonnaise, ground mustard, scallions, celery, salt and pepper until thoroughly combined.
- Serve immediately or refrigerate in an airtight container for up to 3 days.
Notes
Egg salad can be made up to 4 days in advance and stored in the refrigerator sealed in an airtight container.
Nutrition (per serving)
Calories: 165 · Fat: 15 · Saturated fat: 3 · Carbs: 1 · Sugar: 0 · Fiber: 0 · Protein: 5 · Sodium: 147 · Cholesterol: 169
Recipe from: thesuburbansoapbox.com, saved in Lucy's cookbook.
the best hot honey B.E.C
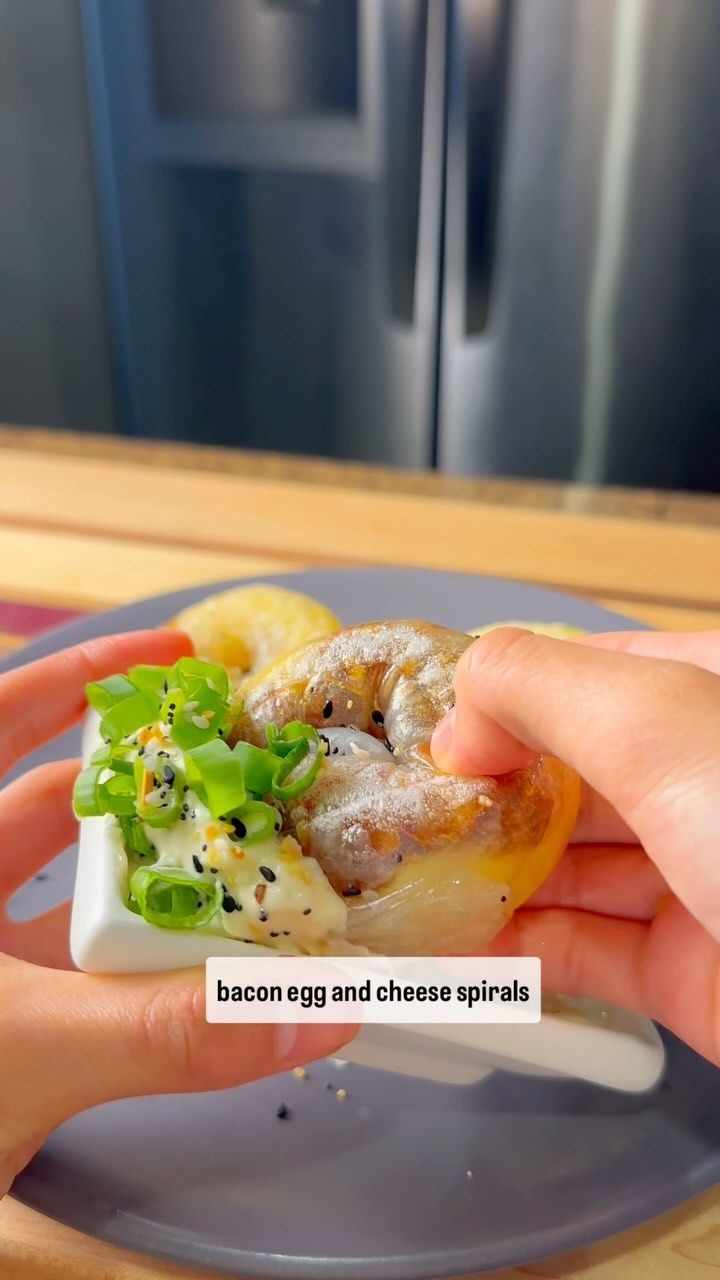
For part 14 of my 80/20 recipes, I am introducing my hot honey bacon egg and cheese spirals with a 3 ingredient ebtb dip. I am not joking, this was SOOOO flavorful 🤤 (I crave this everyday now 😆)
Ingredients
- 4 slices of bacon 🥓
- ½ small onion, diced 🧅
- 2 tbsp brown sugar
- 1 tbsp honey 🍯
- 1 tbsp white vinegar
- 1 red pepper flakes 🌶️
- salt and pepper to taste 🧂
- 1 rice paper
- 1 scrambled eggs 🍳
- 1 shredded mozzarella 🧀
- Everything but the bagel dip 🥯:
- 2 tbsp mayo
- 2 tbsp cream cheese
- 2 tsp ebtb seasoning
Directions
- Cook cut bacon in a pan until golden brown. Remove, then add onions in same pan. Cook until soft, then add sugar, honey, and vinegar. Stir and cook until bubbling. Add bacon and rest of ingredients. Cook eggs and set aside.
- Mix sauce ingredients together. Wet rice paper then add eggs, bacon, and cheese. Roll up into a snail then pan fry until crispy on both both sides. Serve with dip and enjoy! I have more rice paper recipes on my page @klopokitchen_ !
Notes
Is there any alternatives to bacon like can I use cow bacon I’m new to cooking so idk if it would impact the cooking process or the outcome
Recipe from: instagram.com, saved in Lucy's cookbook.
The Best White Chicken Chili

Flavorful White Chicken Chili made with hearty beans, tender chicken, and a rich and creamy broth. It’s a lighter alternative to traditional beef chili and makes for a super satisfying dinner! If you’re lucky to have any left it will make great leftovers for lunch the next day too.
Ingredients
- 1 small yellow onion, diced
- 1 tbsp olive oil
- 2 cloves garlic, finely minced
- 2 cans low-sodium chicken broth, 14.5 oz
- 1 can diced green chilies, 7 oz
- 1 ½ tsp cumin
- ½ tsp paprika
- ½ tsp dried oregano
- ½ tsp ground coriander
- ¼ tsp cayenne pepper
- salt and freshly ground black pepper, to taste
- 1 pkg Neufchatel cheese, cut into small cubes, 8 oz, aka light cream cheese
- 1 ¼ cup frozen or fresh corn
- 2 cans cannellini beans, 15 oz
- 2 ½ cups shredded cooked rotisserie or left-over chicken*
- 1 Tbsp fresh lime juice
- 2 Tbsp chopped fresh cilantro, plus more for serving
- Tortilla chips or strips, monterrey jack cheese, sliced avocado for serving, optional
Directions
- Heat olive oil in a large pot over medium-high heat. Add onion and saute 4 minutes minutes. Add garlic and saute 30 seconds longer.
- Add chicken broth, green chilies, cumin, paprika, oregano, coriander, cayenne pepper and season with salt and pepper to taste. Bring mixture just to a boil then reduce heat to medium-low and simmer 15 minutes.
- Drain and rinse beans in a fine mesh strainer or colander then measure out 1 cup. Set whole beans aside, transfer 1 cup beans to a food processor along with 1/4 cup broth from soup, puree until nearly smooth**.
- Add Neufchatel cheese to soup along with corn, whole beans and pureed beans and stir well. Simmer 5 - 10 minutes longer.
- Stir in chicken, fresh lime juice and cilantro. Serve with Monterrey Jack cheese, more cilantro, avocado slices and tortilla chips if desired.
Notes
*Recipe updated to use pre-cooked shredded chicken (previously used 1 lb raw chicken in this recipe and cooked at the beginning). I like the flavor of rotisserie chicken better plus this way you don't end with over-cooked chicken breasts. **If you don't own a food processor you can skip the pureeing step, soup just won't be quite as creamy.
Nutrition (per serving)
Calories: 383 · Fat: 14 · Saturated fat: 6 · Carbs: 35 · Sugar: 5 · Fiber: 8 · Protein: 33 · Sodium: 525 · Cholesterol: 77
Recipe from: cookingclassy.com, saved in Lucy's cookbook.
The Cheesesteak Sub Sandwich macro friendly high protein bowl💪
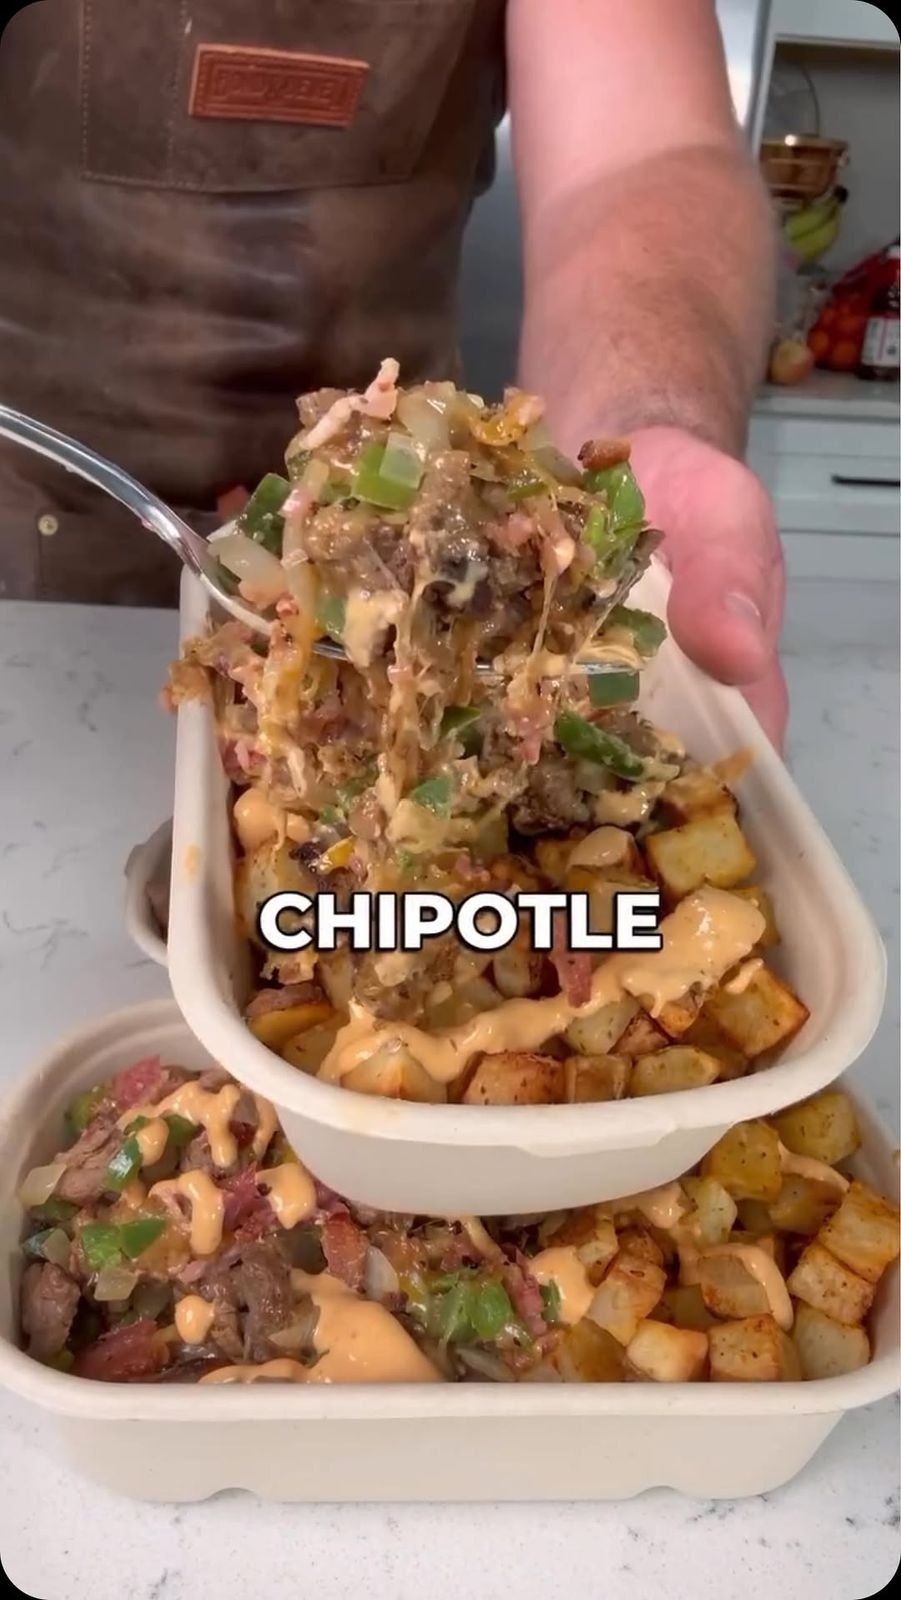
The Cheesesteak Sub Sandwich macro friendly high protein bowl💪By @tastyshreds Hope you guys enjoy . 😉
Ingredients
- 4 medium russet potatoes
- 1 tablespoon olive oil
- Salt, to taste
- Pepper, to taste
- 1 teaspoon garlic powder
- 1 teaspoon paprika
- 32 oz sirloin steak, thinly sliced
- 1 white onion, thinly sliced
- 8 jalapeños, thinly sliced
- 120 g reduced-fat mozzarella, shredded
- 120 g reduced-fat cheddar, shredded
- Salt, to taste
- Pepper, to taste
- 1 tablespoon olive oil
Directions
- Make chipotle sauce:
- Blend 300g non-fat Greek yogurt, 50g chipotle in adobo, and 3 minced garlic cloves. Season with salt and pepper. Chill.
- Prep potatoes:
- Peel and cube 4 russet potatoes. Soak in cold water for 30 minutes for crispiness.
- Season potatoes:
- Drain, dry, and toss with 1 tbsp olive oil, salt, pepper, garlic powder, and paprika.
- Air fry:
- Cook seasoned potatoes at 400°F (200°C) for 15-20 minutes, shaking halfway, until crispy.
- Sauté veggies:
- Heat 1 tbsp olive oil in a skillet. Cook sliced onions and jalapeños until translucent.
- Cook steak:
- Add sliced sirloin to skillet with onions and jalapeños. Season with salt and pepper. Cook 5-7 minutes until done.
- Shred cheese:
- Grate 120g reduced-fat mozzarella and cheddar.
- Assemble:
- Layer air-fried potatoes, steak mixture, and cheese in containers. Serve with chipotle sauce.
Notes
Bro!!
Nutrition (per serving)
Calories: 530 · Fat: 18 · Carbs: 22 · Protein: 62
Recipe from: instagram.com, saved in Lucy's cookbook.
The Tastiest Low Calorie Rice Paper Chips that are perfect for Weightloss!!!
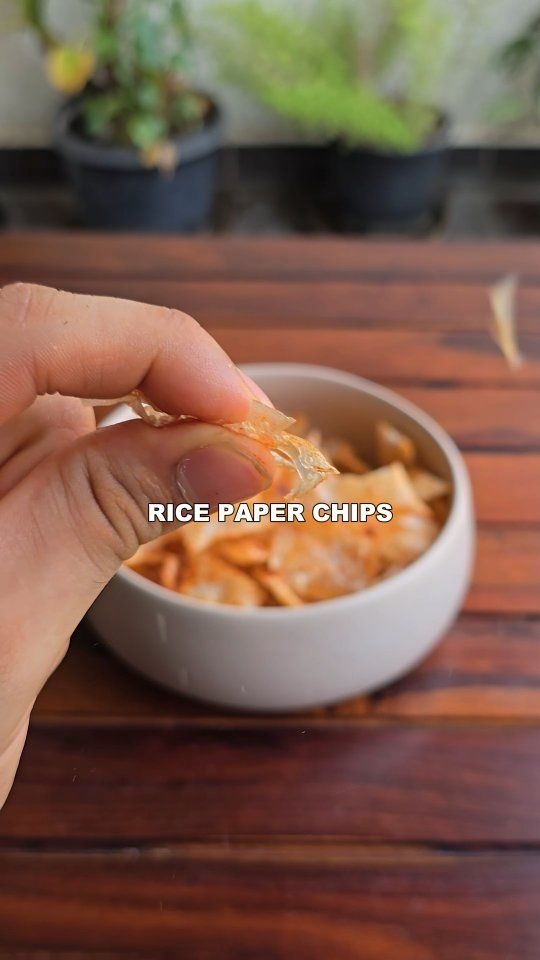
The Tastiest Low Calorie Rice Paper Chips that are perfect for Weightloss!!!
Ingredients
- 1 Rice Paper Sheets, 2 Large
- 1 Olive Oil, 1-2 Tsp
- 1 Paprika, 1 Tsp
- 1 Garlic Powder, 1 Tsp
- 1 Salt, 1 Tsp
- Airfryer Settings: 180⁰C for 5 Mins.
- Credits:
- 1 @tastyiri_en
Directions
- Airfryer settings:
- 180⁰C for 5 Mins.
Notes
Tried these, super yummy but they are so difficult to cut when they are wet and slimy. Have no idea how you got such perfect little squares
Recipe from: instagram.com, saved in Lucy's cookbook.
Three Cheese Jalapeno Popovers

These Three-Cheese Jalapeño Popovers are everything you love about classic popovers. They are light, airy, irresistibly steamy, but with a bold, savory twist. A blend of cheddar, Monterey Jack, and Parmesan melts into the batter, creating pockets of creamy richness and golden, toasty edges. Fresh jalapeños add just the right amount of heat and brightness, balancing the buttery depth of the cheeses without overwhelming the delicate rise. They bake up beautifully tall with a soft, custardy center and a perfectly crisp shell. Serve them warm for brunch or with your chili. They are perfect holiday side that always please a crowd!
Ingredients
- 3 cups whole milk, 720 ml
- 8 large eggs
- 1 tsp salt, 6 g
- 1 tsp sugar, 4 g
- 3 cups all-purpose flour, 360 g, not packed, spooned & leveled
- 6 tbsp extra virgin olive oil, plus more for greasing the pan, 88 ml
- 1 ½ oz cheddar cheese, shredded, 43 g
- 1 ½ oz monterey jack cheese, shredded, 43 g
- 2 jalapenos, seeded and diced
- 1 Parmesan for topping
- 1 Butter & Honey for topping
Directions
- For the popovers, In a large bowl, using a hand mixer or whisk, mix flour, milk, olive oil, salt, sugar and eggs. Add the jalapenos. Mix gently but well. A few lumps are okay! Let the batter rest for about 10 minutes. (Note: see FAQs for more details about making the batter beforehand.)
- Preheat oven to 450 degrees and liberally grease a popover pan with olive oil. (Muffin pan also works) Note: When greasing the pan, I like to add about a tsp of olive oil to the bottom of each popover compartment. Then , I like to oil my fingers or a napkin and make sure the sides of each compartment are nice and greased up! Then place the popover pan onto a large baking sheet (to catch any drippings) and then into the oven to heat for about 3 minutes.
- Remove pans and immediately divide/pour batter into the compartments of the pan (I fill my popover compartments about 3/4 of the way). Press some of the shredded cheese mix in each compartment filled with the popover batter. And sprinkle a little more of the shredded cheese on top, along with the parmesean.
- Bake for about 25 minutes at 450 degrees. Then turn down the heat to 350 degrees and bake for an additional 5-10 minutes. (try not to open the oven or that will release all of the steam and the popovers could deflate!)
- Remove popovers from the oven. Then, using a toothpick, poke the tops of each popover so they can breathe (this also keeps the popovers from deflating). Popovers should easily slip out of the pan. Once you have removed the popovers, add more olive oil to the pan and place it back in the oven for 3 minutes, then pour the second batch of popover batter and bake.
- Once baked, serve immediately with butter and honey.
Notes
Storage: Store in fridge in an air tight container for up to 2 days. To reheat, place popovers onto a baking sheet and bake at 350 for about 10 minutes or until warmed through. Helpful tips: Use room-temperature ingredients– Eggs and milk should be at room temperature so the batter incorporates evenly and rises well. Cold ingredients can make popovers dense. Don’t overmix the batter– Mix just until all dry ingredients disappear. Overmixing develops gluten and can make the popovers tough instead of light and airy. Preheat popover pan – Don’t skip the step of placing your popover or muffin tin in the oven before pouring in the batter. Pouring batter into the hot pan with oil helps them spring up immediately.
Recipe from: eatatmaudes.com, saved in Lucy's cookbook.
Tostones en Freidora de Aire // Tostones in Air Fryer
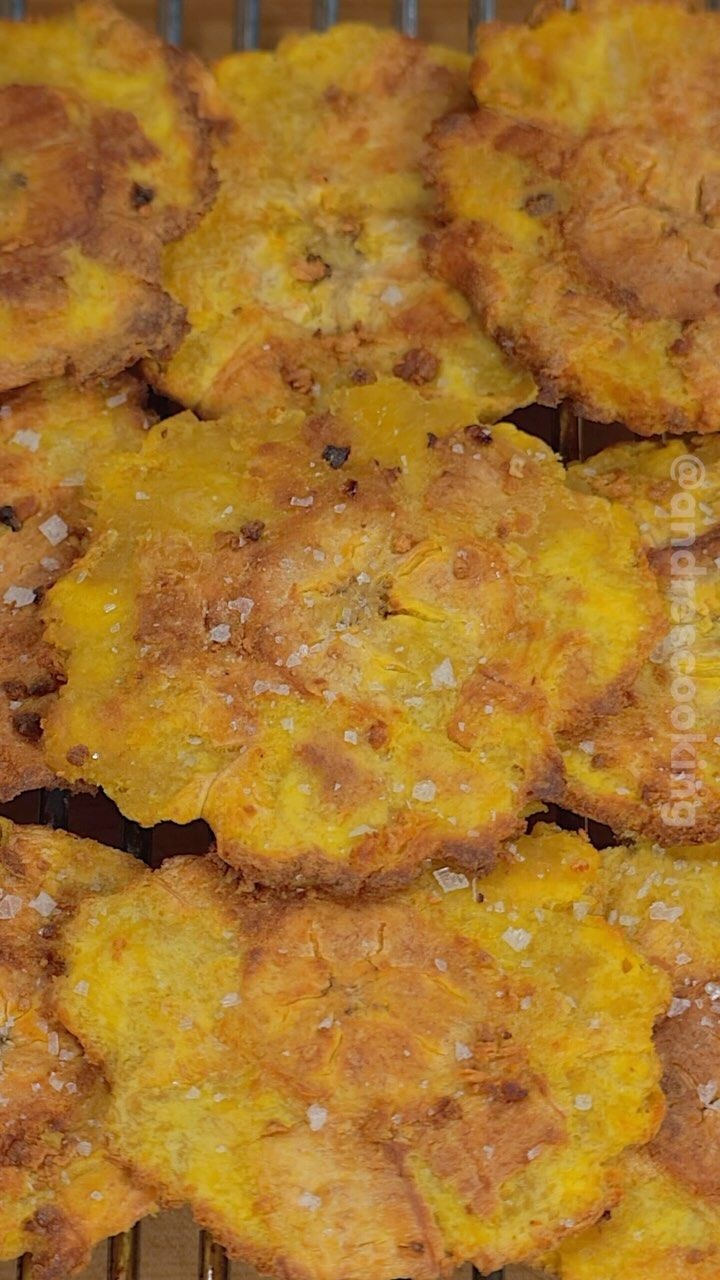
Ingredients
- 1 Platano Verde // Green Plantain
- 4 Dientes de Ajo // 4 Cloves of Garlic
- 1 Aceite de Oliva // Olive oil
- 1 Sal // Salt
Directions
- Pela y pica el platano verde // Peel and cut the green plantain.
- En un Bol agrega el platano, ajo picado, aceite de oliva y revuelve // In a bowl add the plantain, minced garlic, olive oil and stir.
- Al airfryer por 8 minutos a 390°F o 200°C. // AirFry for 8 minutes at 390°F or 200°C.
- Aplasta y aceita el plátano // Smash and oil the plantain.
- Regresa al airfryer por 8 minutos a 390°F o 200°C. // Return to the air fryer for 8 minutes at 390°F or 200°C.
- Sazona con sal // Season with salt.
Recipe from: instagram.com, saved in Lucy's cookbook.
Vintage Lime Jello Salad
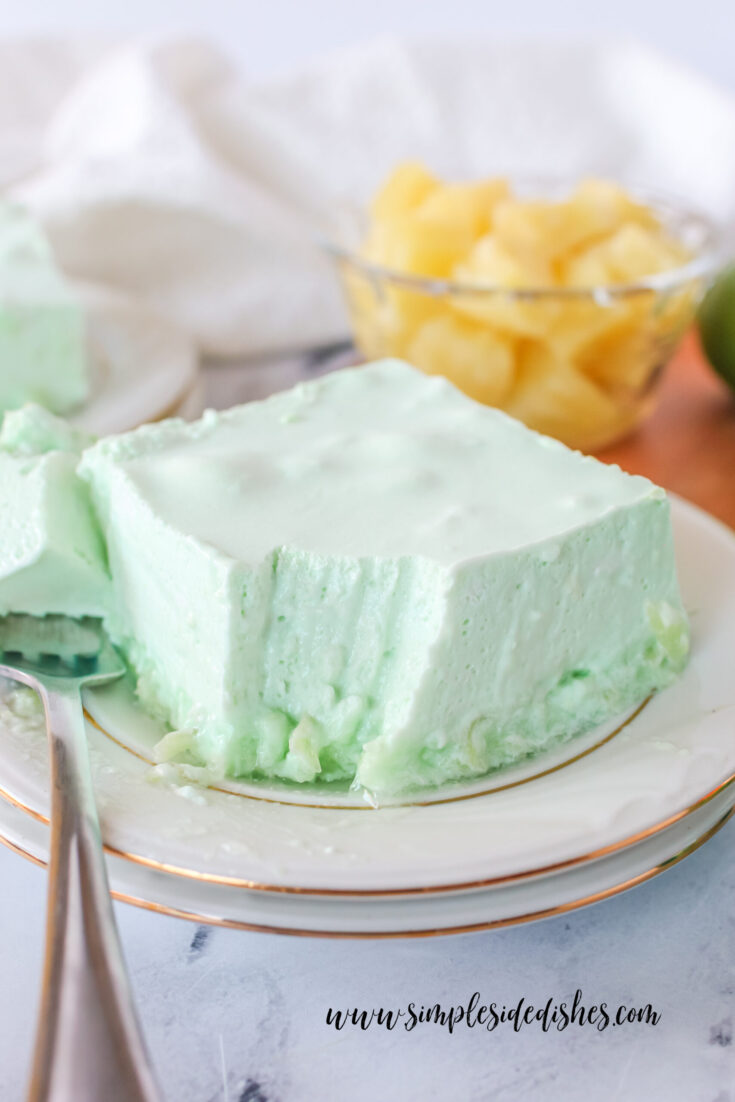
You will love this refreshing Lime Jello Salad. With only 5 ingredients (and water) it is so easy to make to serve a crowd.
Ingredients
- 1 package lime Jello, 6 ounce, or two 3 ounce packages
- 2 cups boiling water
- 1 package cream cheese, room temperature, 8 ounce
- 2 cups 7 UP, chilled
- 1 can crushed pineapple, drained, 8 ounce
- 1 container Cool Whip, thawed, 12 ounce
Directions
- Bring water to a boil and add Jello packet - while in pot. Mix well.
- In a separate bowl, blend cream cheese.
- Add dissolved Jello mixture to cream cheese in 3 batches, blending with a hand mixer between each addition. This is to help prevent lumps.
- Add 7 UP and mix by hand.
- Chill until mixture resembles egg whites or slime, about 30 - 60 minutes - this will vary depending on the temperature of the fridge, so check every 15 minutes or so.
- When the mixture is thick but soupy, add cool whip and mix well by hand.
- Add crushed pineapple and mix well.
- Pour mixture into a 9x13 serving dish or Jello mold. Chill till fully set.
Nutrition (per serving)
Serving Size: 1 · Calories: 47 · Fat: 1 · Saturated fat: 1 · Trans fat: 0 · Unsaturated fat: 0 · Carbs: 9 · Sugar: 9 · Fiber: 0 · Protein: 0 · Sodium: 22 · Cholesterol: 2
Recipe from: simplesidedishes.com, saved in Lucy's cookbook.
Viral Blanket Dumplings
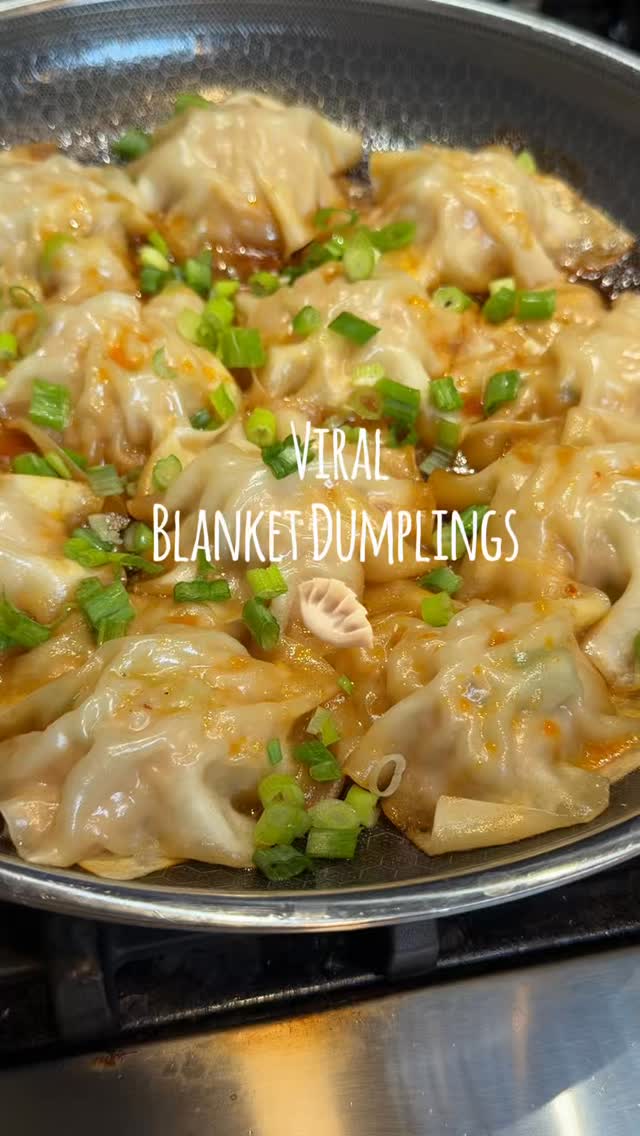
Ingredients
- 1 lb ground chicken, or ground pork
- 3 green onions, finely chopped
- 4 cloves garlic, minced
- 1 tbsp mirin
- 2 tbsp soy sauce
- ½ tsp pepper
- ½ cup water, to steam
- 1 Wonton wrappers
- Sauce to top:
- 1 Soy sauce
- Chili oil
- Extra chopped green onions, for garnish
Directions
- Cook meatballs for one minute.
- Place a wonton wrapper over each meatball and pinch around all sides.
- Place water over the top and steam for 5-6 minutes.
- Top with soy sauce and chili oil, and sprinkle with extra chopped green onions.
Recipe from: instagram.com, saved in Lucy's cookbook.
Viral Dubai Pistachio Chocolate Bar
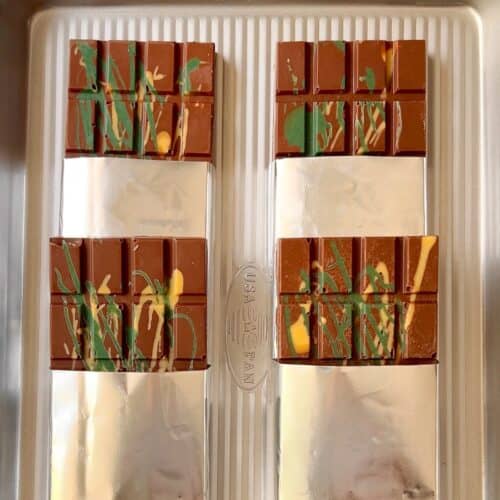
The STUFFED Viral Dubai Pistachio Chocolate Bar - the crunchy pistachio kataifi dessert sensation that has had us in a chokehold this year. Here's the BEST step-by-step copycat recipe so you can make it for your friends at home!
Ingredients
- 3 tablespoon unsalted butter
- 8 oz kataifi
- 3 tbsp tahini
- ¼ teaspoon salt
- 16 oz milk chocolate bars roughly chopped
- 10 ½ oz pistachio cream
- any color candy melts for decoration, melted optional
Directions
- Remove kataifi from freezer to defrost for 1-2 hours. This will make chopping it easier, or shred in a food processor. Melt butter in large pan on medium heat and add kataifi, toasting it for 8-10 mins or until golden brown. Transfer to large mixing bowl and allow to cool completely.
- Add pistachio cream, tahini, and salt to cooled kataifi. Mix until well combined and set saide.
- Optional:
- melt any decorating candy melts in small bowls using the microwave. Drizzle desired decorations in chocolate mold, and chill in fridge for 10 mins.
- Melt the milk chocolate in a large bowl also using the microwave, or alternatively over a double boiler. If you wish to temper your chocolate, reserve a small handful of chocolate and melt the rest until it reaches 113℉ (45℃). Remove bowl from the heat and stir in the reserved pieces until it melts in. Cool chocolate until it reaches 84-86℉ (28-30℉).
- Pour milk chocolate into mold. Tilt mold sideways or upside-down to allow excess chocolate to drip off back into chocolate bowl. We're trying to layer a thin even coating. You can also use an offset spatula to scrape off all extra chocolate. We will be re-melting the chocolate bowl, so avoid wasting any! Once you finish the first layer, tap mold on the counter a few times to allow chocolate to settle and to get rid of any air bubbles. Transfer back to fridge for another 10 mins to set.
- Spoon filling into chocolate mold and spread evenly. Be sure to leave room for the final chocolate layer - do not overfill. Chill mold in fridge for 10 more mins.
- Re-melt (or temper) milk chocolate. Then, pour over filling and spread evenly to seal in the filling. Tap mold again gently a few times on counter to create a smooth finish. Chill mold in fridge for 1-2 hours minimum before enjoying. Carefully detach finished bars from mold. Keep refrigerated.
Recipe from: happytummy702.com, saved in Lucy's cookbook.
Viral Dumpling Lasagna
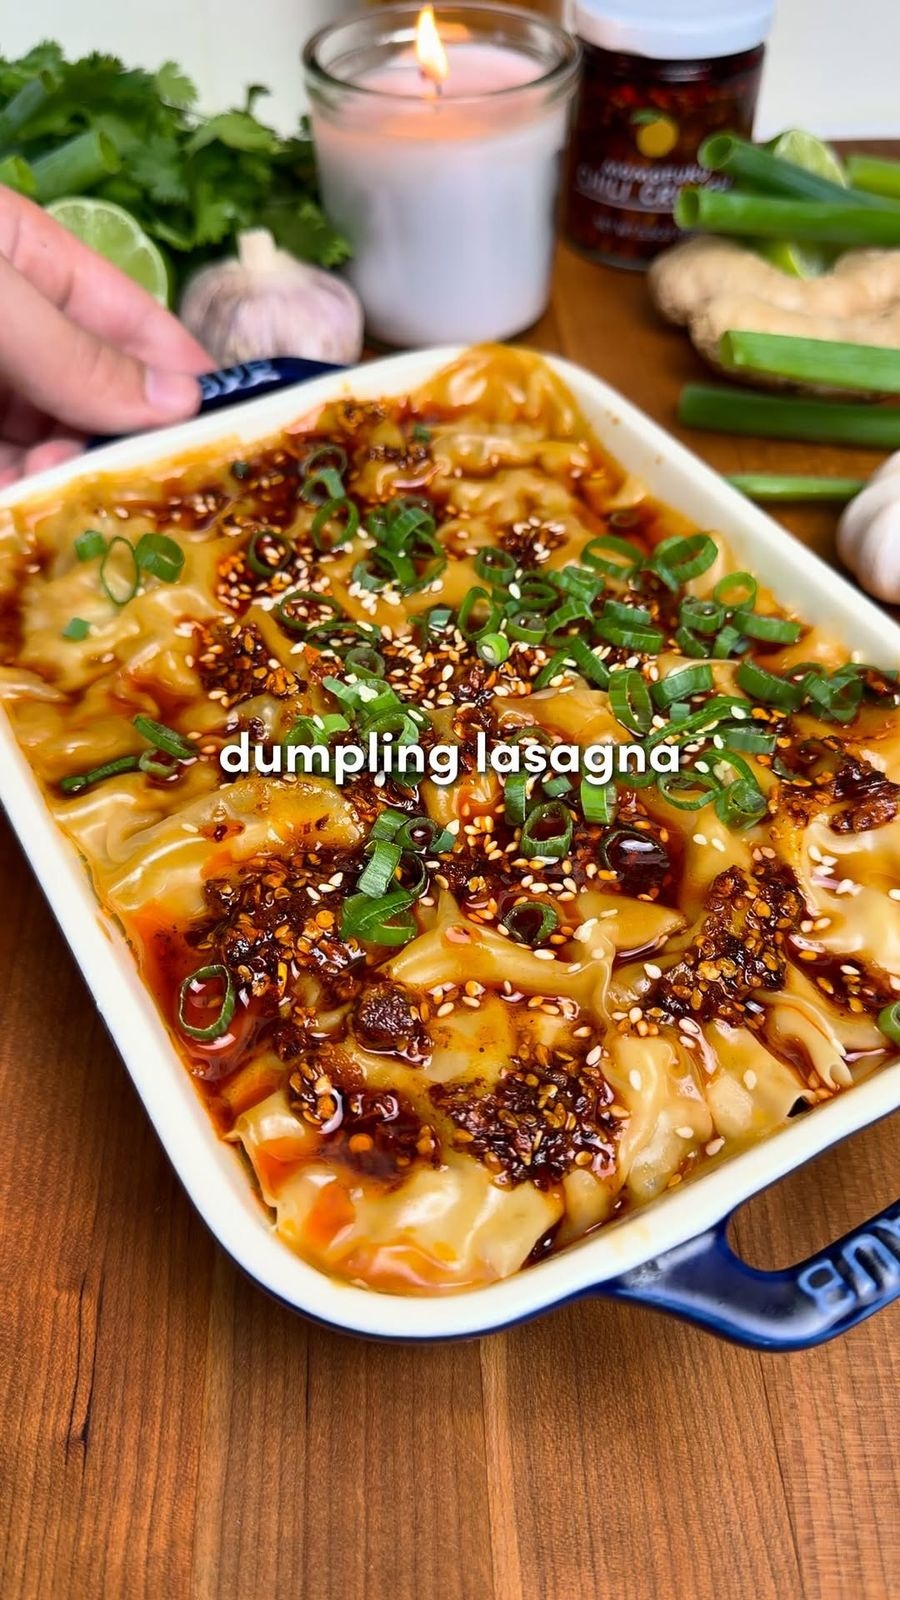
Homemade dumplings meet homemade lasagna—easier, quicker, and better than both.
Ingredients
- 1 lb ground chicken or pork, 450 g
- ½ cup green onions, chopped
- 6 garlic cloves, minced
- 3 tbsp soy sauce
- 1 tbsp rice vinegar
- 1 tbsp toasted sesame oil
- 2 tbsp chili crunch
- 1 tbsp fresh ginger, grated
- 1 tbsp oyster sauce
- 24 wonton or dumpling wrappers, 18-24
- 2 tbsp chicken stock, or water
- For garnish:
- 1 Soy sauce
- 1 Chili crunch
- 1 Green onions, sliced
- 1 Sesame seeds
Directions
- In a bowl, combine the ground chicken or pork with the green onions, garlic, soy sauce, rice vinegar, sesame oil, Chili Crunch, ginger, and oyster sauce. Mix with your hands until just combined.
- Set up a steamer over a pot of gently boiling water. If you don’t have a steamer, simply place a heat-safe rack or trivet inside a large pot instead. Make sure your baking dish fits comfortably inside & the lid can fully close (I used an 8×8-inch dish). Keep the water level below the baking dish.
- Briefly dip each wrapper in water for just 1–2 secs, then arrange a layer across the bottom of your dish. I used 6 wrappers per layer. Overlap them as needed to completely cover the bottom… the overlap actually helps everything hold together.
- Spread a thin layer of the meat mixture over the wrappers. Repeat with wrappers and meat until everything is used. I made 4 layers, but work with whatever fits your dish. Finish with a final layer of wrappers, then pour the chicken stock evenly over top.
- Carefully place the dish into your steamer, cover, & steam for 20–22 mins, keeping the water at a gentle boil. Remove once the meat is cooked through & the top is glossy.
- Finish with a drizzle of soy sauce, plenty of chili crunch, sliced green onions, and sesame seeds. Slice it up like lasagna and enjoy this new family favorite!
Recipe from: instagram.com, saved in Lucy's cookbook.
Whipped Bone Marrow
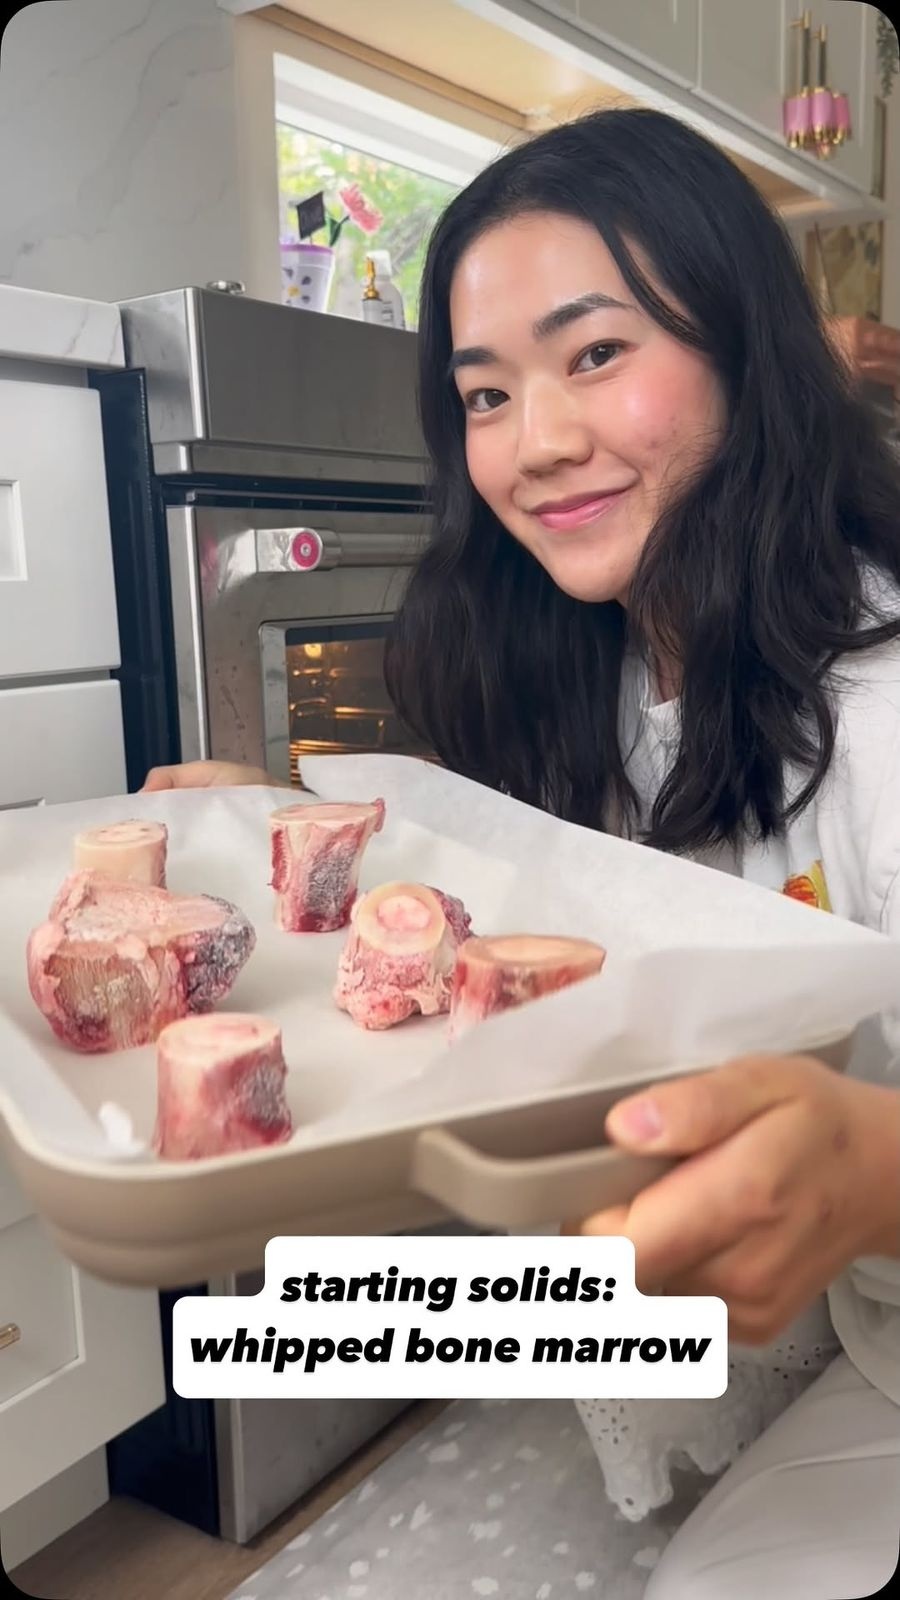
Starting solids with a nutrient-dense powerhouse: whipped bone marrow. 💪🏼 This was Emmett’s very first food—and it’s loaded with healthy fats, iron, and collagen to support brain development, gut health, and overall growth.
Ingredients
- 1 marrow bones
Directions
- Spread marrow bones on a parchment-lined baking pan
- Roast at 425°F for ~25–30 mins
- Scoop out the marrow + pour in the dripped oils (tallow)
- Cool in fridge for 10–15 mins
- Whip with a mixer until soft peaks form
Notes
Storage: • Fridge: ~1 week • Freezer: up to 6 months To serve: • Thaw at room temp 10–15 mins • Spoon-feed directly or mix into food Pro tip: Use the leftover bones to make bone broth—just simmer in water until milky white.
Recipe from: instagram.com, saved in Lucy's cookbook.
Yemeni lahsa - Turkish
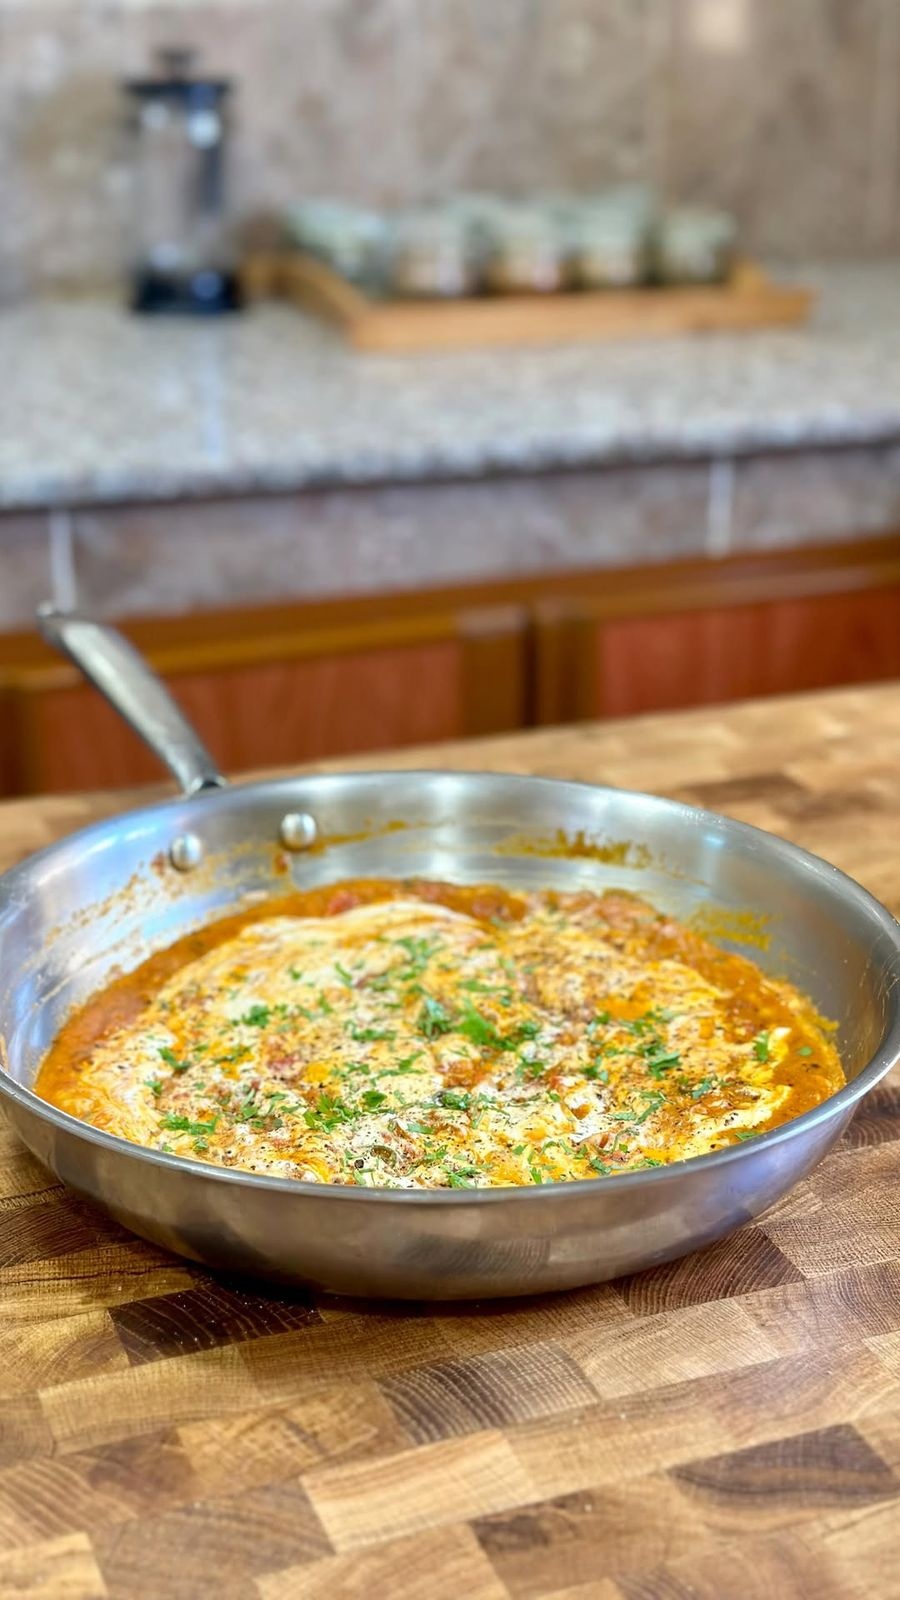
Yemeni lahsa @ndcmuscat
Ingredients
- 1 large onion
- 2 large ripe tomatoes
- 5 spicy chilies, 4-5, optional
- 3 eggs
- 1 @ndcmuscat olive oil
- 1 liquid cheese
- 1 salt & pepper
- 1 tsp cumin powder
- 1 tsp coriander powder
- 1 tsp paprika
- 1 tbsp tomato puree
Directions
- start by chopping the veggies. Saute the onion in a drizzle of olive oil.
- once the onion starts to brown add the tomatoes. Season with salt. Pepper. Cumin. Coriander. Paprika. Tomato puree and any spices that you prefer.
- keep cooking the tomatoes on medium low till dissolved.
- switch off the heat then crack the eggs in the mixture. Mix it thoroughly and add a splash of water.
- turn the heat back on low and spread the cheese on top.
- cover and let it cook for 3-5 minutes.
- garnish. Serve with bread and enjoy.
Notes
@k.8th.7 صحيح ✅
Recipe from: instagram.com, saved in Lucy's cookbook.
Zero Carb Carnivore Bread
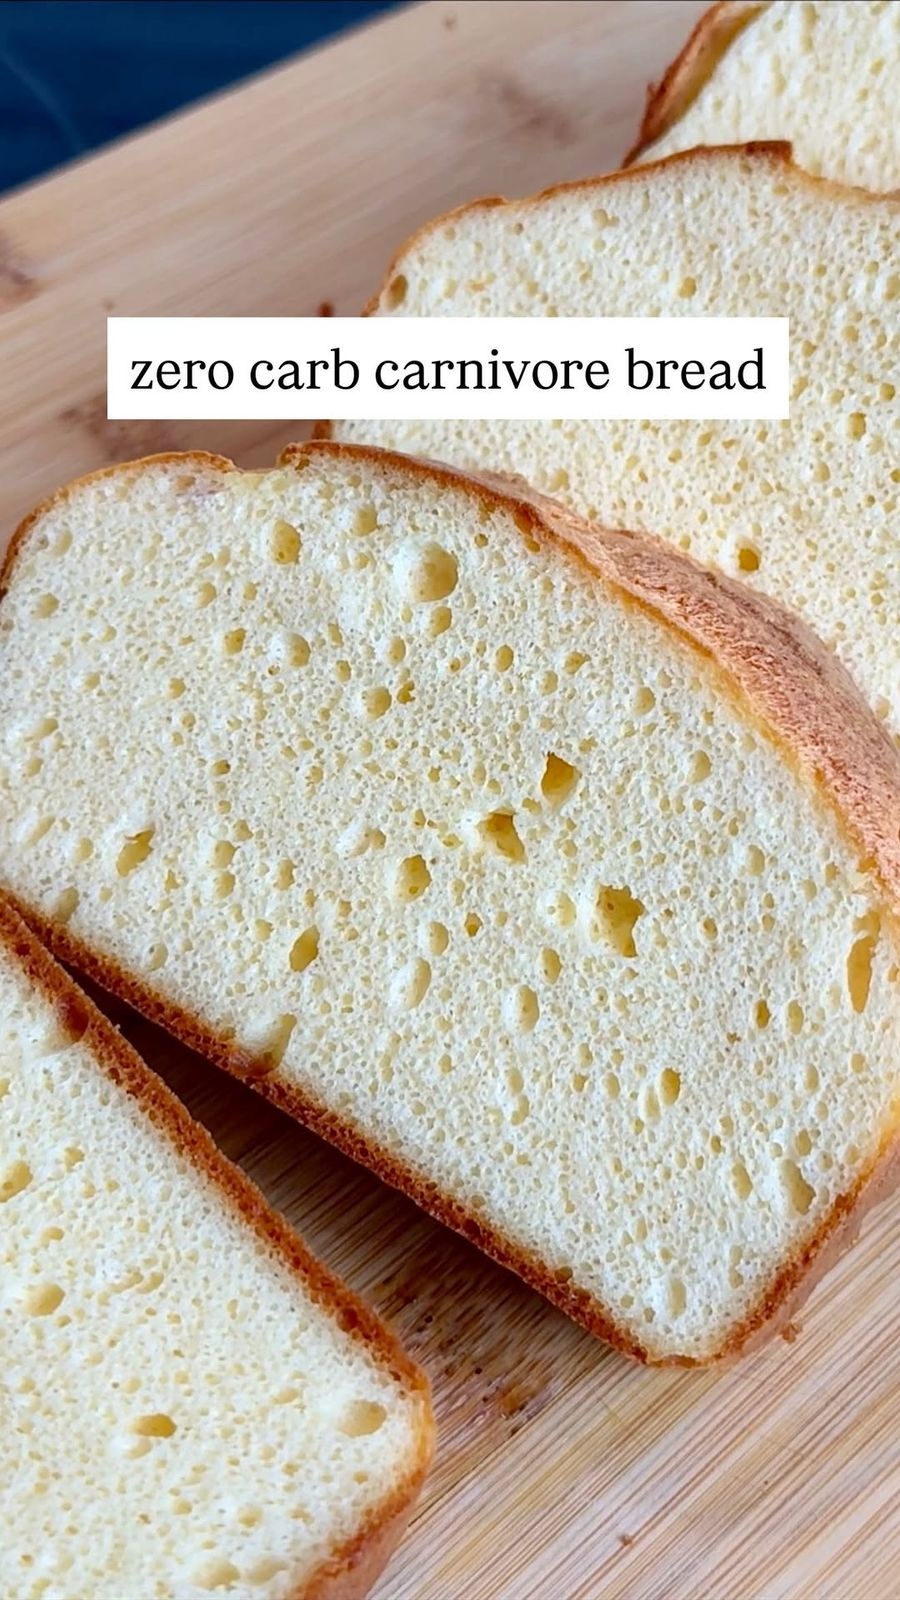
This bread does not collapse after taking out of the oven and has a fantastic bread like texture thanks to the egg white powder and precise ratios. I’ve now tried crisping it up in the air fryer and have turned it into luxurious French toast for my husband. It will also be great for sandwiches.
Ingredients
- ½ cup butter, 120g - 1 stick
- 12 ounces full fat cream cheese, 340g - 1.5 blocks
- 1 both must be softened
- 4 large eggs at room temperature
- 1 cup egg white protein powder
- 2 tsp of gelatin
- Optional - Will always use:
- 2 teaspoons baking powder, 12g
- ½ teaspoon baking soda, 2g
- ½ teaspoon cream of tartar, 2g
Directions
- Pre heat oven for 320
- Add wet ingredients to bowl
- Then add egg white power and then mix
- Add the rest of the powders
- Bake at 320°F for 45-50 minutes, let cool, slice, and enjoy!
Notes
Bread
Recipe from: instagram.com, saved in Lucy's cookbook.
Zucchini fritters with chili lime mayo
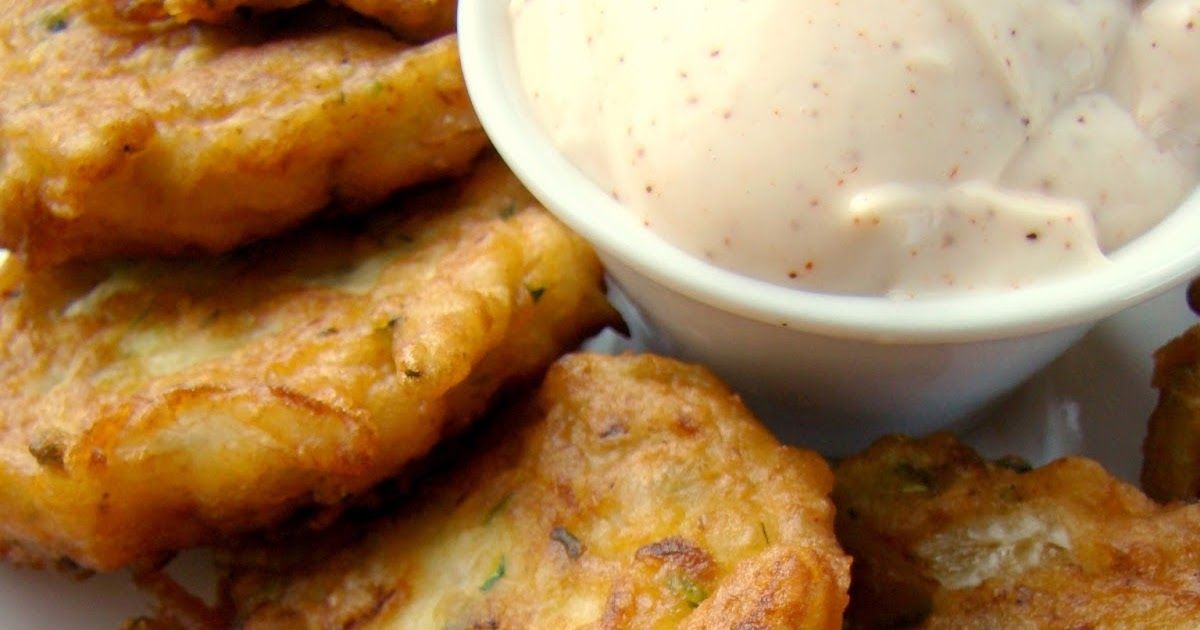
It's the time of year for zucchini everything! Our zucchini plants have had a particularly fruitful year and I've been looking for yummy ways to use it up. A friend suggested doing a zucchini fritter, which sounded like a brilliant idea. She has lots of brilliant ideas about food. So I set to work on coming up with my own recipe and they turned out amazing the first time. I made a chili lime mayo to serve them with, and MMM! Those flavours together are frittastic! This recipe makes 25-30 fritters so they could be served as a main course or as a party appetizer.
Ingredients
- 1 vegetable oil for frying
- 3 cups grated zucchini
- 1 cup diced onion
- 2 eggs
- 1 cup all-purpose flour
- 1 tsp baking powder
- ½ tsp chili powder
- ½ tsp salt
- ¼ tsp pepper
- 1 cup prepared mayo
- ½ a lime, juice
- ½ tsp chili powder
Directions
- I started by pouring the vegetable oil in my skillet so that it was half an inch deep and turned the heat to medium. Meantime, I combined the zucchini, onion, and eggs in a large bowl.
- I gave the mixture a good stir to combine. It got all kinda frothy. Awesome.
- Next, I combined the flour, baking powder, 1/2 tsp of chili powder, salt, and pepper in a small mixing bowl and stirred to combine. To finish the batter, I added the dry ingredients to the zucchini mixture and folded it all together.
- To test my oil, I dipped a spoon into my batter then dipped the spoon into the oil. Once the oil bubbled in contact with the batter, I knew it was hot enough. I dropped my batter into the oil by the heaping tablespoon, frying about six fritters at a time. They cooked for 2-3 minutes a side. Once the centres were firm, I removed the fritters from the oil and let them drain on a dinner plate lined with paper towel.
- To make the dip, I simply combined the prepared mayo, lime juice, and chili powder in a small mixing bowl and stirred it all up. This is a seriously yummy dip! I love limes. And chili powder. And mayo. So this really couldn't go wrong.
Recipe from: familyfeedbag.com, saved in Lucy's cookbook.
zucchini or summer squash fritters
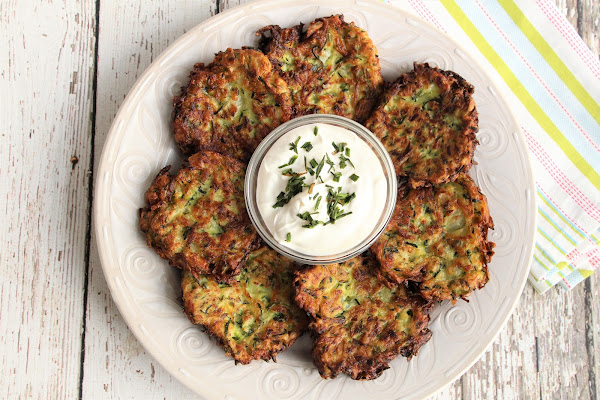
These fritters will be amazing if they're made with shredded zucchini or summer squash. Easy to prepare, they're a tasty afternoon snack. The outer edges are crispy and the center stays soft. Onion adds a tiny hint of sweetness to the fritters. We placed ours in the oven to keep warm and they turned out perfect.
Ingredients
- 5 md zucchini or summer squash, 4-5
- 1 sm onion, grated
- 1 tsp coarse salt
- 1 lg egg, well beaten
- ½ c all-purpose flour
- ½ tsp black pepper, freshly grated
- 3 Tbsp oil of your choice for frying, 2-3
Directions
- If planning to serve as soon as they’re done, preheat oven to 250 degrees. Have a baking sheet lined with paper towels ready.
- Trim ends off zucchini and grate them either on the large holes of a box grater or, if you have one, using the shredding blade of a food processor.
- In a large bowl, toss zucchini with 1 teaspoon coarse salt and set aside for 10 minutes.
- Wring out the zucchini in one of the following ways: pressing it against the holes of a colander with a wooden spoon to extract the water, squeezing out small handfuls at a time, or wrapping it up in a clean dishtowel or piece of cheesecloth and wringing away.
- Return deflated mass of zucchini shreds to bowl. Taste and if you think it could benefit from more salt add a little bit more. Stir in onion, egg, flour, and some freshly ground black pepper.
- In a large heavy skillet, heat 2-3 tablespoons of oil over medium-high heat until shimmering. Drop small bunches of the zucchini mixture onto the skillet only a few at a time so they don’t become crowded and lightly nudge them flatter with the back of your spatula.
- Cook the fritters over moderately high heat until the edges underneath are golden, about 3 to 4 minutes. Flip the fritters and fry them on the other side until browned underneath again, about 2 to 3 minutes more.
- Drain briefly on paper towels then transfer to the baking sheet.
- Then place into the warm oven until needed. Repeat the process, keeping the pan well-oiled, with remaining batter.
Notes
Cook’s Note: I like to make sure that the fritters have at least 10 minutes in the oven to finish setting and getting extra crisp. Do ahead: (This is the best part!) These fritters keep well, either chilled in the fridge for the better part of a week and or frozen in a well-sealed package for months. When you’re ready to use them, simply spread them out on a tray in a 325 degree oven until they’re hot and crisp again.
Recipe from: justapinch.com, saved in Lucy's cookbook.
Zucchini Tomato Casserole with Crumb Topping
Zucchini Tomato Casserole with Bread Crumb Topping – exciting gourmet side dish recipe with layered zucchini, fresh tomatoes, shredded mozzarella and Parmesan with a great crunchy bread crumb topping.
Ingredients
- 1 ½ cups shredded mozzarella cheese
- ½ cup shredded Parmesan cheese
- 2 teaspoons garlic powder
- 1 teaspoon basil
- 1 teaspoon oregano
- salt and pepper
- 2 zucchini squash sliced thin
- 5 to matoes sliced, 4-5
- 2 tablespoons butter melted
- ¾ cup fine bread crumbs
Directions
- Preheat oven to 375 and grease a 9×9 baking dish with nonstick cooking spray. Set aside.
- In a small bowl, add cheese and spices. Mix well. Season with salt and pepper. Set aside.
- Place zucchini in a single layer in the bottom of the prepared pan. Sprinkle with 1/4 of the cheese mixture. Top with tomatoes, in a single layer and 1/4 of the cheese mixture. Repeat layers.
- Add melted butter and bread crumbs together and mix well. Sprinkle on top of baking dish.
- Cover with foil and bake for 25 minutes.
- Remove foil and bake for an additional 20 minutes or until vegetables are tender and top is crusty.
- Let casserole stand 5 minutes before cutting into slices and serving.
Nutrition (per serving)
Serving Size: 1 · Calories: 177 · Fat: 9 · Saturated fat: 5 · Unsaturated fat: 3 · Carbs: 14 · Sugar: 4 · Fiber: 2 · Protein: 10 · Sodium: 371 · Cholesterol: 25
Recipe from: saltysidedish.com, saved in Lucy's cookbook.
♥ Tortilla Bake
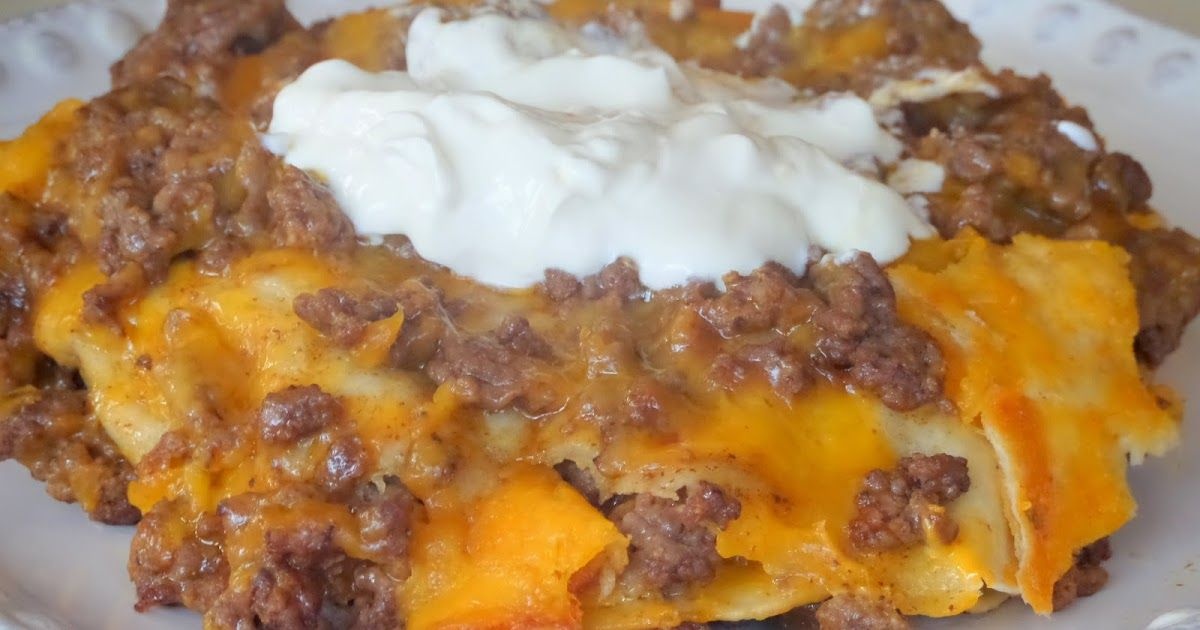
This is a quick and easy meal to make and there are so many things you can add to it to make just the way you like it. I keep mine pretty simple and on the mild side, but you can give it as much kick as you want by adding spicy peppers and chilies and other seasonings.
Ingredients
- 1 lb ground beef
- 1 small onion
- 1 packet taco seasoning
- 4 medium corn or flour tortillas
- 2 cups Mexican Blend Cheese
- 1 enchilada sauce, mild or hot, 10 oz
- 4 oz sour cream for topping
Directions
- Preheat oven to 350 degrees. Brown ground beef and onion over medium-high heat until beef is cooked through; drain.
- Return the beef and onions to the skillet and add taco seasoning. Stir in the enchilada sauce. Leave on low heat to simmer for 10 minutes.
- Spray a 9 x 9 baking dish with cooking spray. Lay the first tortilla in the dish and sprinkle meat mixture on top, taking it all the way to the edges. Then sprinkle a layer of cheese on top. Cover with another tortilla and repeat until you use all four tortillas. Sprinkle top layer with more cheese and bake at 350 degrees for 15 minutes until heated through. Serve with your choice of topping such as sour cream, salsa or guacamole.
Notes
Other optional ingredients you may want to add.... Green or red chilies Jalepeno peppers whole corn Refried beans salsa green or red peppers black olives guacamole Pepper Jack Cheese hot sauce
Recipe from: welcome-home-blog.net, saved in Lucy's cookbook.